How to Put Poster on Wall Without Damaging Paint
You can hang a poster without harming paint by choosing low‑tack solutions like removable adhesive strips, poster putty, washi tape, or lightweight magnetic clips that suit your wall and poster weight. Clean and dry the surface, test adhesives on an inconspicuous spot, and press evenly; use small anchors only for heavier pieces and pre‑drill tiny pilot holes to minimize chipping. Peel slowly and warm stubborn residue with a hairdryer. Keep going to learn best options by wall type and weight.
Quick Answer: Safest Ways to Hang a Poster Without Damaging Paint
If you want the simplest, least risky options, use removable hanging solutions like painter’s tape, poster putty, or adhesive strips rated for painted walls—each holds posters without peeling paint when removed properly.
You’ll also consider lightweight frames with felt pads to protect finishes, or magnetic poster hangers that clamp without nails.
Try alternative displays like washi-tape borders or clipboards for rotating art.
For higher-impact pieces, use creative framing that rests on a picture ledge or leans against the wall, avoiding direct adhesion.
Test any product on an inconspicuous spot first, and follow weight guidelines to prevent damage.
Quick Step-by-Step: Hang a Poster Without Damaging Paint
Start by picking a damage-free mounting method like removable strips or poster putty so you won’t harm the paint.
Clean the wall with a damp cloth and let it fully dry to guarantee good adhesion.
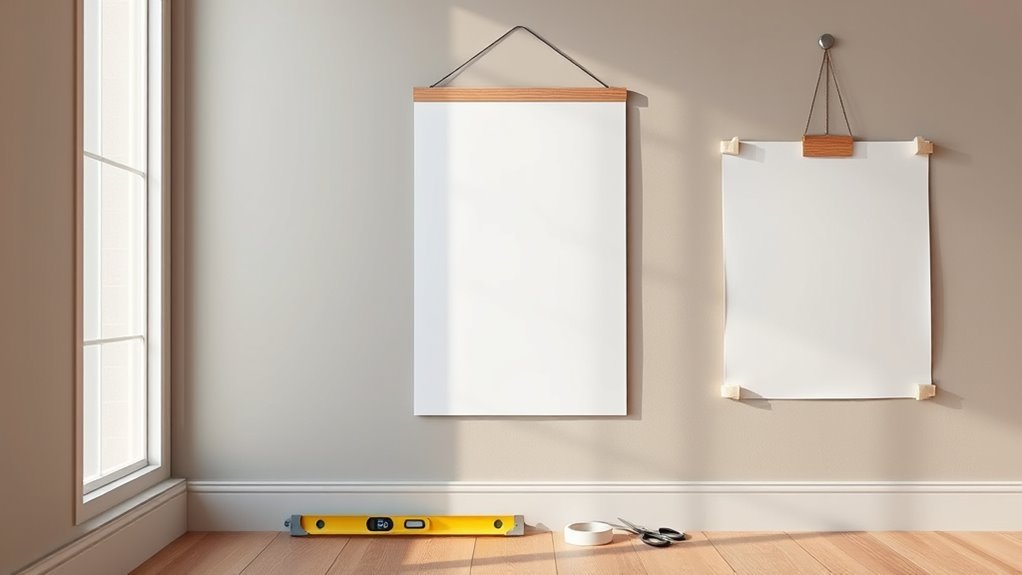
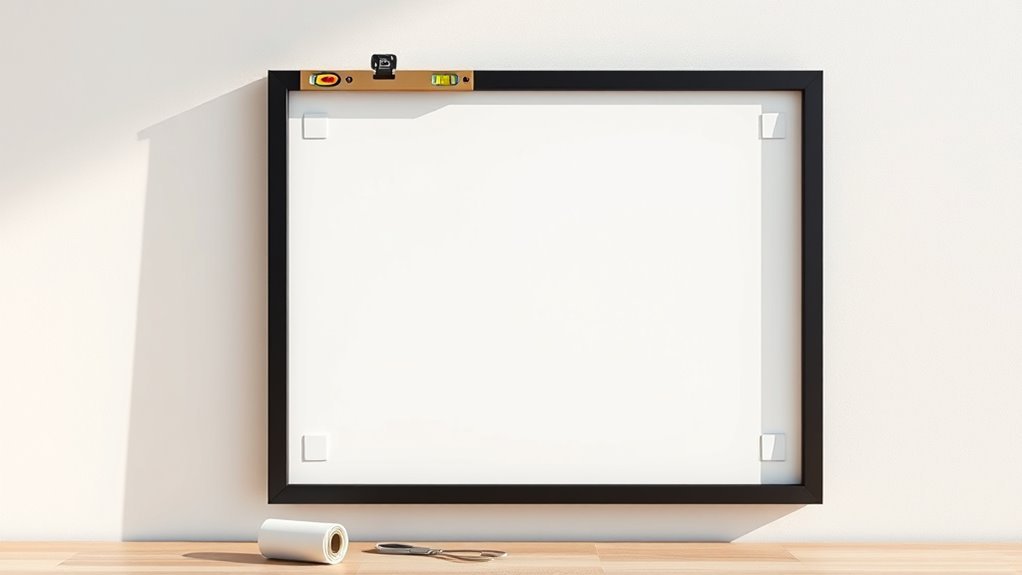
Measure and mark placement before you stick anything to get it straight the first time.
Choose Damage-Free Mounting
When you want to hang a poster without harming your paint, pick a mounting method that’s proven to be gentle—like removable adhesive strips, poster putty, or low-tack hooks—so you can secure your art without gouging or peeling the finish.
Choose based on poster weight and wall texture: lightweight prints suit putty or strips, heavier pieces need multiple strips or picture-hanging hooks rated for the load.
Consider wall art frames—use frame-friendly mounts or decorative hooks that won’t concentrate stress.
Test one small area first, follow product instructions, and remove slowly.
That way you’ll protect paint while showcasing your poster.
Prep Wall Surface
Before you mount anything, clean and inspect the wall so adhesives can grip and you can spot trouble spots like peeling paint or textured areas that need a different approach. You’ll remove dust with a lint-free cloth and mild cleaner, let the surface dry, and test a small strip of removable adhesive.
Confirm the wall’s finish is compatible with your chosen mounting and plan around Wall art placement to avoid seams or trim. Consider Color matching for tape edges or frames.
Quick checklist:
- Wipe and dry the area
- Test adhesive on an inconspicuous spot
- Note texture, chips, or uneven paint
Choose a Method by Poster Weight and Wall Type
For lightweight posters you’ll usually be fine with painter’s tape or removable mounting tabs that won’t strip paint when you take them down.
For heavier posters or frames, use wall anchors, heavy-duty adhesive strips rated for the weight, or picture-hanging hooks to keep things secure.
Check your wall type—drywall, plaster, or brick—to pick the right anchor or adhesive so you don’t damage the surface.
Lightweight Posters: Tape & Tabs
If your poster is light—think single-sheet prints or thin cardstock—you’ve got several low-risk hanging options with tape and removable tabs that won’t wreck paint. You can create a tidy, temporary display or a Creative framing look without nails, perfect for a DIY gallery vibe.
Clean the wall, test adhesive on a hidden spot, then choose based on surface and duration.
- Use painter’s tape or low-tack mounting squares for short-term displays.
- Apply removable Command-style tabs for stronger hold on painted drywall.
- For textured walls, use small adhesive poster strips designed to flex.
Remove slowly, keeping paint intact.
Heavy Posters: Anchors & Strips
When you’ve got a heavy poster—or a poster mounted on foam board or framed glass—you’ll want anchors or heavy-duty adhesive strips rated for the weight and wall type to keep it secure without damaging paint.
Choose wall anchors for drywall or plaster when studs aren’t available; drill pilot holes, insert anchors, and hang hardware to distribute weight.
For painted surfaces you can’t drill, use heavy-duty poster strips rated above the poster’s weight, pressing firmly and following cure-time instructions. Test one corner first.
Remove anchors or strips slowly and follow manufacturer removal steps to minimize paint damage and residue.
Best Fixes for Lightweight Posters (Putty, Tape, Tabs)
Although you might think nails are simplest, lightweight posters are easiest to hang with removable putty, low-tack tape, or adhesive tabs because they hold securely without stripping paint. You’ll protect artwork preservation and keep wall decoration flexible for rearranging.
Although nails seem simple, lightweight posters stick best with removable putty, low‑tack tape, or adhesive tabs—secure and paint‑safe.
Choose options rated for your poster weight, test a small spot, and clean the wall first.
Consider these pros and cons:
- Removable putty: great for corners, reusable, may lose tack over time.
- Low-tack tape: minimal residue, best for smooth surfaces, needs careful removal.
- Adhesive tabs: strong hold, often peel cleanly, check weight limits.
Rotate placements occasionally to avoid long-term mark buildup.
Use Removable Mounting Putty Safely
Since removable mounting putty gives you a simple, low-risk way to hang lightweight posters, you’ll want to use it carefully to protect paint and paper.
Press small, pea-sized bits onto poster corners, then knead before applying so adhesive spreads evenly. Test a hidden wall spot first to confirm paint compatibility and allow a minute for tack to settle.
Avoid oily or textured paints and don’t overload with large blobs; removable mounting is for light items only.
When removing, pull slowly at an angle and warm with your hand if needed to reduce stress.
Clean residue gently with a damp cloth.
Use Removable Double-Sided Strips (Command-Style) Safely
Pick strip sizes rated for your poster’s weight so they hold without overstressing the paint.
Clean and dry the wall before you apply the strips to guarantee a strong bond.
When it’s time to remove them, pull the tab slowly along the wall to release the adhesive without peeling the paint.
Choose Appropriate Strip Size
How many strips you need—and what size—depends on your poster’s weight and surface area, so check the manufacturer’s weight ratings and match them to your poster before sticking anything to the wall.
Consider poster material and wall color when choosing strip strength and finish so adhesives won’t show or react.
Use enough strips for corners and midpoints; heavier prints need larger strips. Follow this quick guide:
- Small prints (light paper): 4 small strips, one per corner.
- Medium posters (laminated/satin): 6 medium strips, add center support.
- Heavy prints (canvas/framed): multiple large strips, evenly spaced.
Don’t overload a single strip.
Prep Wall Surface
Before you apply removable double-sided strips, clean and dry the wall so the adhesive can grab properly.
Check Wall textures—smooth, satin, eggshell, or glossy finish affect bonding. You’ll want to avoid textured plaster or heavily patterned surfaces; strips stick best to smooth, nonporous areas.
Consider Paint types: fresh paint needs 30 days to cure, and high-gloss surfaces may reduce adhesion.
Use isopropyl alcohol on a lint-free cloth to remove grease, dust, and residue, then let it fully dry.
Press strips firmly per package instructions, aligning weight distribution. Test with light pressure before hanging your poster.
Remove Strips Cleanly
When you’re ready to take the poster down, peel the strip straight off the wall by gently stretching the tab down and along the wall—don’t pull outward or yank—to release the adhesive without damaging the paint. You’ll preserve finishes across different wall textures and avoid lifting glossy or matte coatings.
If a residue remains, rub gently with a damp cloth or use mild adhesive remover safe for paint. For stubborn spots, warm the strip with a hairdryer briefly. Keep in mind possible paint touch ups after removal if the surface was already fragile.
- Test on an inconspicuous area first
- Remove slowly, evenly
- Clean residue promptly
Hang With Painter’s or Low‑Tack Tape Without Peeling Paint
If you want a simple, low-risk way to hang a poster, painter’s or low‑tack tape is your best bet because it sticks firmly enough to hold paper yet pulls away cleanly without lifting paint.
You’ll prep the area by wiping dust and testing a small strip, especially on alternative wall textures like textured plaster or faux finishes. Use short tape pieces folded into tabs or run along edges, press firmly, and wait a few minutes before letting the poster hang.
Choose labeled low‑tack or eco-friendly adhesives to minimize residue; remove slowly at a low angle to protect the finish.
Micro-Mounts: Poster Corners, Tabs, and Tiny Fixes
Though small, micro‑mounts—corner pockets, adhesive tabs, and tiny mounting squares—give you secure, paint‑safe support for posters without bulky frames. You’ll protect finish and practice artwork preservation while keeping options open for changing wall decoration styles.
Pick acid‑free corners for valuable prints, or low‑tack tabs for temporary displays. Apply mounts to poster corners, press gently, and align on the wall; they hold without nails or heavy adhesives.
Consider these simple tips:
- Use archival corners to avoid glue contact with art.
- Test a tab on an inconspicuous spot before full use.
- Replace mounts periodically to prevent residue.
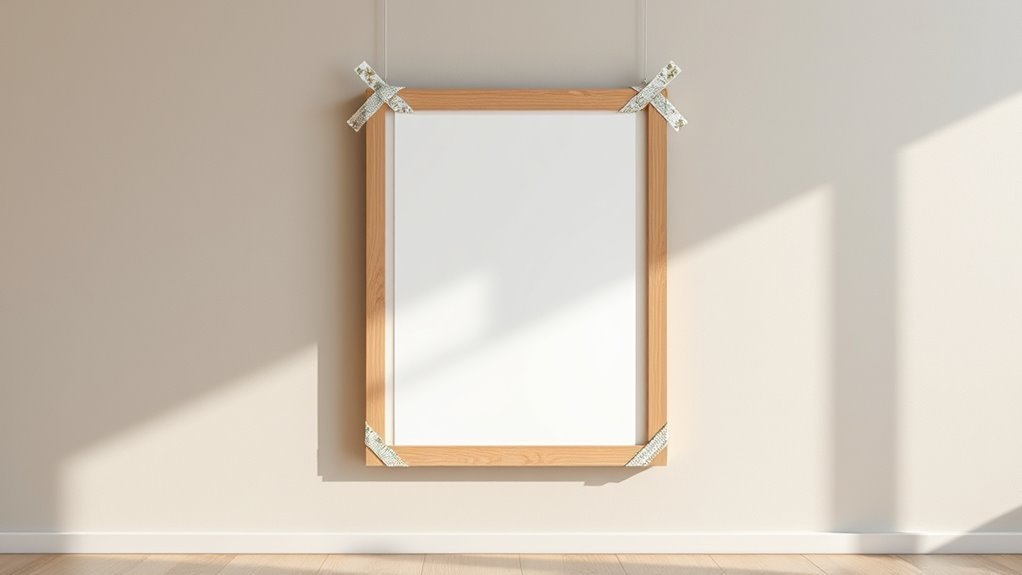
Use Washi and Decorative Tape as Fastener + Frame
Pick a washi or decorative tape that’s low-tack and wide enough to support the poster without hiding important art.
You’ll clean and flatten the poster edges before applying tape to prevent lifts or bubbles.
Then use strips to create a neat tape frame that both secures and accents the poster.
Choosing the Right Tape
When you want a damage-free, stylish way to hang a poster, washi and decorative tapes are a great choice because they’re gentle on paint and come in lots of colors and patterns. You should pick tape based on adhesive strength, width, and finish to support your poster without harming walls.
For creative framing and balanced wall art arrangements, test a small strip first.
Consider these points:
- Adhesive level: low-tack for painted walls, stronger for textured surfaces.
- Width: wider tape gives more support, thinner works for accents.
- Finish: matte blends, glossy highlights edges.
Preparing the Poster Edges
Before you stick any tape down, clean and flatten the poster edges so the tape will adhere smoothly and look neat. Check for dust, fingerprints, or curling; use a soft cloth and gentle pressure.
If the poster design has delicate ink, handle edges minimally to avoid smudging. Trim any frayed paper with a sharp blade on a straightedge so corners sit flush.
Test a small scrap of washi or decorative tape on the poster back to confirm it won’t lift ink.
Consider how tape color complements your wall color and design, keeping attachment subtle and reversible.
Creating a Tape Frame
Although you’ve prepped the edges, laying a washi tape frame gives you both a secure, paint-safe mounting and a decorative border that’s easy to remove; you’ll enjoy creative framing without harming wall finish. Choose low-tack washi or decorative tape, match scale to poster, and test a scrap on hidden wall area to check adhesion on your wall texture.
Align corners precisely, wrap edges behind poster for extra hold, and press gently to avoid lifting paint. Use tape patterns to complement artwork.
Quick checklist:
- Test adhesion on wall texture first
- Scale tape width to poster size
- Seal corners and edges neatly
Frames, Rails, and Clips That Protect Your Paint
If you want to hang posters without risking chipped paint, frames, rails, and clip systems give you sturdy, paint-friendly alternatives that still look clean and professional.
Start with proper wall preparation: clean dust, check for uneven spots, and use removable adhesive pads on frame backs to avoid direct nail contact.
Lightweight aluminum or plastic rails clamp posters gently, boosting poster durability and allowing swaps without repeated holes.
Magnetic or spring clips grip edges and sit on tiny, removable hooks that minimize paint stress.
You’ll get a secure, neat display while preserving paint, and you can change art easily.
Rods, Clips, and String Systems for Rentals
When you’re renting and can’t make permanent changes, lightweight rods, clip systems, and tensioned string setups give you flexible, low-impact ways to display posters without harming paint.
You can create a gallery vibe with minimal tools, swapping wall art often and keeping rental decor fresh.
Choose lightweight wooden or metal rods, spring clips, or adhesive-backed eyelets to attach thin strings.
Consider tension rods for doorways or between moldings to avoid nail holes.
- Use spring clips or bulldog clips for easy poster changes
- Try clear cord or twine for a minimalist look
- Mount rods above trim for even weight distribution
Hanging on Textured, Stucco, or Freshly Painted Walls
Because textured, stucco, and freshly painted surfaces react differently to hooks and adhesives, you’ll need to choose methods that protect the finish while holding your poster securely. Test adhesives on an inconspicuous spot to check paint compatibility and how wall texture affects adhesion.
For fresh paint, wait the manufacturer’s cure time; use lightweight, temporary hanging strips rated for delicate surfaces.
On stucco or heavily textured walls, consider tension-based hangers, wire between two ceiling hooks, or lightweight frames that rest on narrow ledges.
Always press gently, avoid strong solvents, and remove supports slowly to minimize surface disruption.
Remove Adhesives, Putty, and Tape Cleanly
Now that you’ve chosen a hanging method that protects the finish, you’ll likely need to deal with old adhesive, putty, or tape residue left behind. Start gently: scrape soft putty with a plastic card, rub sticky bits with a damp cloth and mild soap, and avoid harsh scrapers that lift paint.
For stubborn spots, try a small amount of rubbing alcohol or a citrus-based remover, testing an inconspicuous area first. After cleaning, assess the surface for minor damage and proceed with careful wall patching if needed.
Tips:
- Work slowly and test solvents
- Use nonabrasive tools
- Clean residue before rehanging
Avoid Paint Chips: Common Mistakes and Fixes
If you want to keep your wall finish intact, avoid common mistakes that pull or chip paint when hanging posters: don’t yank tape off dry paint, don’t drive nails into flaking areas, and don’t use sharp metal scrapers on delicate surfaces.
Check paint adhesion first by gently pressing a corner; if it flakes, repair before mounting.
Test paint adhesion by gently pressing a corner — if it flakes, repair the surface before mounting your poster.
Remove tape slowly at a low angle after softening adhesive with heat.
Clean residues with a mild solvent tested in an inconspicuous spot.
Patch small chips with matching touch-up paint.
These steps promote Paint preservation and effective Wall protection so your poster won’t cost you a repaint.
Tools Checklist: What to Buy for Damage‑Free Hanging
Before you start, gather a short list of reliable, paint‑friendly tools so you won’t need improvisation that risks damage. You’ll want items that protect finish and help position posters for artistic framing and wall color coordination.
- Removable adhesive strips rated by weight (test a small patch first)
- Microfiber cloth, level, and painter’s tape for alignment without scuffs
- Lightweight picture hangers or adhesive hooks designed for painted surfaces
Buy quality, label‑checked products and follow instructions. You’ll save paint and time by choosing tools that match your poster weight and wall texture, avoiding unnecessary holes or peeling.
When to Use Small Hardware (And How to Minimize Damage)
Although removable strips work for most prints, you’ll want small hardware when your poster is heavy, textured, or placed where drafts or pets could dislodge it. Choose picture-hooks, small screws with anchors, or adhesive hooks rated for the weight; they’re reliable alternative hanging techniques when strips won’t suffice.
Pre-drill tiny pilot holes, use low-profile hardware, and measure carefully to avoid shifting. If you rent, use threaded anchors that leave minimal holes and fill them later.
Always carry out wall damage prevention by testing weight on a scrap board and keeping hardware size proportional to load to minimize repair work.
Frequently Asked Questions
Can I Hang Posters on Wallpaper Without Causing Bubbles?
Yes — you can hang posters on wallpaper without causing bubbles. Use removable hooks or poster frames to avoid adhesive contact, smooth gently from center outward, and avoid heavy tape; that’ll protect wallpaper and keep things flat.
Will Humidity Affect Removable Adhesives Over Time?
Yes — humidity effects can weaken removable adhesives over time; you’ll notice reduced adhesive longevity as moisture softens glue, encourages tack loss, and can cause slipping or residue, so store and apply in stable, dry conditions.
Can I Hang Posters Vertically on Corner Moldings?
Yes — you can hang posters vertically on corner molding; you’ll need flexible mounting (removable strips or poster putty) that conforms to angled surfaces, and you’ll press firmly, align carefully, and avoid overloading the molding’s edge.
Are There Poster-Safe Adhesives for Outdoor Use?
By Jove, yes—you’ll find removable adhesives and outdoor poster anchors rated for weather, UV, and temperature changes; choose marine-grade, peel-safe options, test a small area, and replace anchors seasonally to avoid residue or paint damage.
How Do I Avoid Fading From Sunlight Behind the Poster?
Use UV-filtering glass or acrylic, add a UV-protective spray, and position the poster away from direct rays; these Sunlight protection steps provide effective Fade prevention, so your colors stay vibrant longer without constant replacement.
Conclusion
You’re standing in your freshly painted room, poster in hand, and the tape you meant to use happens to be the same brand the painter warned you about — so you pick removable putty instead and the wall stays perfect. By matching method to poster weight and wall type, you’ll avoid chips and sticky residue. Take your time removing adhesives, use small hardware only when necessary, and enjoy the intact paint you didn’t mean to protect but did.