How Long Does Primer Spray Paint Take to Dry
You can usually touch-dry primer spray in 15–30 minutes and handle it lightly after about an hour, but plan 2–4 hours before sanding or topcoating for most spray primers; oil-based types need longer (4–6 hours to sand, 24–48 hours to fully cure). Dry times vary with temperature, humidity, coat thickness, and surface (wood absorbs and slows cure; metal dries faster). Follow the can and use thin coats, and keep going for tips on testing readiness and speeding cure.
Answer: How Long Primer Spray Paint Takes to Dry
Although exact times vary by product and conditions, primer spray paint usually feels dry to the touch within 15–30 minutes and is ready for light handling in about 1 hour.
You’ll often wait 2–4 hours before sanding or applying a topcoat, and full cure may take 24 hours.
Temperature, humidity, coat thickness, and ventilation change times, so check the can.
If you need color matching, allow complete cure before testing swatches to avoid misleading sheen.
For primer removal, gentle sanding or chemical strippers work once cured—don’t rush or you’ll gum surfaces and ruin adhesion.
Typical Dry Time for Water‑Based Spray Primers
When you use a water-based spray primer, expect it to feel dry to the touch within 10–30 minutes under normal indoor conditions. With light handling, it may be possible after about 30–60 minutes.
You’ll want to wait at least an hour before sanding or applying a topcoat. However, full cure often takes 24 hours.
Humidity and temperature affect drying and curing times, so it’s best to work in a well-ventilated, moderate space.
For color matching, test a small area after full cure to ensure the primer won’t alter the finish.
If you need primer removal, use mild solvents or sanding once the primer has fully cured to avoid lifting.
Typical Dry Time for Oil‑Based Spray Primers
If you’re using an oil-based spray primer, expect it to take noticeably longer to dry than water-based options—typically feeling dry to the touch in 30 minutes to 2 hours.
Handling and light sanding are usually safe after 4–6 hours, and full cure often requires 24–48 hours.
You’ll want to plan longer between coats and avoid heavy handling. Thicker coats extend tackiness, so apply thin, even layers and allow adequate flash time.
Oil primers offer broad color options and durable adhesion, but they can yellow slightly over time.
Follow manufacturer directions for application techniques, ventilation, and recommended recoat intervals to get the best results.
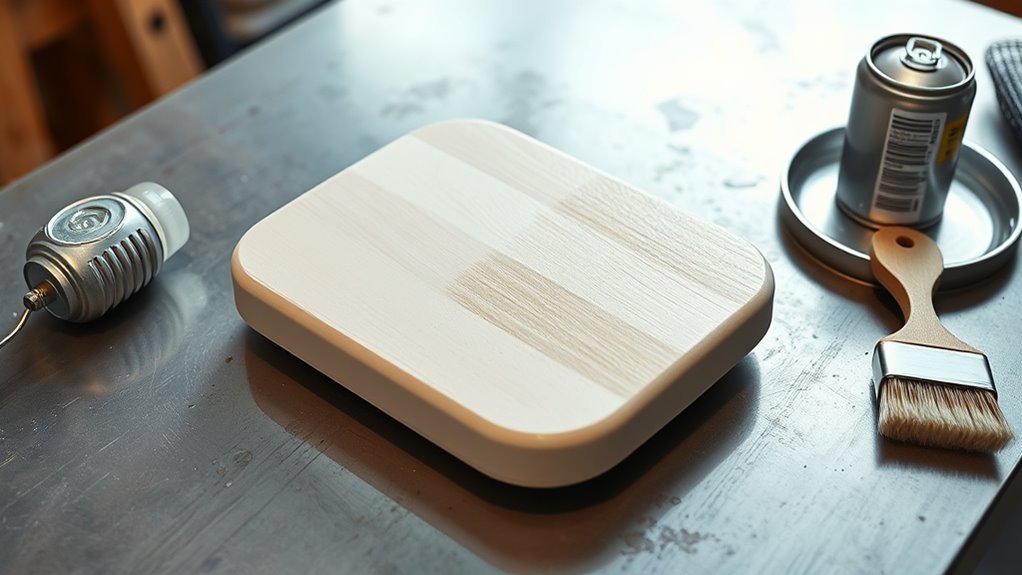
How Surface (Metal, Wood, Plastic) Affects Dry Time
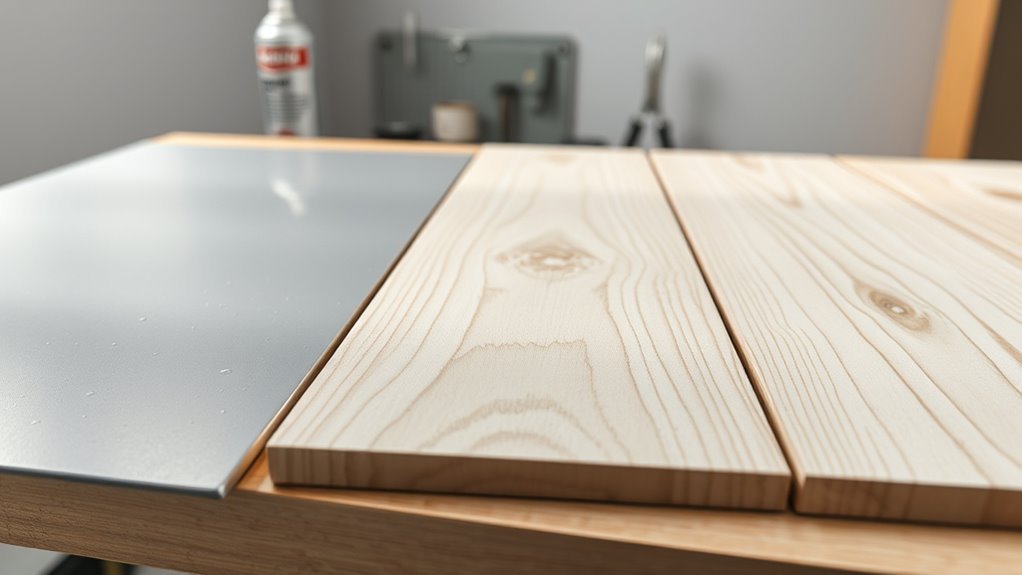
What your primer’s drying time looks like depends a lot on the surface you’re covering. Metal usually lets primers dry fastest because it doesn’t absorb solvents.
Wood soaks them up and can lengthen cure times.
Plastic varies by type and may need special primers or longer tack-free waiting to guarantee proper adhesion.
Metal Surface Drying
Curious how metal changes primer drying? You’ll notice metal’s smoothness and heat conduction speed surface cure. Proper surface preparation removes oils and promotes adhesion, improving color blending under topcoat. Thin, even coats dry faster; thick layers stay tacky.
| Property | Effect |
|---|---|
| Thermal conductivity | Faster solvent evaporation |
| Smoothness | Less mechanical keying needed |
| Oxidation risk | Requires de-rusting |
| Porosity | Low — affects soak-in |
| Prep quality | Directly impacts dry time |
Work in moderate temps, wipe with solvent, and apply light passes. That approach gets primer to touch-dry sooner on metal.
Wood And Plastic
Metal’s smooth, heat-conductive nature speeds primer cure, but wood and plastic behave very differently and will change how quickly paint dries.
You’ll find wood soaks primer, lengthening tack and dry times; dense, sealed hardwood dries faster than raw or soft grain. Sand and seal to control absorption, improving color matching and finish.
Plastic resists adhesion and can repel solvents, so you’ll need a plastic-specific primer or adhesion promoter. Drying may seem quicker on the surface yet remain soft underneath.
Adjust spray technique—light, even coats with proper flash time—to guarantee consistent cure and reliable topcoat results.
How Coat Thickness Affects Tack‑Free and Recoat Time
How thick you spray the primer changes both tack‑free time and when you can safely recoat.
Thin coats dry to the touch much faster, while thick wet film thickness traps solvents and extends curing time.
You’ll usually get shorter wait times by applying multiple thin coats rather than one heavy one.
Thin Vs. Thick Coats
When you spray a thin coat of primer, it dries to the touch and becomes tack‑free much faster than a thick one, because thinner layers let solvents evaporate and binders cure more quickly; you’ll recoat sooner and avoid runs.
Thin coats promote even color matching later and reveal whether primer compatibility with the topcoat is good before you commit.
Thick coats hold solvent longer, stay tacky, and extend recoat time—sometimes causing blistering or poor adhesion.
Work in light, overlapping passes, follow manufacturer dry times, and test a small area.
If you need more build, apply multiple thin coats rather than one heavy layer.
Wet Film Thickness
Thin, even passes are great, but you also need to think about wet film thickness (WFT) because the actual amount of primer you lay down directly controls how long it stays tacky and when you can safely recoat.
You’ll notice thicker WFT increases tack-free and full cure times, so apply controlled passes to avoid sagging. Thinner films dry faster but may need extra coats for color consistency and coverage.
Always factor in environmental factors like temperature, humidity, and airflow—higher humidity and lower temps slow drying. Measure or estimate WFT when possible to plan recoat windows and avoid trapping solvents.
How Temperature and Humidity Speed Up or Slow Drying
Although you might think paint dries on its own schedule, temperature and humidity actively control the chemical and physical processes that harden primer spray paint. You’ll find warm, dry air speeds solvent evaporation and film formation, cutting tack-free time but risking orange peel and reduced leveling.
High humidity slows solvent loss, prolongs cure, and can cause blushing or poor adhesion that undermines color contrast and finish durability. Aim for moderate temperatures (60–80°F/15–27°C) and relative humidity below 70% for predictable drying.
If conditions aren’t ideal, use controlled ventilation or climate-adjusted products rather than rushing recoats or sanding prematurely.
Multiple Coats & Sanding: When to Recoat
You’ll want to wait until the primer feels dry to the touch and no longer tacky before applying another coat, which usually takes the time recommended on the can but can vary with conditions.
If you’re planning to sand between coats, wait until the primer is fully cured enough to sand without clogging the paper—often a few hours to overnight depending on product and humidity.
Light sanding between coats smooths imperfections and helps adhesion, but don’t sand through to the substrate.
Drying Between Coats
When you’re applying multiple primer coats, give each layer enough time to cure so the next one bonds properly and you don’t trap solvents. You should check manufacturer guidelines for primer compatibility and adjust your application techniques for temperature and humidity.
Wait times vary: light tack might be safe to recoat sooner, full cure takes longer. Don’t rush—shortcuts cause bubbling or poor adhesion.
- Follow the primer’s recoat window on the label.
- Apply thin, even coats to speed drying and avoid runs.
- Allow longer drying in cool or humid conditions.
- Test a small area before full recoating to confirm readiness.
When To Sand
If the surface feels smooth and the primer has reached its recommended recoat window, it’s time to sand between coats to promote adhesion and remove imperfections.
You’ll use fine grit (320–400) to scuff—not strip—the primer, ensuring subsequent coats bite and you avoid visible scratch patterns. Light sanding corrects drips, orange peel, and helps with color matching by creating a uniform base for final coats.
Wipe dust with a tack cloth, then apply another thin coat using consistent spray techniques and proper overlap. Wait the stated recoat time; rush can trap solvents and ruin the finish.
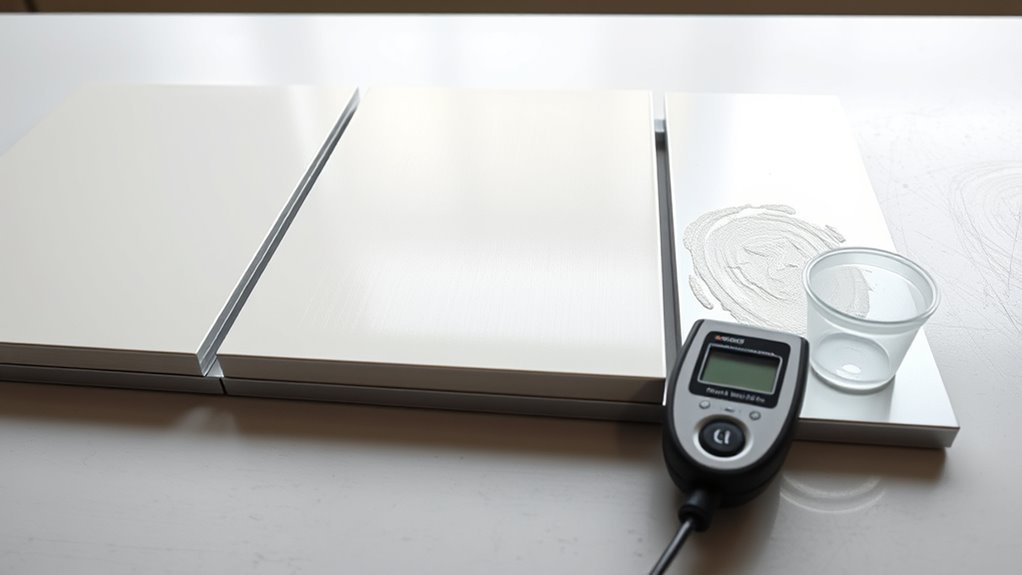
How to Tell When Primer Spray Paint Is Tack‑Free, Dry to the Touch, and Fully Cured
Although primer can feel dry quickly, knowing whether it’s merely tack-free, dry to the touch, or fully cured makes a big difference for the next steps. You’ll check visual cues like color matching and texture consistency, lightly press an inconspicuous spot, and note scent fade.
Tack-free means no sticky residue; dry to the touch resists fingerprints but still soft; fully cured accepts sanding, topcoats, and handling.
- Look for even color matching across panels.
- Feel for uniform texture consistency without gumminess.
- Do a gentle fingernail test in a corner.
- Wait for solvent odor to dissipate completely.
Speed Up Primer Drying Safely: Ventilation, Heat, Thin Coats
Now that you can tell whether primer is tack-free, dry to the touch, or fully cured, you’ll probably want to speed up drying without compromising the finish. Work in a well-ventilated space to move solvents away; open windows and use a fan directed across the piece, not at it, to avoid dust.
Gentle heat from a space heater or heat gun on low speeds can help with evaporation, but keep a safe distance to prevent bubbles or primer removal. Apply thin, even coats and wait the recommended flash times between passes.
Once dry, test small areas for color matching before applying the final topcoat.
Mistakes That Slow Drying or Ruin Adhesion
When you rush prep or skimp on surface cleaning, the primer will take longer to dry and may not stick at all. You’ll also slow drying or ruin adhesion by applying heavy coats, ignoring humidity, using incompatible primer for your Color options, or painting over contaminants.
Pay attention to Environmental considerations like temperature and airflow.
- Spraying thick layers that trap solvents
- Painting in high humidity or low heat
- Mixing primers and paints with different chemistries
- Leaving oil, wax, or rust on the surface
Fix these, and your primer will dry properly and bond for a smooth topcoat.
Recommended Wait Times to Paint Over Primer by Project Type
Fixing those prep and environmental issues will also help you stick to reliable wait times before topcoating.
For small indoor items like trim or décor, wait 30–60 minutes for tack-free primer, but allow 2–4 hours before sanding and painting so color options remain true and primer compatibility stays intact.
For furniture and cabinets, plan 2–4 hours minimum, or overnight for best adhesion.
For exterior metal or wood, wait 24 hours in moderate conditions; extend to 48 hours in cold or humid weather.
Always follow manufacturer’s primer compatibility notes and adjust times for ventilation and temperature to guarantee durable results.
Quick Checklist to Test Primer Readiness Before Painting
Although primer can look dry to the touch, you should confirm it’s truly ready before topcoating. You’ll want a quick checklist to avoid bubbling, poor adhesion, or color matching issues later.
Lightly press, sniff for solvents, and inspect under good light. If any primer flakes during a gentle rub, consider primer removal and reapplication.
Use a tack cloth to pick up dust, and test a small hidden area with your topcoat.
- Gently press fingernail for tackiness
- Smell for lingering solvent odor
- Check surface under bright light for streaks
- Do a small topcoat test patch
When to Wait Longer: Signs You Should Delay Painting
If the primer still feels tacky, smells strongly of solvent, shows visible film irregularities, or peels under a light rub, you should delay topcoating until those issues are resolved.
Also wait if you notice uneven color contrast after primer dries — that can signal insufficient coverage or contamination.
Also wait if the primer shows uneven color after drying — it may indicate poor coverage or contamination.
Don’t rush when humidity’s high or temperatures are low; slow cure times trap solvents and alter adhesion.
Check for powdery residue, bubbling, or glossy spots that differ in paint sheen from surrounding areas.
If any of these signs appear, let the primer fully cure, recoat, or strip and redo prep before applying finish paint.
Frequently Asked Questions
Can I Spray Primer Over Rusted or Corroded Metal Without Treating It First?
No, you shouldn’t; you’ll need metal preparation and rust removal first, or primer won’t adhere properly. You should remove loose corrosion, clean and degrease, then apply a suitable primer or rust converter to guarantee lasting protection and adhesion.
Will Primer Spray Paint Yellow or Discolor Over Time?
Yes—you might see color change or yellowing as aging effects occur, especially with oil-based or cheap primers; you’ll avoid most discoloration by picking high-quality, UV-resistant, acrylic or alkyd formulations and applying proper surface prep.
Are Spray Primers Safe to Use Indoors Around Pets and Children?
You shouldn’t use spray primers indoors around pets or children unless you have excellent indoor ventilation and keep them away; fumes and particulates can harm them, so ventilate, isolate spaces, and consider low-VOC or water-based alternatives.
How Long Does Unopened Primer Spray Paint Remain Usable?
You can usually use unopened primer spray paint for 2–5 years if you store it properly; shelf life depends on storage conditions like temperature, humidity, and avoiding freezing or direct sunlight to keep the can’s contents stable.
Can I Mix Different Brands or Types of Spray Primers Together?
Yes — but tread carefully: mixing brands can be like blending different wines, sometimes harmonious, sometimes harsh. You’ll test primer compatibility first, avoid mixing solvent types, and do small trials before full brand mixing.
Conclusion
You’ll usually know primer’s ready when it’s tack‑free and cool to the touch, but drying times vary wildly — like a traffic light changing from red to green, patience matters. Water‑based primers often feel dry in 15–30 minutes and can be recoated in 1–2 hours; oil‑based types may need 6–24 hours. Thicker coats, cooler temps, or poor ventilation slow things. When in doubt, wait longer and test a hidden spot before painting.