How Long Does Spray Paint Primer Take to Dry
You’ll usually find spray primer dry to the touch in about 10–30 minutes, with most recoats safe after 30 minutes to a few hours depending on type—lacquer flashes fastest, acrylics ~1 hour, enamels 1–4 hours, and self‑etch may need longer. Full cure can take days to weeks based on temperature, humidity, and coat thickness, so work in thin coats with good airflow. Keep going and you’ll get tips on sanding, speeding cure, and fixing common problems.
Primer Dry Time Cheat Sheet (By Type and Conditions)
If you’re prepping a project, this cheat sheet will help you estimate how long different primers take to dry under common conditions so you can plan paint coats and timing accurately.
You’ll consider temperature, humidity, coat thickness, and surface prep to judge tack, recoat, and full cure times.
Fast-dry primers may be tack-free in 10–30 minutes; general-purpose primers often need 1–2 hours to recoat; high-build or cooler conditions extend times to several hours.
Good primer adhesion and proper color matching depend on full cure before topcoating; test a small area when in doubt to avoid finish failures.
Typical Dry Times: Acrylic, Lacquer, Enamel, Self‑Etch Primers
When you’re planning coats, know that different primer chemistries dry and cure on very different schedules.
Acrylic primers dry fast to touch—usually 15–30 minutes—and let you recoat within an hour in ideal conditions; they’re forgiving for color matching and short jobs.
Acrylic primers dry to the touch in 15–30 minutes, allowing recoats within an hour for quick, forgiving color work.
Lacquer primers flash quickly, often recoatable in 10–20 minutes, but they’re solvent‑aggressive and need ventilation.
Enamel primers take longer to harden, commonly 1–4 hours before recoat, offering durable build for heavy topcoats.
Self‑etch primers bond to bare metal and may need longer flash and light cure, so follow label times.
Always check primer shelf life before use.
Dry-to-Touch vs Recoat Window vs Full Cure
You’ll want to know three separate times: when the primer is dry-to-touch, when it’s safe to recoat, and when it reaches full cure.
Dry-to-touch can be minutes to an hour.
The recoat window is a specific interval to apply another layer without sanding.
Full cure may take days to weeks depending on the formula.
I’ll explain how to read product labels and adjust for temperature and humidity so you hit each stage correctly.
Dry-To-Touch Time
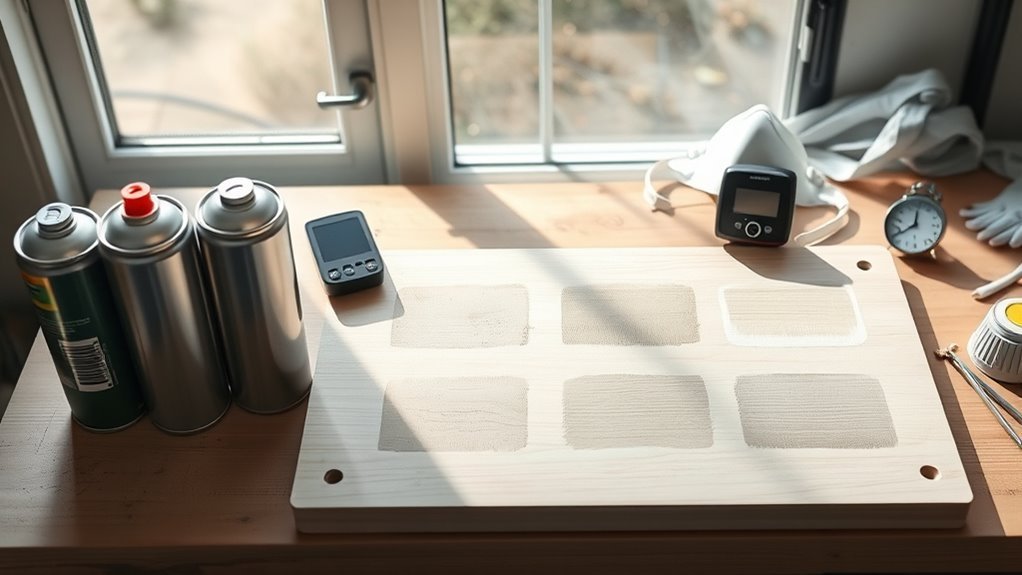
Because spray primer passes through several distinct stages as it dries, it’s important you know what each term means—dry-to-touch, recoat window, and full cure—so you don’t rush the next step or stall the process. Dry-to-touch is when the surface feels dry and you can lightly handle it without smudging; it affects color matching and primer adhesion, but it’s not ready for heavy handling or sanding. Expect 10–30 minutes in warm, dry conditions; longer in cold or humid air. Trust touch plus visual check before proceeding.
| Feeling | Time |
|---|---|
| Relief | 10–30 min |
| Caution | 30–60 min |
| Patience | hours |
| Pride | finish |
| Frustration | delays |
Recoat Window Timing
If you let the primer sit only until it’s dry-to-touch, you risk trapping solvents or lifting the coating when you apply another layer—so you need to know the recoat window and how it differs from dry-to-touch and full cure.
The recoat window is the safe timeframe when new coats adhere without sanding; miss it and adhesion suffers. Check product specs, temperature, humidity, and your surface preparation to hit that window.
For color mixing, wait until primer accepts tint evenly before applying topcoat. Follow manufacturer recoat guidance to avoid problems.
- Check label times
- Monitor humidity
- Test adhesion first
Full Cure Duration
When you’re planning a project, know that dry-to-touch, the recoat window, and full cure are three distinct stages with different timelines and implications for handling and performance.
Full cure can take days to weeks depending on primer type, humidity, and temperature; it’s when solvents evaporate fully and the film achieves designed hardness. You’ll avoid scuffs, sanding issues, and poor color matching problems by waiting the manufacturer’s full-cure recommendation before final coats or heavy use.
Proper surface preparation speeds consistent curing and adhesion. If you rush, you risk blush, soft spots, or compromised durability—so be patient for best results.
How Temperature & Humidity Change Primer Dry Time
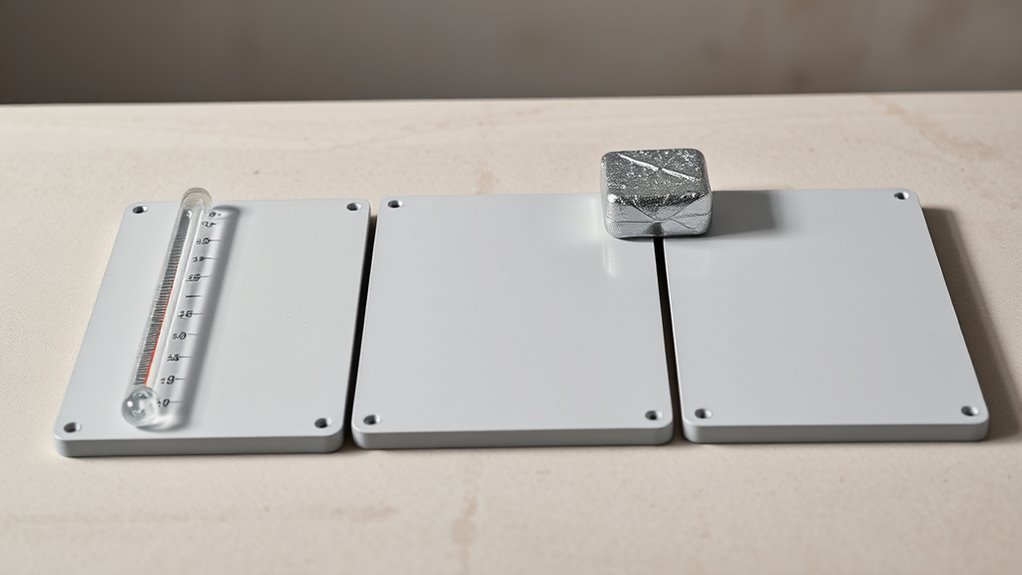
Higher temperatures and lower humidity speed primer drying, while cold, damp conditions slow it down. You’ll see those effects in both tack time and full cure.
Higher temps and low humidity speed primer tack and cure; cold, damp conditions delay drying and adhesion.
You’ll want to plan because faster drying helps you proceed to color matching sooner, while high humidity can trap moisture and affect adhesion despite good surface preparation. Monitor conditions and adjust timing so solvents evaporate properly.
- Warm, dry: tack in minutes, cure faster.
- Cool, humid: tack delayed, risk of poor adhesion.
- Moderate: predictable drying; follow product specs.
How Coat Thickness and Multiple Coats Affect Drying
Thicker primer coats take much longer to dry because solvent has farther to escape, so you’ll want to keep layers thin and even.
If you apply multiple coats, wait the manufacturer’s recommended recoat time and check that each layer is fully tack-free before adding the next.
Stacking wet coats can trap solvent and extend curing time, so pace your coats for better adhesion and a smoother finish.
Coat Thickness Impact
How much primer you apply in each pass makes a big difference: heavier, wetter coats take longer to dry and are more prone to sagging or trapping solvents beneath the surface. You’ll see slower solvent escape, longer tack times, and a higher risk of runs if you overload the surface.
Thin, even layers dry faster and give you better control for color matching and smooth finish after topcoat. Good surface preparation also helps thin coats adhere and cure evenly.
- Apply light, uniform passes
- Let each thin layer flash before next
- Avoid thick pooling or drips
Multiple Coats Timing
Now that you’re keeping coats light and even, plan the timing between passes so each layer can off-gas and tack over before you add the next. You’ll wait based on primer type, temperature, and humidity—usually 10–30 minutes for tack, longer for thicker coats.
Let each coat reach a dull, slightly tacky feel before recoating to avoid trapping solvents. If you’re doing color matching, build thin layers and test a small area to guarantee even coverage without altering hue.
Good surface preparation speeds curing and reduces needed coats. Finish with a full cure period before sanding or topcoating.
How Formulas & Brands Affect Dry Times
Because manufacturers tweak resins, solvents, and additives, different primer formulas dry at noticeably different rates, and you’ll see variation between brands even when labels claim similar performance.
You should pick a primer that matches your project: solvent-based dries faster but can fog color matching and needs good ventilation, while water-based offers easier cleanup and better primer compatibility with many topcoats.
Check manufacturer data sheets for tack-free and recoat times, and test on scrap.
Consider surface, thickness, temperature, and humidity—they interact with formula.
- Solvent vs water-based
- Specialty adhesion primers
- Fast-drying formulations
Quick Recoat Tests: How to Tell If Primer Is Ready
When you’re ready to recoat, a few simple hands-on tests will tell you whether the primer’s tack-free and ready for the next layer; these checks are faster and more reliable than relying on the can’s time estimates alone.
Gently press a clean fingertip to an inconspicuous spot — it should feel dry, not tacky. Lightly breathe on the surface; fogging means solvent remains.
Do a small adhesion tape test: stick and pull a low-tack tape to check primer adhesion without damaging the coat.
Compare color matching through a thin test patch to ensure the topcoat will cover evenly before proceeding.
When to Sand Primer Safely (Timing and Technique)
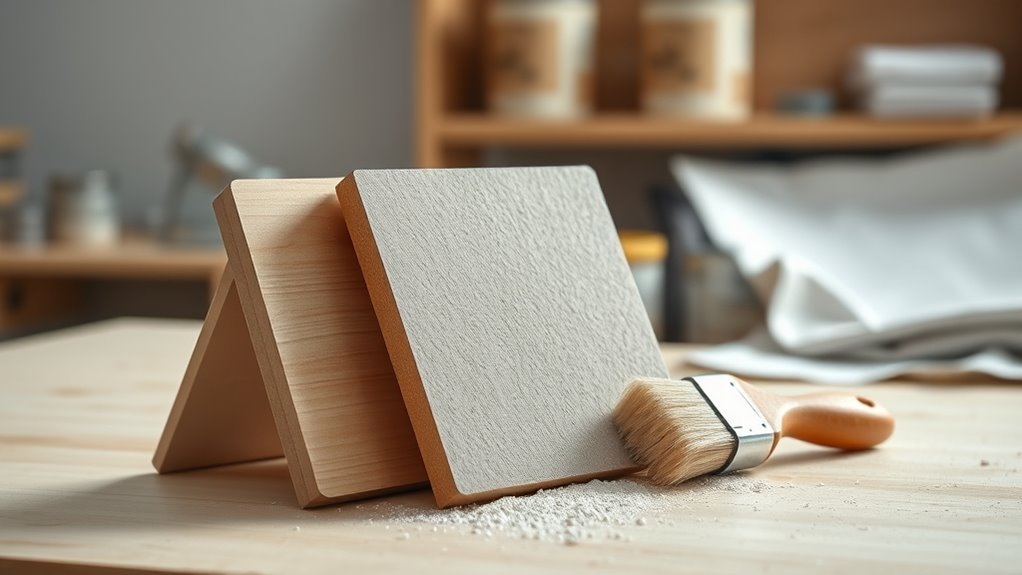
You’ll want to sand primer during its recommended drying window—usually after it’s dry to the touch but before full cure—to avoid gumminess or clogging sandpaper.
Use light, even pressure with fine-grit paper (220–320) and a sanding block to keep the surface flat.
Wipe the dust and recheck tackiness before applying paint or another coat.
Drying Time Windows
If you want smooth, durable results, sand primer only within its recommended drying window—too soon and you’ll gum the surface, too late and the primer can cure so hard that sanding creates dust and glazing instead of a clean profile. Check the label for tack-free and recoat times; primer color can affect perceived dryness, and your drying environment (temperature, humidity, airflow) changes those windows.
Aim for the manufacturer’s lower-to-midrange time when conditions are ideal; extend times in cool or humid settings. Plan a quick test spot before full sanding.
- Ideal: warm, dry, ventilated
- Delay: cold or humid
- Test: finger tack check
Sanding Technique Tips
Before you sand primer, wait until it’s reached the tack-free stage and the manufacturer’s minimum dry time so you won’t clog abrasives or pull up the coating. Check firmness by lightly touching an inconspicuous spot; if it smears, wait longer.
Use 220–400 grit sandpaper for smoothing, switching to finer grits for final feathering. Sand with light, even pressure and keep the pad flat to avoid gouges. Clean dust between passes to guarantee proper adhesion for topcoat.
Consider primer color choices when selecting grit and primer type—darker primers may hide flaws differently. These spray paint techniques yield a smooth, durable finish.
How to Speed Primer Drying: Heat, Airflow, and Thinners
When you’re racing against time, applying controlled heat, boosting airflow, and choosing the right thinner can shave hours off primer dry times without sacrificing finish quality. You’ll use a small space heater or infrared lamp at safe distances to speed solvent evaporation, monitor temperature to avoid overheat, and run fans for cross-ventilation.
Adjust spray gun calibration and stick to recommended paint mixing ratios so thinner choice won’t upset film build. Test on scrap, then spray in thin coats.
Use the right solvent for your primer—slow for enamel, faster for acrylic—to preserve adhesion and sanding properties.
- Use safe, even heat
- Ensure good airflow
- Match thinner to primer type
Common Recoat Problems (Blushing, Lifting, Fish‑Eyes) and Fixes
Although recoat problems can seem random, you can diagnose blushing, lifting, and fish-eyes by looking at causes and matching fixes to each symptom.
If you see milky haze (blushing), moisture or low temp caused it; warm the area, improve ventilation, and wait longer before recoating.
Lifting—where primer peels—means poor adhesion from contaminants or incompatible primer color options; strip lifted areas, clean thoroughly, and choose compatible primer and topcoat.
Fish-eyes are small craters from silicone or oil; clean parts, change tips, and practice good spray gun maintenance to remove contaminants.
Test on scrap before full recoats.
Frequently Asked Questions
Can I Apply Primer Over Rust-Treated Metal Without Waiting?
You shouldn’t — you’ll need to wait until the rust treatment fully dries and neutralizes before priming. That guarantees proper surface adhesion, supports rust prevention, and helps the primer bond and protect the metal effectively.
Does Primer Shelf-Life Affect Drying Time After Opening?
Like a wilting flower, yes — shelf life impact matters: if primer freshness is gone, you’ll see slower drying, tackiness, and poor adhesion; you’ll want fresher primer or a test spray before committing to a full application.
Will Primer Dry Differently on Plastics or PVC Surfaces?
Yes — you’ll see varied drying on plastics or PVC; surface compatibility matters, so choose primers made for plastics. You’ll speed or slow curing depending on drying environment, temperature, humidity, and ventilation, so adjust accordingly.
Can I Use a Hairdryer to Fully Cure Primer?
You can speed surface drying with a hairdryer, but you won’t fully cure primer that way; proper spray techniques and environmental factors like temperature and humidity still govern chemical crosslinking, so follow manufacturer cure times and ventilation.
Is Odor Intensity an Indicator of Primer Cure Completion?
Is odor intensity a reliable cure indicator? You shouldn’t rely on odor strength alone; it fades before full cure, and tactile checks, manufacturer times, and solvent tests give better confirmation, so use odor as only a rough guide.
Conclusion
You’ve got the basics: different primers dry at different speeds, and temperature, humidity, coat thickness, and multiple layers change timing. Do quick-touch and tack tests before sanding or recoating, and use heat, airflow, or appropriate thinners to speed things up. Watch for blushing, lifting, or fish‑eyes and address them before proceeding. Trust your tests over the clock—think like a craftsman with a smartphone and a pocket watch for timing.