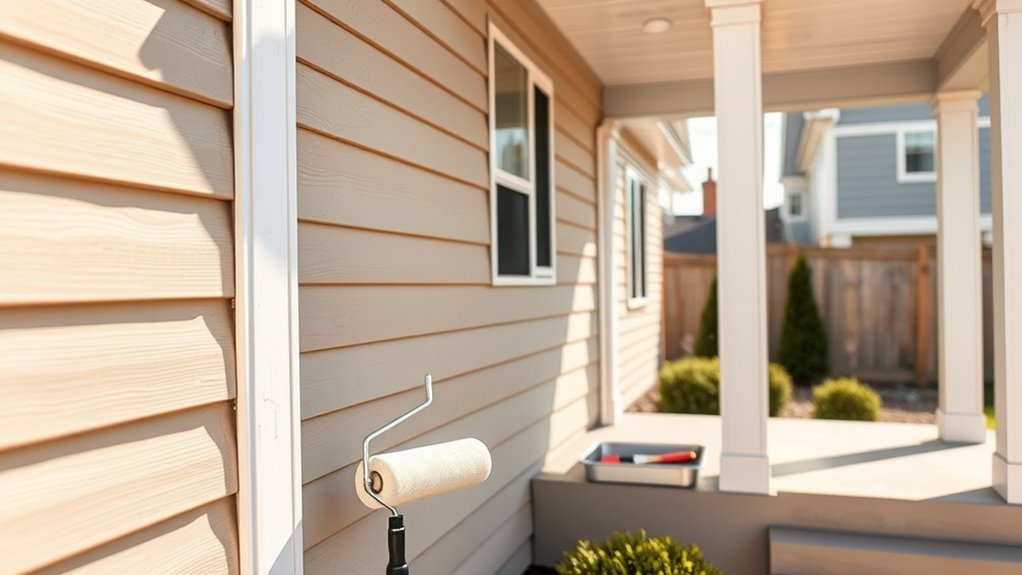
How Many Coats of Paint for House Exterior
You’ll usually need two coats on your house exterior: a primer when surfaces are bare, stained, chalky, or you’re making a big color change, then a finish coat, with a second finish coat often recommended for durability and uniform coverage. Material, paint type, sheen, and exposure can push you to three coats—porous brick, dark-to-light changes, elastomeric systems, and high-UV or salty environments commonly need more. Keep going to see surface-specific tips and primer tricks.
Quick Answer: How Many Exterior Paint Coats Do You Need?
Wondering how many coats of exterior paint you need? You’ll usually apply two coats: a primer (if needed) plus one or two finish coats depending on coverage.
If you’re switching dramatically between colors or need color matching to existing trim, plan for extra coats to hide the old shade.
High-quality paint often covers better, so you might get away with fewer applications.
Also consider paint sheen — flat hides imperfections, satin or semi-gloss reflect more and may need additional coats for uniformity.
Always test a small area first; that’ll confirm how many coats your specific job requires.
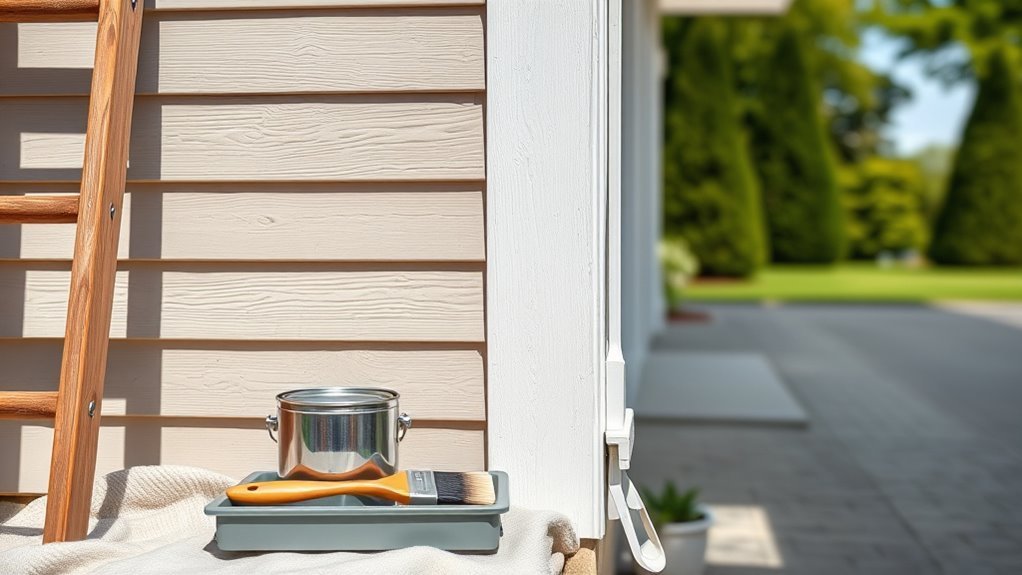
Exterior Coat Counts by Surface: Wood, Stucco, Brick, Vinyl
Because each exterior material absorbs and holds paint differently, you’ll need to adjust the number and type of coats for wood, stucco, brick, and vinyl to get durable, even coverage.
Because exterior materials absorb paint differently, adjust coat type and number for durable, even coverage across surfaces.
For wood, prime bare areas, sand, and apply two coats of topcoat for grain and color blending.
Stucco needs thorough surface preparation, a masonry primer, then typically two coats—texture can hide thin spots, so watch coverage.
Brick usually takes a quality masonry primer and two coats; porous brick might need a third.
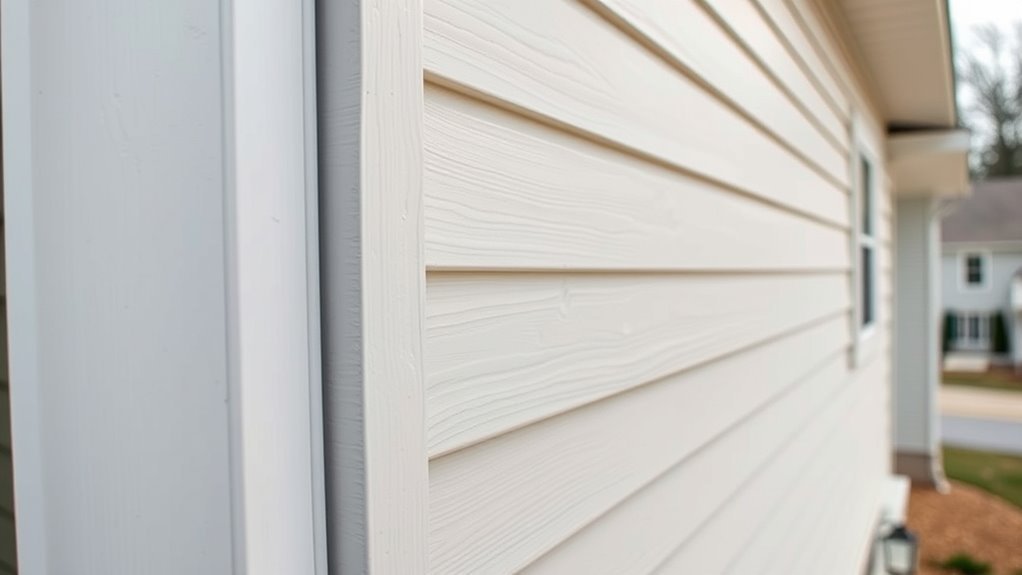
Vinyl benefits from cleaning and one to two coats of paint formulated for slightly flexible surfaces and good adhesion.
Does Paint Type (Latex, Oil, Elastomeric) Change Coat Count?
Which paint you pick does affect how many coats you’ll need: latex usually gives good coverage with two coats.
Oil-based paints offer tougher durability and can sometimes cover in fewer coats.
Elastomeric requires thicker, often heavier applications for flexibility and crack bridging.
You’ll weigh coverage versus longevity and surface movement when choosing.
Consider the surface and climate to decide which trade-offs matter most.
Latex Paint Coverage
Different paint bases—latex, oil, and elastomeric—can change how many coats you’ll need because they vary in opacity, adhesion, and thickness.
With latex, you’ll usually get good coverage fast; modern acrylic-latex hides well and often needs just two coats. If you’re doing color matching from a darker to a lighter shade, expect an extra coat or a primer.
Sheen affects perception—flat hides better than gloss—so choose finish accordingly. Apply thin, even coats and allow proper drying between layers.
For porous or chalky surfaces, prime first; otherwise, latex’s balance of coverage and ease makes it the common choice.
Oil-Based Durability
If latex covers quickly for many exterior jobs, oil-based paints bring a different set of strengths that can affect how many coats you apply. You’ll notice oil’s adhesion and leveling can hide minor flaws, but it needs careful surface preparation and slower paint application to cure properly.
Consider these points:
- Oil often requires fewer coats on bare wood if you prep well and seal knots.
- On previously painted surfaces, one coat plus primer may suffice with proper surface preparation.
- Thicker application improves durability, yet you must allow extended drying between coats for best results.
Elastomeric Flexibility
Because elastomeric coatings stretch and bridge hairline cracks, they often change how many coats you’ll need compared with latex or oil, so you should factor their flexibility into your plan.
You’ll usually apply one generous primer or base elastomeric coat, then a finish coat; thick coverage can replace multiple thin latex layers.
Because elastomeric sits differently on rough substrates, test texture techniques to avoid hiding architectural detail.
For color matching, remember elastomeric pigments can appear deeper when applied thickly, so mock up full-size samples.
Adjust coat count for substrate condition, climate, and manufacturer recommendations to guarantee proper performance.
When to Prime : And How Primer Reduces Topcoats
When surfaces are bare, stained, chalky, or dramatically different in color, you should prime before applying topcoat paint.
You’ll see primer improves adhesion and evens porosity during surface preparation, so your topcoats lay on uniformly and the paint sheen stays consistent.
Primer often reduces the number of topcoats needed by sealing and blocking stains.
- Use stain-blocking primer on tannin or water marks.
- Choose bonding primer for slick or previously painted areas.
- Select tinted primer when modest tinting speeds coverage.
Apply primer per label, sand lightly, and allow full cure before topcoating.
Covering Color Changes: How Dark-to-Light or Light-to-Dark Affects Coats
If you’re switching from a dark color to a light one, you’ll usually need more coats because darker pigments show through.
Going from light to dark often covers in fewer coats and can hide imperfections better.
In either case, using a primer—especially a tinted one—can cut the number of topcoats and improve uniformity.
Dark To Light Challenges
Switching from a dark color to a much lighter one—or vice versa—changes how many coats you’ll need, because pigment coverage and contrast affect hiding power. You’ll face challenges when moving dark-to-light: increased show-through, edges needing crisp work, and longer drying tests.
Focus on Color blending and Surface preparation to reduce coats. Steps to follow:
- Prime high-contrast areas with a tinted or full primer.
- Apply thin, even topcoats; evaluate under different light.
- Use a blocking coat on trims and sanding between coats for adhesion.
Expect at least two to three quality topcoats after proper priming.
Light To Dark Benefits
Going from a light color to a darker one usually means you’ll need fewer coats, because darker pigments hide underlying tones better and mask minor surface flaws. So you can expect good coverage after one quality topcoat over clean, primed siding in many cases.
You’ll still benefit from thorough surface preparation to remove dirt and loose paint so the new color adheres evenly.
Dark shades give better color consistency across varied substrates and can conceal patchy areas, but you should inspect for stains or tannin bleed-through that might telegraph.
Primer Needs Explained
While darker topcoats often hide underlying tones, your primer choice becomes more important when changing from dark to light or vice versa because it controls adhesion and color blocking. You’ll need a primer that both evens out the surface and compensates for the contrast.
You’ll start with Painting preparation and Surface cleaning to guarantee primer bonds and hides properly.
Choose a high-hide or tinted primer for dark-to-light shifts, and a stain-blocking primer for light-to-dark.
Follow these steps:
- Clean and repair surfaces.
- Apply appropriate primer coat(s).
- Inspect and spot-prime before topcoating.
How to Tell If One Coat Is Enough (Coverage Checklist)
A quick coverage checklist helps you decide whether one coat will do the job. Inspect for even color blending over repaired spots and trims; mismatched patches signal another coat. Check paint sheen uniformity—differences in gloss reveal thin areas.
Hold a sample card at various angles in daylight to spot translucence. Tap previously painted siding: rough or porous textures often need extra film build.
Assess contrast where old color was darker; light over dark rarely hides fully. If you applied the same quality paint and primer was adequate, one coat can work—but confirm these visual and tactile cues first.
Time, Cost & Durability: Is an Extra Coat Worth It?
Because that extra coat can mean fewer touch-ups and longer intervals between paint jobs, you should weigh the immediate time and cost against the long-term durability it buys you. You’ll save on future labor if your walls face harsh sun or moisture.
Strong color contrast or rough surface texture often justifies another coat for even coverage and protection. Consider these factors:
- Material: wood or metal may need two coats for sealing and corrosion resistance.
- Exposure: sun, rain, and salt spray increase wear; an extra coat extends life.
- Budget vs lifespan: pay more now to reduce repaint frequency.
Frequently Asked Questions
Can I Paint Exterior Trim a Different Sheen Than the Walls?
Yes — you can paint exterior trim a different sheen than the walls. You’ll create sheen contrast for visual interest while maintaining color harmony by coordinating tones and finishes, ensuring durability, weather resistance, and cohesive curb appeal.
How Do Weather Conditions Affect Drying and Recoat Timing?
Weather slows drying and delays recoat times; you’ll wait longer in humidity or cold and faster in warmth and low humidity. Use proper brush techniques to avoid lifting, ensuring good paint adhesion before recoating the trim and walls.
Are There Environmental or VOC Restrictions for Exterior Paints?
Yes — you’ll face limits: Eco friendly formulations often lower VOCs and meet VOC regulations, so you’ll choose low-VOC or zero-VOC exterior paints, but availability, durability, and local rules might shape your final, compliant selection.
Can I Use Leftover Interior Paint for Small Exterior Touch-Ups?
Yes — you can use leftover interior paint for small exterior touch-ups, but check color matching and expect reduced paint durability outdoors; you’ll need to prep surfaces well and consider a compatible exterior sealer for longer protection.
How Do Warranties Address Paint Coats and Coverage Failures?
They often promise protection, but don’t assume coverage—paint warranties usually require specified coats and prep; if you hit a coverage failure they’ll inspect and may deny claims unless you met terms, so document everything.
Conclusion
So you want to skimp on coats and still impress the neighbors? Sure—if you enjoy uneven streaks, early peeling, and a house that looks like it lost an argument with a paint roller. Do the sensible thing: prime when needed, apply the recommended coats for your surface and color change, and avoid the DIY shrug. One honest extra coat saves time, money, and dignity—plus you’ll sleep better knowing your siding won’t stage a revolt.