How to Paint Over Vinyl Paneling Walls Easily
You can paint vinyl paneling easily if you prep it right: inspect for damage or loose panels, clean grease with a mild detergent or degreaser, scuff glossy surfaces with 120–150 grit, then prime with a high-bond primer made for vinyl. Use angled brushes for grooves and mini rollers for flats, apply thin coats, wait recommended recoat times, and finish with a durable topcoat. Follow these steps and you’ll get lasting results—keep going to learn tips for tricky problems and finishes.
Can You Paint Vinyl Paneling? Quick Answer and Timeline
Although vinyl paneling looks dated, you can paint it successfully if you prep it right and use the proper products. You’ll save time and money versus replacement; expect planning, cleaning, priming, and two coats of paint. Total timeline runs about 2–4 days, allowing drying between steps.
Start by degreasing and lightly scuffing; primer designed for slick surfaces guarantees adhesion. Choose paint and finishes that work with existing wall textures and consider color coordination with trim and fixtures.
With proper tools and paced steps, you’ll transform the room without major demolition, achieving durable, attractive results.
Inspect Paneling: Damage, Loose Panels, and Adhesion Tests
Before you start sanding or priming, take time to inspect the paneling for damage, loose sections, and whether paint will stick. Walk the room, pressing seams and edges; mark any panels that flex or pop out. Look for cracks, gouges, water stains, or warped areas that need repair or replacement before painting.
Test adhesion in a hidden spot: clean, scuff lightly, apply a small patch of primer and paint, then check for peeling after it dries. If adhesion fails, consider sanding more or replacing panels.
Plan decorative stencils or faux finishes only after confident adhesion and sound surfaces.
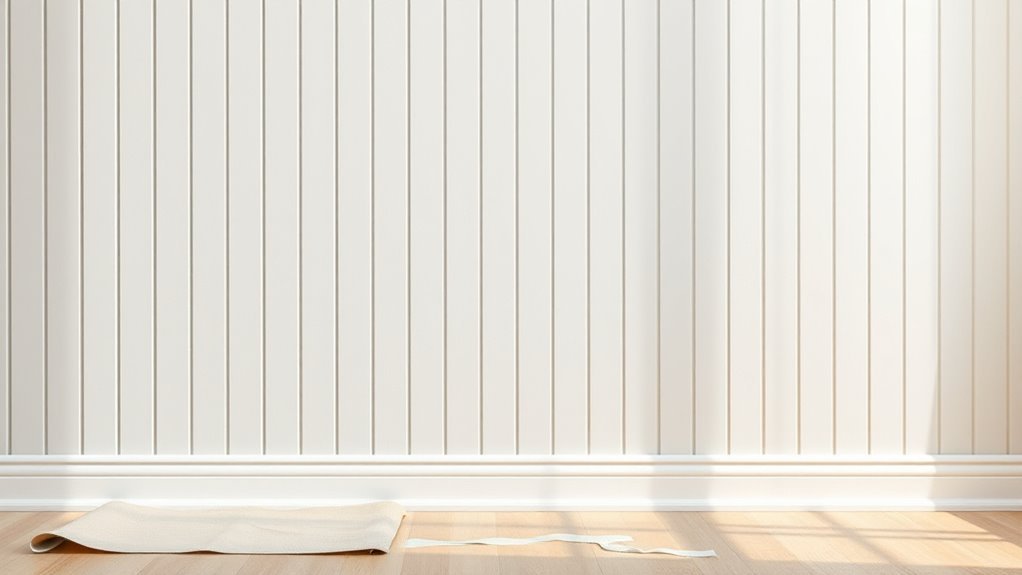
Tools and Materials You’ll Actually Need
When you’re ready to paint vinyl paneling, gather a compact kit of tools and materials that’ll make the job faster and guarantee a lasting finish. You’ll need bonding primer formulated for slick surfaces, a quality latex paint, and paint sheen that flatters your chosen color schemes.
Grab medium-density foam rollers for smooth coverage, angled synthetic brushes for edges, and a small brush for grooves. Include 120–150 grit sandpaper and a sanding block to scuff glossy areas lightly.
Have painter’s tape, drop cloths, a caulk gun with paintable caulk, and a utility knife. Safety: mask and gloves.
How to Clean and Degrease Glossy and Grooved Paneling
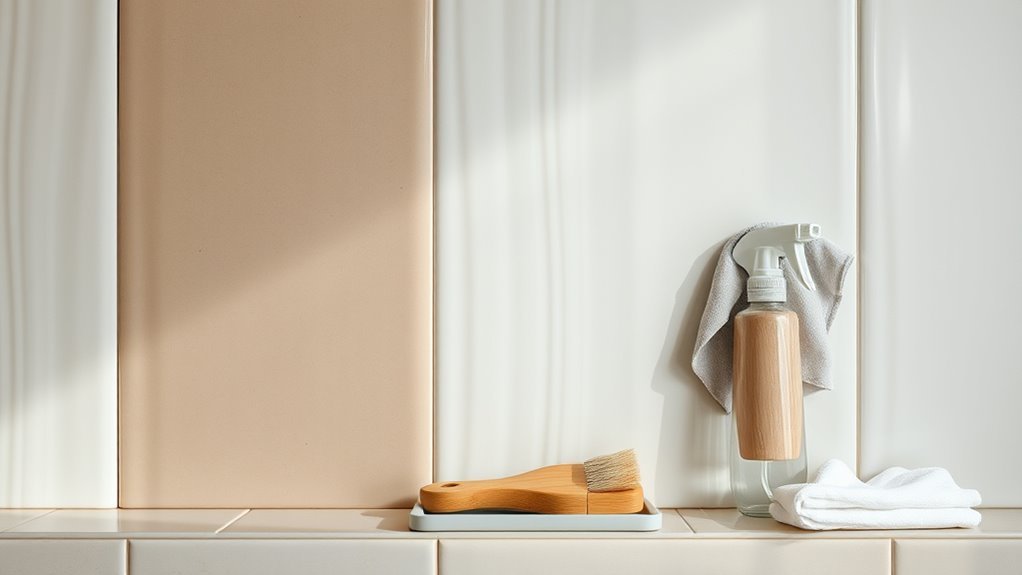
If your vinyl paneling looks shiny or has deep grooves, you’ll need to remove dirt, grease, and residues so primer and paint can stick properly. Start with a mild cleaning solution (water and dish soap) for general grime, then use stronger cleaning solutions like trisodium phosphate alternatives for stubborn grease. Apply Degreasing techniques with a soft brush into grooves, rinse thoroughly, and let dry. Wear gloves and ventilate. Test a small area first. Use microfiber or scrub brush as needed. Visualize steps:
| Step | Tool | Result |
|---|---|---|
| 1 | Soap mix | Surface wiped |
| 2 | Brush | Grooves loosened |
| 3 | Rinse | Residue removed |
| 4 | Degreaser | Grease gone |
| 5 | Dry | Ready for primer |
Sand and Scuff: Getting Paint to Stick
Since smooth, glossy vinyl repels paint, you’ll need to scuff the surface so primer and paint can bite. Lightly sand with 120–150 grit wrapped around a sanding block, following grooves and avoiding aggressive gouging.
For wide, flat panels use a sanding sponge to create consistent texture variations; for tight grooves, hand-sand with folded sandpaper.
Remove dust with a tack cloth or vacuum and wipe with a damp microfiber.
If your panels mimic historical finishes, preserve subtle relief while dulling the sheen so new coatings adhere.
Wear a mask, eye protection, and work methodically to avoid uneven abrasion.
Primers for Vinyl Paneling: Which to Use and Why
Because vinyl naturally resists paint, choosing the right primer is critical to guarantee adhesion and a lasting finish. You’ll want a high-bonding, oil-based or shellac primer for smooth vinyl paneling; these seal slick surfaces and block stains.
If your panels mimic vinyl wallpaper or have decorative patterns, pick a primer that levels texture without obscuring detail. Apply one thin coat, sanding light between coats if needed.
For odor-sensitive spaces, use a low-VOC bonding primer designed for plastics. Test a small area first to confirm adhesion and appearance before painting the entire wall.
Best Paints and Sheens for Vinyl Paneling

When you’re ready to finish your primed vinyl paneling, choose paints formulated for adhesion and flexibility—acrylic latex paints with added bonding agents work well for most interiors, while oil-based enamels give extra durability in high-traffic areas.
Pick a sheen that balances maintenance and appearance: satin hides minor texture, semi-gloss cleans easily, and flat minimizes sheen on imperfect panels. Consider color coordination with trim and lighting; test swatches.
Faux finishes can hide grooves if applied subtly. Choose quality brands and follow manufacturer cure times for longevity.
- Satin — balanced durability and subtle sheen
- Semi-gloss — easy to clean
- Flat — minimizes imperfections
- Eggshell — soft, low-luster option
Fill Gaps and Blend Seams Before Painting
Before you paint, inspect the seams carefully for gaps, loose edges, or old caulk that’s failing.
Use a flexible filler or paintable silicone to fill gaps so the paneling can expand and contract without cracking the finish.
Smooth and feather the filler into the surrounding surface to blend seams for an invisible repair.
Inspect Seams Carefully
Since seams are the most visible place paint can fail, inspect them closely for gaps, lifted tape, or uneven edges before you start sanding. You’ll look for separation, old adhesive, and high spots that cast shadows after painting.
Consider how color matching and texture enhancement will affect final appearance; note where seam lines need attention to avoid visible ridges or mismatched tones.
- Run your hand along seams to feel gaps or bumps.
- Use a flashlight at low angle to reveal shadows.
- Mark trouble spots with pencil or tape.
- Photograph areas for reference during repairs and painting.
Use Flexible Filler
If seams still show gaps or unevenness after your inspection, use a flexible filler to bridge joints and create a smooth, paint-ready surface. Choose a high-quality flexible filler designed for vinyl paneling; it resists movement so paint won’t crack. Apply with a caulk gun or putty knife, pressing filler into gaps and feathering edges. Check product instructions for Filler drying time before sanding. After drying, sand lightly and wipe clean. Test a small area to confirm adhesion and flexibility.
| Step | Tip |
|---|---|
| Prep | Clean and dry seams |
| Apply | Fill, smooth, feather |
| Finish | Sand, wipe, paint-ready |
Painting Techniques for Grooves and Flat Faces
When you’re painting vinyl paneling, treat the grooves and flat faces differently so each gets the coverage it needs. Grooves need careful, angled strokes while flat faces take broader, even passes. You’ll use a small angled brush for grooves to reach edges and avoid pooling, and a mini roller on smooth faces for even coverage and texture enhancement. Consider color matching by testing small areas first.
- Load brush lightly for grooves, stroke along channel.
- Use a 4″ mini roller on flats, maintain wet edge.
- Blend overlaps by feathering into adjacent panels.
- Inspect under good light, touch up thin spots.
Drying, Recoat Timing, and Topcoats for Vinyl Paneling
After you’ve handled grooves and flats, focus next on drying times and recoat windows so your finish cures properly and won’t peel or tack. Check label times for latex or oil; warm, dry air speeds cure, humidity slows it. Wait full recoat window before sanding. Pick a topcoat—clear acrylic or satin polyurethane—matched to Color coordination and desired sheen. Consider Wall textures: rough panels may need thinner coats and longer cure. Visualize timing with this simple table:
| Step | Time | Note |
|---|---|---|
| Dry | 1–4 hrs | Depends on temp |
| Recoat | 4–24 hrs | Follow product |
| Topcoat | 24–72 hrs | Full cure varies |
Common Problems and Fixes (Peeling, Flashing, Brush Marks)
Because vinyl paneling doesn’t always behave like drywall, you’ll want to recognize peeling, flashing, and brush marks early so you can fix them before they get worse. Inspect seams and surfaces; address causes before repainting. Consider how color psychology and historical trends influence choice of sheen and color to hide imperfections.
- Peel: sand edges, prime with adhesion primer, then repaint.
- Flashing (patchy sheen): scuff, clean, use consistent primer and finish.
- Brush marks: sand lightly, switch to a high-density roller or foam brush.
- Blending spots: feather edges, apply thin even coats and let dry fully.
Maintain Painted Paneling : Or When Replacement Is Better
If you want your newly painted vinyl paneling to look good for years, commit to a simple maintenance routine and know when it’s time to replace the panels instead of repainting them. Wipe dust and grease with mild detergent, avoid abrasive scrubbers, and touch up chips promptly to preserve finish and wall texture.
Repaint only when the surface is sound; repeated coats hide flaws but won’t fix warping, deep gouges, or mold.
Replace panels if there is structural damage, persistent staining, or mismatched pattern that prevents decent color matching. Replacement can save labor and deliver a uniform base for future paint or new finishes.
Frequently Asked Questions
Can I Wallpaper Over Vinyl Paneling Instead of Painting It?
Yes — you can wallpaper over vinyl paneling if you prep properly. You’ll sand glossy areas, fill seams, and apply a liner to hide vinyl texture. That gives better adhesion and wall protection for long-lasting results.
Will Painting Paneling Affect Indoor Air Quality or Release VOCS?
Like a small storm, painting paneling can release VOC emissions, but you can control it: use low‑VOC paints, ventilate well, and let surfaces cure; you’ll minimize odor and protect indoor air quality for your household.
Can I Paint Paneling in High-Moisture Areas Like Bathrooms or Basements?
Yes — you can paint paneling in bathrooms or basements, but you’ll need thorough surface preparation to prevent moisture damage; you should clean, repair, prime with a moisture-resistant primer, and use a mildew-resistant, semi-gloss paint.
How Long Will Painted Vinyl Paneling Remain Durable Before Refinishing?
About 5–10 years: you’ll typically get that lifespan before refinishing. You’ll want to address paneling stain and maintain textured finish; if humidity and wear are low, you’ll extend durability, but high-traffic spots need earlier touch-ups.
Can I Change Paneling Color Drastically Without Multiple Primer Coats?
Yes — you can, but thorough panel preparation matters. You’ll want degreasing, light sanding, and a good bonding primer. Choose high-quality paint selection like acrylic latex or epoxy-modified paints for stronger coverage and fewer primer coats.
Conclusion
You can paint vinyl paneling, but first check for damage, loose panels, and adhesion—because if it sticks, your paint will, too. Clean and degrease glossy grooves, sand or scuff the surface, and use the right primer and tools; paint grooves before faces and watch drying times. If peeling or flashing shows up, fix or reseal; if maintenance keeps failing, replace. Do the prep and the finish pays off, and the room changes with you.