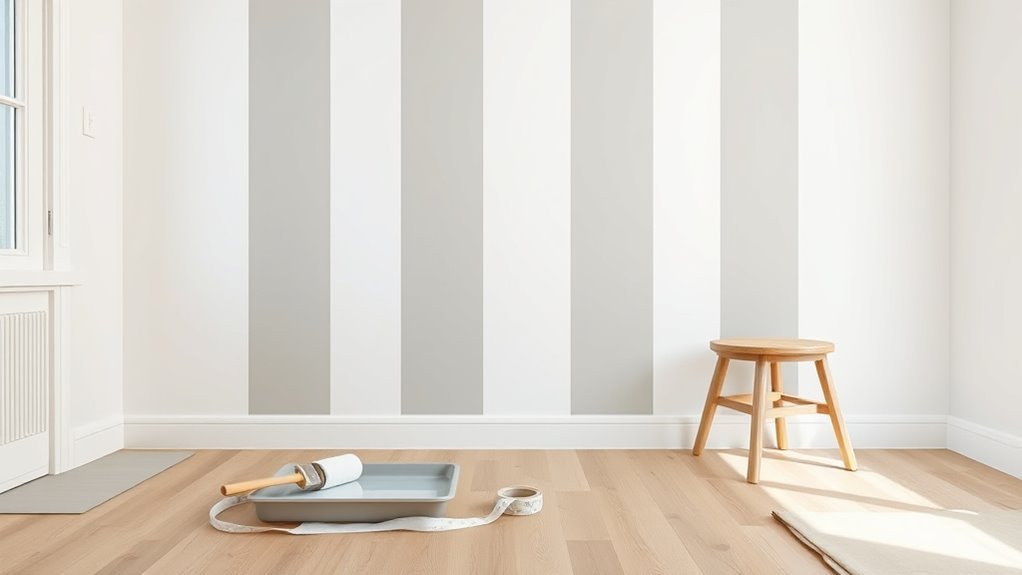
How to Paint Stripes on Walls Vertical (Step-by-Step)
You’ll get crisp vertical stripes by planning, measuring, and prepping first: choose stripe width, contrast, and finish, repair and prime the wall, then mark centerlines with a level or plumb bob. Apply painter’s tape along your lines, seal edges with clear caulk or leftover base paint, then roll each stripe top-to-bottom with even pressure, letting coats dry between colors. Remove tape at a 45° angle and touch up edges for perfection—keep going and you’ll find tips for fixes and protection.
Quick Start: Paint Vertical Stripes in Four Steps
Before you tape or open paint, gather your tools and pick your stripe width and color contrast so the job goes smoothly.
Now follow four clear steps: prep the wall by cleaning and priming; measure and mark vertical guidelines with a level and pencil; apply painter’s tape along marks, pressing edges to prevent bleed; roll your base coat, let it dry, then paint alternating stripes.
As you work, focus on clean lines and consistent pressure.
Choosing colors matters—test swatches for harmony—and consider decorative patterns for accenting corners or molding.
Remove tape carefully once paint’s set for crisp results.
Decide Stripe Width, Contrast, and Finish
When choosing stripe width, contrast, and finish, think about the room’s proportions, lighting, and the mood you want to create. Decide if you want bold or subtle effects: wider stripes open a space, narrow ones add rhythm.
Pick stripe color for harmony or drama, and consider stripe texture—matte hides imperfections, satin or gloss adds sheen. Balance contrast so it complements furnishings.
- Wide + low contrast: calm, spacious.
- Narrow + high contrast: energetic, modern.
- Mixed widths + varied finish: eclectic, tactile.
Test samples on the wall to confirm visual impact before committing.
Measure Walls and Lay Out Stripe Spacing
If you want crisp, evenly spaced vertical stripes, start by measuring each wall’s width and noting any interruptions like doors, windows, or corners so you can adjust striping accordingly. Use a tape measure and mark centerlines, then divide by your chosen stripe count to get exact widths. Consider wall texture when planning: rough walls hide seams, smooth ones show every line. Mock up spacing with pencil lines and step back to check lighting effects across the surface at different times. Finalize measurements on a diagram and label each stripe location before taping.
| Wall | Width | Notes |
|---|---|---|
| A | ||
| B |
Pick Paints, Rollers, and Painter’s Tape
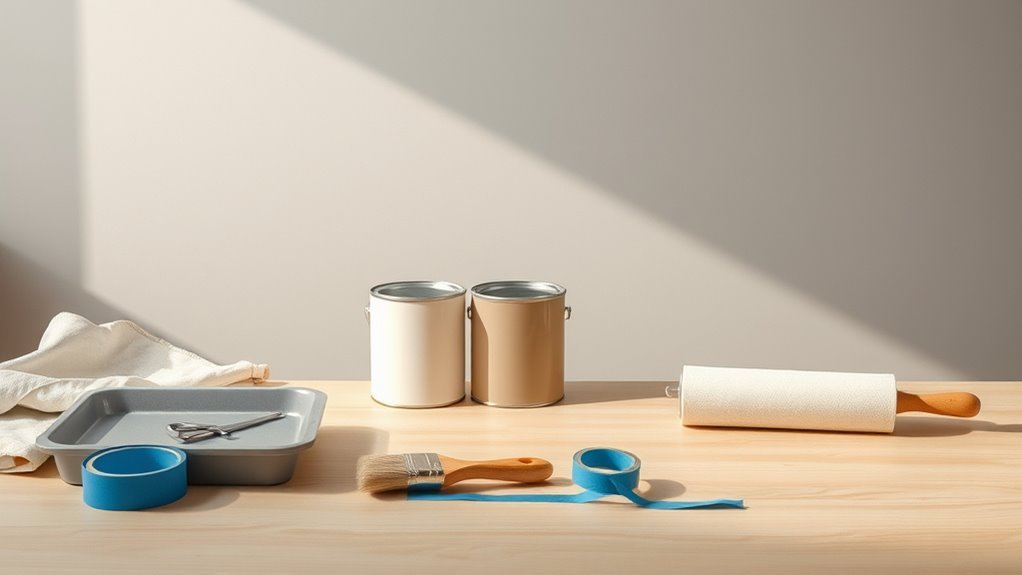
Now that your stripe layout is finalized on paper and the wall is marked, pick paints, rollers, and tape that’ll give you crisp vertical lines and even coverage.
Choose paint finishes based on traffic and light; matte hides flaws, satin cleans easier. Think about color psychology when pairing stripes—calming blues, energizing yellows. Prefer eco-friendly paints to reduce fumes.
Select a 2–3″ angled sash brush for edges, a 4–6″ microfiber roller for smooth coats, and 1/2″ high-quality painter’s tape for sharp lines.
- Brush: angled for precision
- Roller: nap matched to finish
- Tape: low-tack, clean removal
Repair and Prime Walls for Smooth Edges
Before you tape off your stripes, patch any hairline cracks with spackling so they don’t telegraph through the paint.
Sand the repaired spots smooth once dry, then wipe away dust to guarantee clean lines.
Finally, apply a thin coat of primer over repairs and bare areas so the stripe edges stay crisp.
Patch Hairline Cracks
When tiny hairline cracks mar your wall, you’ll want to repair and prime them so the stripe edges look clean and crisp. First, assess crack depth and surrounding wall texture to choose filler. Use a thin, flexible spackling for hairline gaps, press it in, then remove excess with a damp sponge. After drying, spot-prime patched areas to match paint sheen before taping stripes.
- Clean and widen cracks slightly for adhesion.
- Apply fine spackle, smooth with a putty knife.
- Prime patches with matching sheen, then inspect for levelness.
Sand And Prime
A light sanding and a quality primer are the steps that guarantee your stripes have crisp, professional-looking edges. Start by sanding patched areas and any rough spots until the surface feels uniform. Remove dust with a tack cloth so tape adheres cleanly.
Choose a primer suited to your wall texture—highly textured walls may need a thicker primer or a skim coat to smooth peaks. Match primer recommendations to your chosen paint sheen to prevent patchy finish differences.
Prime repaired areas and allow full drying time before taping. Proper sanding and priming keep paint from bleeding and assure sharp, even stripes.
Mark Plumb Reference Lines for Each Stripe
Grab a plumb bob and position it at the ceiling to find a true vertical line. Mark that line on the wall and repeat across the room at each stripe interval.
Those plumb reference lines will guide your tape and keep the stripes perfectly vertical.
Use A Plumb Bob
Start by hanging a simple plumb bob to mark the true vertical for each stripe; you’ll get straighter, more professional-looking lines than relying on a level alone. You’ll use the plumb bob to establish consistent vertical alignment at multiple points along the wall. Hold it steady, let it settle, and mark the floor and ceiling points.
Repeat across the room to confirm parallelism.
- Hang plumb bob, let it stop swinging.
- Mark ceiling and floor contact points for each stripe.
- Check spacing between marks for even stripes and adjust before taping.
This quick step prevents cumulative skewing.
Mark Vertical Reference Lines
Once the plumb bob marks are set, connect them to draw thin, exact vertical reference lines where each stripe will go so your tape follows a true guide. You’ll work wall to wall, checking with a level and pencil. Mark every stripe edge, noting alternating Color combinations and stripe patterns so placement stays consistent. Use a light touch to avoid gouging paint. If your pattern repeats, number lines sequentially. Keep a damp cloth handy to wipe stray graphite before taping. Visualize the final look with this simple grid:
| Line | Width | Pattern |
|---|---|---|
| 1 | 6″ | Solid |
| 2 | 6″ | Solid |
| 3 | 6″ | Accent |
| 4 | 6″ | Solid |
Apply Tape and Choose Edge-Sealing Method
Before you put tape down, plan the stripe layout and mark a straight guideline with a level so each edge aligns perfectly.
Before taping, plan your stripe layout and level a straight guideline so each edge aligns perfectly.
For precise tape application, press painter’s tape along the guideline, ensuring no gaps.
Decide on an edge sealing method: use clear acrylic caulk, thin paint seal, or spray sealant to prevent bleed. Choose based on finish and cleanup.
- Use a putty knife or credit card to firmly burnish tape.
- Seal edges with a thin layer of clear acrylic caulk or leftover base paint.
- Test a small area to confirm crisp lines before proceeding.
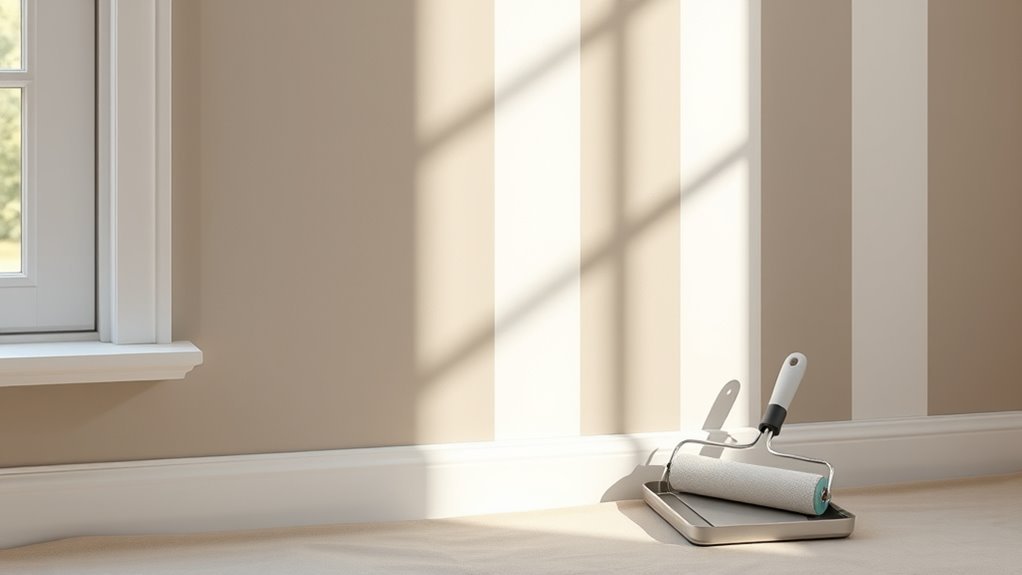
Paint the Base Color and Let It Cure
Ready to lay down the base color? You’ll roll or brush smooth, following your planned color coordination so stripe patterns read cleanly. Work top-to-bottom, cut in corners, then fill large areas with even coats. Stop when coverage looks uniform; don’t overwork wet paint. Let the base cure fully per manufacturer time — usually 24 hours — before any additional steps. Proper curing prevents bleed and ensures crisp edges later.
| Surface check | Action |
|---|---|
| Even coverage | Add thin touch-up |
| Visible lap | Feather and blend |
| Drips | Sand after dry |
| Fully cured | Proceed next |
Paint Vertical Stripes: Controlled Passes for Even Coverage
When you start rolling each stripe, work in controlled, vertical passes so the paint lays down evenly and you avoid visible overlap lines. Keep a consistent pressure and speed, reload the roller before it dries, and feather edges slightly toward the tape for a uniform stripe pattern. Watch for drips or pooling and smooth them immediately.
- Start top to bottom with steady, overlapping strokes.
- Maintain matching roller saturation for color coordination across stripes.
- Inspect under different light angles to spot thin areas.
Move methodically and let each stripe feel deliberate for professional-looking results.
Remove Tape and Make Clean Edge Touch-Ups
After the paint has set but isn’t fully cured, pull the tape off slowly at a 45-degree angle to reveal crisp lines and prevent peeling.
After paint sets but before fully cured, slowly pull tape at a 45° angle for crisp, peel-free lines
Work in short sections, keeping the strip close to the wall to avoid lifting fresh paint. Inspect each stripe as you go; light tack or slight bleed can be corrected immediately.
For clean edge touch ups, use a small angled brush and the base color to paint a steady, thin line along any imperfections. Let touch-ups dry, then step back and confirm uniformity.
Proper tape removal and timely edge touch ups preserve sharp, professional-looking vertical stripes.
Fix Common Stripe Problems (Bleed, Seams, Uneven Lines)
Although small flaws can be frustrating, you can usually correct stripe bleed, seams, and uneven lines quickly with the right tools and technique. Start by sanding any raised seams gently, then wipe clean.
For bleed, press fresh low-tack tape over the edge and roll a thin coat of the base color into the gap; let dry, re-tape, and repaint the stripe color.
For uneven lines, use a straightedge and a steady hand to touch up with a fine brush.
- Seal edges: caulk or thin paint barrier.
- Correct bleed: base-color bleed coat.
- Straighten lines: guide and brush.
Maintain your stripe pattern and color contrast.
Final Trim, Cleanup, and Protect Your Striped Wall
Now that your stripes look right, you’ll want to finish the trim and clean up any paint edges for a sharp result. Carefully touch up baseboards, door frames, and corners.
Then remove tape and clean brushes before the paint fully cures.
Finally, apply a clear protective topcoat or scuff-resistant finish to keep the stripes looking crisp for years.
Trim Work Details
When the paint’s dry and the tape’s off, take a close look at the edges and trim—this is where clean lines become professional ones. Check wall texture differences and how paint sheen reads under light; slight imperfections show here. Address them precisely.
- Sand tiny burrs and raise nap with fine sandpaper for smooth transitions.
- Use a steady sash brush to touch narrow gaps, matching sheen and feathering strokes.
- Apply thin caulk beads where trim meets wall, then smooth with a damp finger.
Wipe dust, remove splatters with a damp cloth, and let everything cure before moving furniture.
Protective Finishing Steps
Before you call the job done, finish by protecting the stripes and tidying the work area so your crisp lines stay crisp for years. Inspect edges, remove tape slowly at a 45° angle, and touch up small nicks. Consider clear coat sparingly—match finish to paint sheen and test on hidden area, especially over pronounced wall texture. Clean rollers and brushes, vacuum baseboards, and replace hardware once dry.
| Task | Tool | Timing |
|---|---|---|
| Tape removal | Utility knife | After paint sets |
| Touch-ups | Small brush | Immediately |
| Seal | Clear coat | After full cure |
Frequently Asked Questions
Can I Use Wallpaper Instead of Painting Stripes?
Yes — you can use wallpaper instead of painting stripes. You’ll find wallpaper alternatives that offer decorative patterns, quicker installation, and removable options, though paint gives more custom textures and easier touch-ups over time.
How Do I Plan Stripes Around Windows and Doors?
Like threading a needle, you’ll map stripes to avoid awkward cuts: measure and align stripes with window framing and door trim, adjust stripe width near openings, use painter’s tape precisely, and paint edges for a clean, continuous look.
Will Stripes Affect Home Resale Value?
Stripes can affect resale value: you’ll likely boost appeal if stripe durability and color coordination look professional and neutral; bold or trendy patterns may limit buyers, so stick to subtle, well-executed stripes for broader marketability.
Can I Create Diagonal or Chevron Stripes With These Steps?
Yes — you can adapt the steps to create diagonal patterns and chevron designs; you’ll measure and mark angles, use painter’s tape precisely, cut crisp edges, paint in sections, and remove tape carefully for sharp, professional-looking results.
What if My Walls Have Heavy Texture Like Popcorn or Knockdown?
About 70% of painted rooms hide texture, so you’ll want to decide: if texture removal isn’t feasible, focus on thorough surface prep; you’ll sand high spots, fill deep crevices, and use thicker paint or a roller nap suited for texture.
Conclusion
You’ve learned the simple steps to get crisp, vertical stripes — measure, tape, prime, and paint with steady, controlled passes. Ready for that bold accent wall that guides the eye and adds height to your room? Keep a small brush handy for touch-ups, remove tape at the right moment, and seal or trim as needed to protect your work. With patience and the right tools, your striped wall will look professional and transform the space.