How to Take Paint Off Walls Without Damage
You can remove paint without damaging walls by matching a gentle method to your surface and paint: start with warm, soapy water and a soft sponge for fresh latex, switch to a microfiber cloth for smudges, use plastic scrapers at a shallow angle, or low heat and mild solvents for tougher spots. Protect trim, ventilate, wear PPE, and test a hidden area first. Work in small sections and go slowly — keep going and you’ll find step‑by‑step options and safety tips.
Quick Answer: Safest Method at a Glance
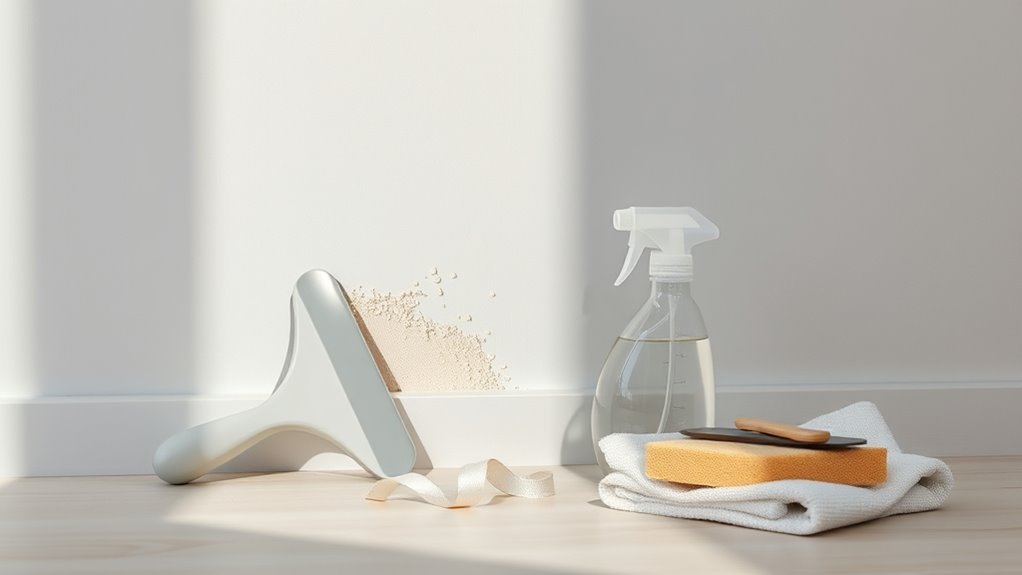
If you want the safest quick method, start with warm, soapy water and a soft sponge — it loosens fresh or latex paint without harming drywall or trim. You’ll dab gently, rinse often, and dry to prevent swelling.
For a safe quick fix, dab fresh or latex paint with warm, soapy water and a soft sponge, then dry.
For stubborn spots, try eco friendly solvents in small amounts, testing an inconspicuous area first so you don’t strip primer or finish.
Use painter’s tape to protect adjacent trim and a plastic drop cloth for floors.
These DIY tips keep you efficient and careful: work top to bottom, apply minimal pressure, and replace tools when they clog to avoid scratches.
Which Removal Method to Choose: A Simple Decision Guide
When choosing a removal method, consider the paint type, wall surface, and how much finish you’re willing to risk—latex over drywall calls for gentler options, while oil-based or multiple layers may need stronger solvents or mechanical tools.
Decide by matching intensity to fragility: chemical strippers suit tough coatings but test for odor and ventilation; heat guns or infrared work on layered paint but can damage delicate wall textures; sanding or scraping’s quick but risks gouging.
If you want minimal repair, pick low-abrasion methods and spot-test.
Balance time, mess, and risk to choose the safest, most effective paint removal approach.
Identify Wall Material and Paint Type
Before you start stripping, figure out what your wall is made of—drywall, plaster, brick or wood—since each needs different care.
Check whether the paint is water-based or oil-based by rubbing a hidden spot with rubbing alcohol; if the paint softens, it’s water-based.
Finally, test adhesion with a quick tape pull to see if the paint flakes easily or is firmly bonded before choosing a removal method.
Determine Wall Surface Type
Since paint removal methods vary by substrate and coating, start by identifying what your walls are made of and what type of paint is on them. Check drywall, plaster, wood, brick or concrete; each demands different technique.
Run your hand to note wall texture and gently tap to judge hollowness. Inspect for previous layers, glazing, or delicate finishes. Consider surface durability—soft or crumbly materials need gentler methods, harder surfaces tolerate more aggressive removal.
Photograph areas, mark samples, and test a small, inconspicuous spot with your chosen method to confirm the material’s response before proceeding across the whole wall.
Identify Paint Base Type
Now that you’ve identified the wall substrate and tested a small area, pinpointing the paint’s base will guide which removal methods will work and which will damage the surface.
Check gloss and smell: oil-based often has a stronger odor and hardened sheen, while water-based (latex) feels softer. Scrape a tiny spot—if it chips in brittle flakes, it may be oil or alkyd; if it peels in flexible strips, it’s likely latex.
Note paint color only as reference for repainting.
Match removal to wall texture—smooth drywall tolerates different methods than textured plaster.
Label the base before proceeding.
Test Paint Adhesion Strength
How well does the paint actually stick to your wall? You need to test adhesion before stripping so you choose methods that suit wall texture and paint color.
Try a simple cross-hatch test and small peel to assess grip. Note substrate: drywall, plaster, wood, or masonry.
- Pick an inconspicuous spot near trim.
- Score a 1-inch square with a utility knife.
- Apply strong tape, press firmly, then pull sharply.
- Observe flakes, lifting, or intact paint.
- Record results and match removal technique to adhesion and wall texture.
This tells you if paint is bonded or if gentle methods will work.
PPE and Ventilation: Stay Safe
Before you start stripping paint, put on the right protective gear—gloves, eye protection, and a chemical-resistant apron if you’re using solvents.
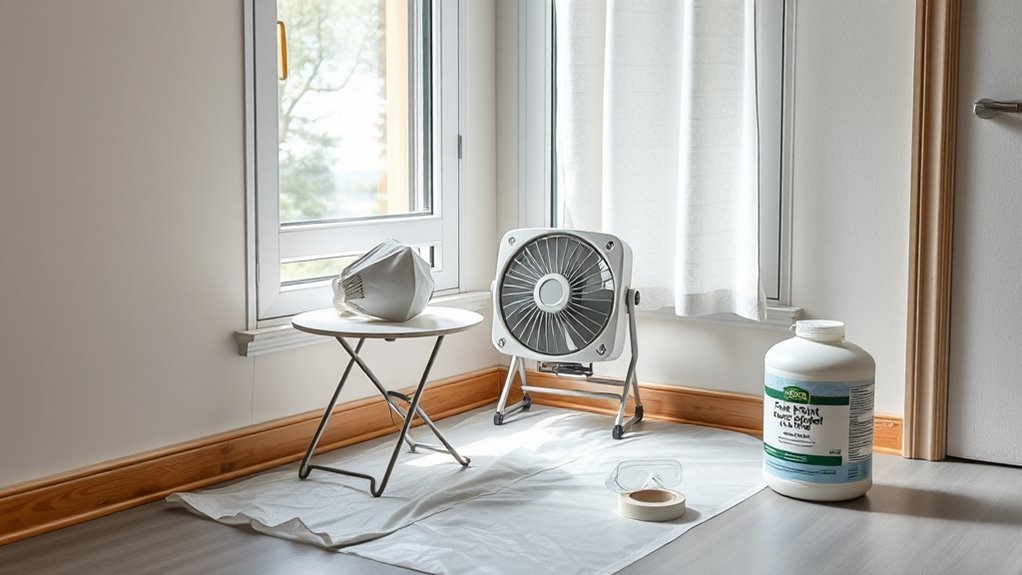
Keep the room well-ventilated by opening windows and using fans to push fumes outside.
If you’ll be exposed to dust or strong vapors, use a respirator rated for the hazard (N95 for dust, organic vapor cartridges for solvents).
Appropriate Protective Gear
Because paint removal can release dust, fumes, and chemical residues, you should wear proper personal protective equipment and guarantee good ventilation to protect your lungs, eyes, and skin. Focus on protective gear and basic safety measures before you start.
Choose items that fit and are rated for chemicals or particulates you’ll encounter. Replace disposable items after heavy use and inspect reusable gear.
- NIOSH-approved respirator or fitted mask
- Chemical-resistant gloves (nitrile or neoprene)
- Eye protection: sealed goggles
- Long-sleeve coveralls or work shirt and pants
- Sturdy shoes and knee pads
Stay alert to irritation and stop if symptoms appear.
Proper Room Ventilation
Along with the right PPE, you’ll want to control airflow so fumes and dust don’t build up while you work. Open windows and doors to create cross-ventilation, and use box fans to push contaminated air outside.
Run a HEPA air purifier to capture fine dust and particles that sanding creates. Keep doorways sealed to other rooms with plastic sheeting to protect occupants and pets.
Monitor air quality with a basic sensor if available, and stop work if you detect strong odors or dizziness.
Proper ventilation reduces health risks and keeps your workspace safer throughout the paint-removal process.
Respirator Selection Guidance
When you’re removing paint, choose a respirator that matches the hazards: an N95 or P100 disposable for dust and non-toxic particles, and a cartridge-style half- or full-face respirator with organic vapor cartridges if you’ll encounter solvent fumes or suspected lead paint.
You’ll protect lungs and avoid contamination; confirm Respirator fit before work and follow mask maintenance routines.
- Check seal with every wear
- Replace cartridges for fumes or per manufacturer
- Use NIOSH-certified models
- Clean and store reusables dry
- Dispose of contaminated disposables safely
Fit-test or perform user seal checks, and log maintenance dates to stay safe.
Tools and Supplies You Really Need
Before you start stripping paint, gather a few reliable tools and supplies that’ll protect the surface and make the job faster. You’ll need drop cloths, painter’s tape, plastic sheeting, and a soft-bristle brush to protect trim and manage dust.
Choose scrapers and putty knives in various sizes for different wall textures and to follow paint sheen edges without gouging. Keep a heat gun or chemical stripper (per respirator guidance), sanding blocks of fine grit, sponges, and microfiber cloths handy.
Have buckets, mild detergent, and a foam roller for cleanup. Protective gloves and safety glasses finish the kit.
How to Patch‑Test a Small Area
With your tools ready, pick an inconspicuous spot—behind a door, inside a closet, or near a baseboard—and try your chosen removal method there first. You’ll verify how the surface reacts, check color matching, and gauge paint durability before tackling larger areas.
Test each solvent or tool briefly, let it dry, then inspect.
- Clean area gently
- Apply product sparingly
- Wait recommended time
- Rinse and dry thoroughly
- Compare to surrounding paint
Record results and photos so you can choose the least damaging method. If the test alters finish or color, stop and try a gentler approach.
Remove Fresh Smudges With Soap and Microfiber
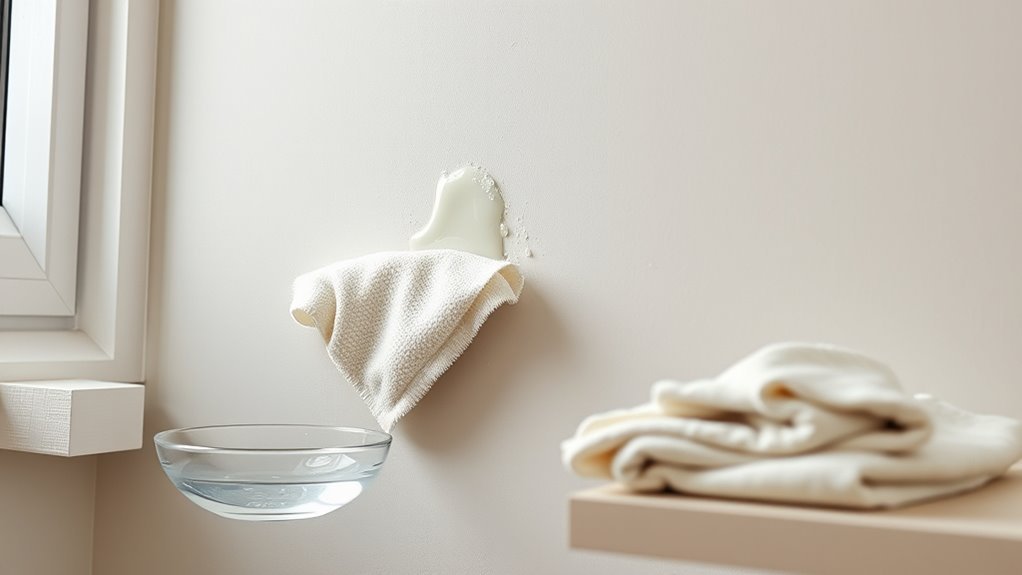
If a smudge is still wet, mix a few drops of mild dish soap with warm water for a quick cleaning solution you can apply gently.
Use a soft microfiber cloth and wipe in one direction with light pressure to lift paint without abrading the wall.
Blot the area dry and inspect for residue or damage before repeating.
Quick Soap Solution
A quick soap-and-water mix is often all you need to lift fresh smudges without harming the paint. You’ll mix mild dish soap with warm water to create an eco friendly solutions option that acts as safe chemical alternatives to harsh cleaners.
Dip a soft cloth, wring it out, and gently blot the mark—don’t scrub. Rinse the area with plain water and pat dry.
- Test in an inconspicuous spot first
- Use lukewarm water, not hot
- Wring the cloth well to avoid drips
- Work from the edge toward the center
- Repeat sparingly if needed
Gentle Microfiber Technique
After blotting with your soap solution, switch to a soft microfiber cloth to lift remaining smudges without abrading the paint. Gently wipe in light, overlapping strokes, rinsing the cloth frequently to avoid redistributing pigment.
Use a fresh, damp microfiber for stubborn spots, pressing rather than scrubbing; that pressure control plus microfiber durability prevents finish damage. Rotate cleaning cloths so you always work with a clean surface.
If residue persists, repeat the soap-and-microfiber cycle rather than increasing force. Work patiently and keep solutions minimal; this technique removes fresh smudges effectively while preserving the wall’s paint and texture.
Drying And Inspection
Once you’ve lifted smudges with the soap-and-microfiber method, let the area air-dry briefly and then inspect it up close for streaks, residue, or missed spots. Use careful drying techniques and a simple inspection checklist to finish cleanly. Check lighting and texture, and avoid rubbing wet paint.
- Use natural light or a flashlight to reveal streaks
- Gently blot remaining dampness with a dry microfiber cloth
- Run fingertips lightly to detect texture differences
- Note any residue and re-clean only those spots
- Mark completed areas to avoid reworking
Follow the inspection checklist, then touch up sparingly if needed.
Use Plastic Scrapers and Razors Safely
While metal blades can gouge drywall and ruin trim, plastic scrapers and razors give you control for lifting paint without cutting into the surface. You’ll follow plastic safety tips and refine scraper techniques: keep blades angled, work small sections, and change worn edges. Test pressure on inconspicuous spots, protect trim with painter’s tape, and wear gloves to avoid slips. Use a gentle razor for stubborn flakes, replacing blades often. Keep tools clean to prevent dragging dried paint.
| Tool | Angle | Use |
|---|---|---|
| Plastic scraper | 30°–45° | Broad lifting |
| Safety razor | 15°–30° | Precise edges |
| Sponge | — | Finish cleaning |
Use Heat Safely: Hair Dryers and Heat Guns
When using heat to soften paint, pick a low to medium setting so you don’t scorch the wall or create toxic fumes. Keep a safe distance and move the tool steadily to avoid overheating one spot.
Protect nearby trim, flooring, and furniture with drop cloths or heat-resistant shields before you start.
Choose The Right Temperature
Because heat can both loosen paint and damage drywall, you’ll want to pick a temperature that softens without scorching. You’ll use temperature control and mindful wall heating to strip paint safely. Start low, raise gradually, and watch the surface.
- Use a hair dryer on low for thin layers.
- Set a heat gun to the manufacturer’s medium setting.
- Keep the tool moving to avoid hot spots.
- Hold 6–8 inches from the wall, adjusting as needed.
- Test a hidden spot for 10–15 seconds before full application.
If paint bubbles too slowly, increase slightly; if drywall darkens, stop immediately and cool the area.
Protect Surrounding Surfaces
Want to keep your trim, floors, and furniture safe while you heat-strip paint? Cover surrounding surfaces with drop cloths, heat-resistant tape, and cardboard shields.
Move furniture away or wrap it in plastic. Protect baseboards and trim with high-temperature masking tape; remove or loosen hardware to avoid warping.
Keep a fire extinguisher nearby and never leave a heat gun or hair dryer unattended.
Work in short bursts, keeping the nozzle or tip moving to avoid overheating one spot. Test a hidden area first.
Good surface protection prevents scorched finishes, melted plastics, and hidden damage to surrounding surfaces.
When to Use Mineral Spirits or Denatured Alcohol
If you’re dealing with oil-based paints, heavy grease, or stubborn gloss finishes that won’t lift with soap and water, reach for mineral spirits; they’ll dissolve those coatings without swelling drywall or stripping latex underneath.
Use denatured alcohol for shellac or fresh water-based solutions residue, since it evaporates fast and won’t harm most primers. Test both in an inconspicuous spot first.
Use denatured alcohol to remove shellac or fresh water-based residue; it evaporates quickly and usually won’t harm primers—test first.
Wear gloves, ventilate, and blot—don’t scrub—so you don’t damage paper or texture. Prefer these chemical alternatives when gentle solvent action is enough and you want to avoid full strippers.
- Mineral spirits: oil-based paint
- Denatured alcohol: shellac
- Ventilation required
- Patch-test first
- Blot, don’t scrub
Choose and Apply Chemical Paint Strippers Safely
When thicker solvent action is needed, pick a product formulated for your paint type and follow label directions exactly.
Chemical strippers can speed removal but also harm drywall, trim, or your lungs if used carelessly. Read warnings, don protective equipment—gloves, goggles, and a respirator rated for organic vapors—and assure ventilation.
Test a small, hidden patch to confirm effectiveness and surface compatibility.
Apply stripper in thin, even coats, wait the prescribed dwell time, then remove softened paint with a plastic scraper to avoid gouging.
Neutralize residues if the label requires it, dispose of waste per instructions, and wash hands and tools thoroughly afterward.
Low‑VOC and Eco‑Friendly Removers for Indoors
Because you’re working indoors, choose low‑VOC or plant‑based removers that cut odors and chemical exposure while still softening paint effectively. You want products labeled eco friendly solvents, noncaustic gels, or citrus‑based formulas to protect Indoor air quality and reduce lingering fumes.
Prep the room, ventilate, and test a small patch.
- Wear gloves and eye protection
- Open windows and run a fan for cross‑ventilation
- Use minimal product and follow dwell times
- Neutralize and wipe residue with recommended cleaners
- Dispose of waste per label instructions
These steps help you strip paint safely with minimal indoor impact.
Use a Steamer to Strip Multiple Paint Layers
Although it takes a bit of practice, a paint steamer lets you strip multiple layers quickly and with far less scraping, so you can remove old finishes from trim and panels without gouging the wood.
You’ll work in small sections, holding the steamer long enough to soften paint, then gently lift softened flakes with a putty knife.
Keep ventilation good and wear gloves and eye protection; Steamer safety means avoiding burns and inhalation of old paint dust.
Test a hidden spot to gauge heat time, move slowly to prevent damage, and clean residue with a damp cloth to finish paint removal.
Sanding Alternatives to Avoid Surface Damage
After stripping layers with a steamer, you might want to skip aggressive sanding that can gouge soft wood or thin veneer. Instead, try gentler methods that preserve substrate and control Paint adhesion before refinishing.
You can use Eco friendly solvents to loosen paint, soft scrapers to lift flakes, and nonwoven abrasive pads for light blending. Consider chemical-free heat tools with temperature control for stubborn spots.
Test each method in an inconspicuous area to assess finish compatibility.
- Eco friendly solvents for gentle softening
- Soft plastic scrapers to avoid gouges
- Nonwoven abrasive pads for feathering
- Low-temp heat tools for precise work
- Small orbital sander on low grit only
Fix Gouges, Bubbles, and Softened Drywall
When you find gouges, bubbles, or softened drywall after stripping paint, address them before priming so the new finish bonds evenly and lasts. Remove loose paper and crumbled gypsum, cut out badly softened sections, and dry the area thoroughly.
Feather patching compound into gouges, smooth it to match surrounding wall texture, and sand lightly when dry. For bubbles from trapped moisture, pierce and drain, then fill and level.
Apply a quality primer that seals repaired areas to guarantee consistent paint sheen. Match any textured finish with a stipple or roller technique before painting for a seamless result.
Test and Handle Lead‑Based Paint Safely
Before you repair or repaint, check whether the old finish contains lead—especially in homes built before 1978—so you can protect yourself and others. You’ll treat a lead hazard seriously: use paint testing kits or hire certified inspectors before disturbing surfaces.
If testing is positive, follow containment and cleanup rules, wear disposable PPE, and avoid dry scraping or sanding.
- Buy EPA-recognized paint testing kits or contact a certified inspector
- Seal the work area with plastic sheeting
- Use HEPA filtration vacuums for cleanup
- Wear NIOSH-approved respirators and disposable coveralls
- Dispose of debris per local hazardous-waste rules
Remove Paint From Textured Walls and Popcorn Ceilings
Because textured walls and popcorn ceilings trap paint in crevices, you’ll need gentler, more deliberate techniques than you’d use on smooth surfaces. Work slowly with a soft nylon brush, mild chemical stripper rated for textures, or low-heat tools to loosen paint while prioritizing Texture preservation and Ceiling safety. Test a small patch, protect floors, and wear respiratory protection.
| Tool | Use | Tip |
|---|---|---|
| Soft brush | Loosen flakes | Sweep outward gently |
| Low-heat gun | Soften paint | Keep moving, avoid scorch |
| Mild stripper | Dissolve coatings | Follow product label |
Rinse minimally and blot; avoid aggressive scraping.
Strip Paint From Wood Trim and Baseboards Without Harm
If you want to strip paint from wood trim and baseboards without harming the underlying wood, work slowly with the right tools and a gentle technique. Use a heat gun or chemical stripper suited for trim, test in an inconspicuous spot, and protect floors.
Sand lightly with fine-grit paper along the grain; don’t over-sand.
- Choose a plastic scraper and soft bristle brush
- Use low heat and thin stripper coats
- Wipe residues with mineral spirits
- Feather edges for seamless paint blending
- Prep for finish to aid color matching
Finish with a compatible primer and paint or stain.
Remove Paint Drips and Splatters From Floors & Fixtures
When you spot drips or splatters on floors and fixtures, act quickly and choose the right method for the surface—wet paint wipes away with a damp cloth, while dried spots usually need scraping, soft abrasion, or a mild solvent.
Start by protecting surrounding areas and wearing gloves and eye protection for paint removal safety. Test solvents on an inconspicuous patch.
Use a plastic scraper, nylon pad, or fine-grit sandpaper for gentle removal, and a microfiber cloth for cleanup.
For tile or metal fixtures, solvent plus a nonabrasive scrub works; for wood or vinyl, prioritize gentle tools and minimal moisture to avoid damage.
Preparing Stripped Surfaces for Repainting or Repair
Once the paint’s off, you’ll want to clean the surface thoroughly to remove dust, grease, and residue.
Patch and sand any minor imperfections so the new finish will lay flat and even.
Finally, apply a suitable primer to seal the surface and improve paint adhesion before you repaint or repair.
Clean Surface Thoroughly
Before you repaint or repair stripped walls, make sure you clean the surface so paint, dust, and solvent residue won’t interfere with adhesion. You’ll focus on surface cleaning as a key step in wall preparation, removing contaminants that block primer and paint. Work methodically, dry then wet, and let surfaces fully dry before continuing.
- Vacuum to remove loose dust and chips.
- Wipe with mild detergent solution for grime.
- Use denatured alcohol for solvent residue spots.
- Rinse with clean water and sponge.
- Allow 24 hours drying in good ventilation.
These steps ensure a clean base for successful repainting.
Repair Minor Imperfections
Although you’ve cleaned the wall thoroughly, you’ll still find small dings, nail holes, and uneven patches that need fixing before repainting. Address these now so the finish looks smooth and professional.
Use a lightweight spackling compound for holes under 1/2 inch, pressing it in and smoothing with a putty knife.
For larger gouges, apply patching plaster in thin layers, sanding between coats to match surrounding wall texture. Feather edges to avoid ridges that change the paint sheen.
After sanding, wipe dust away. Check in different light angles to ensure surfaces are uniform before moving on.
Prime Before Painting
You’ve fixed the dents and smoothed the surface, so now it’s time to prime the stripped areas to guarantee paint adheres evenly and hides repairs. You’ll choose a primer suited to substrate and finish; stain-blocking or bonding primers often work best.
Prep by cleaning, sanding feathered edges, and wiping dust. Consider primer tinting for color matching to reduce topcoat coats.
If you saved stripped paint, use paint recycling advice from local centers for disposal or reuse.
Apply thin, even coats, let dry fully, and sand lightly between coats for a flawless base before repainting.
- Clean surface
- Sand and dust
- Choose primer type
- Tint for match
- Recycle leftover paint
Cost, Time, and Effort: Pick the Least‑Invasive Option
When deciding how to remove paint, weigh cost, time, and effort so you pick the least-invasive method that meets your needs.
Do a quick cost analysis: compare tool rental, materials, and disposal versus potential wall repairs.
Estimate time by testing a small area and scaling up, then create an effort estimation—how much bending, scraping, or sanding you’ll tolerate.
Hand-sanding costs little but takes longer; chemical strippers speed work but need ventilation and cleanup.
Heat guns move fast but risk damage.
Choose the method that balances your budget, schedule, and physical limits to protect the wall while meeting your goal.
When to Stop and Call a Professional
If you start seeing deep gouges, crumbling plaster, or exposed wiring, stop and get a pro—those are signs you can’t safely fix on your own.
If progress stalls despite using the right tools and methods, or the removal is taking far longer than you expected, a contractor can save time and prevent further damage.
Call a specialist when structural issues, hazardous materials, or electrical concerns appear.
Signs You Can’t Fix
Although many paint problems you can tackle yourself, some signs mean you should stop and call a professional right away. You’ll want an expert when risks to paint safety or wall durability appear, or when fixes might cause greater harm.
- Large, deep cracks or crumbling plaster
- Persistent peeling after multiple treatments
- Visible mold growth behind paint layers
- Lead-paint concerns or unknown old coatings
- Structural movement causing gaps or bulging
If you spot any of these, don’t keep experimenting. Protect your health and the wall’s integrity by pausing and arranging a professional assessment to avoid costly mistakes.
When To Hire Pros
Wondering whether it’s time to call in a pro? If paint covers lead, multiple layers, or delicate finishes, you should. You’ll want professional expertise when removal risks structural damage, hidden mold, or electrical hazards.
If DIY tests fail, surfaces are large, or results must be flawless for resale, bring in specialists.
Safety considerations matter: pros have gear, ventilation systems, and disposal processes that protect you and your home. Hiring saves time and prevents costly mistakes.
Get at least three estimates, check licenses and references, and confirm cleanup and waste handling are included before signing a contract.
Frequently Asked Questions
Can I Remove Paint Without Disturbing Wallpaper Underneath?
Yes — you can, but you’ll need gentle paint stripping techniques and careful wallpaper preservation. You’ll test a small area, use mild solvents or steam cautiously, scrape softly with plastic tools, and stop if wallpaper softens or peels.
Will Removing Paint Trigger Home Insurance Claims or Affect Resale Value?
Like peeling back a calm sea, no — removing paint usually won’t trigger claims, but you’ll want to document work. You’ll manage paint removal carefully; insurance implications are minimal unless you cause structural damage that affects resale value.
How Do I Prevent Paint Removal From Staining Clothing or Upholstery?
You’ll protect upholstery and clothes by wearing protective clothing and using drop cloths; move or cover stain resistant fabrics, work carefully with small tools, blot spills immediately, and launder promptly using appropriate stain removers.
Can I Use Household Vinegar to Soften and Remove Paint?
Yes — you can use household vinegar to soften paint, but it’s a mild natural remedy and won’t work on all finishes; you’ll sometimes need stronger chemical solutions, so test a small area and protect surrounding surfaces.
Are There Pet-Safe Paint Removal Methods for Occupied Homes?
Yes — you can use pet friendly solvents and safe removal techniques like low‑odor, ammonia‑free citrus-based strippers, mild heat guns, wet sanding with HEPA vacuuming, and isolating pets; you’ll ventilate, test small areas, and follow label precautions.
Conclusion
You’ve got options that protect your walls and your health, so pick the gentlest method that matches your paint and surface. Want a smooth, clean finish without gouges or harsh fumes? Wear PPE, work in a ventilated area, and test first in an inconspicuous spot. Take your time, use the right tools, and prep the stripped surface before repainting. If it’s stubborn or you’re unsure, call a pro rather than risking damage.