Is Oil Based Paint Better Than Latex? Pros & Cons
You’ll choose oil when you need a hard, durable, glossy finish for trim, doors, or metal, and latex when you want fast drying, low odor, and easy cleanup for walls and ceilings. Oil resists wear, stains, and touch-ups but takes longer, smells more, and can crack on flexible surfaces. Latex is cheaper and more flexible but can chip or blister without good prep. Keep going and you’ll get practical tips for each situation.
Quick Decision Guide : Oil vs Latex
Wondering which to pick—oil or latex? You’ll weigh factors fast: oil gives a smoother finish and superior color consistency over time, while latex dries quicker and cleans up with water.
Wondering whether to choose oil or latex? Oil smooths and ages truer; latex dries faster and cleans up with water.
Consider environment and workspace—VOC regulations restrict solvent-based oils in many areas, so you’ll need proper ventilation or low-VOC formulations.
Choose oil for trim, furniture, or surfaces needing durability; pick latex for walls, quick recoats, and easier maintenance.
Match your timeline, cleanup preferences, and local rules. If you’re unsure, test small panels with both to compare sheen, adhesion, and long-term color performance before committing.
Short Answer: Which Is Better for Your Job?
If you need maximum durability and toughness for trim or high-traffic surfaces, oil-based paint is usually the better pick.
If you prefer easy cleanup and faster drying, latex will save you time and hassle.
Consider the trade-off between long-term resilience and cleanup convenience to choose what’s right for your job.
Durability And Toughness
Which paint will stand up to scuffs, chips, and heavy use depends on the job: oil-based paints cure into a harder, more impact-resistant film than most water-based formulas, so they’re usually better where durability and long-term toughness matter (trim, doors, high-traffic walls, and cabinetry).
You’ll want meticulous surface preparation with oil to guarantee adhesion and prevent peeling. Oils resist abrasion and clean up wear better over time, though they can yellow.
Latex offers flexibility and resists cracking, so it’s preferable on flexible surfaces. Consider color matching needs—oils can hold glossier, richer tones longer than latex.
Ease Of Cleanup
Durability matters, but cleanup can sway your paint choice just as much: oil-based paints require solvents like mineral spirits or paint thinner for cleanup and for removing spills or splatters.
Water-based (latex) paints wash out with soap and water. You’ll find latex easier for brushes, rollers, and accidental drips—cleanup is faster, cheaper, and less toxic.
Oil cleanup demands care and disposal of solvents, but oil formulas can offer superior color consistency over time and smoother finishes.
Consider drying temperature: colder conditions slow oil drying further, prolonging solvent handling.
Choose latex if you want quicker, simpler cleanup.
Key Criteria for Choosing Paint
When you’re choosing oil-based paint, focus on the specific needs of the project—surface type, exposure to moisture or wear, desired finish, drying time, and cleanup requirements will determine whether oil paint is the right fit. Consider color matching and texture options early so you pick a formulation that achieves look and durability. Evaluate VOC limits, substrate adhesion, and maintenance needs. Balance gloss level against wear resistance. Finally, factor in tools, solvents, and ventilation for cleanup.
| Criterion | Why it matters |
|---|---|
| Durability | Resists wear |
| Finish | Affects sheen and maintenance |
When to Use Oil-Based Paint
Wondering if oil-based paint is the right choice for your project? You’ll pick oil when you need durable, smooth finishes on trim, doors, cabinets, or metal. It levels well, resists wear, and delivers rich oil aesthetics that highlight detail.
Use it in high-traffic areas, for surfaces exposed to moisture, or when you want a hard, long-lasting coat that sands and polishes neatly. Keep ventilation, longer dry times, and cleanup with solvents in mind.
If you value quicker drying, easier cleanup, or broader application options, consider latex for its versatility instead of forcing oil where it’s unnecessary.
When to Use Latex Paint
If you’re painting bathrooms, kitchens, or other high‑moisture spaces, latex is a smart choice because it resists mildew and holds up to humidity.
You’ll also want latex when you need a quick turnaround—it dries fast so you can recoat sooner.
And for easy cleanup after the job, latex wipes up with soap and water instead of solvents.
High-Moisture Areas
How do you choose paint for bathrooms, laundry rooms, or basements where humidity’s a constant? You’ll want latex paint formulated for high moisture because it resists water absorption and helps with mold prevention.
Choose mildew-resistant latex with a semi-gloss or satin finish to shed moisture and allow easier cleaning. Proper surface prep and ventilation matter as much as the paint—fix leaks, use primer designed for damp areas, and run exhaust fans.
While no paint stops extreme flooding, latex designed for humid spaces gives durable, washable protection and reduces the chance of unsightly and unhealthy mold growth over time.
Quick-Drying Needs
Need a fast turnaround? If you’re racing to finish a room, latex dries far quicker than oil-based formulas, letting you apply multiple coats in a day. You’ll appreciate rapid color matching when touching up adjacent walls or blending fresh sections into existing paint—latexes settle fast so you can confirm matches immediately.
Use light, even brush techniques to avoid visible strokes as the paint skins over; synthetic brushes work best. For trim and quick jobs where downtime matters, latex minimizes waiting without sacrificing finish.
Choose latex when speed is the priority and you need reliable, repeatable results.
Easy Cleanup Tasks
When you want cleanup to be quick and painless, reach for latex paint—soap and water handle brushes, rollers, and splatters, so you won’t need solvents or special disposal. You’ll save time and avoid fumes, and many modern latex lines offer eco friendly options and easy color customization.
- Interior walls: wipe tools immediately for reusable gear.
- Trim and doors: clean up before paint cures to keep edges sharp.
- Kid spaces and furniture: low-odor latex simplifies maintenance and reduces hazardous waste.
Choose latex when convenience, safety, and versatile Color customization matter; it’s the practical choice for routine projects.
Finish and Sheen Differences
Curious about how oil-based paint’s finish affects your room’s look and durability? You’ll notice oil formulas produce a smoother finish sheen that emphasizes details and resists scuffs. That higher surface reflectivity can make trim and doors pop, but it also highlights imperfections, so prep matters.
Matte latex hides flaws better, while oil’s gloss options offer tougher, easier-to-clean surfaces for high-traffic areas. Choose satin or semi-gloss oil for kitchens and bathrooms where wipeability counts; pick lower sheen where you want subtlety.
Match sheen to function: durability and cleanability trade off against how much texture and variance you want visible.
Drying Time and Scheduling
Oil-based paints dry much slower than water-based ones, so you’ll need to plan projects with longer wait times.
Pay attention to the recoat window—too soon and you’ll ruin the finish, too late and adhesion can suffer.
I’ll explain typical drying timelines and how to schedule coats for best results.
Drying Time Differences
How long will your project be tied up waiting for coats to dry? You’ll notice oil-based paints take longer to harden than latex, affecting scheduling, color options, and environmental impact choices. Consider these practical differences:
- Oil: slower drying, smoother finish, better for trim where durability matters.
- Latex: fast drying, easier to repaint, lower VOCs and simpler cleanup.
- Hybrid/alkyd waterborne: middle ground—quicker than traditional oil, retains sheen.
You’ll plan longer downtime with oil, so stagger work and ventilation. Match drying behavior to your timeline and environmental concerns to avoid delays or unnecessary rework.
Recoat Window Timing
Because drying times vary so much by formula and conditions, knowing the correct recoat window keeps your schedule on track and prevents finish problems. You’ll check the manufacturer’s label and local humidity and temperature to determine when to recoat—too soon and you risk poor paint adhesion, too late and intercoat bonding can weaken.
For oil-based paints, plan longer gaps than latex, but remember some products allow faster recoating. Use thin coats, maintain consistent conditions, and test a small area if unsure.
Proper timing speeds project completion and assures a durable, smooth finish that resists peeling and blistering.
How Many Coats and Recoat Times?
Usually you’ll need two coats for good coverage, though one high-quality primer plus one finish coat can suffice on primed or lightly colored surfaces. You’ll adjust based on coat thickness and surface porosity; heavier coats cover more but extend dry time. Follow recoat schedules to avoid lifting.
- Wait 6–8 hours for thin oil coats.
- Allow 24 hours for full cure before sanding between coats.
- On porous or dark substrates, plan a third coat after primer.
Check manufacturer guidelines and ambient conditions; humidity and temperature change drying and ideal recoat intervals.
Adhesion and Longevity on Trim and Doors
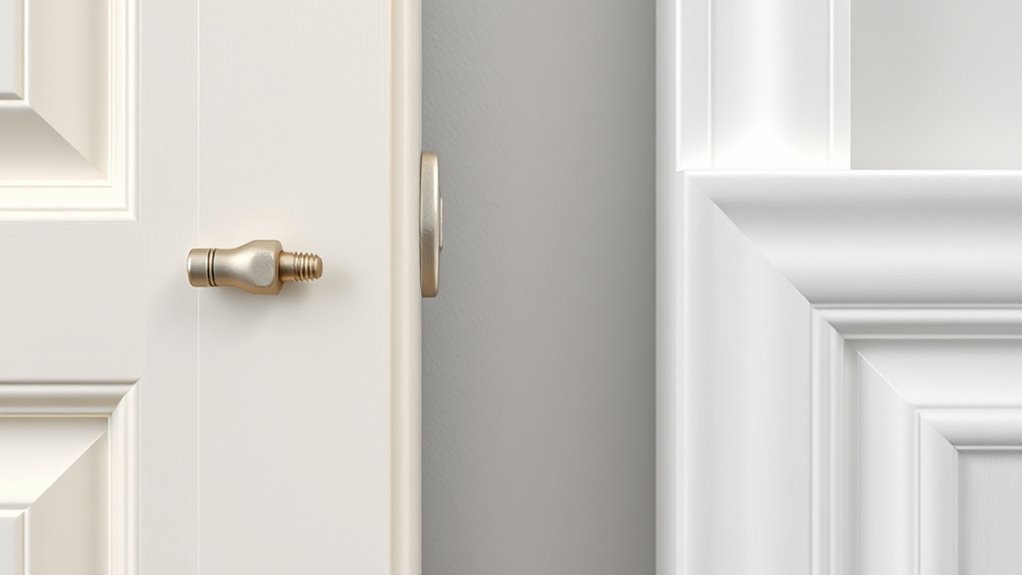
When you paint trim and doors with oil-based finishes, you’ll get excellent adhesion and a hard, durable surface that stands up to frequent handling and cleaning. You should focus on Surface preparation—sanding, deglossing, and cleaning—to guarantee the oil bonds well. Primer selection matters: use an oil-based or bonding primer for bare wood or previously glossy surfaces. The result is long-lasting wear and easier cleaning, reducing chips and visible wear. Consider touch-up strategies and maintenance rather than frequent repainting.
| Benefit | Consideration |
|---|---|
| Strong adhesion | Requires proper prep |
| Durable finish | Longer cure time |
| Easy cleaning | Primer selection vital |
Flexibility and Cracking Resistance
Good surface prep and the right primer not only improve adhesion but also help the paint flex with the substrate, reducing the chance of cracking.
You’ll find oil-based finishes are generally less flexible than latex, so they can be prone to hairline cracks on moving trim.
For cracking prevention and a durable flexible coating, consider these steps:
- Choose a compatible flexible primer before oil topcoat.
- Allow full cure time to avoid premature stress.
- Use thinner coats and avoid overbrushing to minimize tension.
Follow these tips and you’ll reduce cracking while keeping trim looking smooth and resilient.
Moisture and Mildew Resistance
You’ll appreciate that oil-based paint forms a superior water barrier, helping keep moisture out of wood and other substrates.
However, if you’re painting porous or poorly prepared surfaces, trapped dampness can still lead to mildew.
Addressing surface porosity and ensuring proper ventilation will prevent most problems.
Superior Water Barrier
Curious how oil-based paint stands up to damp conditions? You get a superior waterproof barrier because oil paints penetrate and harden, giving durable surface sealing that repels moisture. That reduces water intrusion and slows paint failure.
- Penetration: oil-based formulas sink into substrates, creating a continuous film.
- Repellency: cured oil paints shed water better than many latex options.
- Longevity: the sealed surface resists short-term damp and maintains adherence.
You’ll still need proper prep and ventilation, but for areas where water exposure is a concern, oil-based coatings offer a reliable moisture defense.
Mildew-Prone Porous Surfaces
Why does mildew love porous, damp surfaces—and how does oil-based paint change the equation? You’ll find mildew thriving where moisture soaks into porous surfaces like raw wood, brick, or stucco.
Oil-based paint forms a tighter film and penetrates less, creating better mildew resistance by limiting moisture entry and reducing organic food for spores. That doesn’t make it foolproof: poor ventilation, trapped water, or existing contamination still promote growth.
You should prep thoroughly—clean, dry, and use mildew inhibitors—then apply oil-based coatings where moisture is persistent.
For many high-humidity spots, oil-based paint gives clearer mildew resistance than latex.
Touch-Ups, Recoating, and Visible Seams
When you need to touch up oil-based paint, remember it dries slowly and can show brush marks or sheen differences, so blend carefully and feather the edges to hide seams.
Maintain touch up consistency by using the same batch, thinning slightly if needed, and testing on a scrap.
Use paint from the same batch, thin sparingly if needed, and always test touch-ups on scrap.
For seam concealment, work wet-on-wet where possible and overlap minimally.
- Match temperature and gloss to reduce visible joins.
- Recoat only after full cure to avoid lifting.
- For large areas, feather successive strokes outward.
You’ll control appearance by pacing coats and checking light angles to catch flaws early.
Surface Prep: Sanding, Cleaning, and Priming
Before you pick up oil-based paint, make sure you sand, clean, and prime the surface so the finish bonds and lasts.
You’ll sand to smooth flaws and scuff glossy areas, wipe away dust and grease, then apply a suitable primer for adhesion.
Taking these steps prevents peeling, blotchy coverage, and premature wear.
Proper Surface Sanding
How smooth does the surface need to be? You want even surface texture—not glossy perfection—to promote paint adhesion. Sanding evens rough spots, feathering edges, and removes loose paint without over-smoothing.
- Start with 80–120 grit for old finishes or rough wood.
- Follow with 150–220 grit to smooth and blend edges.
- Lightly sand glossy areas to dull the sheen for better grip.
Use a sanding block or orbital sander for consistency, check with your hand, and vacuum dust between steps. Don’t skip this: proper sanding ensures oil-based paint lays down smoothly and lasts longer.
Cleaning And Priming
Ready to paint? Clean surfaces thoroughly—remove dust, grease, and old flaking finish with a degreaser and tack cloth so oil-based paint adheres properly.
You’ll sand glossy areas to dull them, then vacuum and wipe down again.
For porous or stained spots, apply a stain-blocking primer to prevent bleed-through and control stain absorption.
Use a high-quality oil or shellac-based primer on bare wood for better color retention and adhesion.
Let primers cure fully before topcoating.
Proper cleaning and priming save time, improve finish uniformity, and guarantee the oil-based topcoat performs as designed.
Which Primer to Use With Each Paint
When you’re matching primer to oil-based paint, pick one that promotes adhesion and blocks stains so your finish stays durable and true to color. You’ll choose primer based on substrate, old finish, and desired sheen; primer compatibility matters and ties directly to surface preparation.
Consider these options:
- Oil-based primer — best for raw wood, tannin bleed, and maximum adhesion.
- Shellac primer — ideal for severe stains, water damage, and quick sealing.
- Latex bonding primer — use when covering previously painted latex where sanding is limited.
Match primer to paint type, follow surface prep, and test a small area before full application.
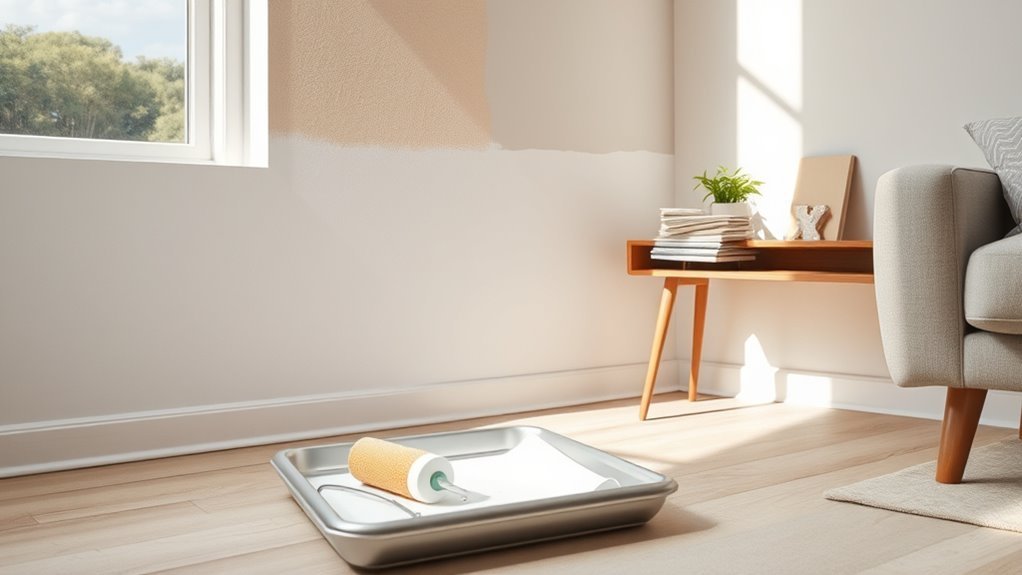
Application: Brushing, Rolling, and Spraying
When you’re applying oil-based paint, brushing gives you the best control for trim and detailed areas.
Rolling lets you cover large flat surfaces fast, while spraying is the most efficient for speed and smooth, even finishes.
Choose the method (or combination) that matches the job’s size and the level of precision you need.
Brushability And Control
Oil-based paint flows smoothly and gives you excellent control whether you’re brushing, rolling, or spraying, so it’s a strong choice when finish quality matters. You’ll notice brush technique matters less because the paint levels out, and paint consistency helps reduce visible strokes. You can control flow and open time to tidy edges and blend seams.
Consider:
- Brushing: use natural-bristle brushes for even lay and minimal tipping.
- Rolling: choose nap suited to surface; oil fills texture smoothly.
- Touch-ups: longer working time lets you feather edges for seamless repairs.
Clean-up requires solvents; ventilate and plan for slower drying.
Spray And Roll Efficiency
Although spraying gives the fastest coverage, you’ll get the most consistent finish by combining methods—spray large, flat areas and roll or brush edges and details.
You’ll learn spray techniques quickly: maintain even passes, keep the tip distance consistent, and overlap slightly to avoid streaks.
With oil-based paints, control rebound and runs by adjusting pressure and thinning per manufacturer guidelines.
After spraying, follow with Roll coverage to level texture and hide minor imperfections; use a high-quality nap and avoid overworking.
This hybrid approach saves time, improves uniformity, and gives you professional-looking results with less effort.
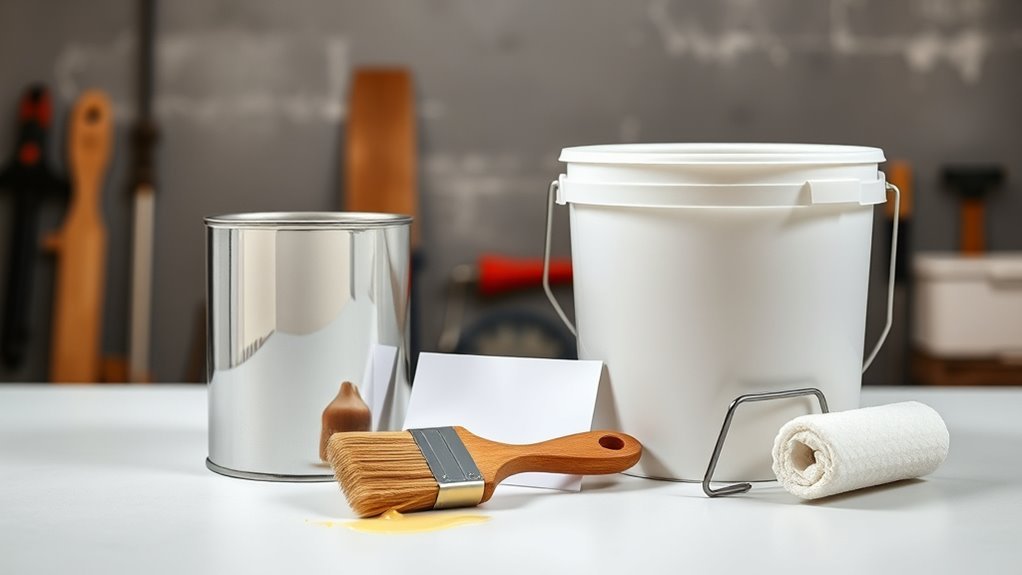
Tools, Cleanup, and Required Solvents
Because oil paints dry slowly and leave tougher residues, you’ll need a slightly different toolkit and cleanup routine than for water-based paints. You’ll choose brushes and rollers with natural bristles, metal pans, and sturdy stir sticks for consistent Color matching and smooth application. Consider Environmental impact when selecting solvents and disposal methods.
- Mineral spirits or paint thinner for cleaning brushes and thinning.
- Disposable rags, metal waste cans, and proper sealable containers for used solvents.
- Sandpaper, tack cloths, and solvent-resistant gloves for prep and touch-ups.
Follow label instructions, recycle solvents where allowed, and never pour them down drains.
Odor, IAQ, and Drying-Room Ventilation
Those solvents and cleanup choices affect more than just your brushes — they shape the air you’ll breathe while the paint cures. Oil-based paints give higher odor intensity than latex, so you’ll notice strong smells for longer. That odor intensity can worsen IAQ impact in tight spaces, making occupants uncomfortable or sensitive.
You should ventilate continuously: open windows, run fans to exhaust air outdoors, and create cross-ventilation paths. Use temporary barriers to isolate the drying room from living areas. Monitor conditions and avoid occupying the painted space until smells fade.
Proper ventilation reduces airborne contaminants and shortens drying time.
VOC Rules, Safety, and Disposal
How do VOC limits affect your paint choices and jobsite practices? You’ll follow VOC regulations when selecting oil or latex, balancing performance with legal and indoor-air concerns. Use low-VOC options where required, and plan ventilation.
- Read labels for VOC limits and comply with local codes.
- Wear respirators, gloves, and ventilate to reduce exposure.
- Store containers sealed and take leftovers to hazardous-waste sites.
For disposal safety, never pour solvents or paints down drains or into soil; they’re hazardous. Follow municipal guidelines and use authorized drop-off or recycling programs to protect health and meet regulations.
Cost Comparison: Paint Price and Lifecycle
When weighing oil and latex paints, consider both upfront price and long-term lifecycle costs. You’ll find latex typically costs less per gallon and dries faster, cutting labor hours.
Oil-based cans are pricier and need more prep and ventilation, raising application expense.
Over time, oil can hold up on trim and high-wear areas, possibly reducing repaint frequency. Meanwhile, latex’s flexibility resists cracking, which can lower maintenance costs.
Factor in color options and texture choices too: specialty pigments or textured finishes raise both paint and labor costs regardless of base.
Balance initial budget against expected durability and maintenance cycle.
Common Oil-Based Paint Problems and Fixes
Because oil-based paints behave differently than waterborne finishes, you’ll run into a few recurring issues—yellowing, slow drying, cracking, and poor adhesion—that are usually fixable with the right prep and products.
You should address substrate contamination, apply proper primers, and control ventilation to improve curing. Consider maintenance and Color options tied to historical use when matching finishes on trim or restorations.
Common fixes:
- Yellowing: use alkyd-modified or clear polyurethane topcoat after proper sanding.
- Slow drying: thin coats, increase airflow, use drying agents sparingly.
- Cracking/adhesion: strip to sound substrate, use bonding primer and flexible topcoat.
Common Latex Paint Problems and Fixes
Although latex paints are forgiving and fast-drying, you’ll still run into a handful of predictable problems—poor adhesion, blistering, mildew, and visible brush or roller marks—that usually stem from surface prep, moisture, or application technique.
To fix adhesion, clean, sand, and prime glossy or chalky surfaces.
For blistering, address underlying moisture and allow drying time before repainting.
Treat mildew with a bleach solution, rinse, and let dry fully.
Reduce brush marks by using quality rollers, extending drying times between coats, and mastering application techniques like maintaining a wet edge.
For color matching, test swatches under real lighting before committing.
When Codes or Historic Rules Force Oil Paint
If local codes or a historic-preservation commission require oil-based paint, you’ll have to follow those rules even if waterborne alternatives seem easier. You should respect the historical significance of a façade, but also consider environmental impact and compliance costs. When mandated, plan carefully:
- Document the code or commission order and required sheen/finish.
- Use certified contractors familiar with oil prep, ventilation, and disposal.
- Budget for longer cure times, stricter cleanup, and proper solvent handling.
You’ll meet preservation standards and avoid fines; just balance the mandate with mitigation steps—ventilation, reduced-waste practices, and safe disposal—to limit environmental harm.
Alternatives: Hybrids and Waterborne Alkyds
When codes or preservation goals make oil desirable but you want lower VOCs and easier cleanup, hybrids and waterborne alkyds give you a practical middle ground.
When oil performance is required but VOCs and cleanup are concerns, hybrids and waterborne alkyds offer a practical compromise.
You’ll find hybrid options that blend oil-like hardness with latex convenience: faster drying, soap-and-water cleanup, and reduced odors.
Waterborne alkyds mimic traditional alkyd leveling and durability while complying with stricter VOC limits, so you can achieve smooth brushwork on trim, cabinets, and doors without turpentine.
Expect similar adhesion to oil on many substrates, but test for compatibility and sheen.
Those choices let you balance performance, environmental concerns, and cleanup preferences.
Final Recommendations by Room, Surface, and Skill Level
Hybrids and waterborne alkyds give you choices, but picking the right product still depends on room use, substrate, and your comfort with application.
For kitchens and trim, pick oil or waterborne alkyds for durability and easy color matching; they resist stains and clean well.
For living rooms and bedrooms, use latex or eco friendly options for low odor and easier cleanup.
For vintage wood or metal, choose true oil for penetration and adhesion if you’ve got experience; otherwise use primers and hybrids.
- High-traffic rooms: oil/hybrids
- Low-odor needs: latex/eco friendly
- Beginners: waterborne alkyd
Frequently Asked Questions
Can Oil or Latex Paint Be Used Over Existing Lead-Based Paint?
You can cover lead paint with oil or latex, but you shouldn’t—safety concerns mean you’ll need encapsulation by approved products or professional abatement. You’ll reduce hazards only if you follow regulations and proper preparation.
Which Paint Is Better for Exterior Metal Surfaces Like Railings?
You’ll usually choose oil-based for exterior metal railings because it boosts metal durability and resists rust like a superhero; you’ll prep thoroughly—remove rust, sand, prime—so paint adheres and lasts despite weather and wear.
Do Pets React Differently to Oil Versus Latex Paint Fumes?
Yes — pets often react differently: you’ll notice stronger pet odor masking and higher fume sensitivity with oil-based paints, while latex fumes are milder; cats and birds tend to be more vulnerable, so ventilate and keep them away.
Can I Mix Oil and Latex Paints to Modify Properties?
Can you really mix oil and latex paints to get the best of both? You shouldn’t; paint compatibility generally prevents direct blending. Instead, use primers and approved mixing techniques or specialized binders to modify properties safely.
How Do Paints Compare Regarding UV Resistance and Color Fading?
Oil-based paints generally offer better UV durability and slower color fading, but newer high-quality latex formulations improve color retention and resist UV damage; you’ll choose based on exposure, pigment quality, and protective clearcoats for longevity.
Conclusion
So, should you select oil or latex? Consider surface, skills, and setting: oil offers smoother, stiffer finishes for trim and historic homes, while latex brings easier cleanup, faster drying, and better flex for walls. Balance durability, odor, and code constraints, and try waterborne alkyds for a hybrid hold. Pick paint that matches purpose, project pace, and proficiency—practical protection paired with personal preference produces a polished, pleasing, professional result.