How to Stop Paint Brushes Drying Out During Projects
Keep your brushes moist between sessions by rinsing pigment out promptly and reshaping bristles, then wrap heads in a damp cloth or plastic wrap and secure with a rubber band or clip to seal out air. For oil work use solvents briefly; for water-based paints use water and mild soap. Store brushes upright or flat in a clean container overnight, and rotate use to extend life. If you want tips on restoring stiff brushes and budget storage options, keep going.
Quick Fix: Stop Brushes Drying Between Sessions
If you need a fast solution to keep brushes from drying between painting sessions, wrap the bristles in a damp cloth or plastic wrap and secure it with a rubber band—this keeps moisture in without soaking the ferrule.
You’ll protect bristles, simplify brush maintenance, and resume work quickly. This small step boosts project efficiency, prevents wasted paint, and keeps your workflow uninterrupted.
Choose Brush Type to Prevent Drying
When you pick brushes that match your paint and technique, you’ll cut down on drying problems before they start; synthetic brushes resist water-based paints’ absorption and hold shape better, while natural-hair brushes work best with oils and retain oils that slow drying.
Choose brush materials and bristle types by task, consider handle designs and size variations, explore synthetic options, natural fibers, specialty brushes, and follow maintenance tips.
Rinse Brushes Properly After Use
Rinse your brushes promptly after painting to remove excess pigment and solvents before they harden on the bristles.
Use warm water (or appropriate solvent), work bristles gently with fingers or a brush comb, and repeat until water runs clear.
Establish a consistent cleaning routine as part of brush care to prevent buildup, reshape bristles, and let brushes dry flat or hanging to maintain their form and performance.
Wrap and Seal Brushes for Short Breaks
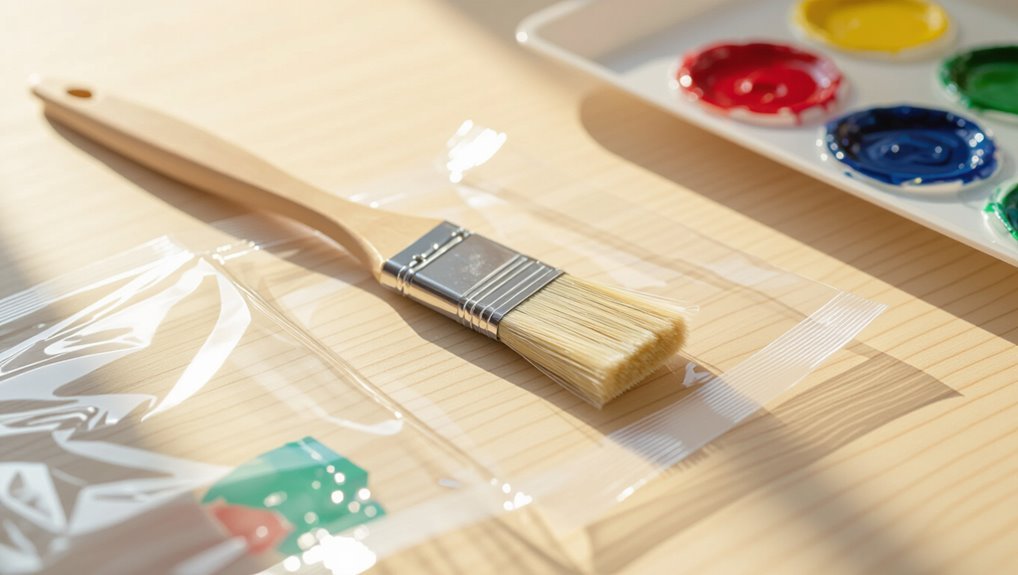
1 simple step can keep your brush usable between short painting breaks: wrap and seal the bristles to lock in moisture and prevent paint from skinning over.
- Use plastic wrap or specialized brush wraps to cover bristles snugly.
- Apply a sealing technique like a twist tie or clip to keep air out.
- Label and rest brushes bristle-up for quick resumption.
Store Brushes Overnight Without Damage
If you’re leaving brushes overnight, store them so they won’t dry out, deform, or contaminate other tools.
Rinse solvent-appropriate paint from bristles, reshape tips, and place brushes flat or hanging with bristles up in sealed containers or zip bags for overnight storage.
Label containers, keep away from heat, and follow brush maintenance tips to preserve shape and prevent contamination.
Set Up a Temporary Brush Standby for Multi-Day Projects
When you need to pause painting for a few days, set up a simple brush soaking station to keep bristles soft and paint from hardening.
For longer breaks, transfer brushes to airtight storage—like sealed tubes or containers with a little solvent or water depending on paint type—to prevent skinning.
These quick steps let you pick up work later without losing brush shape or performance.
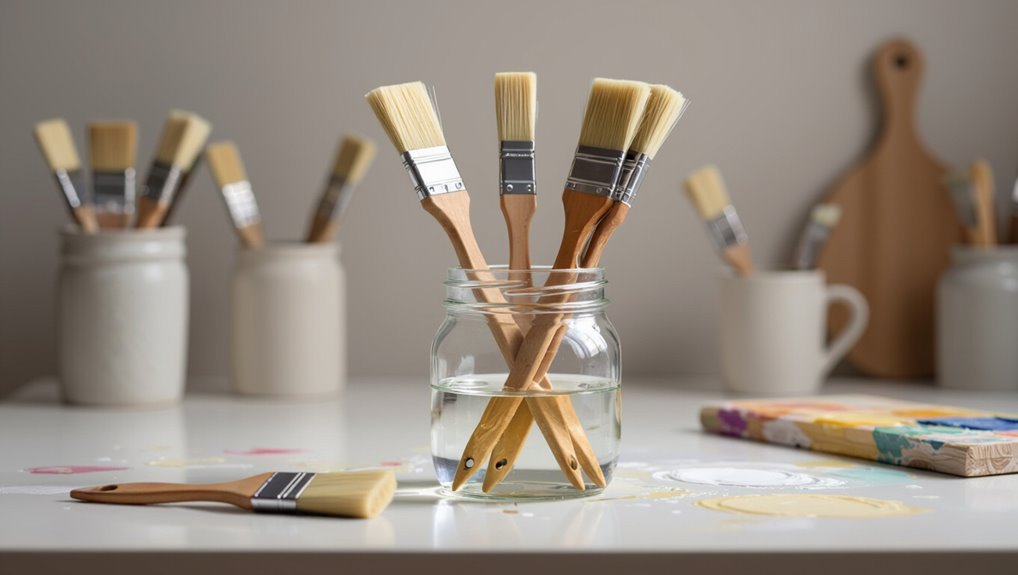
Brush Soaking Station
For multi-day paint jobs, set up a simple brush soaking station so you can pause work without ruining brushes—fill a jar or tub with the appropriate solvent (water for latex, mineral spirits or brush cleaner for oils), submerge the bristles without bending them, and seal the container to limit evaporation and odor.
Use these brush maintenance tips and soaking solutions:
- Label solvents and date jars.
- Rinse and reshape bristles before storage.
- Change solution when cloudy or smelly.
Airtight Brush Storage
Although you’re pausing painting for a few days, you can keep brushes ready by storing them airtight: wipe excess paint from the ferrule, reshape the bristles, slip each brush into a sealable plastic bag or dedicated brush tube with the head protected, and squeeze out excess air before sealing to prevent drying and contamination.
Use airtight containers or brush wraps with protective covers for moisture retention, humidity control, quick access, and smart storage solutions.
Cleaning Solvents for Latex, Oil, and Acrylic
1 key to keeping brushes usable is choosing the right cleaning solvent for the paint type: water for latex and acrylic, and mineral spirits or paint thinner for oil-based paints.
You should use appropriate latex cleaning solutions, acrylic solvent options, and oil brush care to prevent buildup and prolong life.
Follow these brush maintenance tips:
- Rinse and comb bristles promptly.
- Use separate containers per paint type.
- Dry and reshape before storing.
When and How to Use Brush Conditioners
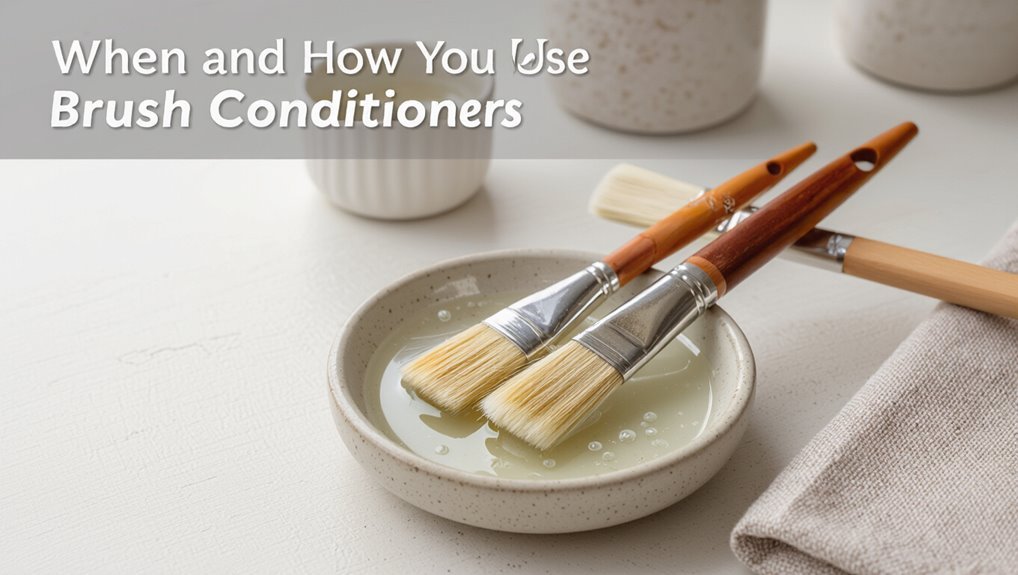
You’ll want to apply a brush conditioner after thorough cleaning and anytime bristles feel stiff or look dry.
Pick a conditioner formulated for your brush type—natural-hair vs. synthetic—and follow the product’s recommended contact time.
Use sparingly and rinse or blot excess so the conditioner doesn’t attract dust or affect future paint.
When To Apply
When your brushes feel stiff or the bristles start to fray, reach for a brush conditioner before trying to paint again — conditioning restores flexibility, reduces split ends, and makes cleanup easier.
- Use timing techniques: condition after heavy use or when paint begins to tack.
- Application tips: work conditioner through bristles, let sit briefly, then reshape.
- Reapply sparingly during long projects to keep performance consistent.
Choosing The Right Conditioner
Although many products claim to revive tired bristles, choosing the right conditioner depends on the brush type and the paint you use; check labels for compatibility with natural or synthetic filaments and with oil- or water-based paints.
For brush care, select conditioning products matched to brush types, follow cleaning schedules, use proper conditioning methods and application techniques, and monitor usage frequency to preserve bristle maintenance, protective coatings, and product longevity.
Long-Term Brush Storage Best Practices
If you want your brushes to stay in top shape for months or years, store them upright or flat in a clean, dry container with their bristles protected from pressure and dust.
You’ll extend life with simple brush maintenance and bristle care.
- Wrap heads in paper or a sleeve to avoid deformation.
- Keep lids closed to block dust and humidity.
- Label containers by paint type for easy rotation.
Common Mistakes That Ruin Bristles (And How to Avoid Them)
Don’t leave brushes exposed or they’ll harden and lose shape, and don’t rely on harsh solvents that strip natural oils from the bristles.
Clean with the right technique—work out paint at the ferrule, rinse thoroughly, and reshape while damp.
Follow those simple steps and your brushes will last far longer.
Leaving Brushes Uncovered
One common mistake that quickly ruins brushes is leaving them uncovered between coats or overnight; without protection, bristles dry, stiffen, and lose their shape.
You should protect tools to preserve brush maintenance and brush longevity.
- Wrap bristles in foil or damp cloth.
- Use an airtight container for short breaks.
- Hang brushes bristle-down or lay flat to avoid bending.
Using Harsh Solvents
Although strong solvents can seem like a quick fix, they’ll strip natural oils, warp synthetic filaments, and shorten a brush’s life if you reach for them routinely. You should recognize harsh solvent effects and choose gentler alternative cleaning solutions like mild soap or commercial brush cleaners to protect bristles and finish.
| Risk | Cause | Fix |
|---|---|---|
| Drying | Strong solvents | Soap rinse |
| Warping | Aggressive chemicals | Cleaner swap |
| Shedding | Fiber damage | Gentle care |
Improper Cleaning Technique
Cleaning with a gentle solution won’t save your brush if you handle it incorrectly—how you clean matters as much as what you use. You’ll cause bristle damage with improper rinsing, aggressive scrubbing, or soaking.
Follow simple habits to keep brushes flexible and prevent drying mid-project:
- Rinse thoroughly until water runs clear.
- Gently reshape bristles after washing.
- Store bristles upward to dry.
Troubleshooting: Save a Brush That’s Starting to Harden
If your brush’s bristles are starting to stiffen but haven’t fully clumped, you can often rescue it with a few targeted steps—acting now prevents permanent damage. Use brush revival techniques: soak briefly in appropriate solvent, gently comb, repeat until soft. For hardened bristle solutions try warm water, mild soap, or commercial restorers.
| Step | Action |
|---|---|
| 1 | Soak |
| 2 | Comb |
Budget Tools Under $20 and Simple DIY Storage Ideas
You can protect brushes on a budget by grabbing affordable brush caps that seal bristles and cut down on drying.
Try simple DIY storage hacks like repurposed jars, foam holders, or a pegboard to keep brushes upright and spaced.
These low-cost solutions under $20 will extend brush life without a big investment.
Affordable Brush Caps
Although professional brush caps exist, you don’t need expensive gear to keep brushes from drying out between coats; affordable caps and simple DIY holders under $20 work just as well.
Use budget materials focused on brush maintenance, like sealed plastic caps or silicone covers.
Try these options:
- Reusable silicone caps
- Snap-on plastic lids
- Foam sleeve with elastic band
DIY Storage Hacks
Alongside caps and sleeves, simple storage hacks keep brushes ready between sessions without breaking the bank. Use a brush roll, repurposed jars, or portable containers for quick access. Try magnetic strips and wall mounted racks for vertical storage or pegboard organization. Build DIY holders from toolbox solutions or travel cases.
| Option | Purpose |
|---|---|
| Brush roll | Portable |
| Magnetic strips | Secure |
| Repurposed jars | Accessible |
| Pegboard organization | Flexible |
| Travel cases | Protective |
When to Refresh or Replace a Brush for Performance
When performance lags, decide whether to refresh or replace your brush based on bristle condition, shape retention, and how it affects your finish.
You’ll judge brush performance by stiffness, shedding, and edge crispness; consider brush lifespan versus cost and project quality.
- Clean and reshape if bristles are flexible and hold an edge.
- Replace when shedding or splaying persists.
- Rotate brushes to extend brush lifespan.
Product Recommendations and Starter Checklist
Now that you know how to judge a brush’s performance and when to refresh or replace it, you’ll want a compact list of reliable products to get started.
Include a quality synthetic brush, brush comb, solvent-safe brush saver, airtight brush jar, and microfiber rags.
Follow simple brush maintenance tips: clean immediately, store upright, and use labeled containers.
These essential supplies prevent drying and extend brush life.
Frequently Asked Questions
Can I Use Household Items to Soften Hardened Paint on Brushes?
Yes — you can use household items to soften hardened paint on brushes: soak in vinegar or baking soda solution, then scrub for brush cleaning and paint removal; you’ll restore bristles gently without harsh commercial solvents.
How Do Environmental Factors (Humidity/Temperature) Affect Brush Drying?
High humidity slows drying, and high temperature speeds it, so you’ll adjust brush care to protect bristles and maintain moisture retention; store brushes cooler and slightly moist for longer work, and avoid hot, dry rooms that harden paint.
Are Natural-Hair and Synthetic Brushes Equally Prone to Drying Issues?
No — natural and synthetic brushes react differently; natural fibers act like thirsty sponges while synthetics stand firmer. You’ll need distinct brush maintenance and cleaning techniques, so adjust care to preserve shape, flexibility, and performance.
Can Paint Additives Extend Working Time Without Harming Finish?
Yes — you can use paint additives to extend working time, and they’ll usually be safe if you follow manufacturer instructions; test first, use recommended ratios, and avoid over-thinning to prevent compromising adhesion or finish.
Is It Safe to Leave Brushes in Water for Extended Periods?
Like leaving a plant in a puddle, it’s risky: you shouldn’t leave brushes soaking for long. For proper brush care, use short soaking techniques in water for water-based paints, then reshape bristles and dry upright to prevent damage.
Conclusion
Keep your brushes ready and your projects moving: pick the right type, rinse them well, and wrap or store them correctly between sessions. Don’t let a little dryness ruin your work—save semi-hardened bristles with proper soaking, and swap out tired brushes before they betray your finish. Think of your brushes as teammates—treat them kindly, and they’ll repay you with smooth strokes and fewer headaches. Small habits mean big results.