What Is the Best Paint for Kitchen Walls
You should use a high‑quality acrylic‑latex paint in a satin or semi‑gloss finish for kitchen walls because it balances durability, cleanability, low odor, and mildew resistance. Satin and semi‑gloss wipe clean easily and hide grime better than flat paints, while acrylic formulas dry faster and resist yellowing compared with oil‑based options. Prep, prime, and patch first for the best result. Keep going and you’ll find tips on finishes, primers, and application for lasting results.
Quick Recommendation: Best Paint for Kitchen Walls
If you want one simple choice that balances durability, cleanability, and a low-odor finish, go with a high-quality semi-gloss or satin acrylic latex paint made for kitchens and bathrooms. You’ll get a surface that wipes clean, resists stains, and holds up to steam.
Pick a sheen that masks imperfections but still scrubs well. Consider color coordination with cabinets, countertops, and hardware before you buy samples. Test swatches under your lighting and wipe them after drying.
Use proper paint tools — quality rollers, angled brushes, and painter’s tape — to guarantee even coverage and tidy edges.
Acrylic-Latex vs. Oil-Based : What to Choose
When choosing between acrylic-latex and oil-based paint for your kitchen, think about how much wear and cleaning the walls will get and which finish you prefer.
Acrylic-latex is tough, easy to clean, and comes in a variety of sheens that resist yellowing.
Oil-based gives a smoother, richer finish but needs more upkeep and longer drying times.
Durability and Maintenance
Although both acrylic-latex and oil-based paints will cover and protect your kitchen walls, they differ sharply in how they hold up and how much upkeep they demand.
You’ll find acrylic-latex resists yellowing, dries fast, and lets you clean splatters with mild soap—ideal if you change color psychology often or prefer eco friendly formulations.
Oil-based coatings offer tougher surfaces against scuffs and stains, but they yellow over time, need stronger cleaners, and require longer curing times.
Choose acrylic-latex for low-maintenance flexibility and safer indoor air; pick oil-based only when maximum abrasion resistance outweighs heavier upkeep and fumes.
Finish and Appearance
Because finish affects both how your kitchen looks and how it handles wear, you’ll want to weigh acrylic-latex and oil-based paints by their surface qualities.
You’ll find acrylic-latex dries fast, resists yellowing, and cleans with water, making touch-ups and color matching easier.
Oil-based offers a smoother, harder surface and leveling that minimizes brush marks, so high-traffic trim can look pristine longer.
Consider paint sheen: flat hides imperfections, eggshell and satin balance washability and subtle shine, while semi-gloss and gloss boost cleanability at the cost of showing flaws.
Choose based on upkeep, appearance, and how much sheen you want.
Why Mildew-Resistant and Low-VOC Formulas Matter
If your kitchen sees steam, splatters, or occasional leaks, mildew-resistant paint helps keep walls clean and odor-free while protecting the surface underneath. You’ll want formulas that pair mildew prevention with low-VOC chemistry so your air stays healthier during and after painting.
Benefits include:
- Easier cleaning of greasy, damp areas
- Less risk of staining and mold growth
- Lower indoor chemical exposure during application
- Faster reoccupation after painting due to VOC reduction
- Longer-lasting appearance with less maintenance
Choose products labeled mildew-resistant and low-VOC, follow manufacturer prep instructions, and ventilate while painting for best results.
Which Paint Finishes Work Best for Kitchens
When choosing a finish for kitchen walls, consider how much moisture, grease, and traffic the area gets. Satin and semi-gloss are the most practical because they resist stains and wipe clean easily.
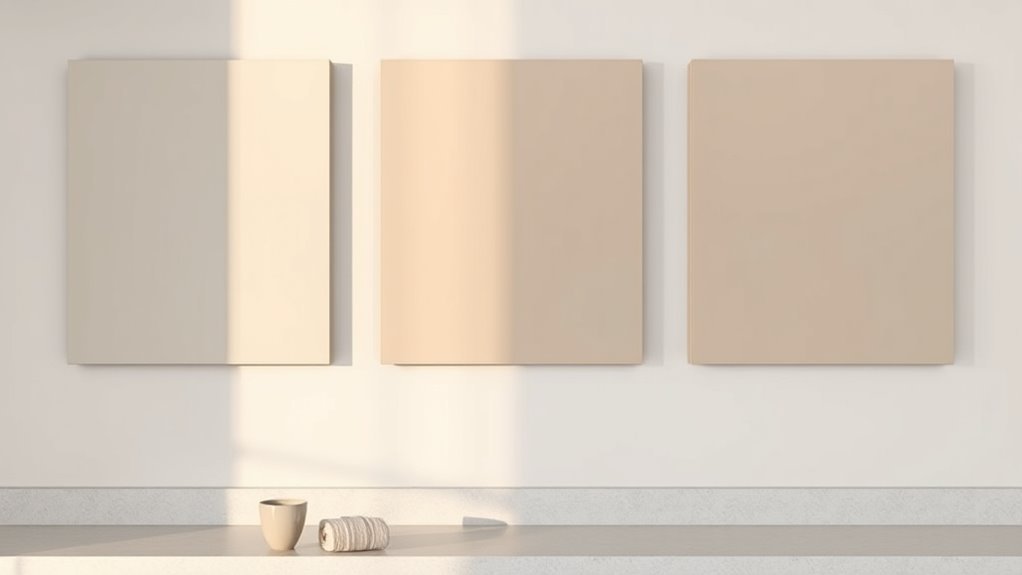
Eggshell can work in low-traffic zones where you want a softer look. You’ll pick finishes based on maintenance, sheen preference, and the mood you want—Color psychology matters: higher sheens reflect light and feel energetic; flatter sheens feel cozy.
Choose eco-friendly options with low-VOC formulations to reduce odors and toxins. Test samples to confirm appearance under your kitchen’s lighting before committing.
Best Finish by Kitchen Condition (High-Traffic, Humid, Rental)
If your kitchen gets heavy use, you’ll want a finish that stands up to scuffs and frequent cleaning—satin or semi-gloss are your best bets for high-traffic walls.
In humid kitchens, pick a moisture-resistant formula with mildew inhibitors and a finish that won’t peel or blister.
For rentals, choose an easy-to-clean, durable sheen that keeps touch-ups minimal and tenant turnover simple.
High-Traffic Durability
High-traffic kitchens demand a finish that stands up to scuffs, spills, and frequent cleanings, so you’ll want something both tough and easy to maintain. Choose a durable eggshell or satin for walls; they clean well and resist wear.
Consider how Color palettes affect perceived cleanliness and touch-up needs, and look for Eco friendly options with low VOCs.
- Pick satin or eggshell for resilience
- Test samples under typical lighting
- Use scrubbable formulas for longevity
- Match trim with semi-gloss for protection
- Keep a small touch-up kit on hand
These choices keep busy kitchens looking fresh.
Moisture-Resistant Options
Because kitchens vary in humidity and use, you’ll want a finish that resists moisture, mold, and repeated cleaning without showing wear. Choose semi-gloss or satin for humid or high-traffic areas; they shed water, tolerate scrubbing, and resist staining.
For rentals, durable eggshell with a mildew-resistant additive balances appearance and maintenance. Look for paints labeled moisture- or mold-resistant and check VOC levels—eco-friendly formulations protect occupants and finish longevity.
Remember color psychology: lighter tones hide humidity effects and reflect light, while warm hues mask grease. Always prep surfaces, use proper ventilation, and follow manufacturer cure times for best results.
Paints That Scrub Clean and Resist Stains
When you’re choosing kitchen paint, prioritize finishes and formulations that stand up to scrubbing and resist stains so cleanup stays fast and effective. You want a washable, low-VOC option that keeps color palettes fresh and includes eco-friendly options when possible.
Consider these features:
- High-sheen or satin finishes for easier wiping
- Stain-blocking primers to prevent odors and marks
- Mildew-resistant additives near sinks and stoves
- Durable acrylic or epoxy-modified paints for heavy use
- Paints labeled “scrubbable” or meeting ASTM standards
Pick colors and products that balance maintenance with style so your kitchen stays clean and inviting.
How to Test Paint Durability and Scrub Resistance at Home
If you want to know whether a paint will stand up to daily messes, you can run a few simple home tests that simulate scrubbing, stains, and moisture exposure.
First, apply swatches on a hidden wall or board; note how Color psychology influences your choice under room light.
Apply paint swatches on a hidden wall or board; observe how color psychology shifts under your room’s light.
After curing, perform a wet-scrub test with mild soap and a soft sponge, increasing pressure and cycles.
Try a grease spot from cooking oil, let sit, then clean.
Test moisture by exposing to a damp cloth for minutes.
Consider Eco friendly options when sampling finishes, and record results for comparison.
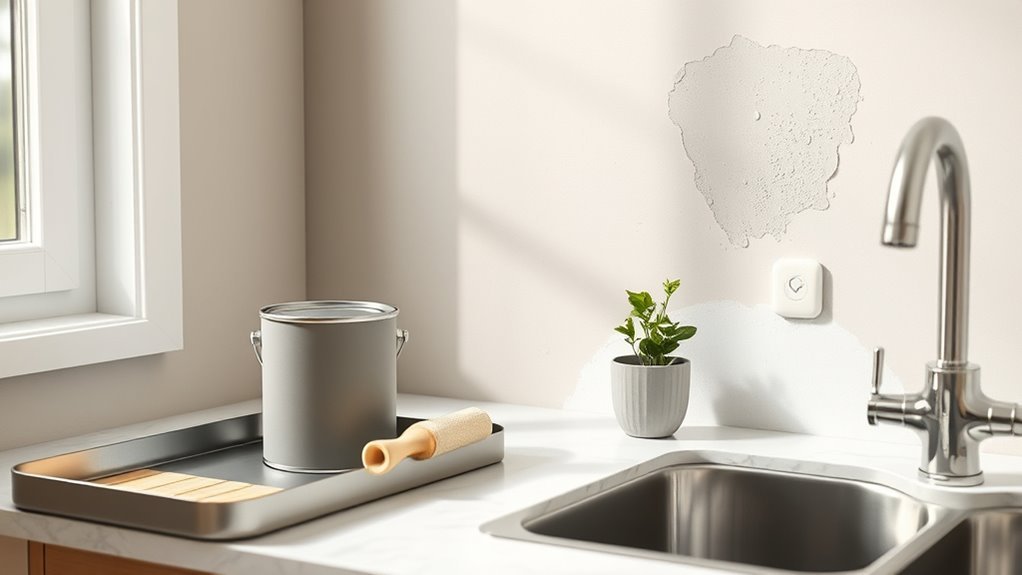
Prep & Primer for Long-Lasting Kitchen Walls
Before you paint, you’ll clean and degrease surfaces so oil and grime don’t ruin adhesion. Patch holes and cracks, sanding smooth so the finish looks even.
Then pick a primer suited to your wall type and stains to lock in coverage and boost durability.
Surface Cleaning And Degreasing
Why skip straight to painting when proper cleaning makes the job last? You’ll remove grease, grime, and residue so primers and paint adhere evenly. Choose cleaners safe for your chosen color palettes and consider eco friendly options to limit fumes.
- Test a small area first to avoid finish damage.
- Use mild detergent, warm water, and a sponge for general grime.
- For greasy spots, apply a degreaser or trisodium phosphate alternative.
- Rinse thoroughly and let surfaces dry completely before priming.
- Wear gloves and ventilate the room to protect skin and breathing.
Clean surfaces equal longer-lasting kitchen walls.
Repairing Holes And Cracks
Once you’ve cleaned the walls, patching holes and smoothing cracks guarantees primers bond and paint looks flawless. You’ll need the right filler, a few basic tools, and steady technique to get professional results.
Use spackling for small dents and a joint compound for larger gaps. Press filler firmly, let it dry, then sand flush with surrounding wall textures. Feather edges to avoid visible repair lines that conflict with your color schemes.
For hairline cracks, apply flexible caulk. Clean dust away before priming.
Inspect repairs under natural light to make certain smoothness and consistency across the wall before you proceed.
Choosing The Right Primer
Which primer will give your kitchen walls the best foundation? You’ll pick one based on surface, stain-blocking needs, and your chosen color palettes. Use a primer that seals patched areas, promotes adhesion, and pairs with eco friendly options if you want low-VOC choices.
- Use a stain-blocking primer for grease and water marks.
- Choose bonding primer for glossy or slick surfaces.
- Pick tinted primer if shifting between stark shades.
- Opt for shellac-based primer for severe stains.
- Consider latex-based, low-VOC primers for everyday use.
Apply evenly, sand lightly between coats, and let the primer cure before painting.
Application Tips for Smooth, Streak-Free Walls
If you want streak-free, professional-looking kitchen walls, start by preparing the surface and using the right tools: clean and sand any rough spots, fill holes, and apply a quality primer where needed.
Work in thin, even coats with a high-quality roller and angled brush for edges; avoid overworking wet paint.
Maintain a wet edge, overlap passes slightly, and sand lightly between coats for smoothness.
Consider color coordination when planning layers and test swatches under kitchen light.
Improve airflow with ventilation improvements and a fan to speed drying and reduce dust.
Clean tools promptly to preserve finish quality.
Specialty Coatings for Backsplashes and Trim
After you’ve nailed surface prep and smooth wall coats, give extra attention to backsplashes and trim—they face more wear and need different finishes. You’ll pick coatings that resist moisture, stains, and scrubbing while matching existing wall textures.
Use paint masking to protect counters and hardware, and choose a finish that complements gloss levels.
- High-gloss enamel for trim durability
- Satin or semi-gloss for backsplashes, easy cleaning
- Acrylic urethane for heavy-use areas
- Clear protective topcoat over decorative tiles
- Flexible caulk and sealants at joints
Test samples on actual surfaces before committing.
Budget vs. Premium Paints : What the Cost Buys You
While cheaper paints save money upfront, you’ll often pay more over time in coats, touch-ups, and wear. Premium formulas give better coverage, durability, and stain resistance so you need fewer applications and less maintenance.
You’ll choose budget options for quick updates or tight projects, but expect more frequent repainting and struggles covering bold color schemes or uneven wall textures.
Premium mid- to high-end paints lay down smoother, mask imperfections, and resist cooking stains and scuffs better, so you save on labor and supplies.
Factor in sheen, VOCs, and warranty; sometimes paying more upfront reduces total cost and effort.
Signs It’s Time to Repaint and Choosing Your Next Coat
When your kitchen walls show chipped paint, stubborn stains that won’t wipe away, or faded color from years of heat and sunlight, it’s time to repaint. Evaluating the severity of wear helps you choose the right product and finish for your next coat. You’ll assess damage, consider color psychology to refresh mood, and weigh durability against budget.
Pick semi-gloss or satin for washability, or matte for a cozy look. Also explore eco-friendly options for low-VOC air quality. Decide if spot repairs suffice or a full repaint is needed, then select primer and topcoat accordingly.
- Inspect for chips and stains
- Test color samples
- Choose finish by traffic
- Prioritize low-VOC brands
- Plan prep and timeline
Frequently Asked Questions
Can Paint Color Affect Perceived Kitchen Temperature?
Yes — you’ll notice color psychology influences temperature perception: warm hues like reds and yellows make a kitchen feel cozier, while cool blues and greens create a fresher, cooler ambiance, so pick shades to match desired comfort.
How Does Natural Light Change Paint Appearance Over Time?
Like a slow sunrise, you’ll notice natural light shifts paint appearance: Color fading accelerates where rays hit most, and light reflection changes tones across walls, so you’ll plan touch-ups and choose pigments resilient to UV.
Are There Pet-Safe Paint Options for Kitchens?
Yes — you can choose pet safe paints and eco friendly kitchen paints; pick low‑ or zero‑VOC, non‑toxic formulas, let areas ventilate, use water‑based enamel finishes for durability, and keep pets away during application and curing.
Can You Paint Over Wallpaper in a Kitchen?
Yes—you can paint over wallpaper, but it’s risky. Think Sisyphus: skip Wallpaper removal and you’ll struggle. You’ll want thorough Surface preparation, secure seams, prime with bonding primer, then paint for a lasting, smooth finish.
How Long Should Painted Kitchen Walls Off-Gas Before Returning Furniture?
You should wait about 48–72 hours for initial paint curing, but full paint curing and off gassing duration can take up to two weeks; ventilate, keep humidity low, and delay returning furniture until odors noticeably reduce.
Conclusion
You’ve walked through paint choices like a seasoned traveler, weighing acrylic-latex’s ease against oil’s durability, and choosing finishes that stand up to steam and fingerprints. Like a reliable compass, mildew-resistant, low-VOC formulas—and the right finish for your kitchen’s traffic and humidity—keep you on course. Follow application tips, use specialty coatings where needed, and recognize when wear signals a repaint. With smart choices, your kitchen will age gracefully, ready for whatever comes next.