Can Exterior Vinyl Shutters Be Painted
Yes — you can paint exterior vinyl shutters if you prep them properly and use products made for plastic. Clean, lightly sand, and apply a vinyl-bonding primer, then use high-quality exterior acrylic paint in a lighter shade to reduce heat buildup. Avoid extreme weather while painting and test a small area first to check adhesion and color. Proper technique prevents warping and peeling, and if you keep going you’ll find guidance on materials, steps, and when replacement is wiser.
Can You Paint Exterior Vinyl Shutters? : Short Answer

Yes—you can paint exterior vinyl shutters, but you should do it carefully. You’ll find suitable products and color options that won’t damage the vinyl if you pick paints formulated for plastic.
Prep matters: clean, scuff, and prime with a plastic-bonding primer so paint adheres. Test a small area to confirm compatibility and desired sheen.
Consider weather considerations: avoid painting in extreme heat, freezing temps, or high humidity, and allow proper cure time before exposure.
When you follow these steps, you’ll get a durable finish that updates curb appeal without warping or peeling.
When to Paint Vinyl Shutters : Pros & Cons
Before you decide to paint, check the shutters for cracks, warping, or loose slats so you know if coating will help or hide damage.
Remember vinyl takes darker colors poorly and can warp with too much heat, so pick shades and finishes that suit the material.
Also weigh the extra upkeep—recoats and inspections—to decide if painting gives the long-term benefits you want.
Assess Shutter Condition
Wondering whether your vinyl shutters need a fresh coat or just a good cleaning? Inspect for cracks, warping, and loose mounts first. Check hardware durability—hinges and screws should be rust-free and tight; replace corroded parts before painting.
Evaluate surface integrity: chalking, fading, or peeling indicate age-related wear rather than paint failure. Test weather resistance by wiping and drying a small area; persistent staining or soft spots suggest underlying damage.
If shutters flex excessively or have structural flaws, painting won’t fix them. Prioritize repairs that restore fit and function so a new finish will last longer.
Consider Color Limitations
Because vinyl absorbs heat differently than wood or metal, you’ll need to pick colors carefully to avoid warping or accelerated fading. You should balance Color matching with durability and keep aesthetic considerations practical. Limit dark, high‑absorbance hues and test samples in sunlight.
- Choose lighter shades to reduce heat gain and check samples for fading over weeks.
- Match trim and siding tones for cohesive curb appeal, but prioritize vinyl-safe pigments.
- Use acrylic latex formulated for vinyl; confirm adhesion and flexibility to prevent peeling.
Don’t assume any paint works—verify product specs and test small areas first.
Weigh Long-Term Maintenance
When should you paint vinyl shutters, and is it worth the effort long term? You’ll weigh initial improvement against ongoing upkeep.
If your shutters show discoloration or you need color matching to coordinate with trims, painting can be sensible. Choose coatings rated for plastic to guarantee paint durability; otherwise you’ll face peeling and frequent touch-ups.
Expect to clean annually, inspect for adhesion, and repaint every 5–10 years depending on exposure and product quality.
If low maintenance matters more than occasional updates, consider replacing with colored vinyl. If you like periodic refreshes, painting remains a viable option.
Best Paint & Primer for Vinyl Shutters
Before you paint, prep the shutters by cleaning, sanding lightly, and using a deglosser or primer to guarantee adhesion.
You’ll want a high-quality exterior acrylic latex paint and a bonding primer formulated for vinyl to prevent peeling and fading.
Follow manufacturer instructions for drying times and apply thin, even coats for best results.
Surface Preparation Steps
If you want your paint to stick and stay, start by cleaning the shutters thoroughly, deglossing any shiny areas, and sanding just enough to scuff the surface. You’ll protect paint durability and help with color matching later.
Next, remove hardware and mask nearby trim. Follow this simple prep checklist:
- Wash with mild detergent, rinse, and let dry completely.
- Use a liquid deglosser or fine sandpaper (220–320 grit) to dull glossy spots.
- Wipe with solvent or tack cloth to remove dust, then inspect for cracks or loose edges.
Proper prep guarantees even adhesion and a longer-lasting finish.
Best Paint Types
Although vinyl doesn’t absorb paint like wood, you can get a durable, color-rich finish by choosing the right paint and primer combo.
Start with a solvent-based bonding primer made for vinyl; it promotes adhesion and resists peeling.
For topcoat, use a high-quality exterior acrylic latex or 100% acrylic paint formulated for plastics—these flex with temperature changes.
Pick a mid to low gloss paint sheen for easy cleaning and subtle highlight; avoid very dark colors that trap heat.
Consider color contrast with siding and trim to boost curb appeal.
Test a small area first to guarantee compatibility and coverage.
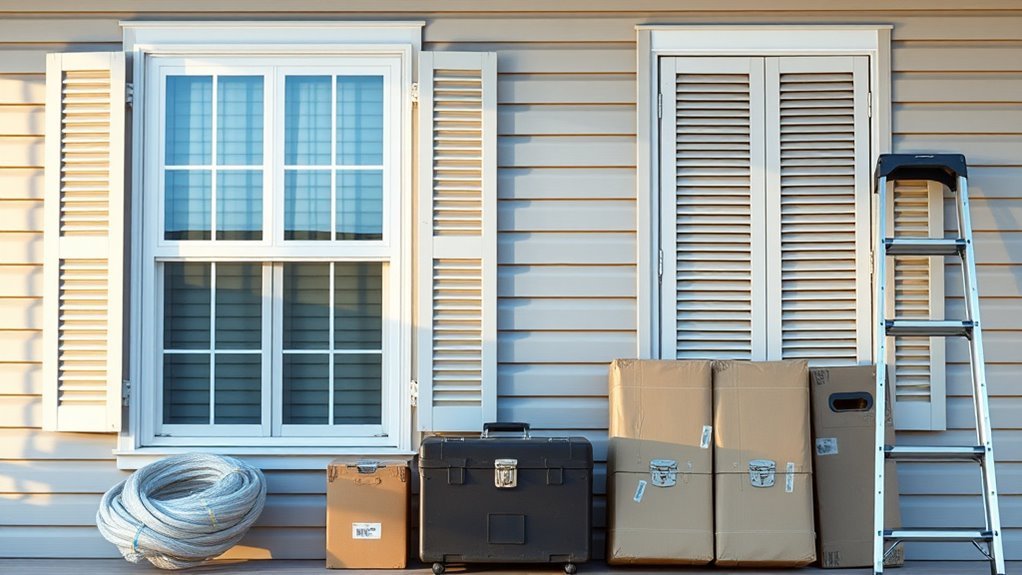
Prep Your Shutters: Cleaning, Sanding, Masking
Once you’ve removed the shutters from their hinges, give them a thorough clean to knock off dirt, mildew, and old chalky paint so the new finish will stick.
Next, assess for cracks, loose hardware, or deep stains.
Lightly sand glossy areas to scuff the surface; don’t over-sand vinyl.
Use a mild degreaser, rinse, and let dry completely.
Mask louvers, hinges, and surrounding trim with low-tack tape before priming or painting.
Consider finish options and color matching against siding and trim to guarantee a cohesive look.
Follow manufacturer cleaning and primer recommendations for best adhesion.
- Clean thoroughly
- Sand lightly
- Mask carefully
Apply Paint: Brush, Roller, or Spray – Technique & Dry Times
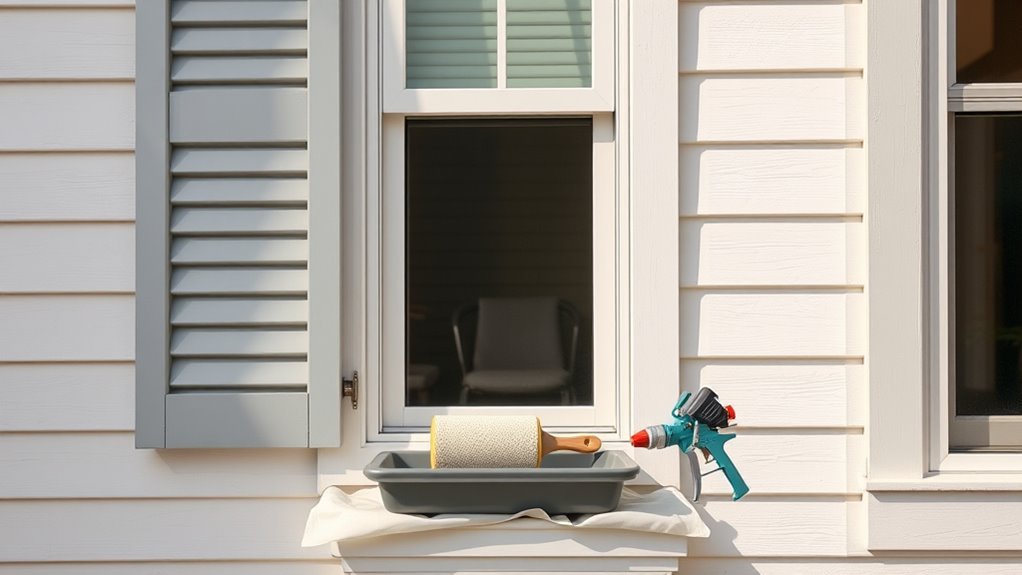
With shutters cleaned, sanded, and masked, you’re ready to pick the application method that fits your skill, time, and desired finish: brush for control and detail, roller for smooth, even coverage on flat surfaces, or spray for the fastest, most uniform result on louvers and intricate profiles. Use thin, even coats; watch paint thickness to avoid drips. Allow recommended flash times between coats and full cure before reinstalling. Match color carefully—test a small area in sunlight. Choose technique based on shutter profile and your comfort.
| Method | Speed | Best for |
|---|---|---|
| Brush | Slow | Edges |
| Roller | Medium | Flats |
| Spray | Fast | Louvers |
Durability, Heat, and Warranty: What Painting Changes
When you paint vinyl shutters, you change how they handle heat and stress, and that can affect durability and warranty coverage. You’ll need to balance aesthetics and performance: darker paints absorb more heat, increasing thermal expansion and fatigue.
Color consistency matters for appearance over time, and Paint adhesion affects how long coatings protect the substrate. Consider manufacturer limits before altering shutters.
Color consistency influences long-term appearance, and proper paint adhesion extends protection—always check manufacturer limits before altering shutters.
- Choose lighter tones to reduce heat load and minimize warping.
- Use paints formulated for vinyl to improve Paint adhesion and maintain Color consistency.
- Keep documentation of products and techniques to preserve any transferable warranty terms.
Fixing Paint Failure on Vinyl Shutters (Common Problems & Repairs)
If paint on your vinyl shutters peels, chalks, or cracks, you can repair most issues without replacing the shutters—provided you diagnose the cause correctly and use the right prep and materials.
Start by cleaning with mild detergent, rinsing, and letting shutters dry.
Sand glossy or flaking areas, remove chalk with a TSP substitute, and apply a vinyl-safe primer.
Use high-quality exterior acrylic paint formulated for plastics to maximize paint durability.
Match color coordination to trim and siding, testing samples on a spare shutter.
Recoat per manufacturer directions and inspect yearly for early signs of failure to touch up promptly.
Replace or Hire a Pro? Deciding Instead of Painting
You’ve cleaned, sanded, and tested paint options, but sometimes repair isn’t the best route — and you’ll need to decide whether to replace the shutters or hire a pro. Weigh condition, budget, and time: deep cracks or warped panels often mean replacement; widespread fading might justify pro repainting.
- Condition: assess structural damage versus cosmetic issues to avoid wasted effort.
- Cost analysis: compare material and labor for replacement against professional refinishing estimates.
- Practical limits: factor DIY challenges like ladder safety, surface prep, and warranty loss.
Make a clear choice based on longevity, expense, and your skill level.
Frequently Asked Questions
Do Painted Vinyl Shutters Affect Home Resale Value?
Yes — painted vinyl shutters can help resale value if you choose tasteful colors and guarantee good paint adhesion, but color fading or peeling will hurt curb appeal, so use proper prep, primer, and UV-resistant paint.
Can You Paint Vinyl Shutters to Match Brick or Stone?
Yes — you can paint vinyl shutters to match brick or stone; you’ll need professional color matching and high-quality exterior paint formulated for vinyl to guarantee color matching accuracy and long-term paint durability against fading and peeling.
Are There Eco-Friendly Paint Options for Vinyl Shutters?
A stitch in time saves nine: you can use eco friendly paints like low-VOC acrylics or water-based coatings to protect color and guarantee vinyl preservation, and you’ll maintain durability while reducing fumes and environmental impact.
How Often Should Painted Vinyl Shutters Be Cleaned?
You should clean painted vinyl shutters every 3–6 months to maintain appearance and longevity; regular shutter maintenance prevents grime buildup, and adjusting cleaning frequency for your local climate and exposure guarantees coatings and finishes stay protected.
Can Pets or Birds Damage Painted Vinyl Shutters?
Don’t worry—you can protect them. You’ll still face pet scratches and bird droppings, so inspect regularly, wash droppings off promptly, and use durable paint plus clear protective coating to minimize damage and make repairs easy.
Conclusion
Yes, you can paint exterior vinyl shutters, but do it right. Clean and scuff them, use a quality vinyl primer and acrylic latex paint, and avoid dark colors that trap heat. Brush, roller, or spray for even coverage; allow proper drying between coats. Painting can void warranties and may need touch-ups over time. If shutters are warped or brittle, replacement might be wiser. Think of painting as giving vinyl a tailored coat—refreshing, but not a cure-all.