Can I Put Latex Over Oil Paint
Yes — you can put latex over oil paint, but only after proper prep. Clean well, remove loose paint, sand or degloss to dull the sheen, then use a high-adhesion, oil-blocking primer like shellac or a bonding primer. Test a small patch first to confirm adhesion and cure fully before topcoating. Apply thin, even latex coats and watch humidity and dry times. Keep going for the full steps, tips, and troubleshoot guidance.
Can You Safely Apply Latex Over Oil Paint? Quick Bottom Line
Even though it’s tempting to slap latex paint over oil for a quick refresh, you usually shouldn’t do it without prep — latex won’t adhere well to shiny oil surfaces and can peel or flake.
Tempting, but don’t paint latex over glossy oil without scuffing and priming first—or expect peeling.
You can, however, do so if you guarantee proper latex compatibility: scuff or sand glossy oil, clean off dust and grease, and apply a high-quality bonding primer formulated for oil-to-latex conversions.
If oil paint is failing, consider oil paint removal or full stripping before repainting.
Test a small area first; if adhesion holds after curing, proceed.
Skipping these steps risks costly peeling and rework.
When to Use Latex vs. Keep Oil: Surface, Durability, and Environment
When deciding whether to keep oil paint or switch to latex, focus on the surface, expected wear, and the environment you’ll be painting in.
You should assess surface compatibility: porous or chalky oil can prevent latex from bonding, while clean, glossy oil needs deglossing or a primer.
For high-traffic areas, retain oil where its hardness and stain resistance matter; choose latex for easy touch-ups and flexibility.
Consider Environmental considerations: oil gives stronger fumes and longer cure times, while latex is lower-VOC and better for poorly ventilated spaces.
Balance durability needs against indoor air quality and maintenance preferences.
How to Test Adhesion Before You Paint
Before you roll on a coat of paint, test adhesion so you don’t end up with peeling or blistering weeks later. You’ll check latex compatibility by trying small, controlled spots. Pick inconspicuous areas, clean lightly, and apply a tiny patch of latex. After it dries, use a simple tape test and a scraper to assess bonding. Repeat in multiple spots to confirm consistency.
| Test step | What to look for |
|---|---|
| Patch | Uniform film, no beading |
| Dry time | Normal cure, no tackiness |
| Tape pull | No lifting |
| Scrape | No flaking or soft spots |
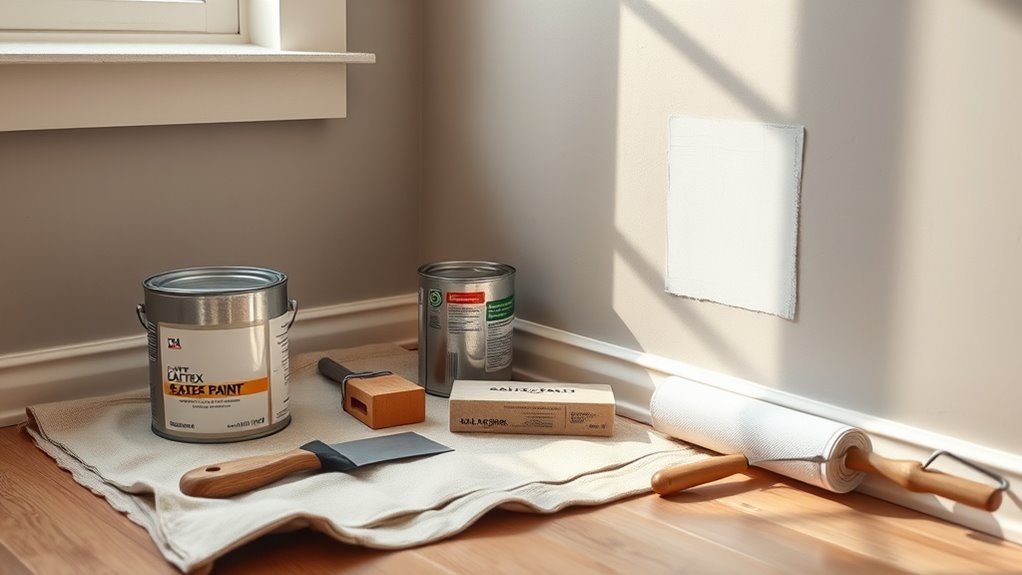
Prep, Tools, and Time You’ll Need: Cleaning, Sanding, Deglossing
You’ll start by cleaning the surface thoroughly to remove grease, dust, and mildew so the new paint can stick.
Then you’ll sand to scuff the glossy oil finish and improve mechanical adhesion.
Finally, degloss with a solvent or liquid sandpaper where needed to guarantee an even, reliable bond.
Clean Surfaces Thoroughly
Although latex paints can adhere well to oil, clean, properly prepared surfaces make the difference between a short-lived job and a lasting finish. You’ll remove grease, smoke residue, and dirt with a trisodium phosphate solution or a strong household cleaner, rinse thoroughly, and let surfaces dry.
Check for loose or flaking oil paint and scrape it away. Wipe walls with a tack cloth to lift fine dust before priming.
Cleaning preserves desired texture options and helps achieve accurate color matching when you topcoat. Give cleaning the time it needs—rushed prep invites adhesion failures and visible flaws later.
Sand For Adhesion
When you’re switching from oil to latex, sanding is the step that actually gives new paint something to grip onto. Plan on both abrasion and deglossing so primers and topcoats bond reliably. You’ll sand to remove gloss, knock down imperfections, and create subtle texture enhancement so latex primers adhere.
Use 120–220 grit depending on smoothness; hand-sanding trim and orbital for larger areas. Sand lightly where color blending edges meet to avoid visible progressions. Clean dust between steps and inspect for missed spots.
Expect an hour for small rooms, more for detailed trim—proper sanding saves repaint headaches.
- Relief: a surface finally ready
- Confidence: smoother results
- Pride: lasting finish
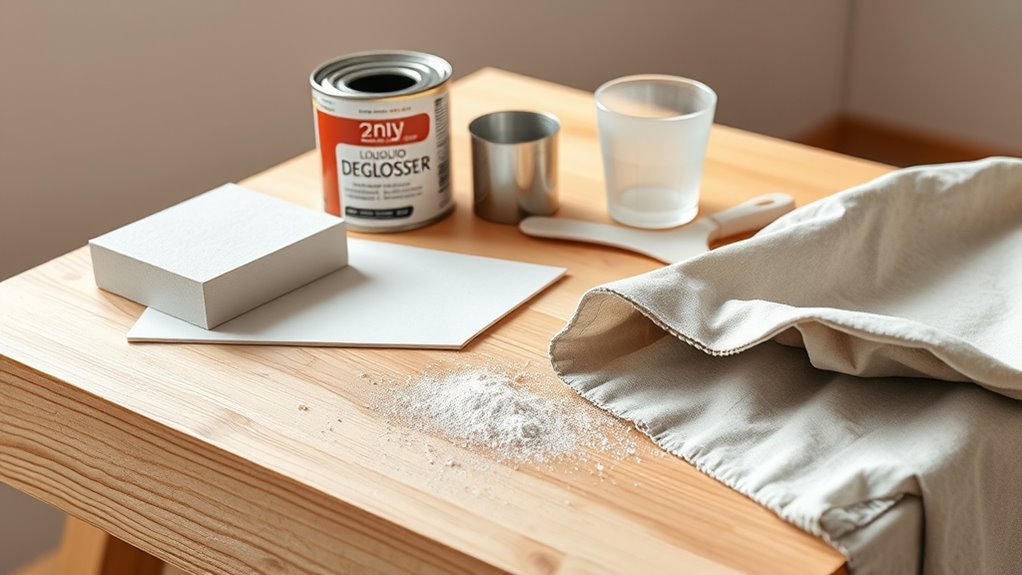
Degloss With Solvent
After sanding has knocked down gloss and smoothed imperfections, deglossing with a solvent cleanser completes the prep by removing oils, waxes, and unseen residues that sanding alone won’t lift. You’ll need nitrile gloves, a lint-free cloth, and a commercial deglosser or mineral spirits.
Work small areas, wiping firmly in one direction, then allow full evaporation. Test a hidden section for latex compatibility before proceeding; some solvents can affect underlying finishes.
Surface deglossing guarantees the new latex bonds well and prevents adhesion failure. Expect 15–30 minutes per panel plus drying; don’t rush primer and topcoat application.
Best Primers for Painting Latex Over Oil
Because oil and latex bind differently, choosing the right primer is the single most important step if you want a long-lasting latex finish over existing oil paint. You’ll want a primer formulated for latex compatibility that also locks to oil paint adhesion—look for high-bonding, stain-blocking products labeled for oil-to-latex conversions.
Choose a high-bonding, oil-to-latex primer to ensure lasting adhesion and a smooth, peel-free finish
Shellac or oil-based bonding primers and modern acrylic-urethane primers often work best. Select one suited to your surface and environment.
- Relief: know you chose a primer that prevents peeling.
- Confidence: trust in lasting adhesion.
- Pride: enjoy a smooth, renewed surface.
Application Tips and Dry Times for a Lasting Finish
Start by sanding, degreasing, and spot-priming the oil surface so the latex has a clean, keyed base to adhere to.
Follow manufacturer drying-time guidelines between primer and topcoats, and wait longer in cool or humid conditions to avoid trapping solvents.
Use thin, even coats with proper tools and keep a wet edge to prevent lap marks for a durable finish.
Surface Preparation Steps
Before you apply latex over oil paint, thoroughly clean and sand the surface so the new finish will adhere and last. You’ll remove grease, chalk, and loose paint, then degloss with sanding or a chemical deglosser.
Test paint compatibility with a small patch and address color matching before priming. Choose a high-quality bonding primer designed for oil to latex conversion. Patch imperfections, sand smooth, and wipe dust away.
Work in temperatures the product recommends and avoid humidity spikes.
- You’ll feel relief seeing smooth, primed walls.
- You’ll gain confidence with a successful test patch.
- You’ll enjoy a renewed space.
Drying Time Guidelines
Once your primed surface is clean and smooth, give careful attention to drying times so each coat bonds properly and prevents peeling or tackiness. You’ll wait longer than you expect when shifting from oil to latex; follow manufacturer cure times for the oil primer and allow full dryness before latex.
Monitor humidity and temperature—high humidity slows curing and alters paint texture. Thin latex coats dry faster; avoid heavy buildup.
If you’ve done any color mixing, let mixed batches rest per label to stabilize pigments. Patience here prevents adhesion failures and uneven sheen, ensuring a durable, uniform finish.
Application Technique Tips
Although working over an oil-primed surface demands patience, you’ll get the best results by applying thin, even latex coats with the right tools and pacing—use a high-quality synthetic brush for cutting in, a short-nap roller for smooth surfaces, and keep a wet edge to avoid lap marks.
Sand lightly between coats, use a bonding primer if needed, and wait recommended dry times to prevent tackiness.
Focus on color matching and subtle texture blending for a seamless look. Work in consistent light, and don’t rush cure times.
- Pride when the finish feels flawless
- Relief after careful sanding pays off
- Joy in a room refreshed
Fixing Peeling, Bubbling, and Other Common Problems
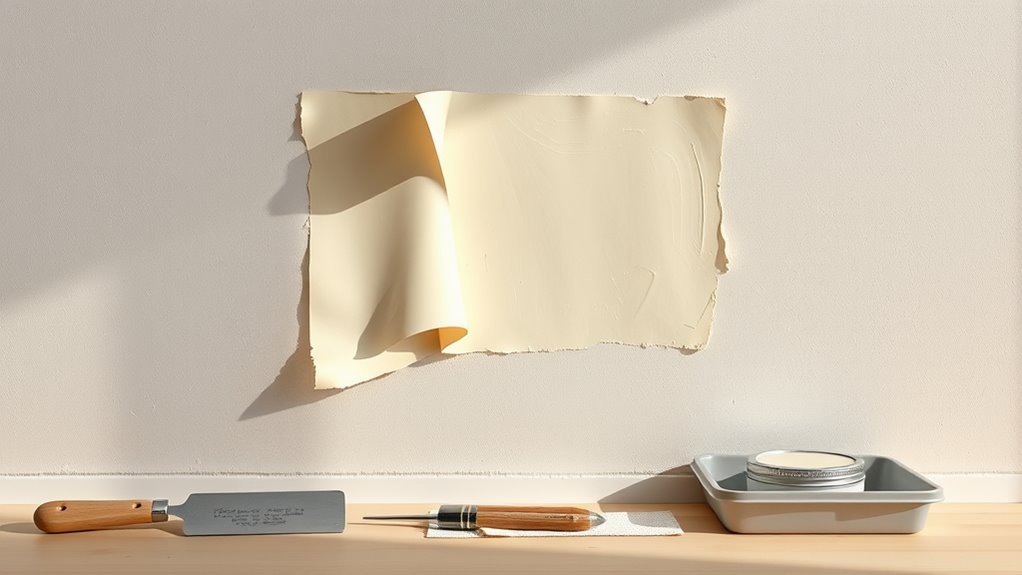
If your latex paint is peeling or bubbling over an oil-based layer, you’ll want to stop and assess the extent of the damage before repairing so you can choose the right fix.
Small, isolated blisters often respond to simple sanding and priming, while widespread peeling usually means you’ll need to completely remove the compromised paint back to a sound substrate.
For oil paint maintenance, remove loose material, sand to feather edges, clean residue, and test latex compatibility with a small patch.
Prime with a high-adhesion, oil-blocking primer, then apply latex.
For stubborn areas, strip to bare substrate and refinish for lasting results.
Frequently Asked Questions
Will Latex Over Oil Affect Indoor Air Quality Long-Term?
Yes — applying latex over oil can worsen indoor pollution over time if solvent and VOC residues remain; you’ll risk long term health effects like respiratory irritation and increased VOC exposure unless you properly prep, prime, and ventilate consistently.
Can I Use Latex Over Oil on Exterior Trim?
Like grafting a new branch, yes you can use latex over oil on exterior trim if you focus on surface preparation and guarantee paint adhesion: scuff, clean, prime with a bonding primer, then apply quality latex for durable finish.
Is Oil Paint Residue Harmful to New Latex Paint?
Yes — oil residue can harm new latex paint: if you don’t fully remove or degloss it, paint adhesion will fail, causing peeling and bubbling. You should clean, sand, or prime to guarantee proper bonding.
Can I Apply Wallpaper Over Latex Painted Oil Surfaces?
Yes — you can apply wallpaper over latex-painted oil surfaces if you guarantee proper surface preparation: clean, sand, and prime glossy oil remnants, then use suitable adhesive to maximize wallpaper adhesion and prevent peeling or bubbling.
Does Color Fade Differ When Latex Covers Oil Paint?
You’re unlikely to see instant rainbows, but you will notice differences: latex over oil can alter color stability because poor paint compatibility causes uneven fading and yellowing, so prep and primer are essential to maintain true color.
Conclusion
Yes—you can, but only with the right prep and primer. If the oil surface’s sound, clean, scuffed, and primed with a high-adhesion bonding or oil-blocking primer, latex will stick, look good, and flex with humidity. Skip the prep and you’ll get peeling, bubbling, and flaking. Test a small area first, follow drying times, and use proper tools for smooth coverage. When in doubt, consult a pro to avoid wasted effort and expense.