Does Plaster Have to Be Dry Before Painting
Yes — you should wait until plaster is surface-dry and has lost most internal moisture before painting to avoid poor adhesion, blistering, or discoloration. Thin skim coats often dry in a few days; gypsum sets quicker, lime and cement-based plasters can take weeks to months. Use touch checks, a moisture meter, or look for uniform color and no tackiness. Prime with a breathable sealer for best results, and keep going to learn timing, tests, and fixes.
Quick Answer: When Can You Paint Plaster?
How soon can you paint plaster? You can usually paint plaster after it’s surface-dry and cured enough to support paint adhesion—often 2–7 days for thin coats, longer for thick or humidity-exposed work.
Test by pressing a fingernail: if it skims without crumbling, it’s ready for primer and paint. Rushing risks trapped moisture that weakens plaster durability and causes peeling or blistering.
Use a breathable primer designed for masonry to maintain moisture balance and improve adhesion. When in doubt, wait longer; proper curing preserves plaster durability and ensures your paint job bonds and lasts.
Does Plaster Need to Be Fully Dry Before Painting?
You don’t always have to wait until plaster is bone-dry before painting, but you should be careful about how much moisture remains. If plaster still feels cool or damp, moisture can affect adhesion, cause blistering, or darken plaster texture and create uneven color variation.
Test with a damp-free fingertip and a moisture meter if unsure. Sealers or mist coats can be used once the surface is surface-dry to stabilize texture and reduce suction, but avoid trapping heavy moisture.
Only proceed when the substrate is dry enough to accept paint without deforming finish; small residual dampness needs caution, not haste.
Drying Times by Plaster Type and Thickness (Lime, Gypsum, Cement)
Different plaster types dry at different rates: lime can take weeks, gypsum usually dries in days, and cement often falls between the two.
You’ll also find that thicker coats slow curing dramatically, so a 10mm layer won’t dry as fast as a skim.
Keep those differences in mind when planning painting schedules.
Drying Time By Type
Because plaster composition and thickness control moisture loss, drying times vary considerably between lime, gypsum, and cement mixes — and that affects when you can paint.
Lime plaster, used in historical applications, cures by carbonation and can take weeks to months to fully dry; you’ll often wait longer in cool, damp conditions.
Gypsum sets chemically and dries faster; you’ll usually be ready to paint within a week under good ventilation.
Cement-based render retains moisture and may require several weeks; additives and modern techniques like controlled drying and dehumidification can accelerate readiness.
Always check moisture content rather than relying solely on elapsed time.
Thickness Impact On Cure
When plaster’s applied thicker, it holds far more water and takes longer to cure, so you’ll need to adjust expectations and testing methods for lime, gypsum, and cement mixes accordingly.
Thicker lime plasters can take weeks to months to carbonate fully, while gypsum sets faster but still needs added drying time with depth. Cement mixes are slowest to dry through dense layers.
You should test multiple spots and consider plaster texture—smoother surfaces hide moisture longer than coarse ones. Delay decorative finishes until moisture content meets manufacturer limits; use hygrometers or probe testing rather than surface touch to confirm readiness.
Signs the Plaster Is Ready to Paint (Visual Checks and Simple Tests)
Look for an even, consistent color across the surface—patchy or dark areas usually mean it’s still damp.
Give the plaster a gentle touch; it should feel dry and cool but not tacky.
Finally, scan for hairline cracks and run your fingernail lightly over them to confirm they’re stable and not fresh shrinkage.
Surface Color Consistency
How can you tell if plaster has dried enough to paint? Look for uniform color matching across the wall; damp patches appear darker and break consistency. Scan walls at different angles and lighting to spot subtle variations.
Consistent surface texture supports even paint absorption—rough or glossy spots may indicate uneven drying or skimmed areas needing attention. If color and texture read uniform, you’re likely safe to proceed.
Don’t rely solely on small dry patches; assess entire sections. Use a flashlight at low angle to reveal inconsistencies. Address any mismatched zones before priming to ensure a smooth, lasting finish.
Touch Moisture Test
If you press a clean fingertip gently against the plaster and it feels cool or leaves a faint dampness, the surface isn’t ready for paint. Use the touch moisture test across several spots—corners, joints, and mid-panels—to detect retained dampness. Don’t rely solely on sight; touch complements visual checks and simple tests rooted in plaster techniques.
If plaster feels dry and slightly warm, it’s likely cured enough for priming. Remember, historical applications often required longer drying, so factor in thickness, additives, and ventilation.
Repeat the fingertip check after changes in temperature or humidity before you start painting.
Hairline Crack Inspection
After you’ve checked for residual moisture with the fingertip test, scan the plaster for hairline cracks—thin, paper-fine lines that often run along corners, joints, or flat surfaces. You’ll notice subtle changes in plaster texture where paint could fail.
Lightly dust and shine a flashlight across the surface to reveal hairline cracks and tiny separations. If you find them, tap gently to confirm soundness; loose areas need patching. Fill, sand, and recheck texture smoothness before priming.
Small cracks won’t block painting if repaired; untreated hairline cracks can telegraph through coatings and shorten the finish life.
Factors That Affect Plaster Drying (Temperature, Humidity, Coats)

Because drying is a chemical and physical process, several environmental and application factors control how fast plaster will harden and be ready for paint.
Drying is both chemical and physical, so environmental and application factors determine how quickly plaster hardens and readies for paint.
You’ll notice temperature speeds evaporation—warmer air dries plaster faster, cold slows it and can trap moisture that causes adhesion issues.
Relative humidity matters too; high humidity prolongs drying and risks mold or poor bonding, while low humidity can cause cracking from too-rapid drying.
Layer count affects time: each coat must cure, so multiple thin coats dry quicker and more evenly than one thick coat.
Plan drying time to avoid color matching surprises and confirm consistent, durable results.
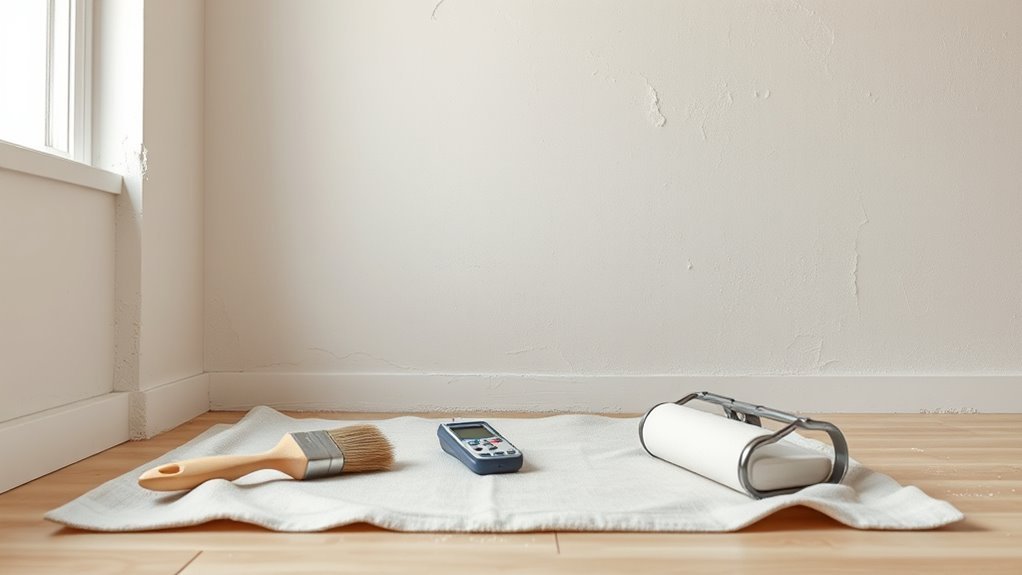
Prep Before Painting Plaster (Priming, Sealing, Sanding)
When your plaster’s fully dry, prep makes the difference between a paint job that lasts and one that peels or looks uneven. You’ll sand lightly, remove dust, and decide on sealing or priming based on porosity. Use a breathable primer for historical application to respect old surfaces. Choose eco friendly materials where possible. Apply sealer to patched areas, sand between coats, and check for absorbency with a damp sponge. Visualize steps:
| Step | Tool | Result |
|---|---|---|
| Sand | Sandpaper | Smooth surface |
| Clean | Vacuum/wipe | Dust-free |
| Prime | Breathable primer | Even coverage |
| Seal | Masonry sealer | Stable base |
Best Paints and Fixes if You Painted Too Soon (Application and Troubleshooting)
If you painted plaster before it was fully dry, don’t panic—there are paint choices and fixes that can salvage the job and prevent further damage.
First, remove bubbling or blistered paint with a scraper. Allow the underlying plaster to dry thoroughly, and repair any soft areas with a suitable plaster patch.
Scrape away blisters, let plaster dry fully, and patch any soft spots before repainting
Use breathable, water-vapor-permeable paints (microporous or limewash) to avoid trapping moisture.
For coatings, choose flexible, stain-blocking primers before applying the topcoat.
Match texture considerations when retexturing patches so repairs blend seamlessly, and do careful color matching for seamless touch-ups.
Test small areas before committing to full repainting.
Frequently Asked Questions
Can Plaster Drying Be Accelerated With Heat or Dehumidifiers?
Yes — you can accelerate plaster drying with heat application and dehumidifier effects; just avoid high direct heat that cracks plaster, maintain moderate warmth and continuous dehumidification, and monitor moisture to prevent uneven drying or surface damage.
Will Moisture Meters Damage Fresh Plaster?
About 90% of builders say non-invasive meters won’t harm fresh plaster, and you won’t either: using surface or pinless meters avoids moisture damage and won’t disrupt plaster curing when you measure gently and correctly.
How Long After Painting Can Furniture Be Moved Back?
You can move furniture back after the paint’s dry to the touch—usually 24–48 hours—but for full curing and safe furniture placement wait 7 days; follow the drying timeline on the paint can to avoid sticking or marks.
Does Painted Plaster Need Different Maintenance Than Unpainted?
Yes — painted plaster needs different maintenance than unpainted. You’ll use gentler cleaners, avoid abrasive scrubbing, and follow plaster preparation and painting techniques recommendations to protect finishes, touch up chips promptly, and control humidity to prevent damage.
Can Wallpaper Be Applied Over Newly Painted Plaster?
Yes, you can apply wallpaper over newly painted plaster if you wait for proper wallpaper preparation and guarantee fresh plaster adhesion has cured; prime with a suitable sealer, smooth any flaws, and use adhesive designed for painted surfaces.
Conclusion
In short, you’ll want to let plaster “settle in” before painting — rushing it can mean peeling, blotches, or a finish that quietly misbehaves. Check for even color, no cool damp spots, and pass the nail-head or thumb test to be sure. When ready, prime or seal appropriately and pick a compatible paint. If you painted too soon, don’t despair: let it cure, sand, re-prime, and repaint for a much happier result.