How Long Does It Take Valspar Paint to Dry
You’ll see Valspar latex or acrylic feel touch-dry in about 30–60 minutes and often be ready for a light recoat in 2–6 hours; oil-based formulas take longer—often 6–24 hours to recoat—and full curing can take 7–30 days depending on temperature, humidity, coat thickness and application method. Work in thin, even coats and keep airflow up to speed drying. Keep going for tips on speeding drying, troubleshooting tacky paint, and timing a whole project.
Quick Guide: Valspar Touch, Recoat, and Full-Cure Times
When you’re planning a painting project, knowing Valspar’s dry times helps you schedule the next steps: the paint is typically touch-dry in 30 minutes to 1 hour, ready for a light recoat after 2–4 hours, and reaches full cure in about 7–30 days depending on temperature, humidity, and coat thickness.
You’ll plan prep, recoat windows, and handling accordingly. Check primer compatibility for adhesion and uniform drying; incompatible primers can extend cure.
For color blending, wait until coats are dry enough to avoid streaking but still tacky enough to feather edges. Adjust timing for humidity and ventilation.
Latex vs. Acrylic vs. Oil: Which Valspar Dries Fastest?
When you compare Valspar’s latex, acrylic, and oil-based formulas, you’ll notice different dry times that depend on the chemistry.
Expect latex and acrylic (both water-based) to tack up and recoat faster than oil, but surface type, humidity, and temperature will shift those numbers.
Also remember that how you apply it and the film thickness you lay down directly affect how quickly each coat actually dries.
Dry Time Comparisons
Curious which Valspar paint dries fastest for your project? You’ll find latex (water-based) typically dries quickest to the touch—about 1 hour—with recoat in 4.
Acrylic, a subtype of water-based, behaves similarly but often offers faster film formation and better durability; choose based on color options and compatible brush types.
Oil-based Valspar takes longer—6–8 hours to touch, up to 24 for recoat—and yields a smoother finish.
For fast-turnaround jobs pick latex or acrylic; for high-gloss or heavy-wear surfaces opt for oil despite slower dry times.
Always follow manufacturer recoat intervals for best results.
Surface And Conditions
Although paint type matters a lot, surface and conditions often decide how fast Valspar dries, so you’ll want to match paint to the substrate and environment.
You’ll speed drying by ensuring good surface preparation: clean, dry, and lightly sand porous surfaces; prime glossy or stained areas.
Temperature and humidity matter—warmer, drier air cures faster; avoid painting in high humidity or near cold drafts.
Paint color can influence perceived dryness: darker shades absorb heat and may feel dry sooner, while pale tones reflect heat and dry slower.
Choose the right Valspar formula for your conditions to get consistent results.
Application And Thickness
Surface type and environment set the stage, but how you apply Valspar and how thick each coat is will often determine actual dry times. You’ll notice latex (water-based) dries quickest, acrylic behaves similarly, and oil takes longest. Roll thin coats, avoid heavy buildup, and watch paint sheen and Color shades for depth that can trap moisture. Brush versus sprayer changes feel and drying speed; thinner, even layers beat gloppy coverage. Match technique to project: quick touch-ups or big walls.
| Emotion | Finish | Time |
|---|---|---|
| Relief | Satin | Fast |
| Pride | Eggshell | Moderate |
| Patience | Gloss | Slow |
How Temperature, Humidity, and Ventilation Change Valspar Drying
Because paint chemistry speeds up with heat and slows with moisture, temperature, humidity, and airflow have a direct, predictable effect on how fast Valspar dries. You’ll notice warmer, drier rooms shorten tack and recoat times, preserving color blending and stabilizing finish sheen.
High humidity traps solvents, prolongs stickiness, and risks blotchy gloss. Poor ventilation keeps fumes and moisture near the surface, slowing cure and attracting dust.
Use fans and open windows to move air, and aim for 50–70°F and 40–50% relative humidity for reliable drying. Monitor conditions and delay painting when extremes could compromise results.
How Coat Thickness and Application Method Affect Valspar Drying
When you lay paint on thick, it takes longer to dry through—the outer film may feel dry while solvents remain trapped underneath—so apply thinner, even coats to speed tack and cure times. You’ll notice coat thickness and application method impact Color consistency and Finish durability.
Brush, roller, and sprayer each distribute film differently, so choose based on surface and desired texture.
- Brush: control for edges, risk of brush marks.
- Roller: faster for flats, can leave nap texture.
- Sprayer: thinnest, most uniform, needs skill.
- Layering: let thin coats flash before next.
When to Recoat and When Painted Surfaces Are Safe to Use
If you wait the manufacturer’s recommended recoat time and check the paint for tackiness, you’ll know when it’s ready for another layer. You should recoat only when the surface is no longer tacky and the previous coat has cured to the touch.
Lighter Color options may show flaws sooner, so inspect for smoothness and even coverage before adding paint. For wear areas, prioritize paint durability over speed—allow full cure before heavy use.
Typically, wait 24 hours between coats for latex and 48 hours for oil-based Valspar, but follow label specifics and ambient conditions for best results.
Fast Fixes: Safe Ways to Speed Valspar Paint Drying
To speed Valspar paint drying safely, stick to thin, even coats so solvent evaporates faster.
You can boost air circulation with fans or open windows to help moisture escape.
Also raise the room temperature slightly and lower humidity to shorten dry times without harming the finish.
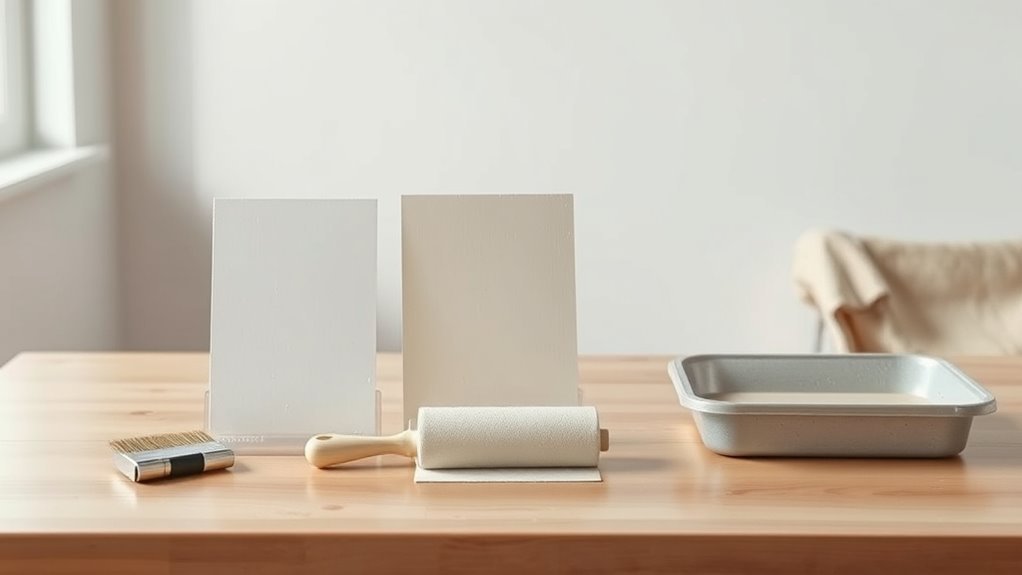
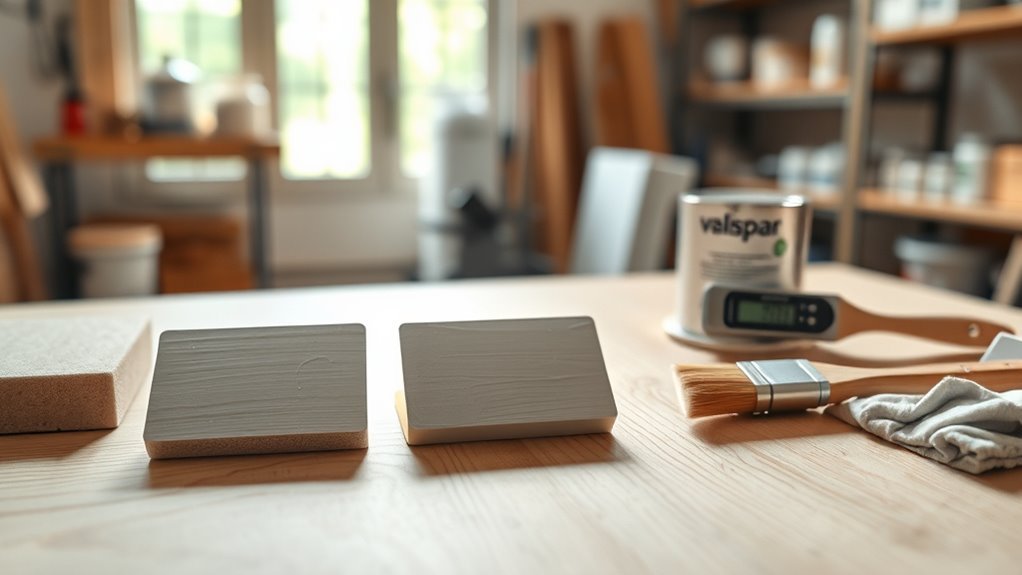
Thin Coats Only
Although you want quick results, apply thin coats only—each layer dries faster and levels better, letting you recoat sooner without risking drips or tackiness. You’ll get smoother coverage when you consider paint sheen and proper surface prep; glossy sheens hide fewer flaws, so thin layers help.
Follow these steps:
- Wipe and sand the surface prep area until clean and matte.
- Stir thoroughly, then load a small amount on your brush or roller.
- Spread evenly, keeping strokes light and consistent for uniform sheen.
- Wait recommended flash time before a second coat to avoid trapping solvents.
Improve Air Circulation
1 simple change—boosting air circulation—can noticeably cut Valspar paint’s drying time without compromising finish quality. You can open windows and doors to create cross-breezes, place fans to move air across painted surfaces, and avoid pointing airflow directly at wet paint to prevent brush marks.
Check that existing ventilation systems run effectively; in bathrooms or kitchens, boost exhaust fan speed while painting. Improving indoor air quality by removing dust and odors helps paint cure evenly.
You’ll speed drying safely by circulating air thoughtfully, monitoring surfaces, and turning off forced airflow once the paint skins over to prevent imperfections.
Adjust Temperature Humidity
If you raise the room temperature a few degrees and lower humidity, you’ll shave hours off Valspar paint’s drying and curing time without harming the finish. You can control conditions safely to protect color consistency and finish durability.
Follow these steps to optimize drying:
- Set thermostat to 65–75°F (18–24°C) for water-based paints.
- Use a dehumidifier to keep relative humidity around 40–50%.
- Avoid heat sources that create uneven warmth or bubbles.
- Check manufacturer guidelines for extremes and curing times.
You’ll speed drying while maintaining even sheen and avoiding cracking or color shifts.
Common Valspar Drying Problems and How to Fix Them
When your Valspar paint isn’t drying as expected, you’ll usually see a few predictable issues—tacky surfaces, slow curing, or visible streaks—and each one points to specific causes like humidity, poor prep, or application errors. Check surface cleanliness, ventilation, and coat thickness. Consider paint color options and paint brand comparisons if issues persist—darker pigments or cheaper brands can affect drying.
| Problem | Likely Cause | Fix |
|---|---|---|
| Tacky | High humidity | Use dehumidifier, increase airflow |
| Slow curing | Thick coats | Sand and recoat thinly |
| Streaks | Bad technique | Use proper brush/roller, maintain wet edge |
Project Timing Checklist: Plan a Valspar Paint Job by Hour and Day
Because timing matters for drying and workflow, map your Valspar paint job hour-by-hour and day-by-day so you know exactly when to prep, apply, dry, and recoat. You’ll plan around temperature, humidity, and your chosen Finish sheen to hit manufacturer drying times and avoid tacky recoat.
Because timing matters, map your Valspar paint job hour-by-hour and day-by-day to prep, apply, dry, and recoat.
Schedule short tasks and full-day waits: prep and priming, first coat, cure window, final touchups. Use this checklist:
- Day 1: prep, prime (2–4 hours).
- Day 2: first coat (1–2 hours), dry 4–6 hours.
- Day 3: recoat, inspect Color blending.
- Day 4: final cure and furniture return.
Frequently Asked Questions
Does Valspar Paint Smell Fade Completely, and How Long Does Odor Linger?
Yes — the paint smell usually fades, though it may not disappear instantly; odor duration varies with ventilation, temperature, and paint type. You’ll notice significant improvement in days, and near-complete fade within weeks.
Are Valspar Primers Compatible With All Valspar Topcoats?
Yes — Valspar primers are generally compatible with most Valspar topcoats; you’ll get reliable primer compatibility and improved paint adhesion when you match product lines and follow manufacturer instructions, surface prep, and recommended drying times.
Can I Use Valspar Exterior Paint Indoors in a Pinch?
You can use Valspar exterior paint indoors in a pinch, but it’s not ideal: exterior vs. interior formulas differ in odor, VOCs, and flexibility. For indoor painting, choose interior paint when possible to guarantee safer, better finishes.
How Should I Store Leftover Valspar Paint for Long-Term Use?
You should seal the can tightly, label it with color and date, store it upright in a cool, dry place, and avoid temperature extremes; these paint storage steps guarantee long term preservation and make future touch-ups easy.
Is It Safe to Paint Over Wallpaper With Valspar Paint?
Straight off the bat, you can—though it’s usually better to remove wallpaper first; don’t cut corners. For safe results, prioritize wallpaper removal, thorough paint preparation, priming seams, and using a proper Valspar primer before topcoating.
Conclusion
You’ve planned, painted, and paced yourself perfectly—now rest. Remember rapid results require right conditions: warm temps, low humidity, and steady airflow. Recoat only after touch-dry times and wait for full cure before heavy use. Thin, even coats and proper prep prevent problems. If drying drags, try a dehumidifier, fan, or thinner coats. With smart scheduling and simple solutions, your Valspar venture will sail smoothly to satisfying, solid, stain-resistant success.