How Long Does Water Based Oil Paint Take to Dry
You can expect water-based oil paint to feel dry to the touch in about 1–3 hours and be safe for light handling or recoating in 6–12 hours, with routine use strength reached in 24–48 hours and full hardness developing over days to a week (longer for thick impasto or cool, humid conditions). Drying speeds vary with pigment, film thickness, humidity, temperature, and additives, so follow tack and solvent tests to time layers properly — more tips follow below.
How Long Does Water-Based Oil Paint Take to Dry : Quick Answer
Water-based oil paint usually feels dry to the touch within 1–3 hours and is ready for light handling or recoat in about 6–12 hours.
Water-based oil paint often feels dry in 1–3 hours and can be recoated after 6–12 hours.
But it can take 24–48 hours to cure enough for normal use and up to a week for full hardness depending on thickness, temperature, and humidity.
You’ll find faster drying with thin layers, warm temps, and good airflow.
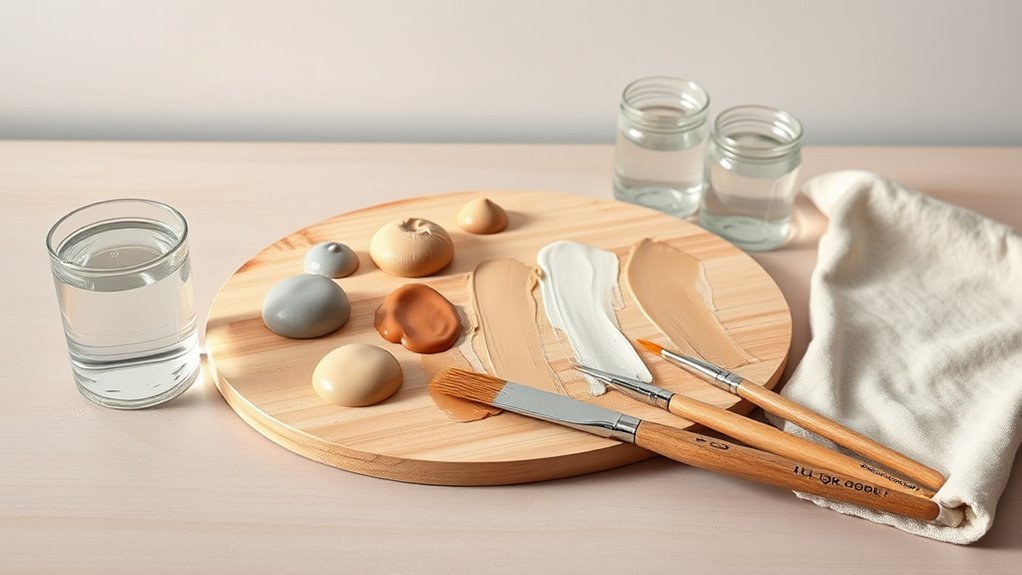
When planning layers, consider color mixing to avoid muddy results and pick brushes that suit the paint’s body—stiffer bristles for thicker application, softer for smooth blends.
Test a small area before heavy use.
Typical Drying Windows: Tack-Free, Handleable, and Fully Cured
Although drying times vary with film thickness, temperature, and humidity, you can expect three practical stages: tack-free, handleable, and fully cured.
First, tack-free means the surface no longer feels sticky—often hours to a day—so you can lightly layer without disturbing underlying Color mixing.
Next, handleable generally takes days; you’ll be able to move the panel and refine edges using careful Brush techniques without leaving impressions.
Finally, fully cured can require weeks to months depending on layer thickness and ventilation; only then is the film chemically set and durable.
Plan work and varnishing around these clear, sequential windows.
Expected Dry Times by Pigment: Which Dry Fastest and Slowest
Different pigments dry at noticeably different rates, and knowing which ones dry fastest or slowest helps you plan layering and varnishing.
You’ll find earth tones and lead-free whites often dry quicker, while certain blues and greens (like phthalo) and some organic pigments can stay tacky much longer.
Keep those tendencies in mind when scheduling work sessions and making color choices.
Fastest-Drying Pigments
When you’re choosing pigments, remember that their chemical makeup strongly influences drying speed—some whites and earth tones tend to cure quickly, while certain blues and greens can take much longer. You’ll favor lead-free whites, Naples yellow, and raw umber for fast tack and early handling. Use careful color mixing to avoid slowing overall cure with slow pigments. Adjust brush techniques to apply thinner layers where you need speed. Quick-drying pigments suit underpainting and rapid layering.
| Pigment | Typical Dry Time | Best Use |
|---|---|---|
| Titanium White | Days | Highlights |
| Raw Umber | Days | Underpaint |
| Naples Yellow | Days | Glazes |
Slowest-Drying Pigments
Because pigment chemistry controls how oil paint oxidizes and polymerizes, you’ll find some colors take markedly longer to become touch-dry or fully cured. You’ll notice alizarin crimson, ultramarine blue, and some organic quinacridone hues often lag; they tend to remain tacky days longer than lead or earth pigments.
When planning layers, let these slow dryers cure thoroughly before glazing or varnishing. In color mixing, avoid diluting slow pigments with drying ones to speed cure—blend responsibly.
Adjust solvent content and use lean underlayers. Modify your brush techniques to minimize fat-over-lean issues and prevent prolonged tackiness in finished work.
Why Film Thickness and Paint Layers Matter for Drying
How thick you lay the paint changes how quickly it dries because thicker films trap solvents and slow oxidation.
You’ll also need to time additional layers so the lower coats are dry enough to support them without cracking or trapping moisture.
Planning multiple coats—thinner layers with proper wait times—lets each layer cure evenly and speeds overall drying.
Film Thickness Effects
If you apply thicker layers, the paint will take longer to dry because solvents and oils must escape from a deeper film before the surface and interior harden. You’ll notice slower drying with heavy impasto, which affects color blending and forces you to adapt brush techniques to avoid muddying. Manage thickness: thin washes dry fast; moderate films balance workability and cure; very thick passages may remain tacky for days.
| Thickness | Dry Time | Tip |
|---|---|---|
| Thin | Hours | Use thin coats |
| Moderate | 1–2 days | Layer carefully |
| Thick | Days | Limit thickness |
Layer Interaction Timing
Thicker passages don’t just take longer to dry on their own—they also affect how subsequent layers behave, so you need to time your additions to avoid softening or mixing earlier paint. You’ll wait longer before glazing or scumbling over dense areas because trapped solvents slow cure.
Thin areas may cure faster and accept sharper edges. Plan brush techniques to work with drying intervals: use firmer strokes on tacky paint, softer blending when the surface is slightly set.
For controlled color blending, test small swatches to see when layers marry cleanly versus when they smudge. Respect surface feel and drying stages to prevent disruption.
Multiple Coats Strategy
Because each additional coat builds on the last, you need to think of film thickness as the main driver of drying time and long-term stability. You should apply thinner layers to speed curing and prevent tacky middles; heavy films trap solvents and extend drying.
Wait recommended intervals between coats so underlying layers cure enough to accept new paint without lifting.
Use Brush techniques that minimize agitation and avoid overworking edges.
For Color blending, layer transparently to build depth rather than piling on paint.
Plan your sequence: underpaint, mid-tones, glazes, then details, keeping each layer lean for reliable results.
How Humidity and Temperature Affect Drying Times
When you’re painting with water-based oil paint, temperature and humidity directly control how fast the surface skin forms and how deeply the layers cure. You’ll notice high humidity slows drying, leaving tacky surfaces and softer color blending, affecting Color theory choices and Brush techniques you use to avoid muddying tones. Lower humidity and moderate warmth speed polymerization but can cause skin cracking if too fast. Aim for stable, mild conditions to predict drying stages and plan recoats.
| Condition | Effect | Tip |
|---|---|---|
| High humidity | Slower | Delay varnish |
| Low humidity | Faster | Thin layers |
| Warm temp | Moderate speed | Test patch |
Ventilation and Airflow to Speed Drying
After you’ve got temperature and humidity under control, managing ventilation becomes the next practical step for speeding drying without harming the paint film.
Once temperature and humidity are steady, control ventilation to speed drying without disturbing the paint film.
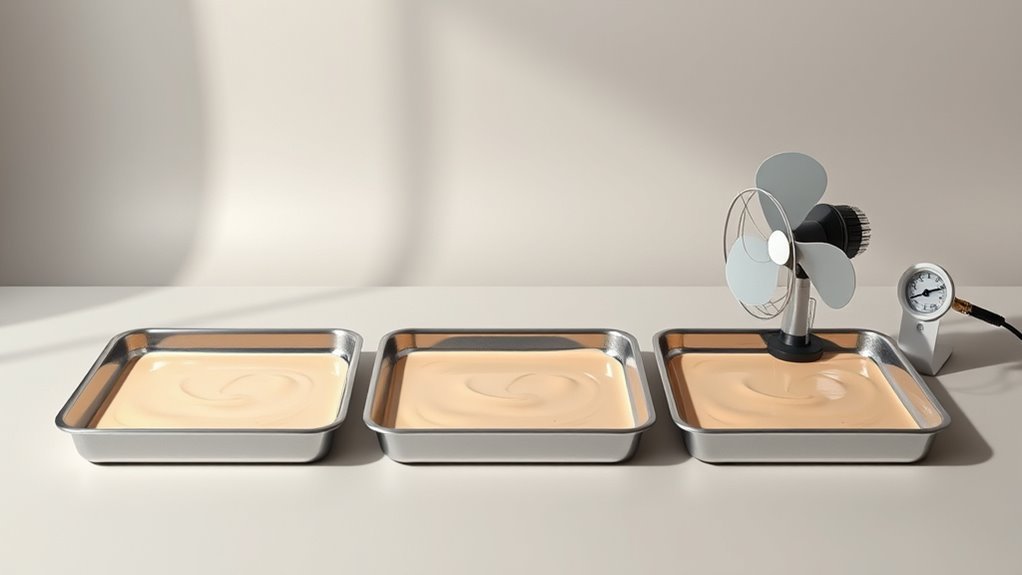
You should provide steady, gentle airflow to carry away moisture without creating dust or causing skinning. Use fans placed to circulate air across the room, not directly on wet passages, since direct blasts can disrupt color blending and disturb brush techniques while they’re still tacky.
Fresh air exchange reduces solvent and water vapor, helping surface cure. Monitor drafts and close windows if dust rises.
Ventilation complements, but doesn’t replace, correct environmental settings and careful application.
How Substrate and Ground Influence Drying Behavior
If you paint on raw canvas, primed board, or glossy metal, the surface will change how the water‑based oil pulls solvent and forms a film — so choose and prepare your ground to match the drying behavior you want. Your substrate preparation affects absorption and tooth; ground composition alters solvent retention and surface tension.
Consider these quick points:
- Raw canvas: absorbs faster, speeds initial set.
- Absorbent primer: pulls solvent, shortens tack time.
- Non‑absorbent ground: slows solvent loss, lengthens open time.
- Textured board: increases surface area, aids mechanical adhesion.
Match ground and substrate prep to desired drying.
Will Thinning With Water or Medium Change Dry Time?

Although thinning with water or a medium can make your water‑based oil flow and level differently, it also changes how quickly the solvent leaves the film and how fast the oil molecules crosslink.
Thinning with water or medium alters flow—and changes solvent evaporation and oil crosslinking rates.
If you thin to a watery consistency, drying speeds up because solvent evaporates faster and the remaining film is thinner. But over‑thinning can reduce pigment saturation and weaken binder continuity, slowing through‑drying or causing tackiness.
Using a compatible medium that contains drying aids or more oil will often lengthen surface‑dry time while promoting deeper polymerization.
Always balance water consistency and medium ratio to control drying without compromising color depth.
How to Test If a Layer Is Ready for Varnish or a New Coat
Before you varnish or add a new coat, check that the paint is touch dry by gently pressing a clean fingertip to an inconspicuous spot — it should feel dry and not tacky.
Follow that with a solvent test by lightly swabbing a small area with a solvent-wetted cotton bud; no paint should come off or feel sticky.
If both tests pass, the layer is ready for varnish or the next coat.
Touch Dry Test
When you’re ready to check whether a water-based oil layer can take varnish or another coat, use a simple touch-dry test: gently press a clean fingertip or the pad of your finger on an inconspicuous area to see if the paint feels tacky, transfers, or dents.
Let layers dry according to manufacturer times, and remember that Color mixing and Brush techniques affect film thickness and drying. If the surface is fully dry to the touch with no transfer, proceed. If not, wait longer.
- Clean fingertip, light pressure.
- Test multiple spots.
- Note sheen and texture.
- Record drying times.
Solvent And Tack Test
If the surface passes the touch test but you want extra assurance, do a solvent-and-tack test to confirm the paint has cured enough for varnish or another coat.
Dampen a cotton swab with mineral spirits and rub a small, inconspicuous area; no pigment should lift and no sticky residue should transfer.
If color mixing edges or layered brush techniques smear, wait longer.
For tack testing, press a clean fingertip lightly—not hard—and lift; a fully cured layer won’t stick.
Repeat tests across different painted sections since thickness, pigment, and brush techniques affect cure.
Only varnish when all tests show clean, dry results.
Common Mistakes That Slow Drying and How to Avoid Them
Although water-based oil paint dries more slowly than many other finishes, you can speed things up by avoiding a few common mistakes that trap moisture or block airflow.
Watch your color mixing—too much medium or heavy pigments retain moisture and extend tackiness. Use efficient brush techniques; overloaded brushes leave thick, slow-drying layers. Don’t apply overly thick coats; build thin, even layers to promote uniform drying. Avoid sealing wet layers prematurely with varnish or heavy glazes that lock in moisture.
- Excess medium: thin, controlled additions
- Thick application: prefer multiple thin layers
- Overworked surface: limit brush passes
- Premature sealing: wait for full cure
Studio Setup to Avoid Tackiness (Temperature, Humidity, Airflow)
Keep your studio temperature steady—around 65–75°F (18–24°C)—so your water based oil paint can form a skin without staying tacky.
You’ll also want to keep relative humidity between about 40–60%, since too much moisture slows curing and too little can cause surface cracking.
Finally, make sure gentle airflow to remove moisture without blowing dust onto wet surfaces.
Control Room Temperature
When you control temperature, humidity, and airflow in your studio, you can prevent tacky paint and speed up drying without altering your materials. Set a steady room temperature (around 18–22°C/64–72°F) so your water based oil layers cure evenly. Sudden shifts cause surface tack.
Keep ventilation gentle to avoid dust and uneven skinning. Maintain consistent conditions when you practice color mixing and brush techniques so handling and blending stay predictable. Monitor with a simple thermometer.
- Use a thermostat-controlled heater or AC.
- Avoid direct drafts from fans.
- Insulate doors and windows.
- Track temps hourly.
Manage Relative Humidity
Controlling room temperature helps, but humidity has an even bigger impact on how water-based oil paints cure—too much moisture keeps films tacky and too little speeds surface skinning that traps solvent below.
You’ll monitor relative humidity with a hygrometer and aim for 40–55% for consistent drying. Use a dehumidifier or humidifier to correct swings, and ventilate gently so airflow doesn’t chill the surface.
Stable humidity preserves color blending behavior and supports planned texture techniques without unpredictable tackiness. When you adjust humidity, change it gradually between sessions to avoid cracking or uneven cure that ruins a finished layer.
How to Accelerate Drying Safely (Heat, Fans, Additives)
If you’re short on time, you can speed up the drying of water-based oil paint safely by using gentle heat, increased airflow, or compatible additives, but you should balance speed with care to avoid surface defects. You’ll still plan for color blending and texture techniques so layers remain workable.
Use low, even warmth and circulate air; avoid direct hot sources. Choose manufacturer-recommended drying agents and mix sparingly. Test on a scrap.
- Use a room heater on low, keeping even temperature.
- Run fans to boost airflow, not directly on wet paint.
- Add compatible drying additive per instructions.
- Test small areas first.
When Fast-Drying Tricks Can Harm Your Paint Film
When you force paint to dry too fast, you can strip solvents out of the film quicker than the binders can coalesce, which leads to weak spots.
That rapid solvent stripping can leave a brittle, wrinkled, or crazed surface instead of a durable finish.
Rapid Solvent Stripping
Although speeding up drying with solvents might seem handy, pumping strong solvents into a still-tacky water-based oil layer can strip away softer components and weaken the film. You’ll notice altered gloss, color shifts, and reduced adhesion if you rush.
Protect your work by understanding how additives interact with Color mixing and Texture techniques before trying shortcuts.
- Test solvent on a scrap to see effects.
- Work in thin layers; let each cure.
- Use mild retarders made for water-based oils.
- Avoid solvent puddling; blot rather than brush aggressively.
Be cautious—quick fixes often cause long-term problems.
Compromised Film Integrity
Because you want faster results, it’s tempting to use heat, strong solvents, or heavy additives—but those tricks can compromise the paint film’s integrity by altering drying chemistry and mechanical strength.
You’ll notice tacky, brittle, or cracked surfaces when films cure unevenly. Avoid forcing evaporation with high heat or aggressive thinners; they disrupt polymer crosslinking and reduce flexibility.
Instead, control thin layers, proper ventilation, and compatible accelerators recommended by manufacturers.
Practice gentle brush techniques to prevent dragging and maintain smooth color blending without overworking.
If you see crazing or delamination, strip and reapply correctly—prevention beats repair.
How Product Chemistry and Brand Differences Affect Drying
If you want predictable drying times, pay attention to the paint’s chemistry and the brand’s formulation choices. You’ll notice different binders, additives, and pigment loads change skin formation and through-dry.
Color mixing shifts pigment concentration, altering absorption and cure. Your brush techniques affect surface thickness and texture, so work thinner layers for faster drying.
Mixing colors changes pigment concentration and absorption; use thinner brushwork and layers to speed drying.
- Binder type: acrylic-modified vs. alkyd affects drying speed.
- Additives: dryers and stabilizers speed or slow cure.
- Pigment load: heavy pigments retard or accelerate drying.
- Manufacturer consistency: some brands reliably thin; others vary batch-to-batch.
When to Ship or Frame a Painting
Knowing a paint’s chemistry and how you applied it helps you judge when a piece is safe to ship or frame. You’ll wait until surface dryness is consistent and layers feel firm; gentle fingertip pressure on inconspicuous areas should leave no tack or indentation.
Consider how heavy impasto, thick color mixing, or slow-drying glazes affect cure time—thicker passages need longer. Use proper drying racks, stable humidity, and avoid stacking.
When framing, allow ventilation behind the painting and use spacers to prevent contact. For shipping, pad edges, avoid tight straps, and label as fragile; err on the side of extra drying time.
Troubleshooting Persistent Tackiness and Blooming
When a painting stays tacky or develops a milky haze (bloom) long after it should be dry, you’ll want to diagnose the cause quickly to prevent damage. Check materials and environment, then act methodically.
- Review pigments and color mixing—some pigments dry slower or repel film-former, causing tackiness.
- Inspect additives and mediums; excess solvent or non-alkyd modifiers can disrupt cure.
- Evaluate humidity and temperature; high moisture or cool air prolong drying and invite blooming.
- Examine brush techniques: heavy-bodied strokes or overworking can trap medium and slow drying.
Address root causes, then retest on a scrap panel before treating the original.
Layering Strategy: Timing Between Underpaint, Mid Layers, and Glazes
Although layering water-based oil paints follows the same fat-over-lean principle as traditional oils, you’ll need to adjust timing because waterborne alkyds and emulsion-modified formulas dry differently.
Layer water-based oils fat-over-lean, but adjust timing—waterborne alkyds and emulsion mixes dry differently.
Wait until the underpaint has lost surface tack and shows no glossy spots before applying mid layers or glazes so you avoid lifting, cracking, or extended tackiness.
Plan thin, lean underpaints to set fully; test with a fingertip.
When adding mid layers, increase oil content slightly and refine color mixing to maintain harmony.
Use controlled brush techniques—soft strokes for glazes, firmer loading for impasto—and allow each stage to cure before glazing.
Quick Reference: Expected Dry Times by Pigment and Conditions
After you’ve let underpaints lose tack and before you add mid layers or glazes, it helps to have a quick guide showing how long specific pigments and studio conditions usually take to dry. You’ll adjust based on tinting, Color mixing, varnish choices, and Brush techniques that change film thickness. Use this to plan waiting times and ventilation.
- Titanium white, heavy impasto: 3–7 days (thin 24–48 hrs)
- Earth pigments (ochres, umbers): 24–72 hours depending on humidity
- Transparent pigments (alizarin, phthalo): 12–36 hours with good airflow
- Linseed-rich layers, warm studio: slower—up to 2 weeks
Frequently Asked Questions
Can Water-Based Oil Paint Be Used Outdoors During Painting?
Yes — you can use water-based oil paint outdoors while it’s curing, but you’ll want to guarantee good outdoor durability and weather resistance by applying primer, choosing quality formulations, and avoiding rain, extreme temperatures, or high humidity during application.
Are Water-Based Oils Non-Toxic and Safe for Home Use?
Yes — you’re generally safe, but don’t assume zero risk: investigate toxicity concerns and ingredient safety by checking labels and MSDS, ventilating well, and avoiding ingestion or prolonged skin contact to minimize exposure at home.
How Should Brushes Be Cleaned After Using Water-Based Oils?
You should wipe excess paint, rinse with warm water and mild soap, then use proper brush maintenance: comb bristles with a brush cleaner or solvent alternative, reshape, and let them dry flat to preserve shape and longevity.
Do Water-Based Oils Yellow Over Long-Term Aging?
Generally, they won’t considerably yellow; you’ll see minimal aging effects compared to traditional oils. Their color stability’s usually good, though pigments and varnishes can influence long-term yellowing, so choose quality materials and proper storage.
Can Water-Based Oil Paintings Be Displayed Under Glass?
Want a crisp reflection or a muted haze? Yes—you can display water‑based oil paintings under glass. You’ll get glass protection, reduced dust and UV exposure, but consider framing spacing, ventilation and display considerations to avoid stuck surfaces.
Conclusion
Like a sunrise easing into full light, water-based oil paint dries in stages—tack-free first, handleable next, then fully cured. You’ll see pigment, film thickness, humidity, temperature and layer count all speeding up or slowing down drying. Thin layers and warm, dry air help; thick impasto, cool dampness and certain slow pigments delay it. If tackiness or blooming lingers, ventilate, wait longer, or apply a tested isolation coat before varnishing or framing.