How to Dilute Latex Paint Correctly for Smooth Finish
You should thin latex paint only a little—about 5–10% for brushing, 5–15% for rollers, and up to 20% for spraying—stirring well and testing on scrap. Add water gradually (no more than 5% increments), check viscosity with a dip‑stick or flow test, and watch coverage and drying; thinner mixes hide less and may need extra coats. Keep tools, ventilation, and safety gear ready, and follow manufacturer limits to avoid finish problems; more tips and troubleshooting follow.
How Much to Thin Latex Paint for a Smooth Finish (Quick Answer)
If you need a quick answer, thin latex paint by about 10% (1 part water to 9 parts paint) for brushing and up to 20% (1:4) for spraying. Always stir thoroughly and test on a scrap surface to guarantee good coverage and film build.
You’ll maintain color consistency by adding water incrementally and comparing wet and dry samples.
Thinning affects drying time—more water dries faster but can weaken film and increase sagging risk. Aim for smooth flow without a runny texture, apply thin coats, and let each coat dry fully before recoating to preserve adhesion and finish quality.
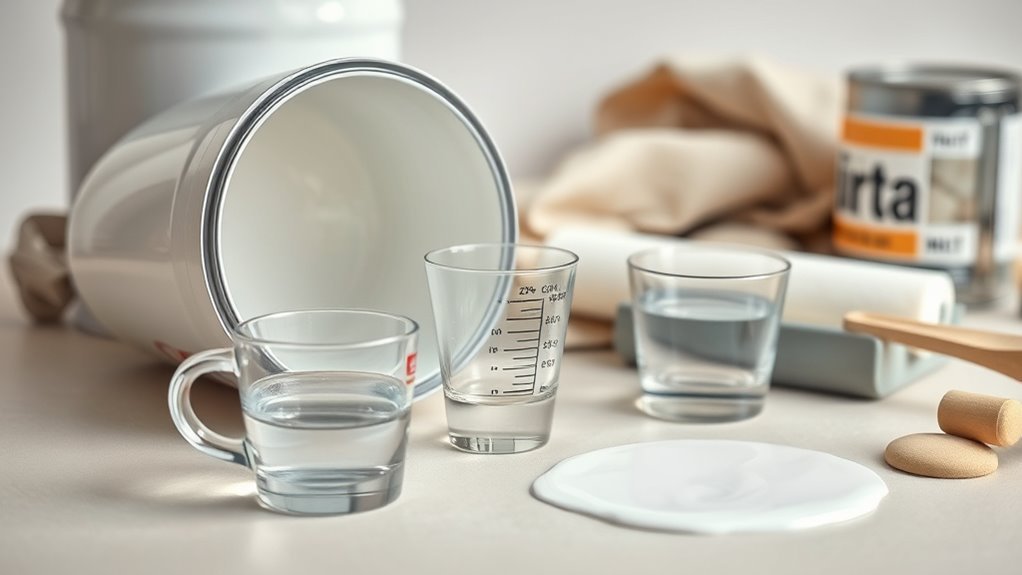
What Tools and Materials to Have Ready
Before you start thinning or applying latex paint, gather the right tools and materials so the job goes smoothly and you don’t waste time hunting for supplies mid-project. You’ll want quality brushes, a lint-free roller, a sturdy tray, mixing sticks, a drill-mounted mixer, and clean containers for small test batches.
Keep measuring cups, a small funnel, and a moisture meter or hygrometer to monitor environmental factors that affect drying. Have drop cloths, painter’s tape, gloves, and a respirator handy.
Include a color matching card or small swatch to verify hue after thinning and before full application.
Exact Dilution Ratios for Brush, Roller, and Spray
Now that you’ve gathered your tools and checked environmental conditions, you’ll want precise dilution targets for each application method because thinning affects flow, coverage, and drying.
For brushing, add 5–10% water (about 2–4 ounces per quart) to improve leveling without losing body; avoid overthinning.
For rollers, 5–15% water helps penetration and reduces roller drag—adjust by nap length.
For airless spray, thin 0–10% depending on pump specs; for HVLP, 10–20% may be needed for atomization.
Keep color mixing consistent when thinning multiple cans and follow label instructions for environmental safety and VOC compliance.
Test Paint Viscosity (Dip‑Stick & Flow Tests)
Before you start painting, test the viscosity with a dip‑stick to check depth against the guidelines for brush, roller, or spray.
Then run a simple flow test by pouring a measured bead and timing how fast it levels.
Use those results to decide if you need more water or a flow additive to reach the correct viscosity.
Dip‑Stick Depth Guidelines
When you test paint viscosity with a dip‑stick, aim for consistent immersion depths so you can compare how quickly different mixes run back into the can.
Use clear depth marks—¼”, ½”, and 1″—and record which mark you submerge to for each sample.
Keep stir and pour technique identical to protect color consistency and avoid introducing air.
Note ambient temperature and approximate drying times alongside depth to spot correlations.
Repeat each depth twice to confirm results.
Use the same stick and container to eliminate variables.
These guidelines help you judge thinning levels without performing flow test procedures.
Flow Test Procedure
Curious how to tell if your latex paint is thinned just right? You’ll perform a simple flow test to check viscosity after dip-stick depth. Pour a measured amount on a flat board, draw a straight groove, and watch how paint levels. Note color blending and primer compatibility—test mixes if you’ll tint or topcoat.
| Observation | Action |
|---|---|
| Smooth, slow flow | Good to apply |
| Runs or drips | Add less solvent |
| Puddles hold shape | Thicker; thin slightly |
| Uneven leveling | Re-mix, check primer compatibility |
Record results and repeat until flow matches your application needs.
Interpreting Viscosity Results
Once you’ve run the dip-stick and flow tests, interpret the results by comparing how the paint behaved against your target application: did it level smoothly, hold peaks, or run into drips?
If the dip-stick shows short peaks and fast runout, the viscosity’s too low for textured surfaces; add small amounts of paint to restore body.
If peaks hold and flow lines remain, it’s too thick—thin gradually with water or recommended extender.
Note color consistency across samples; uneven tinting can mimic viscosity issues.
Also factor paint aging: older cans thicken or separate, so remix and retest before final thinning.
Dilute Latex Paint : Step‑By‑Step
Start by measuring the amount of paint you have and calculate a conservative water ratio to begin with. Mix in the water gradually while stirring thoroughly so you don’t over‑thin the paint.
Test the viscosity after each addition and adjust until you reach the desired flow and coverage.
Measure Paint And Water
How much water you add depends on the finish you want and the manufacturer’s label, so measure both paint and water carefully before mixing. You’ll work on small, consistent batches to protect color consistency across the job.
Use clean graduated cups or a measuring jug marked in ounces or milliliters, and record ratios—especially if you’ve already handled surface preparation like priming or sealing. Note starting viscosity and never guess volumes; write down paint volume, water added, and container ID.
Keep measurements near your workspace, and reseal unused paint. Accurate measuring prevents rework and keeps finish uniform.
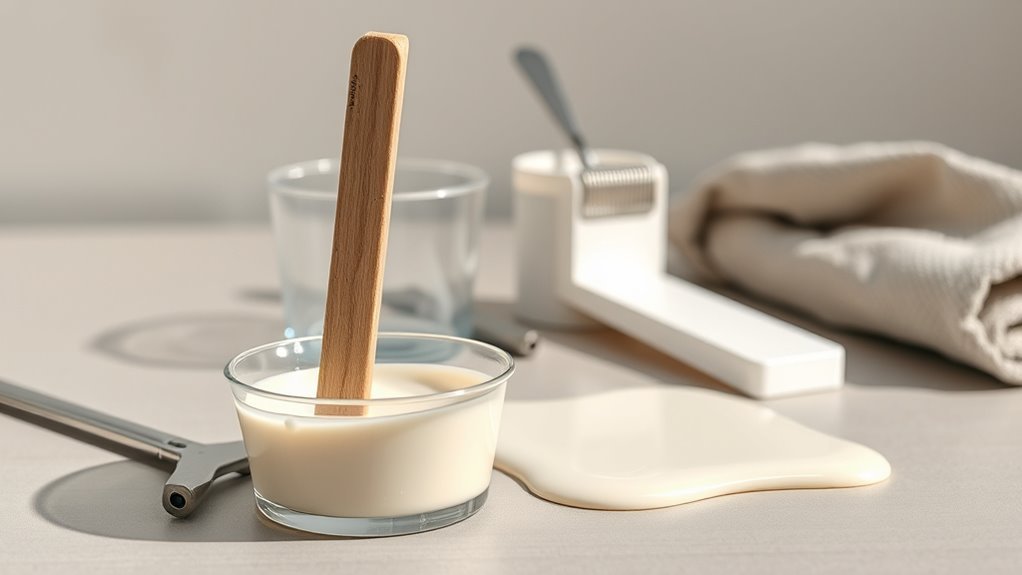
Mix Gradually And Test
With your measured batches ready, mix slowly to avoid over‑diluting and to keep the pigment evenly suspended. Stir with a clean stick in a steady motion, scraping sides and bottom to maintain color consistency.
Add small increments of water—no more than 5% at a time—then blend thoroughly before deciding to add more.
Test the mix on a scrap board or hidden wall area, letting it dry to check finish and paint adhesion. If the film breaks or dries dull, reduce dilution or remix with more paint.
Record ratios so you can replicate successful batches for future touch‑ups.
Technique Tips for Smooth Results (Rolling, Brushing, Spraying)
Although thinning paint can improve flow, your technique—whether rolling, brushing, or spraying—determines the final finish.
When rolling, use a high-quality nap suited to surface texture, load the roller evenly, and finish with light, overlapping strokes to avoid lap marks.
When brushing, choose a synthetic brush, dip only a third of the bristles, and maintain a wet edge for smooth blending. Consider color matching tests on scrap.
When spraying, thin just enough for nozzle specs, keep a consistent speed and distance, and use proper filters.
Use eco-friendly solvents for cleanup and follow safety and ventilation practices.
How Thinning Affects Color, Coverage, and Drying
When you thin latex paint, expect the color to look slightly less intense on the wall because pigments spread out with added water.
Thinning also reduces coverage per coat, so you may need extra passes to achieve full opacity.
Finally, thinner paint usually dries faster on the surface but can lengthen overall cure time and affect finish uniformity.
Color Intensity Shift
Curious how a little water or extender can change the look of your paint? You’ll notice color consistency can shift as you thin—lighter appearance, reduced saturation—because pigment stability depends on binder concentration.
Thin too much and pigments suspend differently, causing subtle hue shifts or a washed-out look. To preserve intensity, add small increments, mix thoroughly, and test on a scrap.
Use extenders designed for latex to maintain pigment suspension better than water alone. Remember, consistent mixing and modest thinning keep color predictable so your final coat matches expectations without surprises.
Dry Time And Coverage
Beyond color shifts, thinning latex also changes how paint spreads and dries. When you add water or extender, paint texture loosens, letting it level better but reducing hiding power. You’ll need more coats to achieve full coverage, especially over dark or porous surfaces.
Thinner mixtures increase drying time slightly because moisture content rises and solvents evaporate differently, so plan longer recoat intervals. Test a small patch to judge coverage and sheen before committing.
Adjust thinning gradually: small increments preserve texture and opacity while providing smoother application without excessively prolonging drying time.
Common Mistakes That Ruin a Smooth Finish : and How to Avoid Them
Because even small mistakes show up on glossy surfaces, avoiding them is the fastest way to get a smooth finish. You must follow painting safety: ventilate, wear a mask, and use gloves to avoid stops that smear or contaminate wet paint.
Don’t rush thinning—overdiluting causes poor adhesion; underdiluting leaves brush marks. Match sheen and color matching when blending patched areas, testing samples under real light.
Clean rollers and strain paint to remove debris. Sand between coats with fine grit and remove dust.
Work in consistent temperatures and humidity to prevent surface defects before they happen.
Troubleshooting Finish Problems After Thinning (Drips, Orange Peel, Bubbling)

If your thinned latex paint shows drips, orange peel, or bubbling, you can usually fix the problem by identifying which step went wrong—mixing, application, or environment—and correcting it before the next coat. Check viscosity: over-thinned paint drips; under-thinned causes orange peel. Bubbling often means trapped solvent or surface contamination. Sand smooth, wipe dust, and adjust thinner or flow agent. Consider primer selection for adhesion and use proper color blending to hide repairs. Recoat only when surface is fully dry and environmental humidity and temperature are within manufacturer recommendations.
| Problem | Fix |
|---|---|
| Drips | Thin less, slow strokes |
| Orange peel | Add reducer, sand |
| Bubbling | Degas, clean surface |
| Crazing | Reprime, recoat |
When Not to Thin Latex Paint : Alternatives, Cleanup, and Safety
You’ve learned how to spot and fix problems from over- or under-thinning, but sometimes you shouldn’t thin latex at all. If the manufacturer specifies no thinning, if you’re using a high-quality paint designed for one-coat coverage, or when spraying with a gun calibrated for factory viscosity, don’t dilute.
Instead, consider alternative painting methods like rolling with a high-nap roller or using a brush designed for latex to achieve smooth coverage.
For cleanup and safety, keep solvents minimal, ventilate, wear gloves and a mask, and follow paint storage tips: seal containers, label date and color, and store upright in a cool, dry place.
Frequently Asked Questions
Can I Thin Latex Paint With Water From a Water Softener?
Yes — you can thin latex paint with water from a water softener, and it won’t harm paint consistency. You’ll want to add small amounts, test viscosity, and avoid over-thinning to maintain coverage and adhesion.
Will Thinning Affect Paint Mildew Resistance or Mold Inhibitors?
Yes — thinning can reduce mildew prevention because you dilute mold inhibitors. I once watered a plant too much and lost its guard; likewise, thin cautiously, add manufacturer-approved inhibitors, and test a small area for lasting protection.
How Long After Thinning Can I Recoat or Sand the Surface?
You can recoat in 2–4 hours or sand after 24 hours depending on temperature and humidity; follow application timing and allow full cure, and perform proper surface preparation before sanding or applying the next coat.
Is Thinned Paint Still Safe for Children’s Rooms or Toys?
Absolutely safe—with precautions, you won’t risk a million giggles lost. You’ll guarantee child safety by using low-VOC waterborne paint, avoid over-thinning, follow manufacturer cure times, and use appropriate sealers for toy painting and playroom surfaces.
Can I Store and Reuse Leftover Thinned Paint Later?
Yes — you can store thinned paint for later reuse leftover, but you’ll need proper paint storage: seal containers tightly, label contents and ratio, keep cool/dark, stir or strain before using, and discard if smell or separation persists.
Conclusion
You’ve learned the right ratios and tests, so try thinning on scrap first: it’s the only way to prove the theory that slight dilution always improves smoothness. In practice, a small, controlled amount of water or conditioner will often reduce brush marks and orange peel—but overdoing it ruins hiding and drying. Test viscosity, apply, and inspect; if finish worsens, stop thinning and try flow additive, different tool, or better technique instead of more water.