How to Paint Laminate Wall Paneling Easily
You can easily update glossy laminate paneling by cleaning it with a mild degreaser, lightly sanding to scuff the surface, and wiping away dust. Apply a solvent- or bonding-type primer made for slick surfaces, then roll two thin coats of 100% acrylic paint in a satin or low-sheen finish for durability and even coverage. Use small brushes for grooves, protect floors, and allow full drying between coats — keep going for tips on prep, primers, and touch-ups.
What You’ll Achieve: Modern Painted Paneling
When you paint laminate wall paneling, you’ll transform dated, glossy boards into a clean, contemporary backdrop that brightens the room and lets your decor stand out.
Painting laminate paneling turns glossy, dated boards into a clean, contemporary backdrop that brightens and highlights your decor.
You’ll achieve smoother, more uniform walls that read modern instead of busy; crisp paint hides grooves and refreshes texture.
Choose color schemes that expand space—soft neutrals for calm, deep tones for drama—and coordinate trim for contrast.
Paint also improves reflectivity, so plan lighting options to complement finish: matte for subtlety, satin to bounce light gently.
The result is an updated, cohesive room where furniture and art become focal points, not the paneling.
Should You Paint Your Laminate Paneling?
If your paneling looks dated, glossy, or overwhelms the room, painting it can be a quick, cost-effective way to modernize the space without ripping anything out. You should paint if you want brighter walls, unified color schemes, or easier furniture matching. Consider texture, room use, and how much prep you’ll accept. Staining or stripping is harder; paint covers flaws and updates style. Use primers and proper paint for durability. Below is a simple decision rhythm:
| Benefit | Effort | Result |
|---|---|---|
| Brighten room | Low | Immediate |
| Match decor | Moderate | Cohesive |
| Hide flaws | Low | Clean look |
| Change style | Moderate | Lasting |
Quick Test: Can Paint Stick to Your Panels?
Before you start, do a quick surface adhesion test by scuffing a small, hidden area and applying a bit of paint. After it dries, try a peel-off trial with tape or your fingernail to see if the paint lifts.
If the paint sticks, you can move forward confidently; if it flakes, you’ll need to prep the paneling more.
Surface Adhesion Test
Curious whether paint will actually stick to your laminate panels? You’ll perform a quick surface adhesion test: clean a small area, note the surface texture, and lightly sand a test patch.
Apply primer and two thin coats of your desired paint, letting each dry fully. After 48 hours, press clear tape firmly and pull sharply; minimal or no lift means good adhesion.
Also inspect color matching under room lighting to confirm the new hue aligns with expectations. If paint flakes or color reads unevenly, adjust prep—more sanding or a different primer—before committing to the whole wall.
Peel-Off Trial
Now you’ll run a quick peel-off trial to see whether paint will really bond to your laminate panels. You’ll learn fast whether primer and scuffing worked by doing a simple adhesive testing step.
- Clean a small area and scuff it lightly.
- Apply primer, then a thin paint patch; let it cure per label.
- Press strong tape over the patch, rub firmly, then peel sharply.
- Inspect: if paint stays, proceed; if it flakes, sand more and retry adhesive testing or switch to a bonding primer.
This peel off trial saves time and prevents wasted effort.
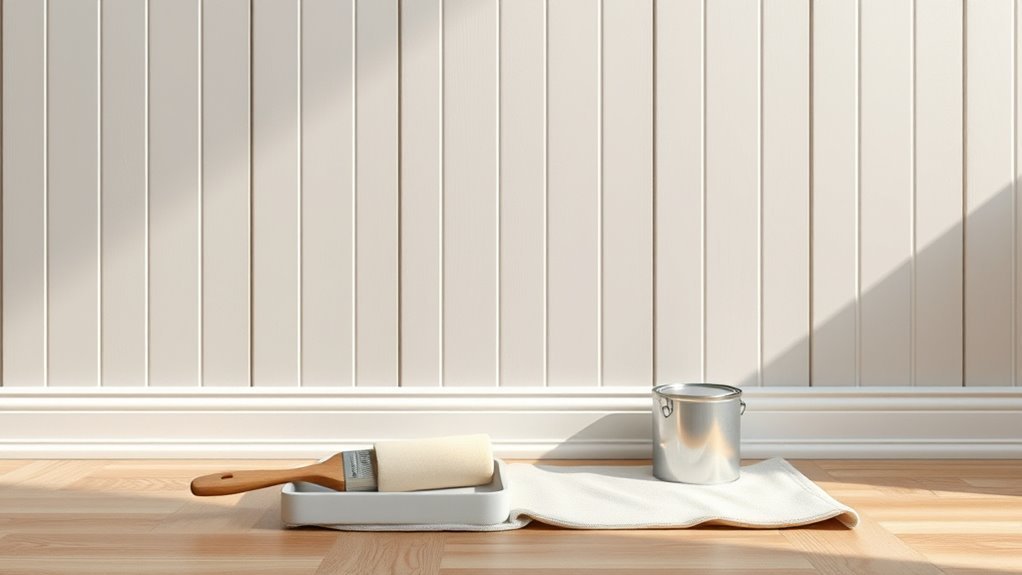
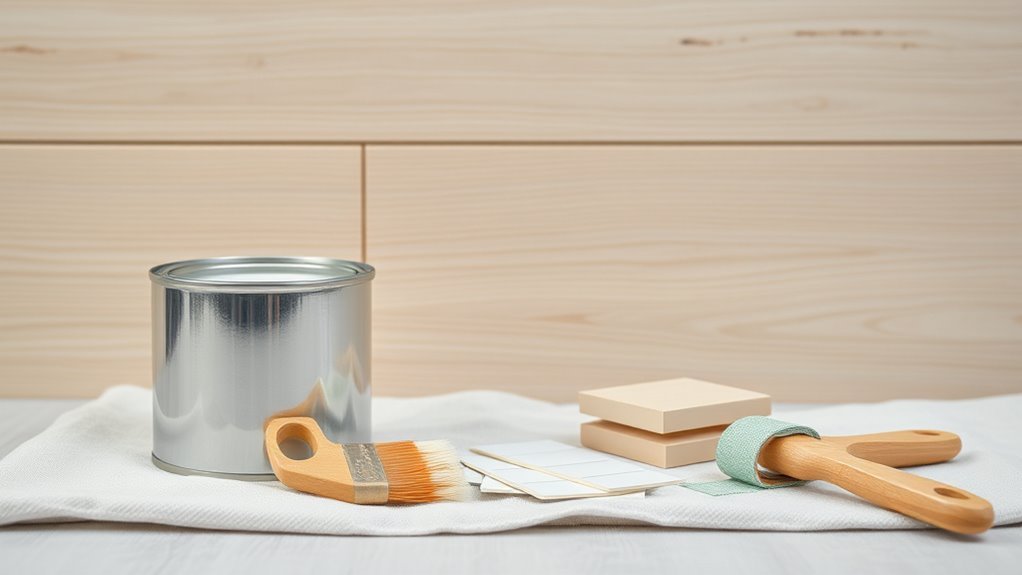
Tools and Materials You’ll Need
To get a smooth, lasting finish on laminate wall paneling, gather the right tools and materials so you won’t run into delays mid-project. Decide on color schemes and any historical styles you want to evoke before shopping.
Plan your colors and prep materials first to ensure a smooth, lasting finish on laminate paneling.
You’ll need a quality deglosser or primer formulated for laminate, high-adhesion bonding primer, and a latex or oil-based topcoat recommended for trim.
Get fine-grit sandpaper, tack cloths, angled brushes, foam rollers, and a mini roller frame for grooves.
Have painter’s tape, drop cloths, a putty knife, filler for seams, a paint tray, and gloves.
Measure surfaces to buy correct quantities.
How to Clean Laminate Before Painting
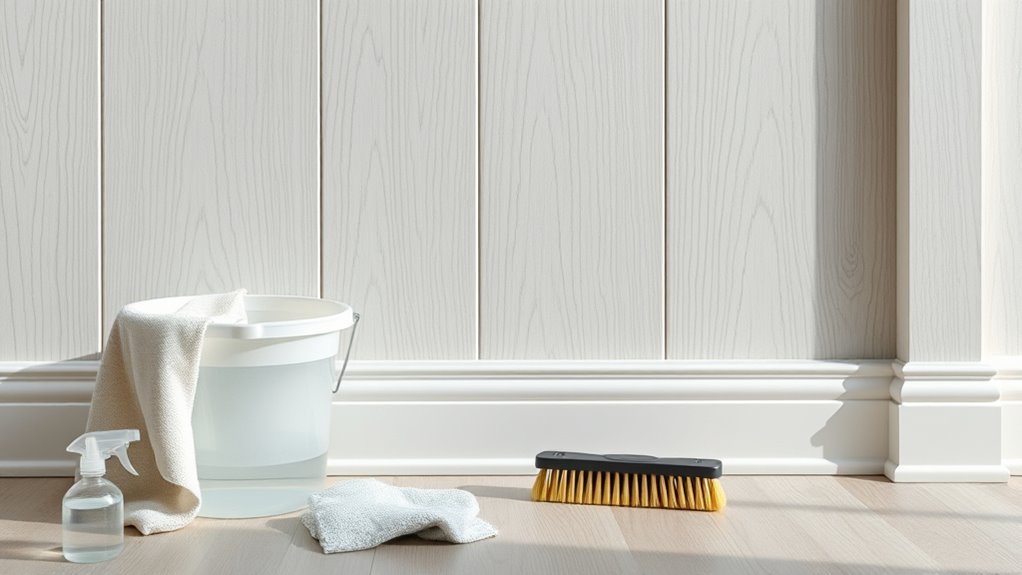
Because dirt, grease, and old residue prevent paint from sticking, you should start by thoroughly cleaning the laminate surface so the primer can bond properly. Use a mild degreaser or a trisodium phosphate substitute — these cleaning solutions cut oils without harming laminate.
Work top to bottom, rinse with clean water, and dry fully with lint-free cloths.
For stubborn spots, gently scuff with fine-grit sandpaper, then remove dust. Good surface prep guarantees primer adhesion and a smooth finish.
- Dust and vacuum
- Degrease with recommended solution
- Rinse and dry completely
- Lightly sand and remove dust
Fix Dents, Seams, and Warped Panels
Before you paint, you’ll want to repair dents with wood filler or epoxy so the surface looks smooth.
Seal any panel seams with painter’s caulk to stop gaps from showing through the paint.
If a panel’s warped, you can often flatten it with weights or replace it if it’s too damaged.
Repairing Dents Quickly
Got dents, gaps, or panels that bowed away from the wall? You can fix dents quickly with light sanding, filler, and smart finishing. Follow these steps:
- Clean area, sand shallow dents, and remove dust.
- Apply a thin, flexible wood filler; press into low spots and smooth.
- Sand flush after curing, then use texture techniques to match surrounding grain.
- Prime repaired spot, test paint against chosen color schemes, and feather edges for seamless blending.
Work in small sections, let each layer dry fully, and re-sand sparingly. You’ll restore panels fast and prepare them for sealing and final paint.
Sealing Panel Seams
Want those seams to disappear so your panels read like one smooth surface? Start by cleaning the joints, removing dust and loose paint.
For small separations use a paintable acrylic caulk; for wider gaps choose flexible gap filler.
Apply bead steadily, press into joint with a putty knife, then smooth with a wet finger or tool. Wipe excess quickly.
Let cure, then sand lightly for an even plane.
Prime the sealed area to *guarantee* adhesion before painting.
Focus on consistent panel sealing and sealing gaps to prevent moisture and paint failure.
Tidy seams make a professional-looking finish.
Fixing Warped Panels
Once seams are sealed and primed, you can tackle dents, gaps, and panels that have bowed or warped over time. You’ll assess each area, remove trim if needed, and decide whether to repair or replace warped panels. Address panel expansion by allowing small gaps and using flexible caulk. For dents, use wood filler, sand smooth, and spot-prime.
- Remove trim, loosen nails, and free stuck edges.
- Clamp slightly bowed panels; add backing support if flatness returns.
- Replace severely warped panels; match grain and thickness.
- Fill gaps for panel expansion, caulk, sand, and prime before painting.
When and How to Scuff-Sand Laminate
Before you prime or paint, you’ll need to scuff-sand the laminate so the new finish will stick; this light abrasion removes the glossy seal and gives paint something to grab onto. You’ll assess Laminates durability and panel design—high-gloss or textured surfaces need different grit and pressure. Use 220–320 grit sandpaper, a sanding block, and even strokes. Wipe dust with a tack cloth. Sand only until shine dulls; don’t cut through the veneer. For large areas, a random-orbit sander on low works. Recheck for smoothness before cleaning and moving to the next step.
| Tool | Grit | Tip |
|---|---|---|
| Hand block | 220 | Light pressure |
| Orbital sander | 320 | Low speed |
| Tack cloth | N/A | Remove dust |
Choosing a Primer for Laminate Paneling
Before you prime, make sure the paneling is clean, sanded lightly, and dust-free so the primer can bond properly.
I’ll explain the best primer types for laminate—adhesion-promoting acrylics and bonding primers—and when each one’s appropriate.
Then you’ll get concise application tips and timing advice so your topcoat goes on smoothly.
Surface Preparation Steps
When you’re prepping laminate paneling, picking the right primer matters because it’s the only thing that helps paint stick to a slick surface and prevents peeling or blotchy coverage.
Start by cleaning with degreaser and sanding lightly to scuff the sheen. Wipe dust with tack cloth. Test primer on a small area to check adhesion and any texture effects you want before committing.
- Clean thoroughly: remove oils, dirt.
- Sand lightly: create tooth for primer.
- Tack cloth: remove particles.
- Test patch: evaluate adhesion, color mixing with topcoat.
Let primer dry fully before painting.
Primer Types Explained
Now that your surface is cleaned, scuffed, and test-proven, pick a primer formulated to bond to slick laminate—these are usually solvent-based bonding primers or specially labeled adhesion primers for plastics. You’ll choose between solvent-based, shellac-based, or high-adhesion acrylic primers depending on odor tolerance and drying time. Consider how Color psychology affects your topcoat choice; primers can influence tinting. Remember historical techniques only for context, not procedure. Compare options quickly:
| Primer Type | Best For |
|---|---|
| Solvent-based | Tough bond, glossy laminate |
| Shellac-based | Stain blocking, quick sealing |
| Acrylic adhesion | Low odor, easy cleanup |
Application Tips And Timing
Although timing matters, you’ll get the best adhesion by applying a primer to a completely clean, dry, and scuffed laminate surface at moderate temperatures (ideally 50–80°F / 10–27°C) and low humidity.
Choose a primer formulated for slick surfaces and plan application when no rain or rapid temp shifts are expected.
Consider color matching the primer to your topcoat to reduce coverage coats.
Test texture options with a small sample to ensure the finish you want.
Follow manufacturer recoat windows and sand lightly between coats if needed.
- Clean and scuff
- Apply primer evenly
- Observe recoat time
- Test color/texture
Picking Paint: Best Finish and Formulas
Because laminate doesn’t absorb paint the way drywall does, you’ll want a finish and formula that sticks and hides seams without highlighting imperfections.
Because laminate repels paint, use a bonding primer and a satin acrylic finish to hide seams and flaws.
Choose a high-quality bonding primer plus a 100% acrylic latex paint—satin or satin-low sheen so dirt wipes off but surface flaws aren’t spotlighted. Use semi-gloss only for trim or moisture-prone areas.
Pick colors with intent: color psychology matters for mood and perceived space. Test swatches under your room’s light.
Store leftover paint properly—seal cans, label date and room, keep cool for paint storage and future touch-ups.
Follow manufacturer instructions for adhesion and recoats.
How Much Primer and Paint Do You Need?
With your primer and paint formulas chosen, figure out quantities before you buy so you won’t run short mid-project. Measure wall paneling square footage (height × width per panel), then subtract windows/doors. Primer often covers 250–400 sq ft/gal; laminate may need two coats.
Paint coverage is similar; plan for two coats if changing color.
- Calculate total square footage.
- Divide by coverage per gallon for primer and paint.
- Add 10–15% extra for waste and texture.
- Match finish to color theory and furniture coordination choices.
Buy slightly more than calculated to avoid mismatches or shortages.
Masking, Taping, and Protecting Floors & Trim
Before you start painting, protect everything you don’t want covered in paint: lay down drop cloths or rosin paper over floors, use painter’s tape along trim and seams, and cover vents, outlets, and hardware with plastic or tape.
Next, move or group furniture and use heavy-duty furniture protection like pads or plastic sheeting; label and store small items. If you recently did wallpaper removal, vacuum residue and confirm surfaces are dry before taping.
Press tape firmly along panel grooves and trim edges for clean lines. Seal edges where paint could seep, change cloths if they shift, and check tape before you paint.
Brush vs. Roller vs. Sprayer for Panels
Now that your floors, trim, and fixtures are protected and tape is sealed, choose the right application method for laminate paneling—brush, roller, or sprayer—based on the panel profile, desired finish, and how much prep you want to do.
You’ll balance speed, control, and environmental impact while keeping color theory in mind for finish perception.
- Brush: best for edges and touch-ups; max control.
- Roller: easy for flat panels; less overspray, good coverage.
- Sprayer: fastest, smoothest finish; needs masking.
- Hybrid: brush for grooves, roller or sprayer for flats; efficient.
Painting Grooves and Beadboard Neatly
When you tackle grooves and beadboard, work systematically so paint goes into recesses without pooling on ridges; start by cutting into grooves with a small, angled brush, then follow with a foam roller or narrow roller for the flat faces to blend brush marks. Use thin, even coats and watch for drips. Consider how color mixing affects final tones in shadowed grooves and pick a paint sheen that hides imperfections without highlighting brush strokes. Clean brush tips, remove excess paint before cutting, and overlap slightly when rolling for a seamless finish.
| Tool | Purpose |
|---|---|
| Angled brush | Cut grooves |
| Foam roller | Blend flats |
Applying Primer Without Streaks or Lap Marks
If you want a smooth, streak-free primer coat, work in consistent, overlapping strokes and keep a wet edge so each pass blends into the last. You’ll prep by cleaning and sanding lightly, then choose a quality bonding primer suited for laminate. Consider color matching to your final topcoat to reduce visible under-tinting. Test a small area to check texture options and drying behavior.
Use a good roller (short nap for smooth panels), keep a moderate load to avoid drips, and maintain steady pressure.
- Clean surface thoroughly
- Sand lightly and remove dust
- Roll evenly with wet edge
- Inspect and touch up
Topcoating Painted Laminate for Durability
Want your painted laminate to stand up to daily wear? Seal the surface with a clear topcoat designed for laminate—water-based polyurethane or a durable acrylic varnish—applied in thin, even coats. You’ll safeguard against scuffs while preserving color coordination between panels and trim.
Use a high-quality synthetic brush or foam roller for a smooth finish that minimizes brush marks. For visual interest, consider satin or matte sheens to emphasize texture contrast without overwhelming the paint.
Lightly sand between coats with fine grit for adhesion, remove dust, and apply the final coat evenly to guarantee long-lasting durability and a professional look.
Drying & Recoat Times (Temperature Tips)
Curious how long you’ll wait between coats? You’ll base it on temperature and humidity: warmer, drier conditions speed curing; cooler, humid ones slow it.
Consider color psychology and historical trends when choosing finish sheen—gloss dries faster, reflects light differently.
Follow these guidelines:
- 65–75°F and <50% humidity: recoat in 2–4 hours.
- 50–65°F or 50–70% humidity: wait 6–12 hours.
- Below 50°F or >70% humidity: wait 24+ hours; risk tacky finish.
- High gloss: faster dry; flat/matte: longer cure for true color.
Always test a small panel before proceeding.
Fixing Drips, Brush Marks, and Peeling
If you spot drips, sand them smooth while the paint’s still tacky and feather the edges so they vanish.
Blend brush marks by lightly sanding and reapplying thin, even coats with a high-quality brush or foam pad.
For peeling edges, scrape loose paint, sand the area, prime any bare laminate, and then repaint.
Smooth Out Drips
Noticing a drip or brush mark after the paint’s dried? You can fix it cleanly without stripping everything. Lightly sand the drip with fine-grit paper until smooth, wipe dust, and feather edges so the repair blends. Keep drip prevention in mind next time by checking paint consistency—thin slightly for smoother flow or avoid overloading the brush.
- Sand drip flush with surrounding surface.
- Clean with a tack cloth to remove residue.
- Prime the sanded spot if laminate shows through.
- Recoat gently with thin, even strokes; avoid excess buildup.
Work patiently and inspect under good light.
Blend Brush Marks
After you’ve sanded and touched up any drips, take a close look across the paneling for brush marks, roller stipple, or areas where paint is lifting—these flaws call for slightly different fixes but share the same goal: blend them so they disappear.
Lightly sand visible marks, wipe clean, and feather the edges with fine-grit paper. Mix a small amount of matching paint to get proper color mixing, testing on a hidden strip.
Use a soft brush or foam pad to apply thin, even layers, matching direction and texture. For roller stipple, replicate surface texture with gentle texture blending for a seamless finish.
Address Peeling Edges
When paint starts to lift at the edges or drip lines, you’ll want to tackle those peeling spots before they ruin your finish. Sand flaking areas smooth, feathering into solid paint so new coats adhere. Clean debris and dust, then apply a bonding primer to sealed laminate. Use thin, even coats to avoid new drips.
For small gaps, use flexible latex caulk and sand when dry for a seamless edge repair.
- Sand and clean
- Prime with bonding primer
- Caulk gaps for edge repair
- Recoat thinly to prevent drips
Inspect after 24 hours and touch up as needed.
How to Refresh Painted Panels Later
Want to give your painted laminate panels a quick uplift without a full repaint? You can touch up scuffs, refresh sheen, and update accents fast. Clean panels, sand tiny chips, and apply matching touch-up paint. Use a clear coat to restore durability and uniform gloss. Swap or reposition wall decor and try small furniture restoration projects nearby to tie the room together. For ongoing care, dust weekly and spot-clean with mild detergent.
| Task | Tip |
|---|---|
| Scuff repair | Light sanding, touch-up paint |
| Sheen restore | Clear coat |
| Decor tweak | Rearrange wall decor |
| Nearby refresh | Small furniture restoration |
Cheap Upgrades That Pair Well With Paint
Once you’ve painted the panels, swap out old outlet covers for clean, matching ones to make the finish look intentional.
You can also update light fixtures for better light and a fresher style without spending much. These small changes instantly elevate the room and make your paint job pop.
Replace Outlet Covers
Looking to give your freshly painted walls a polished finish? Replace outlet covers to complete the look. Swapping old, yellowed plates is cheap, quick, and dramatically improves appearance around electrical outlets.
Turn off power, remove the screws, and fit new covers that match your paint sheen and style. Consider finishes that coordinate with trim and switches.
- Choose low-profile or decorative plates.
- Match color or contrast subtly.
- Use screwless or stainless steel options.
- Inspect for paint drips and clean before installation.
This small update makes painted laminate paneling look intentional and maintained.
Update Light Fixtures
Swapping outlet covers gave your walls a cleaner look; updating light fixtures can have an even bigger impact on how that new paint reads. You’ll notice color depth and warmth shift with better bulbs and repositioned fixtures.
Choose fixtures that match your room’s style and scale; simple fixture upgrades often modernize paneling without a full remodel. Swap harsh fluorescents for warm LED bulbs, add dimmers, or install layered lighting to highlight texture and trim.
These lighting enhancements are affordable, quick, and reversible, so you can experiment until the paint and light work together to flatter the space.
When to Hire a Pro Instead of DIY
If the paneling is warped, water-damaged, or covering wiring or insulation you can’t access, hire a pro—these issues need tools, permits, or expertise you probably don’t have. You should also call a pro when scope, safety, or cost considerations make DIY impractical. Pros handle structural repairs, electrical rerouting, and moisture remediation faster and safer.
If paneling is warped, water-damaged, or hiding wiring/insulation, call a licensed pro for repairs.
- Structural damage: beyond cosmetic fixes.
- Electrical/insulation access: requires licensed work.
- Time vs. cost: pros may save money long-term.
- DIY safety: avoid risks with ladders, chemicals, and hidden hazards.
Trust a qualified contractor for complex or risky jobs.
Frequently Asked Questions
Can I Paint Laminate Paneling Outdoors or in Unconditioned Spaces?
You can, but you’ll face limits: Outdoor durability is reduced and unconditioned space considerations matter. Use exterior-grade primer and paint, seal edges, allow ventilation, and expect more maintenance and potential delamination over time.
Will Paint Hide Strong Woodgrain or Panel Texture Completely?
No — you won’t fully erase the grain; it’s like laying a veil over ridges. You’ll improve woodgrain concealment and texture coverage with primer, high-build paint, and sanding, but some texture will still subtly show through.
How Long Before I Can Hang Pictures or Shelves on Painted Panels?
You can hang pictures or shelves after the paint’s fully cured — usually 7–14 days. With proper surface preparation and allowing full paint durability, light items sooner; heavier shelves wait the full cure and use anchors.
Are There Health Concerns With Priming/Painting in Small Rooms?
Yes — you’ll face risks; you should take ventilation precautions and monitor indoor air quality. Open windows, use fans, wear an N95 or respirator, and pick low‑VOC primer/paint to limit fumes and asthma triggers.
Can I Change the Color Later Without Sanding Back to Raw Laminate?
Yes — you can change the color later without sanding to raw laminate; just mock your old taste, apply proper primer and quality paint, and future repainting will be easier, though light scuffing or deglossing helps adhesion.
Conclusion
You’ve turned dated laminate into a fresh, modern surface that’ll keep your room feeling current — think of it as giving your walls a fresh outfit instead of buying a whole new wardrobe. If the surface passed the stick test, you can handle cleaning, sanding, priming, and painting yourself with basic tools. Tackle small fixes and refreshes as needed, and call a pro only for stubborn damage or structural issues you can’t confidently fix.