How to Paint Over a Dark Color Wall Easily
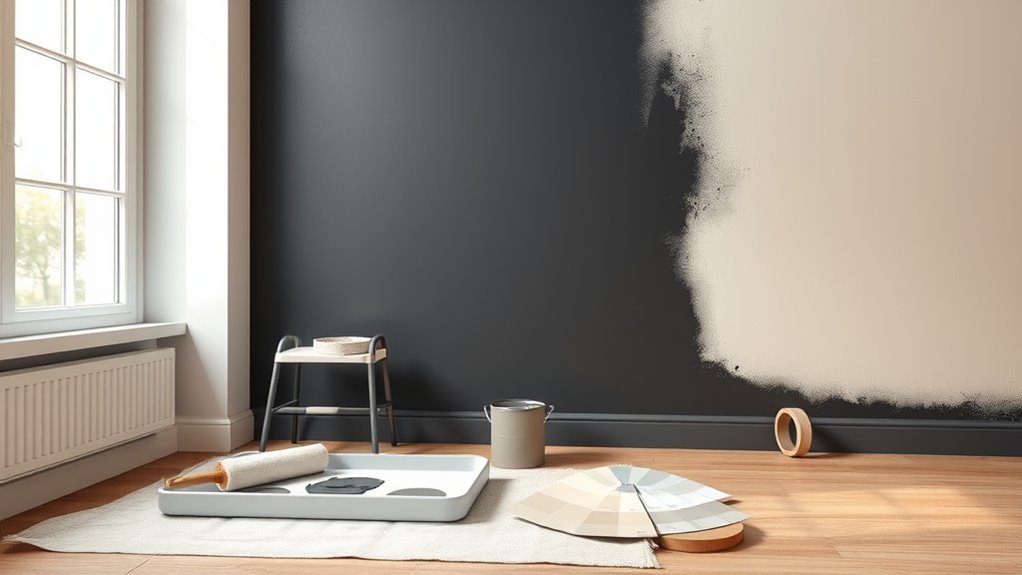
You can paint over a dark wall easily by cleaning, filling holes, and lightly sanding for adhesion, then using a tinted primer or high-hide primer to neutralize the dark tone and cut coats. Cut in edges with a brush, roll in “W” patterns with a quality nap roller, keep wet edges, and apply thin, even topcoats until coverage is solid. Follow simple fixes for streaks or bleed-through, and keep going to learn pro tips.
Quick Facts: What to Expect When Painting a Dark Wall
Because dark paint hides nothing, you’ll notice every nick and uneven stroke more when you go over it. Expect extra coats, slower drying where pigment sits thick, and more light reflection issues that show flaws.
Dark paint reveals every flaw — expect extra coats, slower drying, and more visible brushwork and reflections.
You’ll adjust technique: thinner layers, careful brushwork, and patience for full coverage. Color psychology matters — dark hues change perceived room size and mood, so factor that into final decisions.
Historical trends show dark walls were once dramatic statements; today they’re accent choices, not defaults.
Plan for contrast, touch-ups, and time. Anticipate more effort than repainting a light surface; it’s doable with care.
Do You Need Primer for a Dark Wall?
You’ll usually need primer when the dark color is bold, glossy, or stained, because it blocks bleed-through and evens the surface.
If the old paint is matte and you’re switching to a high-quality, high-hide topcoat, you might get away without one.
I’ll explain when primer is required and which alternatives work best so you can pick the easiest, most effective route.
When Primer Is Necessary
Wondering if you really need primer to cover that dark wall? You do when color psychology matters, stains bleed, or wall texture hides flaws. Primer evens tone, boosts adhesion, and reduces coats needed for true color.
| Situation | Why it matters |
|---|---|
| Dark to light transition | Blocks heavy pigment |
| Stains or smoke | Prevents bleed-through |
| Porous surfaces | Seals and evens absorption |
| Rough texture | Improves topcoat uniformity |
If you’re changing hues dramatically, dealing with uneven texture, or seeking reliable coverage, primer’s necessary. Skip it only for like-for-like repainting on smooth, clean surfaces.
Primer Alternatives Explained
If you want to skip traditional primer, several effective alternatives can still give you reliable coverage over a dark wall. You can use a tinted paint base or a high-hide paint formulated to cover deep colors; these reduce coats and save time.
Shellac- or oil-based bonding coats work on glossy surfaces, while a clear sealer stabilizes chalky finishes.
Consider color psychology when choosing a tint to avoid undertones bleeding through. Also weigh environmental impact: low-VOC paints and water-based primers cut fumes.
Test a small area first so you’re confident in adhesion, coverage, and final color.
Primer Options for Covering Dark Colors
1 key decision when covering a dark wall is choosing the right primer, because the right formula cuts down on coats, hides bleeding, and evens out the surface so your topcoat goes on smoothly.
You’ll pick between high-hide pigmented primers for deep colors, tintable bonding primers for tricky surfaces, or shellac-based primers when staining bleeds through.
Consider a primer you can tint slightly to aid color mixing and reduce topcoat layers.
For textured or faux finishes, choose a primer compatible with decorative techniques you plan to use so adhesion and true color payoff aren’t compromised.
Match primer to problem, not just price.
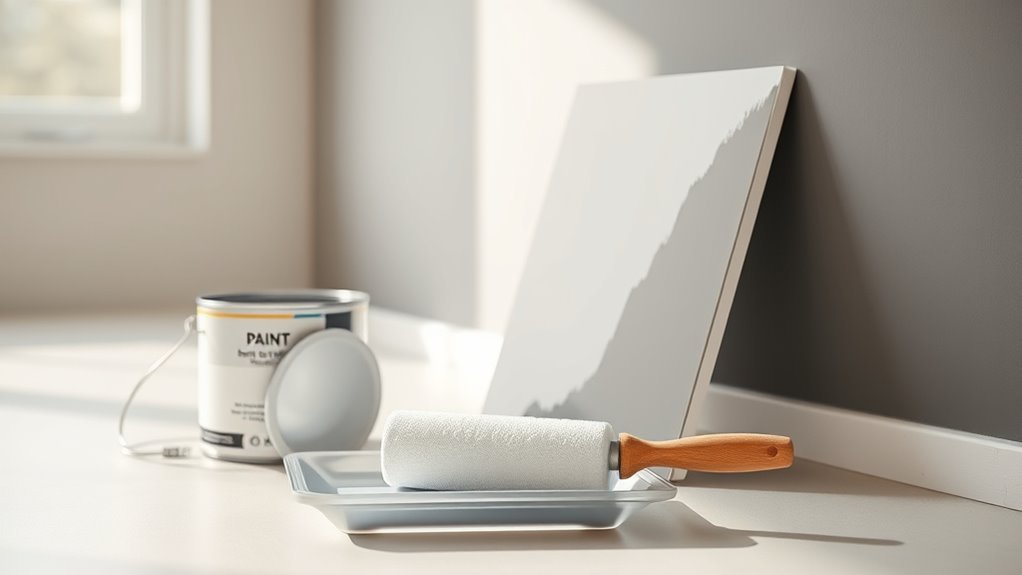
Tools & Materials for Even, Fast Coverage
Now that you’ve picked the right primer for hiding dark tones, you’ll want the best tools to get smooth, fast coverage.
Use a high-quality roller with a thick nap for textured walls and a brush or angled edger for trim and corners.
Choosing the right primer and application tools together cuts coats and time.
Primer Selection Tips
Because blocking a dark color’s bleed-through matters most, choose a high-quality stain-blocking primer formulated for high-hide and adhesion. Pick primer type based on surface: oil-based for knots and heavy staining, shellac for severe bleed, and high-build latex for drywall.
Match primer sheen and drying time to your schedule so coats lay flat and sand easily. Consider how primer affects final tone—priming shifts perceived hue, impacting color psychology and how trending palettes read in your space.
Buy enough coverage (check spread rate) and test a small area. Proper primer choice saves coats and prevents color show-through.
Efficient Application Tools
When you want fast, even coverage on a dark-to-light repaint, pick tools that match the surface and paint type so you spend less time fixing mistakes. You’ll work smarter with quality rollers, angled brushes, and an edger—each reduces touchups and preserves finish consistency.
Consider how color psychology affects perception of texture; smoother application makes light colors feel cleaner. Note historical trends in tools: modern foam rollers and microfiber pads outperform older nap rollers for sheen control.
Choose a tray with liner for quick swaps and keep a small brush for corners to maintain speed and neatness.
- 9″ nap roller (smooth walls)
- Angled sash brush (cutting in)
- Foam edger (trim work)
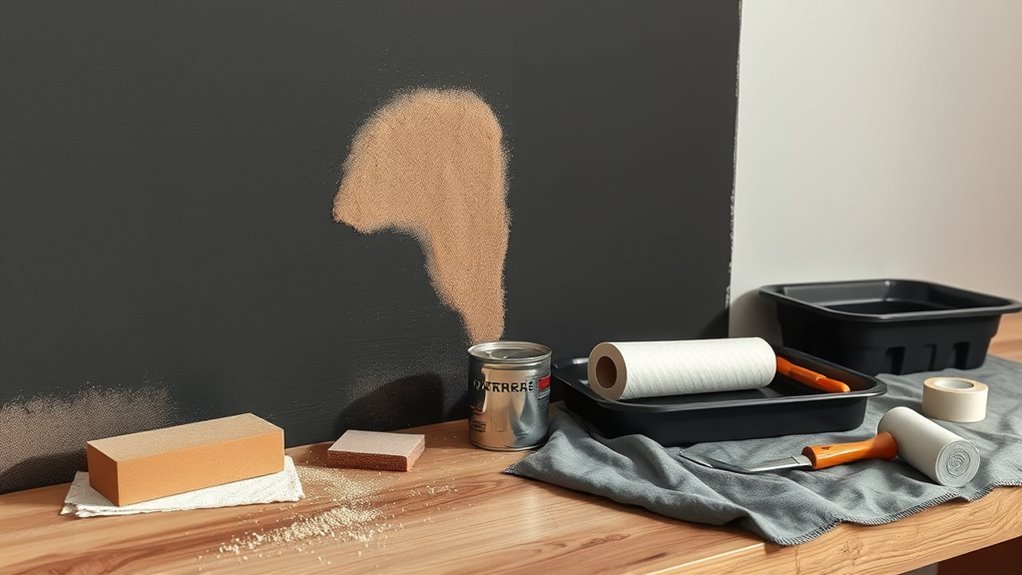
Quick Cleaning & Repairs Before Painting
Before you grab a brush, give the wall a quick once-over and fix what could sabotage your finish: wipe away dirt and grease, sand flaking spots, and fill small holes or cracks. Use a mild detergent, rinse, and let dry fully.
Scrape loose paint and spot-prime patched areas to prevent bleed-through. While cleaning, consider color combinations you’ll use and how they interact with existing trim and décor.
Move or cover furniture; plan furniture arrangement now so painted areas behind pieces get proper attention. Small repairs and tidy prep save time and make certain of smoother, truer final coverage.
How to Sand and Degloss for Better Adhesion
Before you prime, you’ll want to lightly sand the wall to scuff the surface and remove any glossy finish so the new paint can grip.
Use a fine-grit sandpaper or a sanding sponge with even pressure to avoid gouges.
Wipe away dust with a tack cloth before applying primer.
Light Sanding Techniques
Although the paint feels smooth, light sanding—also called deglossing—creates the tooth new paint needs to stick. You’ll use fine-grit (220–320) sandpaper or a sanding sponge, working gently to dull gloss without cutting into the substrate.
Focus on even pressure, keep strokes consistent, and wipe dust with a tack cloth so color matching and paint texture read true when you prime and topcoat. Test a small patch first.
- Wear a mask and goggles; dust spreads fast.
- Sand along the grain or with steady circular motions for uniform texture.
- Replace sandpaper when it clogs to avoid gouges.
Remove Gloss Finish
Now that you’ve dulled the surface with light sanding, it’s time to remove the remaining gloss so new paint will grab and stay put. Use a liquid deglosser or 220–400 grit sandpaper for effective gloss removal. Wipe residue with a tack cloth, then clean with a mild detergent to finish preparation. Check for missed shiny spots by angling light across the wall. Repair imperfections, sand again if needed, and prime glossy areas to guarantee adhesion. Follow product instructions and ventilate the room.
| Step | Tool | Tip |
|---|---|---|
| 1 | Deglosser | Test first |
| 2 | 220–400 grit | Light strokes |
| 3 | Tack cloth | Remove dust |
| 4 | Cleaner | Rinse well |
| 5 | Primer | Target glossy spots |
Pick the Right Paint Finish and Opacity
When you’re covering a dark wall, choosing the right finish and opacity makes the job easier and reduces coats. You’ll pick a finish that hides flaws yet fits the room’s mood; matte hides imperfections and favors color psychology, while satin or eggshell balances sheen with paint durability.
Higher opacity (often labeled hide or LRV) needs fewer coats. Consider finish for traffic and light levels so durability and look match.
- Use matte for low-light, calm spaces.
- Choose satin for hallways or kitchens needing scrub-resistance.
- Opt for high-opacity primer-paint combos to cut layers.
Estimate Primer & Paint Quantities for One Room
Before you buy anything, measure the room and calculate surface area so you know how much primer and paint you’ll actually need. Note ceiling, doors, and windows separately; subtract their area.
Account for wall textures—rough surfaces absorb more primer and paint, so increase estimates by 10–25%. For dark-to-light *gradual change* plan more coats.
Check paint coverage on the can (sq ft per gallon) and choose high-hide primer for better coverage.
Consider how color psychology affects final choices—strong pigments may need extra coats.
Round up cans to avoid mid-project runs and keep touch-up paint from the same batch.
Prime Smart: Techniques That Cut Down Coats
Prime smart by choosing the right primer and applying it correctly so you cut down on extra topcoats. Pick a high-hide, stain-blocking primer matched to your topcoat sheerness; you’ll save time and avoid tint-heavy overpainting. Consider color psychology when selecting primer tones—warm undertones can reduce visible bleed-through.
Note historical trends in finishes: satin and eggshell often mask imperfections better than flat in well-lit rooms. Apply evenly, feather edges, and sand lightly between coats for adhesion.
- Use tinted primer close to final shade.
- Spot-prime stains before full coat.
- Let primer cure fully for best coverage.
Cutting In and Rolling for Streak-Free Coverage
Because the edges set the tone for the whole job, start by cutting in carefully with a steady hand and the right brush so your roll lines blend seamlessly. Work in small sections, cutting a two- to three-inch border along trim and corners, then immediately roll the field while the edge is wet.
Use a high-quality angled sash brush and a dense nap roller to avoid streaks. Maintain a “W” or “M” rolling pattern, back-rolling to even out coverage.
Consider how color psychology and paint color trends affect sheen choices and natural light, and adjust pressure for consistent laydown.
Fixes for Bleed-Through, Streaks, and Flashing
Once your cutting-in and rolling are done, you’ll want to tackle any bleed-through, streaks, or flashing right away so small flaws don’t become big headaches. Spot-prime bleed areas with a stain-blocking primer, let it dry, then feather in topcoat.
For streaks, recoat with thin, even passes and maintain a wet edge.
Flashing—shiny patches where sheen differs—needs light sanding, wipe, and a uniform finish coat.
Use consistent color mixing and choose eco-friendly paints to reduce odor while achieving coverage.
Tips to remember:
- Work small, keep a wet edge.
- Sand glossy spots before recoating.
- Match batch mixes for consistency.
When to Call a Pro for Tricky Surfaces or Deep Color
If you’re facing heavily saturated or unusual surfaces—think deep reds that keep bleeding through, textured plaster, glossy trim, or walls with water stains—it’s smart to call a pro rather than struggle through fixes that may only hide problems temporarily.
You’ll benefit from a professional consultation when previous coats fail, stains reappear, or substrate damage exists. Pros assess adhesion, recommend sealing primers, and handle complex surface preparation like sanding, skim coats, or moisture remediation.
Calling help saves time and prevents costly redo work. Choose someone who documents recommendations, provides color-blocking solutions, and guarantees durable results for tricky or deep-color jobs.
Simple Maintenance to Keep Your Lighter Wall Fresh
When a pro isn’t required, you can keep a newly lightened wall looking fresh with a few routine habits. You’ll notice how color psychology and interior lighting change mood, so protect that effect by cleaning and preventing damage. Wipe marks gently, repair chips quickly, and control light exposure to avoid uneven fading.
Rotate art and furniture to distribute wear, and use felt pads to prevent scuffs. Keep touch-up paint handy for quick fixes.
- Wipe with a damp microfiber cloth weekly.
- Touch up small nicks within days.
- Use curtains or UV-filtering film to manage sunlight.
Frequently Asked Questions
Can I Paint Over Wallpapered Dark Walls Without Removing the Paper?
Yes — you can paint over wallpapered dark walls, but you’ll need proper surface preparation and may face issues; consider wallpaper removal first, patch seams, prime with a high-adhesion primer, then apply multiple paint coats for coverage.
Will Low-Voc or Natural Paint Cover Dark Colors as Well as Standard Paints?
Yes — low-VOC or natural paint can cover dark colors, but you’ll often need primers and extra coats. Use eco friendly alternatives labeled high-hide, follow color coverage tips, and test small areas before committing.
How Long Should I Wait Between Primer and Paint in Humid Climates?
Like waiting for sunrise, you should let primer preparation settle: in humid climates, wait 24–48 hours for proper drying time, sometimes longer if damp; touch-test before painting, and don’t rush or you’ll trap moisture.
Can I Use a Paint Sprayer Indoors to Cover a Dark Wall?
Yes—you can use a paint sprayer indoors, but you’ll need excellent indoor ventilation and proper paint application techniques. Open windows, run fans, mask furniture, and practice even, overlapping passes to avoid drips and achieve uniform coverage.
Will Painting Cabinets or Trim at the Same Time Affect Wall Coverage?
Yes — cabinet painting and trim repainting can slow you down and risk splatter, so you’ll stage work: mask cabinets/trim, paint walls first or cut in after, and use drop cloths and proper tools to stay efficient.
Conclusion
Painting over a dark wall can feel like wrestling a shadow, but with the right primer, tools, and technique you’ll tame it fast. Start with good prep, pick a high-hide primer or tinted base, and cut in before rolling with even strokes. Patch and sand minor flaws, address bleed-through promptly, and touch up any streaks. If surfaces are tricky, don’t hesitate to call a pro. Maintain the new color with gentle cleaning.