How to Paint Over Semi Gloss Walls Correctly
You can paint over semi-gloss walls successfully if you clean, scuff, and prime first. Remove grease and mildew, sand lightly with 220–320 grit to dull the sheen, then wipe away dust. Apply a high-adhesion bonding primer, spot-priming any stubborn shiny areas, and let it cure. Use thin, even topcoats, maintain a wet edge, and sand lightly between coats if needed. Follow proper dry times, and keep going to learn tools, techniques, and fixes for common issues.
Quick Answer: Can You Paint Over Semi-Gloss Walls?
Wondering if you can paint over semi-gloss walls? Yes—you can, but you’ll need to prepare properly to get lasting results.
You’ll sand or degloss the surface, clean it, and use a bonding primer so paint adheres. That primer also helps with color matching, letting you achieve true coverage without blotches.
Choose a topcoat suited to the room’s use to preserve paint durability; higher-traffic areas benefit from tougher finishes.
If you skip preparation, the new paint may peel or look uneven. Do the prep, pick compatible products, and you’ll refresh semi-gloss walls successfully.
Step-By-Step: Paint Over Semi-Gloss
Before you begin, gather your tools and set up a clean workspace so each step flows smoothly.
You’ll prep by cleaning, sanding glossiness, and repairing imperfections for proper adhesion.
Prime with a bonding primer, letting it cure fully.
Test color matching on a small patch and adjust before rolling.
When painting, use thin, even coats and maintain a wet edge to avoid lap marks.
Finish with light sanding between coats for seamless texture blending.
Clean brushes and assess light to confirm coverage.
- Clean and sand
- Prime
- Test and paint
- Finish and inspect
Why Semi-Gloss Reacts Differently Than Flat Paint
You’ll notice semi-gloss feels much harder than flat paint because its higher resin content creates a tougher surface. That hardness and the shiny sheen both affect how new paint sticks, so adhesion can be trickier than with flat finishes.
Knowing those differences helps you choose the right prep and primer for a reliable topcoat.
Surface Hardness Differences
Because semi-gloss finishes cure into a much harder, less porous surface than flat paints, they resist sanding, adhesion, and coverage differently, so you’ll need different prep and products to get a good result. You’ll notice less texture enhancement from new coats and more visible edges when repainting, so plan for careful priming and spot-sanding. Also expect color matching challenges because sheen shifts affect perceived hue.
- Lightly scuff to dull the surface for mechanical tooth.
- Use a high-adhesion primer formulated for glossy surfaces.
- Apply thin, even coats to avoid lap marks.
- Allow full cure between steps.
Adhesion And Sheen
When you paint over semi-gloss, the slick, cured surface fights adhesion because its low porosity and smooth sheen reduce mechanical bite and limit primer penetration. You’ll need to scuff or degloss to create microscratches so primer and new paint grip.
Choose a bonding primer formulated for glossy surfaces; it evens out paint texture and helps prevent peeling. If you’re concerned about color matching, test swatches after priming—gloss differences affect perceived hue and light reflection.
Work with thin, even coats, and allow full cure between layers. Proper prep beats repeat failures and yields a uniform, durable finish.
When (And How) to Remove Semi-Gloss First
If the semi-gloss is peeling, extensively chalked, or the surface has heavy buildup, you’ll need to remove it before repainting.
Start by testing a small area with a chemical stripper or sanding to see what works best for your wall type.
Always wear protective gear, work in a well-ventilated space, and follow product instructions for safe, effective stripping.
When To Strip
Ever wondered whether you should strip semi-gloss before repainting? You’ll strip when adhesion fails, the finish peels, or texture won’t let new paint hide flaws.
Consider old oil-based coats, drastic color changes, and mold stains. Factor color matching challenges and ventilation tips into your plan — poor airflow worsens fumes during removal.
- Peeling or bubbling finish
- Persistent stains or mold
- Oil-based surface under new latex paint
- Dramatic color change requiring perfect adhesion
If none apply, deglossing and proper priming often suffice; strip only when these clear signs demand it.
How To Strip
Thinking you need to strip semi-gloss before repainting? If the surface is peeling, heavily chalked, or has incompatible coatings, you should remove it. Start by scoring loose areas, then use a chemical stripper or heat gun following safety guidelines—ventilation, gloves, eye protection.
Scrape gently with a putty knife, sand feathered edges, and clean residues with mineral spirits. For lead-painted homes, get testing and hire a pro.
After stripping, prime with a bonding primer to restore adhesion and improve paint durability. For precise color matching, take a sample to the store or use a calibrated color reader before finishing.
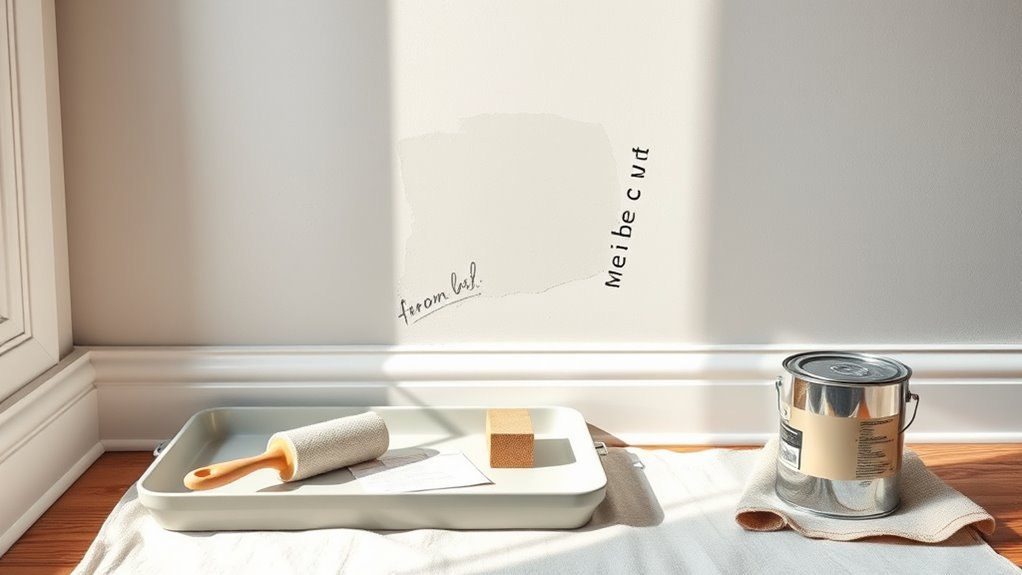
Tools and Materials for Painting Over Semi-Gloss
Before you start, gather the right tools and materials so the job goes smoothly: quality sanding pads or a chemical deglosser, tack cloths, high-adhesion primer, paint with the finish you want, angled brushes for trim, a nap roller suited to your new paint, drop cloths, painter’s tape, a good scraper or putty knife, and safety gear like gloves and a respirator.
Gather quality sanding supplies, primer, brushes, roller, drop cloths, painter’s tape, scraper, and safety gear before you begin.
You’ll also want to sort paint for color mixing and consider paint texture for the desired look. Keep tools clean and ready, label cans, and plan coverage.
Use:
- Sanding and deglossing supplies
- Primer and patching tools
- Brushes and rollers
- PPE and cleanup gear
How to Test Adhesion on Semi-Gloss

Before you paint, check that the surface is clean by wiping a small area with a damp cloth and looking for dirt, grease, or loose particles.
Then do a tape pull test: press a strip of painter’s tape firmly onto the wall, rub it, and pull it off quickly to see if paint or sheen comes away.
If residue lifts, you’ll need to clean and sand the area until the tape stays put.
Surface Cleanliness Check
Wondering if paint will stick to your semi-gloss walls? Start by inspecting for grease, dust, and residue; clean with a mild degreaser and rinse. You’ll want the surface fully dry before priming or rolling. Consider eco friendly paints to minimize fumes during cleanup and use proper brush techniques for edges after prep. Test small areas to confirm cleanliness and adhesion.
- Wipe with a TSP substitute and microfiber cloth.
- Rinse, then dry thoroughly.
- Sand lightly to degloss if needed; remove dust.
- Spot-prime cleaned areas and check for lift or peeling before proceeding.
Tape Pull Test
Now that the surface is clean, use a simple tape pull test to check whether paint will bond to your semi-gloss wall. Press a strip of strong adhesive tape firmly onto a small area, rub it down, then pull it off quickly at a sharp angle.
Inspect for flakes or glossy film stuck to the tape. If paint lifts, you’ll need to sand or degloss; adhesion issues affect both color matching and paint durability.
Repeat several spots across the wall, including edges and high-touch areas. When tape removes nothing, proceed confidently, knowing your new coat will stick and wear well.
Cleaning Semi-Gloss Walls the Right Way
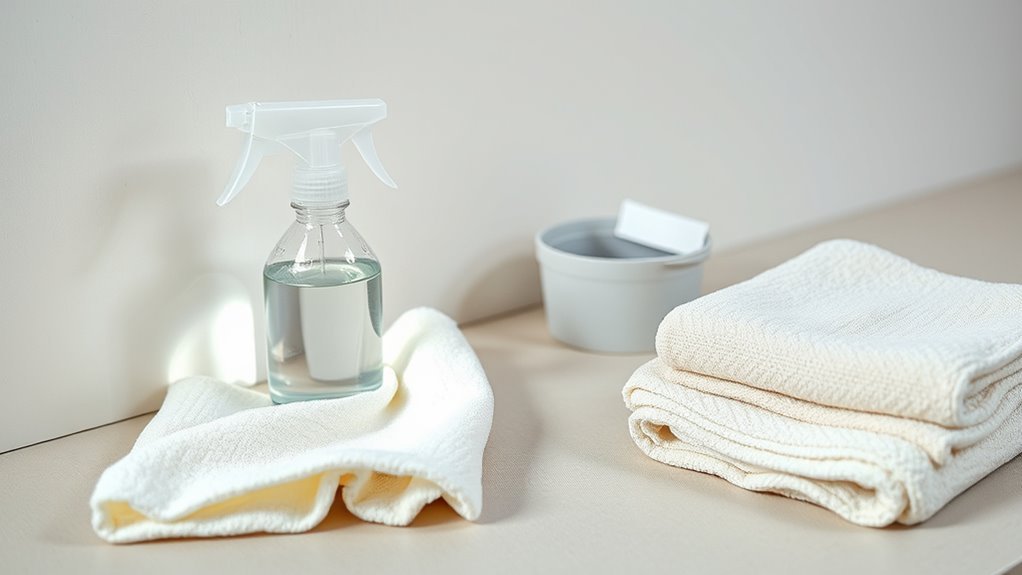
Although semi-gloss paint holds up well, you’ll still need to clean walls thoroughly before painting to guarantee new paint adheres and looks smooth. Start by removing dust and grease so primer and new color psychology choices read true. Use a mild detergent or trisodium phosphate substitute, rinse, and let dry.
If you plan eco-friendly paints, cleaning reduces contaminants that affect finish and VOC interactions.
Follow this simple checklist:
- Dust and vacuum baseboards and corners.
- Degrease with a gentle cleaner, rinse well.
- Spot-clean stains and mold with appropriate solutions.
- Let walls dry 24 hours before priming.
How to Sand Semi-Gloss for Reliable Bonding
Before you sand, make sure the surface is clean and free of grease or grime so the abrasive can do its job.
Use light, even sanding with fine-grit paper to scuff the sheen without cutting through the paint.
Wipe or vacuum all dust away before priming so the new coat will bond reliably.
Surface Cleaning First
How do you get a smooth, long-lasting finish over semi-gloss without the paint peeling or flaking? You start by cleaning thoroughly: grease, dust, and residues block adhesion. Use trisodium phosphate or a mild detergent, rinse, and let dry. Cleaning also helps you evaluate color psychology decisions and how new hues will sit against the sheen. Before you paint, plan paint finish options so your cleaned surface matches the desired look.
- Degrease with TSP or dish soap.
- Rinse twice; allow full drying.
- Remove mildew with diluted bleach.
- Wipe with tack cloth before priming.
Light Sanding Technique
When you lightly sand semi-gloss, you’re not trying to remove the finish—you’re scuffing it enough to create tooth so primer and new paint will grip. Use 220–320 grit sandpaper on a sanding block or fine sanding sponge, working with even, gentle strokes across the surface.
Focus on sheen reduction, not deep scratches; check frequently by running your hand. Sand edges and trim carefully so brush techniques later won’t show drag marks.
After sanding, spot-prime any bare areas to aid adhesion and maintain consistent color matching when you topcoat, ensuring a smooth, uniform finish.
Dust Removal Methods
Although sanding creates the necessary tooth, you’ve got to remove every bit of dust so primer and paint can bond properly. Start by wiping the surface with a slightly damp microfiber cloth to lift fine particles, then follow with a dry tack cloth or a vacuum with a soft-brush attachment to grab remaining grit.
- Use a damp microfiber for initial wipe; change cloths often to avoid smearing.
- Vacuum crevices and corners to clear dust from different wall textures.
- Run a tack cloth over the whole area just before priming to catch residual dust.
- Inspect under good light to ensure dust won’t affect final paint colors.
Which Primer to Use Over Semi-Gloss
Wondering which primer will give you the best bond and hide the old sheen? Choose a high-adhesion bonding primer designed for glossy surfaces; it grips semi-gloss and prevents peeling.
If you’re switching to a darker or lighter topcoat, use a stain-blocking or tintable primer to help with color matching so fewer topcoats are needed.
For rooms with moisture or temperature swings, pick a primer rated for those environmental factors to resist blistering and mildew.
Oil-based primers work well on stubborn gloss, while modern shellacs or specialty acrylics offer fast dry times and strong adhesion for most projects.
Applying Primer for Best Adhesion
Ready to get the primer to really stick? You’ll prep the surface, degloss with light sanding, and clean residue so the primer bonds.
Ready to make primer stick: prep, degloss with light sanding, and thoroughly clean residue for proper bonding.
Choose a high-adhesion primer suited to semi-gloss; consider color matching if you’re tinting primer to reduce topcoat layers.
Pay attention to brush selection for edges—use a quality synthetic brush for smooth application and avoid heavy strokes that cause drips.
Apply thin, even coats and let recommended dry times pass before a second coat.
Maintain good ventilation and temperature.
Inspect under good light for missed spots, then lightly scuff between coats for the best adhesion.
Picking the Right Topcoat for Semi-Gloss Walls
When you pick a topcoat for semi-gloss walls, prioritize durability and the finish level you want—semi-gloss and satin hide imperfections differently and handle scrubbing and moisture to varying degrees.
Choose a topcoat rated for high Paint durability if the room sees traffic or humidity. Satin softens flaws; semi-gloss boosts washability and highlights trim.
Match Color selection to lighting and room size—test swatches on the prepped surface, let them cure, and observe at different times of day.
Consider water-based formulations for easier cleanup and lower VOCs, or alkyd for extra toughness in demanding areas.
Cutting In and Rolling Without Lap Marks
Before you roll, cut in carefully along edges and corners so you don’t have to chase wet paint with a roller. Use quality brushes and steady brush techniques to lay a smooth bead, keeping the stroke width consistent. Match color by checking fresh trim swatches against the wall light.
Load a 3/8″ nap roller, work in 3×3 foot sections, and keep a wet edge to avoid lap marks.
- Feather edges with light pressure to blend.
- Reload roller frequently for even coverage.
- Overlap roller passes 50% for uniformity.
- Inspect under different light for color matching.
Drying Times and Recoat Rules
Although semi-gloss dries faster than flat finishes, you’ll still need to wait the manufacturer’s recommended time before recoating to avoid lifting or streaking. Check label times for touch-dry versus recoat windows; temperature and humidity can double drying times.
Sand lightly between coats if recommended, then wipe dust before applying the next layer. Plan color coordination so undertones don’t shift as coats cure, testing small patches under actual lighting effects to confirm final appearance.
Use thin, even coats rather than heavy ones to speed proper curing and prevent runs. When in doubt, wait longer—patience preserves adhesion and finish.
Quick Prep Shortcuts That Won’t Hurt Adhesion
Now that you’ve allowed coats to cure properly, you can speed up prep without compromising adhesion. You’ll focus on light scuffing, cleaning, and targeted priming so new paint sticks, regardless of color combinations or differing paint finishes.
- Lightly sand glossy spots with fine-grit for tooth without stripping.
- Wipe with a degreasing cleaner and lint-free cloth; let dry fully.
- Spot-prime bare or repaired areas with a bonding primer only where needed.
- Use painter’s tape sparingly; press edges down after primer cures.
These shortcuts save time while preserving durability and a uniform finish.
Common Problems After Painting and How to Fix Them
When paint doesn’t behave the way you expect, you’ll want to identify the problem quickly so you can fix it before it gets worse. Common issues include streaks, lap marks, peeling, and uneven sheen.
If streaks show, check your brush selection and switch to a higher-quality synthetic brush or roller suited to the paint.
Peeling usually means poor adhesion—clean, sand, and prime before recoating.
Blotchy color often stems from bad color mixing or insufficient stir time; remix paint and apply a uniform primer.
For sheen variation, let paint cure fully; if it persists, scuff and recoat with consistent technique.
Frequently Asked Questions
Can I Paint Semi-Gloss Walls in High-Humidity Rooms Like Bathrooms?
Yes—you can paint semi gloss sheen walls in bathrooms, but you’ll need thorough wall preparation, deglossing, and a mildew-resistant primer plus paint. That approach prevents peeling and handles high humidity effectively in those spaces.
Will Odor From Primer/Topcoat Linger After Painting Semi-Gloss?
Yes — you may notice odor after painting semi-gloss; proper surface preparation and using low-VOC primer and topcoat reduces fumes. You’ll ventilate the room, speed drying, and minimize lingering smell from paint sheen and coatings.
Can I Use a Paint Sprayer on Semi-Gloss Walls Instead of Rollers?
Yes — you can. Think of the sprayer as a paintbrush wind, smoothing gloss like calm water; with proper paint preparation and thorough surface cleaning, you’ll get even coverage quickly, though masking and practice are essential.
Is Latex Paint Compatible With Oil-Based Semi-Gloss Without Primer?
No, you shouldn’t; latex won’t reliably stick to oil-based semi-gloss without primer. For proper paint preparation, sand and clean thoroughly, then use a bonding primer to guarantee surface compatibility and long-lasting adhesion before topcoating.
How Long Before Moving Furniture Back After Painting Semi-Gloss?
Wait about 24–48 hours before moving furniture back; paint needs time to cure. With furniture protection ready and proper wall preparation done, you’ll avoid scuffs and smudges while the finish hardens like dawn settling over a room.
Conclusion
You’re almost done, but don’t relax yet — that shiny semi-gloss can betray you. If you’ve sanded, wiped, primed as needed and followed dry times, you’ll likely be rewarded with a smooth, lasting finish. Skip a step and you might watch peeling or flashing appear days later. So check your prep one last time, wait the full cure, and then stand back slowly — only then will you know if your work truly paid off.