How to Paint Stencils on Walls (Step-by-Step)
You can stencil a crisp pattern by prepping the wall, picking the right stencil size and material, and testing on scrap. Clean, sand, and prime any patched areas. Tape the stencil with registration marks, load your brush or roller sparingly, and pounce or roll in light layers to avoid bleed. Align repeats carefully, let layers dry before adding colors or metallics, then seal for durability. Keep going to learn tricks for seamless repeats, effects, and cleanup.
Stenciling 101: Results, Time, and Difficulty

When you stencil a wall, you’ll quickly see how results, time, and difficulty trade off. You’ll choose between quick, simple motifs that deliver fast impact and intricate designs that demand patience and steady hands.
Consider design inspiration from modern trends or stencil history to guide your aesthetic and set realistic expectations.
Faster techniques like single-color blocks suit beginners; layered or distressed effects take longer and call for skill.
Plan time for setup, testing, and touch-ups.
You’ll work smarter by practicing on scrap, using proper tools, and accepting that finer outcomes require more time and careful execution.
Choose a Stencil: Scale, Repeat Pattern, and Material
As you pick a stencil, focus first on scale, repeat pattern, and material because those three choices determine the look, effort, and durability of your project.
Decide how large motifs should read from the viewing distance; oversized stencil motifs can overwhelm small rooms, while tiny repeats demand precision.
Consider how motifs read from across the room — big patterns can dominate small spaces; tiny repeats need steady precision.
Pick a repeat pattern—single focal, offset, or seamless tiles—to control rhythm and alignment work.
Choose material: reusable plastic for crisp edges, mylar for flexibility, or paper for one-off trials.
Let design inspiration guide motif style and color pairing, but match material and scale to your wall surface and patience level.
Choose Wall Paints and Stenciling Tools
You’ll want to pick a paint formulated for walls—typically water-based latex for ease and durability—or specialty finishes if you need sheen or texture.
Gather stencil tools like brushes or rollers, low-tack tape, a level, and a stencil brush or foam pouncer for crisp edges.
Prep the surface by cleaning, repairing any imperfections, and priming glossy or patched areas so your stencil lays flat and the paint adheres evenly.
Paint Type Selection
Which paint will give you crisp edges and easy cleanup? You’ll want a low-splatter, quick-drying wall paint and a contrasting stencil paint. Consider Color matching carefully so your stencil pops against the base coat, and compare Finish options — matte hides imperfections, satin adds slight sheen. Pick paints with good coverage and washable formulas for longevity. Use small sample swatches before committing.
- Water-based acrylic for easy cleanup
- Higher pigment for better coverage
- Thinned craft paints for delicate stencils
- Test small areas for adhesion and color
Choose paints that balance durability, edge crispness, and cleanup.
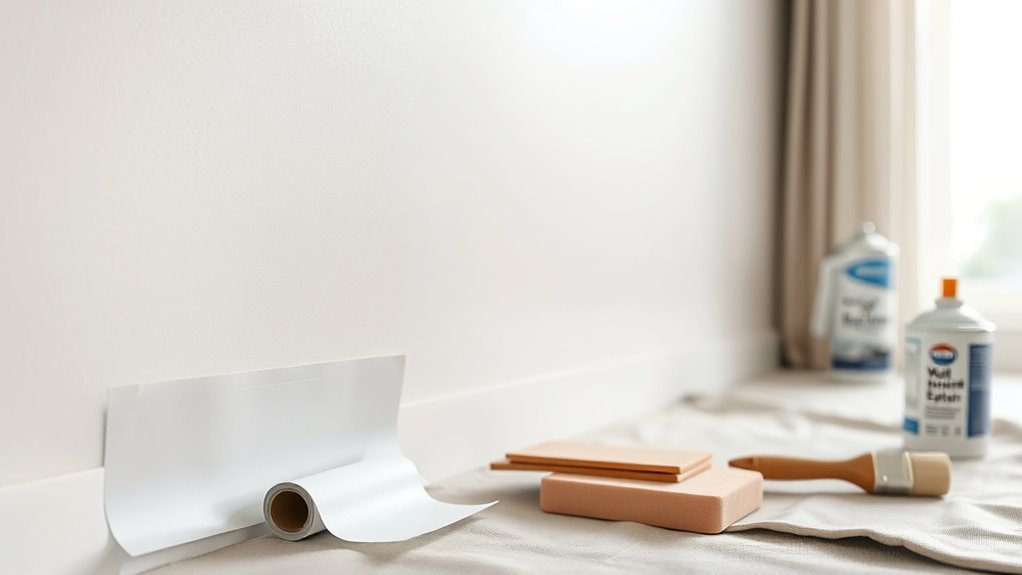
Stencil Tools Needed
Before you start stenciling, gather the right wall paints and tools so the job’s smooth and edges stay crisp. Pick a paint finish that contrasts your background and suits wall texture—matte hides flaws, eggshell is forgiving.
Choose a quality stencil pattern on durable mylar or adhesive vinyl to prevent bleed. Tools: small foam rollers or stencil brushes for control, low-tack painter’s tape, a spray adhesive for complex patterns, a level and pencil for alignment, and a tray for thin paint loading.
Keep a damp cloth and scrap board nearby for quick cleanup and test impressions.
Surface Preparation Tips
Since crisp stencils depend on a well-prepared surface, start by cleaning, repairing, and priming the wall so paint adheres evenly and edges stay sharp.
Choose paints suited to your wall texture and test color on a small patch.
Use quality primer application to seal porous areas and improve adhesion.
Pick stencil-friendly paints (low-viscosity latex or acrylic) and minimal-bleed tools: pouncer, fine brush, or foam roller.
Control humidity and dry time for best results.
- Clean with mild detergent, rinse, dry
- Fill holes, sand rough spots
- Apply primer application evenly, sand if needed
- Test stencil and paint on scrap
Prep Your Wall for Crisp Stencil Lines
When you want crisp stencil lines, start by cleaning the wall thoroughly so paint won’t grab dirt or oils and cause bleeding. Check wall texture—smooth surfaces give sharper edges; heavy texture needs light sanding or a primer to reduce tooth.
Fill small imperfections with spackle, sand smooth, and remove dust. Choose a paint sheen that minimizes bleed; satin or eggshell often works better than high-gloss or flat depending on light and durability.
Apply a thin, even base coat and let it cure fully. A well-prepared surface prevents paint migration and helps your stencil edges read clean and sharp.
Position and Secure the Stencil for Repeats
After you’ve planned the repeat pattern, line up the first stencil carefully using a level or a straightedge so your design stays true across the wall. Set anchors at key points and secure the stencil with low-tack tape or repositionable adhesive. Confirm repeat alignment before you paint each section.
After planning the repeat, carefully level and anchor the first stencil, secure with low‑tack tape, and confirm alignment before painting.
When you shift the stencil, match registration marks to maintain spacing and orientation.
- Use a corner or ruler as a consistent reference
- Mark light guide dots for each repeat
- Clamp or tape edges to prevent lifting
- Check vertical and horizontal alignment frequently
Work methodically, pausing to correct any misalignment immediately.
Load Paint Correctly: How Much Is Too Much
If you load too much paint on your brush or roller, it’ll bleed under the stencil and blur crisp edges, so aim for a light, even coat instead of a heavy one. Dab excess paint onto a paper towel and reload often; thin layers dry faster and keep edges sharp.
Test on scrap cardboard to judge opacity, especially when combining paint color combinations—lighter shades may need two thin passes. Match application to your stencil pattern choices: dense motifs require subtler buildup, open designs tolerate slightly more coverage.
Clean tools between colors to avoid muddying lines and preserve crisp repeats.
Learn Stenciling Techniques: Pounce, Roll, Brush
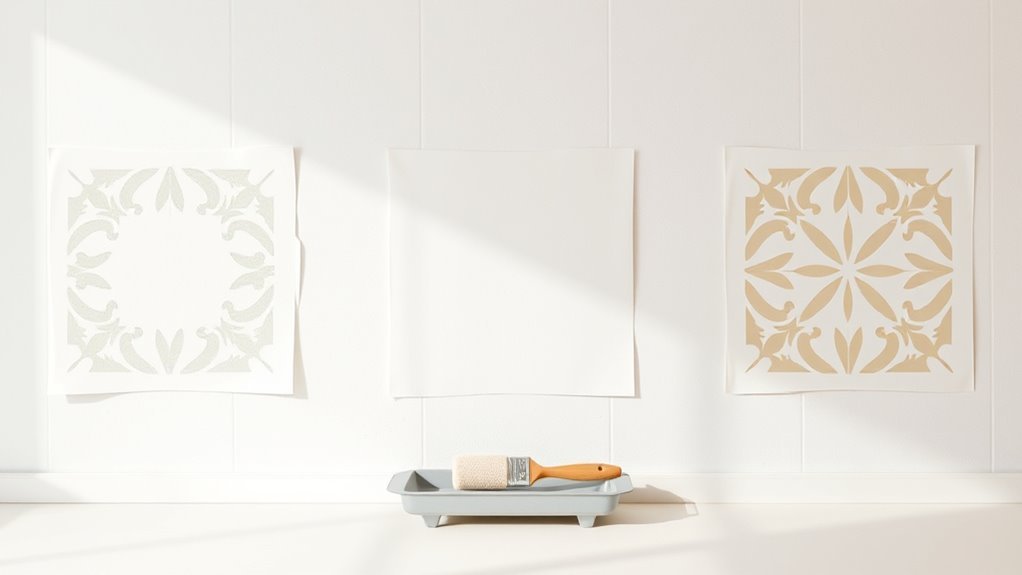
Now you’ll learn the key stenciling techniques that make your pattern crisp and consistent. You’ll practice the pounce method for controlled, stippled coverage.
Then use a roller for even fills and a brush for edges and touch-ups. Follow simple tips on pressure, paint load, and motion to avoid bleed and get sharp results.
Pounce Technique Basics
When you want crisp, controlled stencil edges without worry about bleed-through, the pounce technique gives you that precision by tapping paint through small holes with a pouncet or stippling brush. It’s especially useful on textured or uneven walls where rollers and flat brushes can’t reach.
You’ll prep the stencil, choose thin paint, and practice tapping rhythm. Light, consistent pouncing prevents excess paint pooling and preserves delicate stencil patterns against challenging wall texture.
Keep the stencil anchored, lift straight up, and clean tools between passes so details stay sharp.
- Use a firm pouncet or stiff brush
- Tap, don’t rub
- Test on scrap surface
- Hold stencil taut
Roll And Brush Tips
Although pouncing works best for fine detail, rolling and brushing give you speed and coverage for larger stencil areas; you’ll switch between them depending on paint type, wall texture, and the stencil’s openness. Use a dense foam roller for broad fills and a stiff brush for edges. Light, controlled dabbing prevents bleed under the stencil pattern. Test on scrap to judge paint durability and adjust pressure. Clean tools between colors to keep edges crisp.
| Tool | Use | Tip |
|---|---|---|
| Foam roller | Fill | Roll off excess |
| Stiff brush | Edges | Tap, don’t swipe |
| Soft brush | Blends | Circular motion |
Align Repeats and Avoid Gaps or Bleed-Through
Before you start the next stencil, take a moment to line up registration marks so each repeat sits perfectly and the edges meet without gaps or overlap. You’ll control bleed-through by using minimal paint, dabbing with a dry brush or stippling roller, and clamping the stencil with low-tack tape.
Consider color contrast when planning repeats so misalignment shows less, and try stencil resizing only when pattern scale needs adjustment.
- Use registration marks at corners
- Apply paint sparingly; blot excess
- Press edges firmly to wall
- Check alignment before lifting stencil
This keeps repeats consistent and prevents messy edges.
Stenciling Variations: Ombre, Layered Colors, Metallics
Once your repeats are lined up and bleed is under control, you can experiment with effects like ombre fades, layered color builds, and metallic highlights to give the stencil more depth and personality.
Start with Ombre blending by loading a sponge with two adjacent shades, dabbing from dark to light across the motif so gradations are soft.
For layered colors, let each layer dry slightly, then stencil finer details with contrasting hues to create dimensionality.
Add Metallic accents sparingly on edges or focal points for shimmer without overwhelming the design.
Practice on scrap board to refine pressure and color balance before committing.
Clean Up, Stencil Care, and Sealing
When you finish stenciling, act quickly to remove excess paint and clean your tools so dried residue doesn’t ruin future projects.
For Stencil maintenance and proper cleanup procedures, rinse stencils with warm water, blot dry, and remove stubborn paint with a soft brush.
Store flat or hung to avoid warping.
Seal your wall work once fully dry to protect edges and color.
- Rinse stencils immediately after use
- Pat dry and flatten before storing
- Use clear matte or satin sealer for walls
- Inspect stencils for damage and trim loose bits
Follow these steps to extend stencil life and finish.
Frequently Asked Questions
Can I Stencil Over Wallpaper Safely?
Yes, you can, but you’ll need careful wall preparation: test adhesion, clean and prime glossy wallpaper. Use proper stencil techniques—light stippling, minimal paint, secure edges—to avoid seepage and guarantee crisp results without damaging the paper.
What Primer Works on Glossy or Previously Painted Walls?
Use a bonding primer designed for glossy or previously painted walls; you’ll improve adhesion with proper wall preparation like cleaning, sanding, and deglossing. Primer types include acrylic-bonding, shellac, and oil-based options for tough surfaces.
Can I Stencil on Textured or Popcorn Ceilings?
You can, but ceiling textures complicate crisp edges, so test first; popcorn often needs smoothing or wallpaper removal alternatives to level surface. Use flexible stencil, minimal paint, and gentle dabbing to reduce bleed on textured ceilings.
How Do I Remove Stencil Paint Mistakes Without Damaging Wall Finish?
You gently lift fresh smudges with a damp cloth and mild soap; for dried areas, you carefully sand, spot-prime, then repaint. When fixing stencil errors, you’ll scrape excess, use matching paint, and blend to preserve the finish.
Are There Eco-Friendly or Low-Voc Stencil Paint Options?
Yes — you can choose eco friendly paints and low voc options that work great for stencils; you’ll find water‑based acrylics, natural mineral paints, and plant‑based alternatives that dry well, have minimal odor, and clean up with soap.
Conclusion
You’ve learned the basics, picked the right stencil and paint, prepped your wall, and practiced clean application—now it’s time to finish strong. Take your time aligning repeats, experiment with ombré or metallics, and remember that a steady hand beats speed every time. Clean and store stencils promptly, seal your work if needed, and enjoy the transformation. Practice makes perfect, so keep painting and you’ll only get better with each wall.