How to Paint Two Colors on a Wall (Clean Lines Guide)
Pick two colors that work, measure and mark the dividing line with a level, and prep the wall by repairing and cleaning it. Apply quality painter’s tape, burnish and seal the edge with the base color, then paint thin, even coats of the second color up to the tape. Remove tape at an angle while paint is tacky, touch up any bleed, sand and seal the seam for a polished look—keep going to learn pro tips and fixes.
Quick TL;DR: How to Get a Razor‑Sharp Paint Line
When you’re ready to paint two colors, get a razor‑sharp line by taping and sealing the edge. Press painter’s tape firmly along the division, run a plastic card to burnish it, and seal with a thin coat of the base color so no bleed occurs.
Let it dry, then apply the second color with a small brush at the tape, rolling away from the seam. Remove tape while paint is tacky for the cleanest edge.
Consider color psychology and historical trends when planning contrast and placement—sharp lines amplify both modern minimalism and classic two-tone schemes you want to evoke.
Choose Two Colors That Work Together
Now that you’ve got a crisp edge, pick two colors that actually play well together. Focus on color harmony: complementary, analogous, or monochromatic schemes simplify choices and keep the result cohesive.
Consider contrast level for mood and visibility—high contrast feels energetic, low contrast feels calm. Use palette selection to pull in existing furnishings, flooring, or artwork so the wall ties into the room.
Test swatches on the wall at different times of day and view them together to confirm interactions. Trust small samples more than imagination, and revise your palette selection before committing to full‑wall painting.
Decide Exactly Where the Dividing Line Goes
Decide the line by measuring and marking precisely so your colors meet cleanly and level.
Think about visual focal points—windows, artwork, or furniture—so the split enhances the room.
Check for wall imperfections and adjust your placement or use trim to disguise bumps and seams.
Measure And Mark Precisely
Because a precise dividing line makes the whole job look professional, take time to measure and mark exactly where the two colors will meet.
Start by using a tape measure and level to set consistent heights at both ends, accounting for wall texture that can alter how straight the line reads. Mark small pencil points every foot or so, then snap a chalk line or use a laser level for accuracy.
Consider how color psychology affects placement—higher lines can feel energetic, lower ones calming—and mark accordingly.
Double-check measurements before applying tape to avoid costly touch-ups later.
Consider Visual Focal Points
After you’ve marked the line, step back and look for the room’s natural focal points—windows, doorways, artwork, or a fireplace—and align the dividing line to highlight them.
Pick a placement that balances sightlines and scale so the wall reads intentionally. Use color harmony to connect the two tones with existing furnishings; let the stronger hue anchor the focal points and the softer one recede.
Consider furniture height and sight from entryways, then test with painter’s tape before committing. When the divide complements focal points, the room will feel cohesive and intentional, not split or awkward.
Account For Wall Imperfections
While you’re planning the dividing line, take a close look for flaws—cracks, bumps, nail pops, or uneven texture—and place the seam where those imperfections are least noticeable. You’ll want the break to fall along natural gradations: where trim, furniture, or shadows distract the eye.
Match your repair strategy to wall texture; sand or skim small bumps, fill nail holes, and feather joints so the line reads clean. Consider paint sheen differences—matte hides flaws better than gloss—so position the seam where sheen contrast won’t highlight unevenness.
Test with a sample strip to confirm the dividing line reads seamless from typical viewing angles.
Tools & Materials for a Clean Paint Line
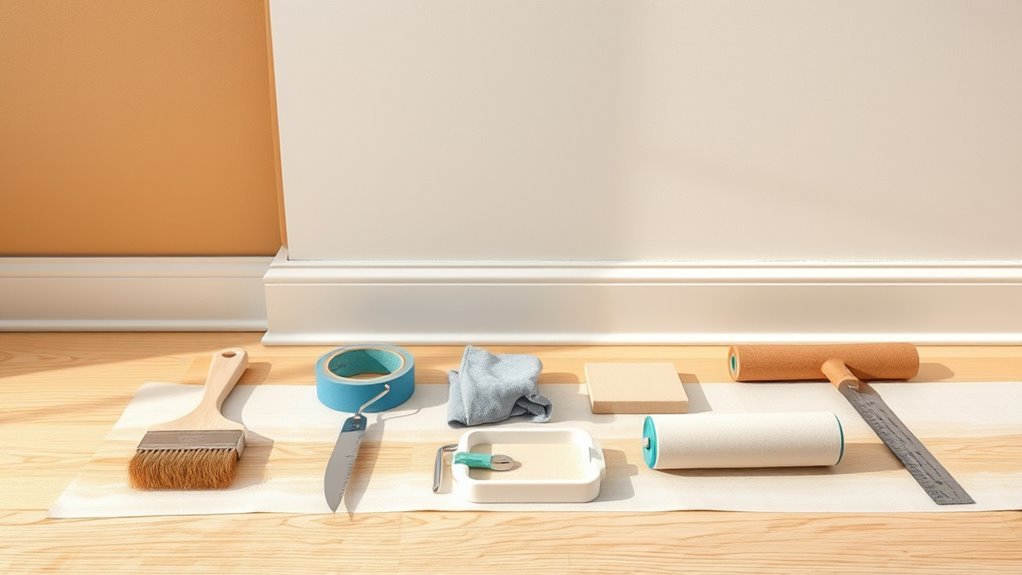
Now that you’ve picked the dividing line, gather the right tape and prep supplies so the surface is clean and dry before you start.
Use painter’s tape, a putty knife to smooth edges, and a tack cloth to remove dust for crisp results.
Then choose the proper brushes, small rollers, and a cutting-in tool to apply paint precisely along the taped line.
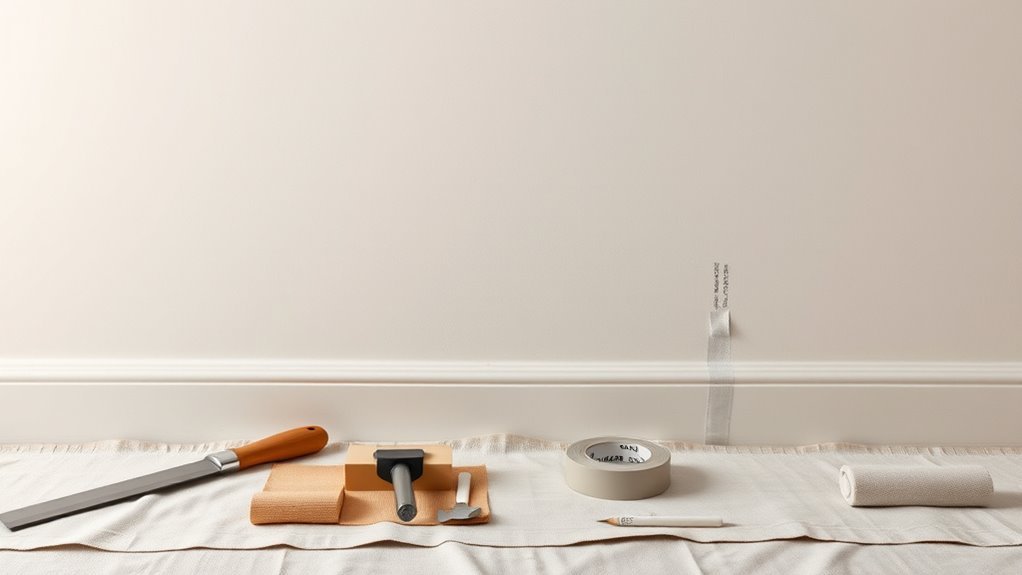
Tape And Surface Prep
Because crisp paint lines start before you open a can, gather the right tape and prep tools so you can seal, smooth, and protect edges precisely.
Choose high-quality painter’s tape suited to your wall texture; delicate tapes for smooth surfaces, stronger adhesive for rougher walls.
Clean the surface with a damp cloth and mild detergent, then sand glossy spots lightly.
Use a putty knife and spackling for gaps or nail holes, and prime repaired areas.
For areas near decorative stenciling, mask carefully and test tape on a scrap to avoid lifting pattern paint.
Finish by burnishing tape edges for a tight seal.
Paint Tools And Materials
If you want crisp, professional-looking color breaks, gather the right tools and high-quality materials before you paint.
Choose painter’s tape designed for clean lines, angled brushes for edges, a 4–6 inch roller for fields, and a trim brush for touch-ups.
Use high-quality latex or acrylic paint with good pigmentation; consider primers for adhesion and true color.
Think about color psychology when selecting hues and reference historical trends for timeless combos.
Have drop cloths, a sanding block, tray liners, and a utility knife handy.
Proper tools and materials make the difference between sloppy and sharp results.
Prep and Repair the Wall Correctly
Before you tape or roll, take time to prep and repair the wall so your two colors look sharp and last. Inspect for cracks, holes, and peeling—scrape loose paint, fill imperfections with spackle, sand smooth, and remove dust.
Before taping or rolling, repair and prime the wall—fill, sand, and clean for sharp, lasting two-tone results
Match your repairs to existing wall texture so seams don’t telegraph through the finish. Prime patched areas to equalize absorption, especially if one color is darker.
Consider paint sheen: differing sheens reveal flaws, so use consistent sheen within sections or spot-prime to blend. Let everything dry fully before taping.
Proper prep prevents bleed, ensures adhesion, and keeps crisp, durable lines.
Measure and Mark the Dividing Line Accurately
With the wall prepped and patched, you’re ready to lay out the dividing line that will separate the two colors. Measure from a fixed reference—floor, ceiling, or an adjacent corner—using a level and tape for consistent wall measurement.
Mark points at regular intervals (every 12–24 inches), keeping marks light and precise. Snap a chalk line or draw a faint pencil guideline, then verify marking accuracy by re-checking with your level along the entire span.
Adjust any uneven spots before proceeding. Accurate measuring and marking save time and prevent visible mistakes once you start applying paint.
Apply Painter’s Tape Like a Pro
Once you’ve confirmed the dividing line, press painter’s tape down along that guideline, running it from one marked point to the next so the edge stays straight and firm. Work in short lengths, smoothing as you go to follow contours and account for wall texture. Use a flat tool or your fingernail to seat the tape firmly so paint won’t seep under uneven surfaces.
Consider color psychology when planning which hue sits above or below the tape; the stronger color often appears heavier and should be anchored. Remove tape at a 45° angle after paint’s set to reveal the clean separation you aimed for.
Seal Tape Edges to Prevent Bleed‑Through
Press the tape edges firmly with your thumb or a plastic card to create a tight bond against the wall.
For extra protection, run a thin bead of clear caulk along the edge and smooth it into the seam so paint can’t seep under.
Once the caulk’s dry, you’ll get a crisp line when you remove the tape.
Press Tape Edges Firmly
Before you paint, seal the tape edges by running your fingernail or a putty knife along the tape to create a tight bond with the wall; this keeps paint from seeping under the tape and gives you a crisp line. You’ll want consistent edge sealing and firm tape pressing so moisture and color can’t creep under.
Press along the entire length, especially at corners and joints. Use short, decisive strokes and check for gaps. If needed, lift and reapply a small section to avoid bubbles. Follow this quick routine for sharp boundaries between your two wall colors.
- Clean surface
- Press tape firmly
- Inspect seams
Seal With Clear Caulk
If you want razor‑sharp paint lines, run a bead of clear, paintable caulk along the tape edge and smooth it into the crack so the caulk fills any tiny gaps where paint could bleed. You’ll press the caulk flat with your finger or a tool, wiping excess so the tape stays adhered.
On rough wall texture, work the caulk deeper to seal uneven spots. Let it cure per instructions before painting.
This method prevents bleed‑through and keeps a crisp boundary between shades, especially with high color contrast. After painting, remove tape slowly for a clean, professional seam.
Paint the Base Color and Let It Dry Properly
Once you’ve taped and primed the wall, roll or brush on the base color in even, overlapping strokes so the coverage’s consistent and you don’t leave lap marks. Work from top to bottom, maintain a wet edge, and apply thin coats for even drying. Consider color psychology and how the base relates to historical wall designs when choosing warmth or coolness.
Let each coat dry fully per manufacturer directions; humidity and temperature affect timing. Before adding the second color, inspect for missed spots and smooth drips.
- Check drying time and humidity.
- Sand light imperfections between coats.
- Clean tools and workspace.
Remove Tape and Prepare the Taped Edge
When the base coat feels dry to the touch, peel the painter’s tape back slowly at a 45-degree angle to reveal a crisp line; do tape removal steadily, keeping the tape close to the wall to avoid lifting paint. Inspect the edge for any bleed or raised bits. If needed, lightly sand with fine-grit paper, clean dust, and apply a thin coat of clear sealer or touch-up paint to lock the edge. This edge preparation guarantees a neat transition when you paint the second color later. Follow the table for quick checks.
| Check | Action |
|---|---|
| Bleed present | Sand, clean |
| Raised edge | Press, reseal |
| Clean surface | Seal or touch-up |
Paint the Second Color Up to the Tape Edge
Because you’ve prepared the taped edge carefully, start applying the second color with a steady brush or roller right up to the tape, keeping strokes perpendicular to the line for even coverage and avoiding excess paint that could seep under the tape. Work methodically across sections, matching brush type to wall textures so paint lays smoothly. Consider color combinations beforehand to guarantee contrast or harmony. Maintain light pressure near the tape, reload often, and overlap slightly with previously painted areas to prevent streaks.
- Use a small angled brush for corners and trim.
- Roll with a thin nap for subtle textures.
- Keep a damp cloth nearby for quick cleanup.
Fix Bleed, Touch Up Edges, and Blend Seams
If you see paint bleed or uneven seams, start by gently scraping or sanding the affected area so you’ll have a clean surface to work on.
Use a small brush or a foam roller to touch up edges with the correct color, then feather the paint outward to blend into the surrounding wall.
Finish by checking shifts in different light and repeating light touch-ups until the seam disappears.
Fixing Paint Bleed
Noticing a thin line of the wrong color along your tape or edge? Act fast: peel tape slowly, scrape away beads with a putty knife, and touch up with a small angled brush.
Consider how color combinations and wall textures affect visibility; rough textures hide edges, smooth walls show bleed.
Use these steps:
- Clean edge, sand slight ridges, wipe dust.
- Apply matching base color with a fine brush, feather outward from the stain.
- After drying, reassess and repeat thin layers until seamless.
Work patiently, curing between coats, and you’ll restore a clean, crisp division between hues.
Blending Paint Seams
Once you’ve fixed bleeds and touched up edges, blending seams will make the two colors read as a single, intentional finish. You’ll feather the seam with a dry brush or small roller, working outward from the line in light, overlapping strokes. Match sheen and pressure to maintain color harmony; inconsistent gloss betrays the join.
If texture contrast exists, replicate the heavier surface pattern minimally on the lighter side to disguise the edge. Step back often, let coats dry, and apply micro-glazes or thin washes when needed to nudge hue gradations.
Finish with a clear protective coat to unify appearance and durability.
Finish, Sand, and Protect the Transition
While the paint’s still workable, smooth the edge with a light sanding to blend any raised ridges and feather the shift between colors. You finish sanding across the seam, wipe away dust, and inspect for gaps or uneven texture.
Apply a thin touch-up where needed, let it cure, then add a Protective coating to guard against scuffs and moisture. Choose a sheen that matches surrounding surfaces.
Seal carefully along the transition to keep lines crisp without buildup.
- Use fine-grit sandpaper and gentle strokes.
- Clean thoroughly before sealing.
- Apply a thin, even topcoat and let it dry fully.
Style Two‑Tone Walls by Room + Quick Troubleshooting
When you pick two-tone schemes for different rooms, think about function and mood first: use darker or washable paints on lower walls in high-traffic areas like hallways and kids’ rooms, choose soothing, lighter pairings for bedrooms, and go bold on an accent band in living spaces to add drama without overwhelming the room.
| Room | Tip | Fix |
|---|---|---|
| Hallway | Durable lower color | Touch up scuffs |
| Bedroom | Soft color combos | Blend seam lines |
| Living | Bold accent band | Re-tape crooked edge |
| Kids’ | Washable lower paint | Spot-clean marks |
Use tested Color combinations to match Room aesthetics; sand, seal, and retape for crisp lines.
Frequently Asked Questions
Can I Use Wallpaper Instead of Paint for a Sharp Two‑Tone Line?
Yes — you can use wallpaper instead of paint for a sharp two‑tone line; you’ll find wallpaper alternatives like vinyl or peel‑and‑stick give great Sharp line durability, and you’ll avoid uneven paint edges while enjoying easy removal.
Will an Accent Strip or Molding Replace Painter’s Tape Effectively?
Absolutely — an accent strip or molding can replace painter’s tape and give you color blocking that’s cleaner than a surgeon’s scalpel. You’ll get durable edges, fewer touchups, and smart tape alternatives for tricky spots.
Can I Create a Curved or Wavy Dividing Line Freehand?
Yes — you can freehand curved borders, but you’ll want steady freehand techniques: pencil- sketch the curve, use a flexible brush and slow strokes, tape minimal sections if needed, and practice on scrapboard for confident results.
How Do I Match Sheen Levels Between the Two Colors?
Use sheen level matching: pick the same paint finish for both colors, test samples side-by-side, and adjust with glazing or topcoat to guarantee paint finish consistency; that way reflections and texture stay uniform across the divide.
Are There Health/Safety Concerns With Spraying Paint Indoors?
Breathe beware: you’ll need strong ventilation safety and protective gear because spraying boosts chemical exposure. Open windows, run fans, wear respirators and goggles, cover surfaces, and keep kids and pets clear to avoid health hazards.
Conclusion
You’ve got the technique down: pick complementary colors, plan the line, prep the wall, tape carefully, paint to the tape edge, fix any bleed, and finish for a flawless shift. Like a seamstress stitching fabric, your clean line makes two colors read as one thoughtful design instead of a hasty afterthought. Keep touch‑ups handy and sand or seal as needed, and you’ll confidently transform the room with a crisp, professional look.