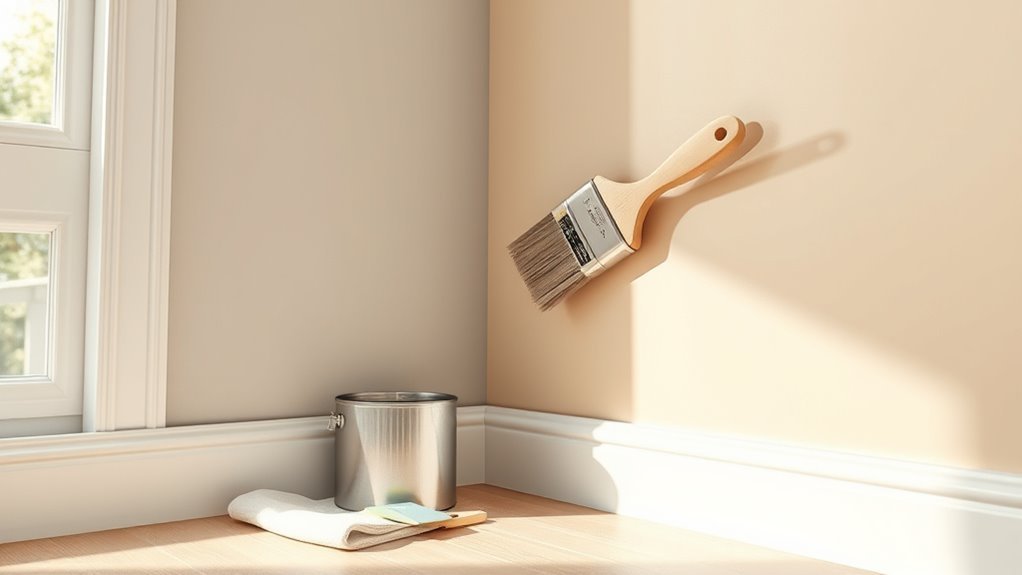
How to Paint Wall Edges Without Tape (Pro Trick)
Prep the surface, set directional low-angle lighting, and protect floors. Load an angled sash brush with paint on the lower third, tap off excess, then anchor your wrist lightly against the trim or wall. Use short, steady pulls at about 30° and feather the edge by dragging back lightly. Keep edges wet between passes, blot drips immediately, and touch up with thin coats. Follow these steps and you’ll get crisp tape-free lines—keep going to pick up pro tips and fixes.
5‑Step Quick Method to Paint Crisp Edges Without Tape
When you want sharp, clean wall edges fast, use the two-brush technique: load a small angled brush with paint for the cut-in and keep a slightly dampened, clean brush or a mini foam roller handy to smooth and remove excess before it dries.
Work in short sections, dragging the angled brush steadily along the corner while your supporting hand steadies the wall.
Match paint consistency through careful color mixing so coverage is even and drips don’t form.
Adjust pressure for varying wall texture, feathering strokes to follow bumps.
Clean the second brush frequently to avoid smearing and maintain crisp lines.
Prep Surfaces, Trim, and Lighting for Clean Edges
Before you paint, prep the wall, trim, and lighting so you can lay down crisp edges without tape. You’ll clean surfaces, sanding glossy spots and filling small holes; thorough surface preparation guarantees paint adheres and won’t drag.
Prep walls, trim, and lighting—clean, sand, and fill so paint adheres and freehand edges stay crisp.
Mask or protect floors and furniture, and remove switch plates so edges stay neat.
Light matters: set up a directional lighting setup that casts even, angled light along the wall to reveal imperfections and guide steady strokes. Position lamps low and to the side to highlight the edge line.
With clean, smooth surfaces and proper lighting, your freehand edges will look professional.
Best Tools for Freehand Edge Painting
If you want razor-sharp edges without tape, pick tools that give control and consistent paint flow: a high-quality angled sash brush (2–2.5 inches) for straight lines, an edger or small trim brush for tight corners, and a slim paint shield or flexible metal straightedge to steady your hand where needed.
You’ll also want a quality mini-roller and tray for filling nearby areas quickly; practice roller techniques to match texture.
Keep a small artist brush for touchups and a lint-free cloth for immediate cleanup.
Consider a handheld light to spot imperfections and basic color mixing aids to match trims precisely.
Load and Hold Your Brush for Steady Control
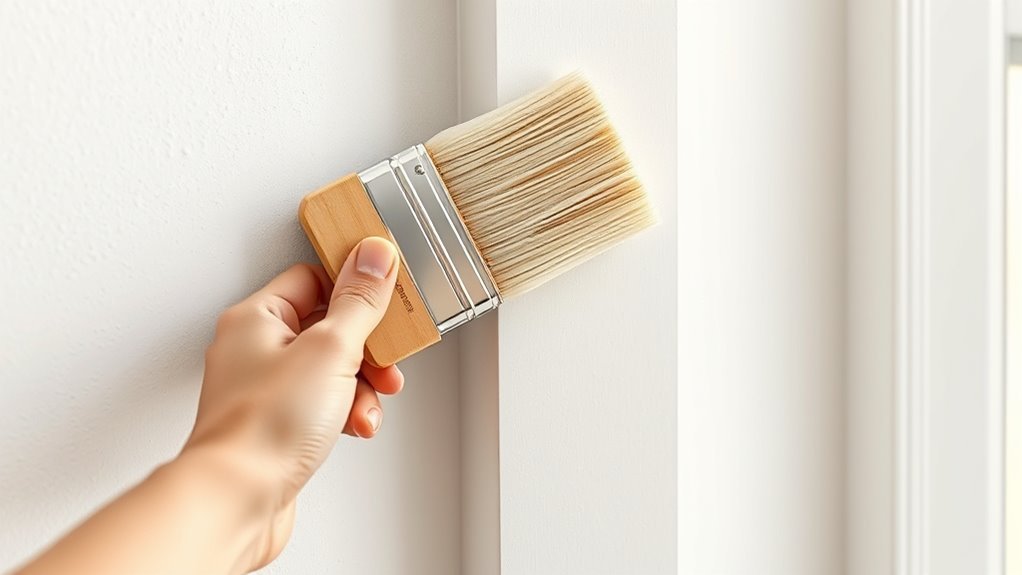
Hold the brush with a relaxed, tripod grip so your fingers guide the tip precisely.
Anchor your wrist against the wall or trim to steady long strokes and reduce wobbles.
Load only the brush’s lower third with paint so you’re in control and avoid drips.
Proper Grip Technique
When you load your brush, grab it low on the handle so your wrist and fingers share the work and you maintain steady control.
Use grip ergonomics: hold the handle between thumb and middle finger, letting the index finger rest along the ferrule for guidance.
Keep your grip relaxed, not clenched, so hand stability comes from subtle muscle engagement, not tension.
Turn the brush with small finger movements to follow the edge.
Reposition your thumb and fingers for longer strokes to avoid fatigue.
Practice this hold until it feels natural; consistent grip technique gives smoother, more accurate edge lines without tape.
Anchor Your Wrist
Since your wrist is the fulcrum for fine brushwork, anchor it lightly against the wall or a steady surface to steady every stroke. You’ll improve wrist stability and refine hand positioning by practicing a deliberate hold. Load and hold the brush so bristles meet the edge without wobble. Use your forearm to guide motion, not just fingers.
- Rest: find a comfortable contact point on the wall to support weight.
- Angle: align brush handle with your forearm for smoother lines.
- Light pressure: press just enough to keep contact, avoiding drag.
Repeat these steps until steady, controlled edges become second nature.
Control Paint Load
Although it seems small, how much paint you load onto the brush makes the biggest difference in clean edges, so dip only the outer third of the bristles and tap off excess against the can—don’t wipe it on the rim. You’ll hold the brush steady, load less, and make smoother passes. Think about color psychology when selecting paint thickness for coverage and finish. Study historical painting techniques: masters controlled load for crisp lines. Practice short strokes, pause to reload, and keep a damp rag handy.
| Action | Tip |
|---|---|
| Dip | Outer third |
| Tap | Off excess |
| Stroke | Short |
| Pause | Reload |
| Clean | Rag at hand |
Cut‑In Stroke: Step‑by‑Step Freehand Technique
Before you load the brush, steady your dominant hand and rest the heel of the brush on the ceiling or trim to guide a controlled, continuous stroke; this lets you draw a clean line without tape. Use proper brush techniques and check paint consistency—thin for smooth flow, slightly thicker for coverage.
Position the brush at a 30° angle, roll the wrist, and pull slowly.
- Dip lightly, tap excess, start at one corner.
- Make a single steady pull, don’t sawing; reload as needed.
- Feather the edge by lightly dragging back once for a crisp finish.
Paint Around Trim, Windows, and Baseboards Without Tape
When you’re tackling trim, windows, and baseboards without tape, work in short, controlled strokes and let the trim guide the brush so you get a tight line without edging tools. Choose brushes sized to trim width, keep paint load light, and angle bristles toward the trim for accuracy.
Consider color selection carefully: contrast hides small imperfections, while matched tones demand more precision. Use steady wrist motion, pause to clean excess, and feather edges outward to blend.
For varied surfaces, apply texture techniques sparingly so trim stays crisp. Finish with a thin second coat only after the first is fully dry.
Tidy Inside and Outside Corners Like a Pro
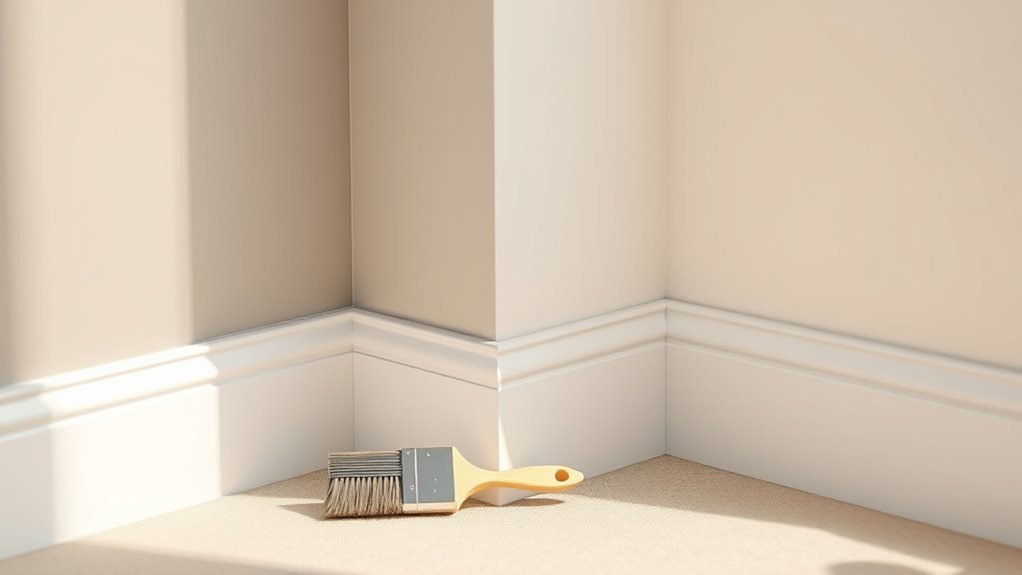
Now that you’ve mastered cutting in around trim, windows, and baseboards, sharpen your approach for inside and outside corners where mistakes stand out most. Corners demand crisp lines and attention to paint drying timing—move steadily but don’t overload the brush.
Use these steps:
Use these steps: follow techniques for inside and outside corners, then check color and touch up once dry.
- For inside corners, paint one wall to the corner then immediately feather the edge; let paint drying set before blending the adjacent wall.
- For outside corners, run a thin ridge of paint along the edge and smooth outward for a sharp bead.
- Check color selection under room light and touch up thinly once fully dry.
Using Steadying Aids: Pads, Edgers, and Angled Brushes
You can get razor-sharp lines by using an angled paintbrush to follow corners and trim with control.
For long runs, try an edger or paint pad to cover straight sections quickly without losing crispness.
Pairing these tools with a steady hand will make tape unnecessary for most jobs.
Use Angled Paintbrushes
Although angled brushes take a little practice, they give you precise control along corners and trim so you can skip tape without fuss. You’ll pick the right brush angle for edges, consider color theory when planning contrast, and keep paint lines clean by following this routine:
- Load sparingly: dip the tip, tap off excess to avoid blobs.
- Steady your hand: brace against trim, use short strokes toward the cut edge.
- Maintain the tool: rinse promptly, reshape bristles, and store flat for brush maintenance.
Practice will speed you up; work patiently and correct tiny mistakes with a damp brush.
Employ Edgers And Pads
When you want crisp, consistent edges without tape, reach for purpose-made edgers and foam pads — they steady your hand and speed the job by combining a guide edge with a controlled paint reservoir. You’ll hold the edger vertically, press lightly, and glide along corners or trim for uniform lines.
Foam pads work well on flat surfaces and reduce splatter. Choose tools sized to your trim and match them to your color selection to avoid repeated touch-ups.
Load sparingly to prevent drips; work in short, overlapping strokes. Proper technique enhances paint durability and gives a professional finish.
Quick Fixes for Bleed, Drips, and Uneven Lines
If paint bleeds under your brush, drips form, or lines look wobbly, there are fast, reliable fixes you can use to tidy the edge without redoing the whole wall. Work while paint drying is still tacky for easiest smoothing. Use a light touch with a damp brush to pull bleed back into the painted area, or blot drips with a folded cloth.
Consider color selection if a mismatch makes flaws obvious. Try these targeted moves:
- Feather edges with a soft brush toward the wet paint.
- Scrape tiny drips gently and resmooth immediately.
- Let tacky spots level, then very lightly sand.
Blend Coats, Touchups, and Cleanup for a Pro Finish
Keep your brush or roller edge wet and feather into the adjoining coat so you can blend wet edges seamlessly.
When you spot small errors, use a fine brush or a dampened micro-sponge for targeted touchups that match texture and sheen.
Finish by wiping stray paint from trim and wiping your tools immediately so your clean edge cleanup keeps the work looking professional.
Blend Wet Edges
Although you’ve finished the main pass, blending wet edges is what prevents lap marks and gives your wall a seamless, professional look. You’ll work quickly while paint’s wet, using consistent pressure and feathering strokes to merge new and old coats.
Keep color mixing notes and proper paint storage nearby so touch-in batches match.
- Reload a slightly damp brush or roller and skim the edge, working outward.
- Lightly cross-roll or cross-brush to remove ridges and even sheen.
- Step back, spot any tiny mismatches, and reblend immediately before film forms.
Clean tools and seal cans to preserve consistency.
Targeted Touchup Techniques
When you spot small inconsistencies after the main coat, focus on targeted touchups that blend seamlessly rather than repainting large areas. Use a small brush and thin, matched blend coats to feather edges; dab lightly, then smooth with a soft brush stroke to avoid texture differences.
Consider color psychology when matching undertones—warm rooms need warmer tints to read correctly under light. Work with eco-friendly paints when possible; they often layer well and dry predictably.
Let each thin coat cure before evaluating. For final cleanup, remove stray marks with a damp cloth and inspect under varied lighting.
Clean Edge Cleanup
After you’ve blended small touchups into the main field, finish by refining the edges so they read crisp and consistent; this step ties feathered coats to the rest of the wall and prevents visible halos or brush marks.
You’ll focus on edge cleanup to match sheen and hue, using color theory to judge gradations while accounting for paint drying shifts. Follow a tight routine:
- Lightly skim edges with a damp brush to soften ridges, then reload with minimal paint.
- Back-brush toward the wall to eliminate strokes and blend.
- Inspect under varied light, correct any contrast before paint drying completes.
Frequently Asked Questions
Can I Paint Edges Without Tape on Textured or Popcorn Ceilings?
Yes — you can, but it’s trickier with textured or popcorn ceilings. You’ll use specific painting techniques and careful edge preparation, steady hand, angled brushes, and thin paint layers to avoid clumps and accidental texture coverage.
Will Humidity or Temperature Affect Freehand Edge Drying Time?
Yes — humidity effects and temperature directly change drying time; if it’s humid or cool, paint stays tacky longer, and if it’s warm and dry, it cures faster, so you’ll adjust ventilation and coat thickness accordingly.
How to Handle Trim With Existing Lead-Based Paint Safely?
About 90% of lead dust settles within six hours, so you’ll wet-sand and HEPA-vacuum the trim, wear a respirator and gloves, follow lead safety protocols, bag debris for proper disposal, and hire pros for major disturbance.
Can I Use a Roller Instead of a Brush for Cut‑Ins?
Yes — you can use a roller for cut‑ins, but you’ll need precise brush techniques for corners and edge tools for crisp lines; combine a small roller, angled brush and an edger to control paint and avoid smudges.
Is It Possible to Get Professional Results as a Complete Beginner?
Yes — you can get pro results as a beginner if you practice brush techniques, control paint consistency, work slowly, use the right angled brush, steady your hand, and clean drips quickly; you’ll improve fast with repetition.
Conclusion
You’ve learned the five‑step dance: prep, steady your hand, load the brush, cut in with calm, and finish like a tailor. Think of the edge as a horizon—steady, guiding, patient. Let your brush be a compass and your wrist the steady tide; small corrections are like polishing glass. With practice, every corner will fall into line, a quiet seam that holds the room together, precise as a well‑kept promise.