How to Paint White Over Black Walls (Full Coverage)
You can cover black walls with white by prepping, priming, and applying thin, even coats. Inspect and repair peeling, stains, or glossy spots, then clean and sand. Seal dark pigments with a shellac or high-hide latex primer (two coats on trouble spots), let it cure, then use a high-opacity white and quality roller for even coverage. Expect 2–3 topcoats and touch-ups; follow proven techniques below to get a professional finish.
Key Decisions Before Painting Black Walls
Before you grab a paintbrush, decide why you’re changing the room’s mood, what finish will suit the space, and whether you’ll need primer or extra coats—these choices determine your time, cost, and final look.
You’ll weigh color psychology—how white alters perceived size, light, and atmosphere—against practical goals like reflectivity and maintenance.
Consider historical trends in paint finishes and popular whites to guide a style that fits your home’s era.
Decide between warm or cool whites, matte or satin, and the level of prep you’ll accept.
Those early decisions save hours and guarantee the white feels intentional.
Inspect Black Walls: Common Surface Problems
Now that you’ve settled on the white shade and finish, it’s time to inspect the black walls for issues that will affect adhesion and coverage. Walk each wall slowly, looking for peeling paint, flaking, stains, smoke residue, or glossy spots that repel new coats.
Test for chalking by rubbing a fingertip; check for soft drywall or loose plaster. Note Black wall textures like heavy orange peel or pronounced knockdown—they’ll trap pigment and may need light sanding.
Take photos and mark trouble spots. Good surface preparation saves coats and frustration, ensuring your white finish goes on smoothly and uniformly.
Primer Types That Block Black Pigment on Interior Walls
To cover stubborn black pigment, you’ll want to compare primers that actually block stains: shellac-based stain blockers, oil-based bonding primers, and high-hide latex primers.
Each type has different drying times, odor levels, and sealing strength, so pick one that fits your room and timeline.
I’ll explain how each performs and when to use it.
Shellac-Based Stain Blocker
Looking for a primer that’ll stop stubborn black pigment dead in its tracks? Shellac-based stain blockers bond fast, sealing tannins and deep pigments so your white topcoat hides fully. You’ll work quickly—shellac dries in minutes—and you’ll sand lightly between coats for a smooth finish.
Because shellac resists bleed-through, it’s ideal when changing styles influenced by color psychology or historical trends that once favored dark palettes. Use solvent cleanup and guarantee ventilation; shellac smells strong.
It adheres to many surfaces, but test glossy or latex-painted walls first. For guaranteed coverage, apply two thin coats rather than one heavy layer.
Oil-Based Bonding Primer
If shellac isn’t your style or you need a longer working time, an oil-based bonding primer is a reliable alternative for locking out stubborn black pigment. You’ll apply it to properly cleaned, sanded walls; it adheres well to slick surfaces and seals in bleed-through that color mixing or previous dark layers cause.
It levels uneven sheen, creating a consistent base so your white finish covers with fewer topcoats. Expect strong paint durability and chemical resistance, though ventilation and longer dry times matter.
Use quality brushes or rollers, follow manufacturer recoat windows, and spot-prime any repaired areas for uniform results.
High-Hide Latex Primer
When you want quicker drying, easy cleanup, and reliable coverage over black walls, a high-hide latex primer is a practical choice. You’ll apply it with a roller or sprayer, and it blocks dark pigment without long fumes.
Choose a high-quality formula labeled “high-hide” or “stain-blocking” for fewer coats and true white topcoats. Consider how color psychology shifts mood when moving from intense black to bright white; primer choice affects final tone.
Note historical trends in primer chemistry favoring water-based options for interiors. Let each coat dry fully, sand lightly if needed, then finish with your white paint.
Choose the Right White Paint and Sheen for Black Walls
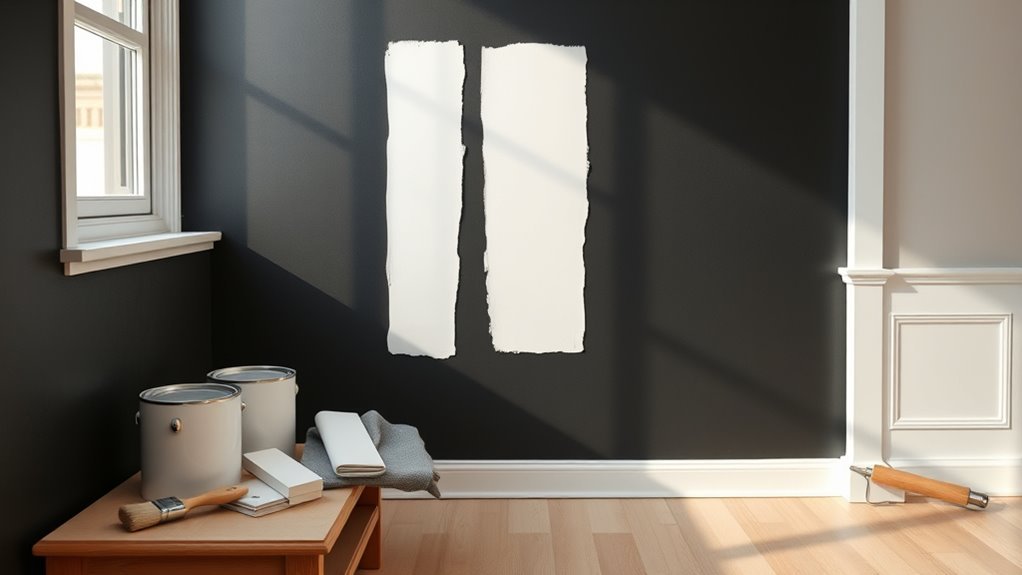
You’ll want a high-opacity white paint so one coat covers more of the dark base and minimizes bleed-through.
Pick a sheen that matches the room’s traffic—eggshell or satin for living areas, semi-gloss for trim and high-use walls.
Testing a small swatch will show how the chosen white and sheen perform against the black.
Pick High-Opacity White
Because black soaks up pigment, you need a high-opacity white that blocks the dark underneath without endless coats. Choose paints labeled “high hide” or “one-coat” and look for pigment-rich formulas. Think like a color mixing chemist: denser titanium dioxide and opacifiers matter. Buy sample pots to test coverage and note drying color. Keep small leftover containers for touch-ups; proper paint storage preserves opacity. Below is a visual guide to imagine choices:
| Feature | Effect |
|---|---|
| High hide | Fewer coats |
| Pigment load | Stronger coverage |
| Primer inclusion | Boosts block |
| Sample test | Confirms result |
| Storage care | Maintains quality |
Select Appropriate Sheen
After choosing a high-hide white, pick a sheen that suits the room’s use and the look you want—sheen affects both appearance and durability. Your sheen selection balances light reflection and hiding power; lower sheens hide imperfections better, higher sheens clean easier.
Consider surface sheen in relation to traffic and light.
- Use flat or matte where imperfections matter less and you want a soft, nonreflective finish.
- Choose eggshell or satin for living areas that need mild durability and some sheen.
- Opt for semi-gloss or gloss in trim, kitchens, and bathrooms for easy cleaning and moisture resistance.
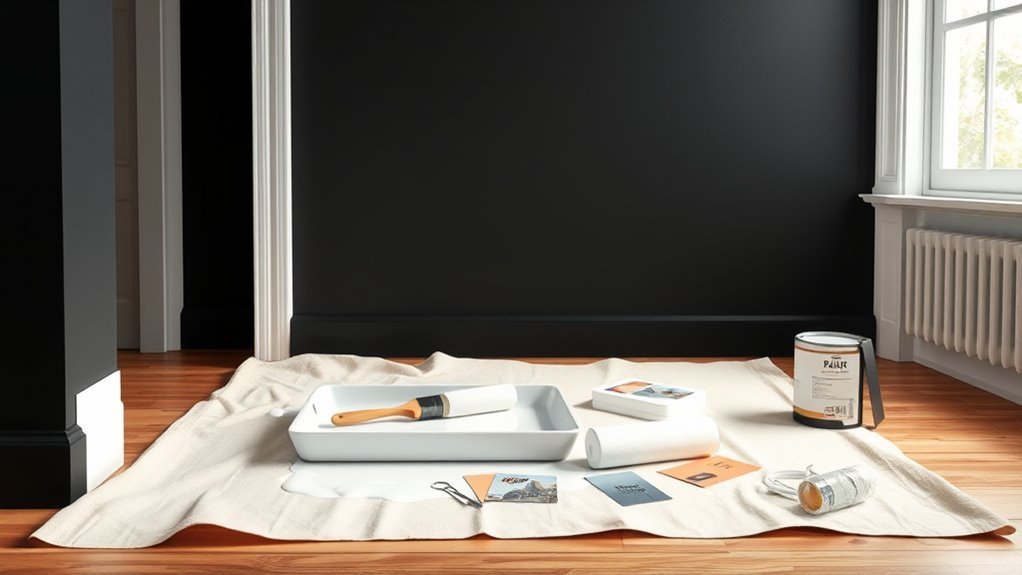
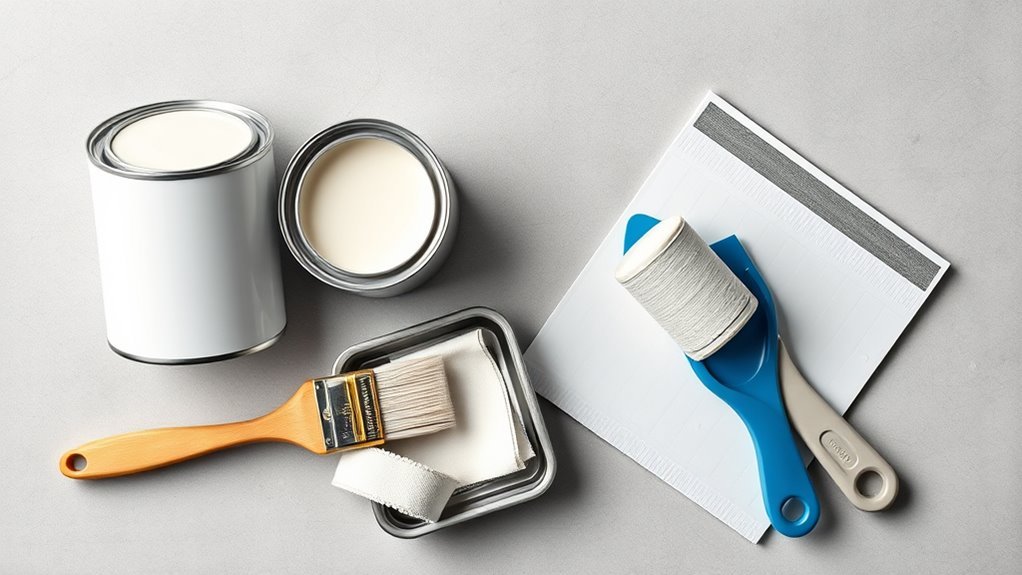
Tools and Materials for Full White Coverage
Before you start painting, gather the right tools and high-coverage materials so you don’t get stuck doing extra coats. You’ll need a high-hide primer, an interior white paint with strong pigment load, and possibly a tint-adjusted primer for stubborn black.
Use quality rollers (short nap for smooth, medium for light texture) and angled brushes for edges; practice brush techniques to avoid streaks. Have a tray, extension pole, sanding block, and tack cloth.
Keep painter’s tape, drop cloths, and a quality stir stick for proper color mixing. Choose supplies that minimize passes and deliver even, opaque coverage.
Prep the Room and Protect Floors and Fixtures
Start by clearing the room and dusting walls and trim so paint sticks to a clean surface.
Lay down drop cloths and use painter’s tape to protect floors, outlets, and light fixtures.
Make sure furniture is moved or tightly covered and that tape edges are sealed for crisp lines.
Room Clearing And Dusting
A clear workspace makes the job faster and keeps your new white paint from getting ruined—so move furniture to the center, remove wall hangings and switch plates, and unplug or detach light fixtures you can safely handle.
Clear surfaces and vents of dust to improve primer adhesion and avoid specks in the finish. Think about furniture arrangement now so you’ll know where things go back; color psychology matters when staging after painting.
- Vacuum baseboards and corners with brush attachment.
- Wipe walls top-to-bottom with a microfiber cloth.
- Use a tack cloth for stubborn dust before priming.
Finish by letting air settle before priming.
Floor And Fixture Protection
Once you’ve cleared the room and dusted, protect floors and fixtures so drips and primer won’t cause costly damage. Lay heavyweight runners or rosin paper where you’ll walk; secure edges with low-tack tape. Remove switch plates, light bulbs, and loose hardware, storing screws in labeled containers.
Cover radiators, vents, and built-ins with breathable cloths to avoid trapped moisture. Use plastic sheeting for furniture you can’t move, but avoid taping directly to painted trim. Protect fixtures near historically inspired trims—especially if you’re preserving historical wall styles—so restoration stays possible.
Consider how color psychology guides final placement and light reflections.
Masking And Drop Cloth Placement
Now that floors and fixtures are secured, move on to masking and placing drop cloths to keep paint off trim, windows, and floors. You’ll tape trim edges tightly, cover hardware, and layer drop cloths where you’ll be brushing and rolling.
Keep a small kit nearby for quick fixes and paint storage needs. Remember proper color mixing cleanup to avoid contamination.
- Use low-tack painter’s tape for clean lines.
- Fold canvas drop cloths to create extra protection near doors.
- Cover window sills and light fixtures with plastic sheeting and tape.
Work methodically so cleanup’s simple and results look professional.
Repair Cracks, Holes, and Glossy Finishes
Before you start priming, fix any cracks, holes, and glossy spots so the white paint will adhere evenly and look smooth. Scrape glossy sheen, sand to dullness, fill holes with spackle, and sand flush. You’ll want surfaces consistent because white reveals texture and reflects ideas from color psychology and echoes historical wall colors’ emphasis on finish. Clean dust, let patch dry, and re-sand. For glossy areas, use deglosser or sand to key the surface.
| Task | Tool/Tip |
|---|---|
| Fill holes | Spackle, putty knife |
| Sand glossy spots | 120–220 grit |
| Smooth patches | Primer-ready finish |
| Clean surface | Tacky cloth, vacuum |
Apply Primer to Block Black Bleed-Through
With repairs sanded smooth and surfaces cleaned, you’re ready to stop black showing through the new white. Choose a quality black primer with stain blocking properties so one coat seals the dark base and reduces the topcoat count. Apply evenly, following manufacturer’s dry times, and spot a second coat where needed.
- Use a nap roller for even coverage and a brush for edges.
- Check for tannin bleed or glossy patches; touch with primer again.
- Sand lightly between coats for a smoother finish.
Let the primer cure fully before painting white to guarantee true color and lasting coverage.
Cut In Cleanly on Black Walls
When you’re cutting in on black walls, steady hands and the right brush make all the difference—use a high-quality angled sash brush and load it sparingly so paint doesn’t drip onto the dark surface.
Tape edges if you want razor lines, but don’t rely on it alone—brush control matters. Work in manageable sections, keep a wet edge, and pull the brush away from the black to avoid dragging dark through wet white.
Mind your color mixing so the white stays consistent near edges, and keep small amounts in a tray to reduce trips to your main can.
Practice, then store brushes properly for paint storage.
Roll White Paint for Even, Streak-Free Coverage
After you’ve nailed the cut-in, grab a high-quality roller and a fresh nap that matches your wall texture—a 3/8″ to 1/2″ nap usually works for smooth to lightly textured surfaces.
After cutting in, use a high-quality roller with a 3/8″–1/2″ nap for smooth to lightly textured walls
Load the roller evenly, roll off excess, and use a “W” pattern to distribute paint without pressing hard. Maintain a wet edge to prevent lap marks and blend sections quickly.
- Work in manageable sections so paint stays wet.
- Light, even pressure avoids streaks and roller marks.
- Step back often to spot missed spots and subtle color shifts tied to color psychology and historical trends in white finishes.
How Many Coats to Expect for Black-to-White Coverage?
Because black absorbs pigment and shows through more readily, you should expect at least two to three coats of white primer-and-paint for full coverage.
Though heavy saturation or deep tones may require a fourth coat or a high-hide primer first.
You’ll assess coverage after each dry coat, noting any shadowing or unevenness.
If you’re covering accent walls that reference color psychology or rooms historically painted in dark hues, plan extra coats.
Matte whites often need more layers than eggshell or semi-gloss.
Budget time and materials accordingly, and test a small area so you won’t underestimate how many coats the job will actually demand.
Fix Bleed-Through, Streaks, and Lap Marks
You’ll often spot bleed-through, streaks, or lap marks as you judge coverage after each coat, so address them promptly to keep the finish smooth and even. Sand glossy spots lightly, spot-prime any darker bleed-through, and let primer dry thoroughly before re-coating. Keep edges wet when rolling to prevent lap marks and use consistent pressure.
Address bleed-through and lap marks promptly: sand gloss, spot-prime dark areas, keep edges wet and pressure consistent.
- Use a high-build primer where color mixing failed to hide dark tones.
- Feather edges with a damp brush to blend fresh paint into dry areas.
- Store leftover paint properly; proper paint storage prevents separation that causes streaks.
Cost, Time Estimates, and Pro Finishing Tips
While costs and timing vary by room size and prep needs, you can expect a typical single-bedroom repaint from black to white to take roughly 1–3 days and cost between $100–$600 for DIY (materials only) or $400–$1,500+ for a pro, depending on primer coats, paint quality, and labor. Plan primer-heavy steps for coverage; higher-TPG primers reduce coats. Pros charge for meticulous sanding and feathering. Remember color mixing can trick coverage estimates; factor cultural symbolism when choosing white tones. Table shows quick estimates:
| Task | DIY Time | Pro Cost |
|---|---|---|
| Prep | 2–6 hrs | $50–$200 |
| Primer | 1–2 coats | $50–$300 |
| Paint | 1–2 coats | $100–$800 |
Frequently Asked Questions
Can I Paint Over Wallpapered Black Walls With White Paint?
Yes—you can paint over wallpapered black walls, but you’ll likely want wallpaper removal first for best results; if you keep it, use a quality paint primer and you’ll avoid seepage, peeling, and uneven coverage.
Will White Paint Yellow Over Time on Previously Black Walls?
Like a sunrise, white can yellow over time on previously black walls; you’ll mitigate that by using quality primers and paints for paint durability, keeping UV exposure low, and monitoring color fading with regular maintenance.
Can I Use Sprayer Instead of Rollers for Full Coverage?
Yes — you can use a sprayer for full coverage; sprayer efficiency speeds the job and guarantees even paint application techniques, but you’ll mask thoroughly, thin appropriately, and practice consistent passes to avoid runs and overspray.
How Do I Match the Ceiling White to New Wall Paint?
You’re absolutely going to love this solution: test ceiling color matching by painting swatches, use paint blending techniques with slightly warm or cool tints, compare in natural light, then touch up ceiling and walls for seamless shift.
Are There Ventilation or Odor Concerns When Covering Black Walls?
Yes — you’ll need ventilation safety and odor mitigation: open windows, run fans, use low‑VOC primer/paint, wear a respirator if needed, and take breaks until fumes fade so you don’t get sick or overwhelmed.
Conclusion
You’ve already decided to change everything—and somehow the same room feels different the moment you pick up a brush. Trust the prep, prime against that stubborn black, and choose a bright white and the right sheen; two careful coats usually do it, but expect surprises. When streaks or bleed-through seem to fight back, stand firm, fix them, and keep going. By the time the last taping pull reveals crisp edges, your room will feel like a new morning.