How to Remove Dried Paint Drips From Wall Easily
You can remove dried paint drips quickly with simple tools and gentle technique: protect surrounding areas, soften the drip with a warm damp cloth or mild solvent, then shave thin layers off with a razor or flexible putty knife held nearly flat. Sand lightly to blend, fill any hollows with spackle, prime, and touch up with matching paint. Work slowly to avoid gouging and test solvents first — keep going and you’ll find step‑by‑step fixes for stubborn drips and texture matching.
Tools & Materials You’ll Need
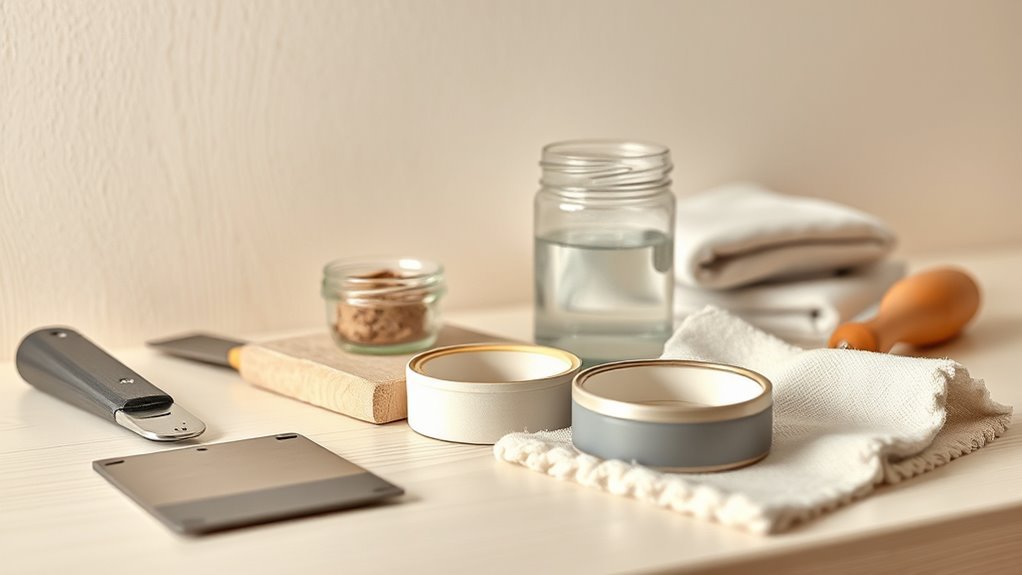
Before you begin, gather the right tools and materials so the repair goes quickly and cleanly. You’ll need a putty knife or plastic scraper, fine-grit sandpaper, a soft cloth, a mild solvent or paint remover suited to your wall finish, painter’s tape, touch-up paint, and disposable gloves.
Consider brushes and a small container for mixed paint. Learn historical techniques to understand traditional finishes if you’re restoring older walls.
Also weigh environmental impact when choosing solvents and disposables—opt for low-VOC products and proper waste disposal. Having everything ready keeps the job efficient and minimizes mistakes.
Quick Fix: Remove Small Dried Paint Drips With a Razor Blade
Before you start, put on safety glasses and work with a steady hand to avoid scratching the wall or cutting yourself.
Hold the razor blade at a low angle and gently scrape from the outside of the drip toward the center, shaving thin layers until the bump is gone.
If the paint resists, stop and try a softener instead to prevent damage.
Safety First
When you’re planning to scrape small dried paint drips with a razor blade, protect your hands and eyes and work deliberately to avoid gouging the wall.
Before you start, follow safety precautions: guarantee good lighting, clear the area, and keep children and pets away.
Wear protective gear—cut-resistant gloves and safety glasses—to prevent cuts and debris in your eyes.
Keep the blade sharp and handle it cautiously; a dull blade slips.
Have a stable ladder or step stool if needed.
Dispose of used blades in a rigid container.
Pause if you feel unsure and reconsider a gentler method.
Razor Technique
If the drip is small and firmly stuck, you can usually shave it off cleanly with a sharp razor blade held at a low angle. Steady your hand, press gently, and work away from the wall surface to pare the paint down without gouging the drywall or plaster.
Wear gloves and eye protection, test a corner to verify the blade won’t dig in, and replace dull blades.
After shaving, sand lightly to blend the spot, dust, and include proper wall preparation before repainting.
This quick paint removal method’s control makes it ideal for tiny drips, but don’t force it on large or brittle areas.
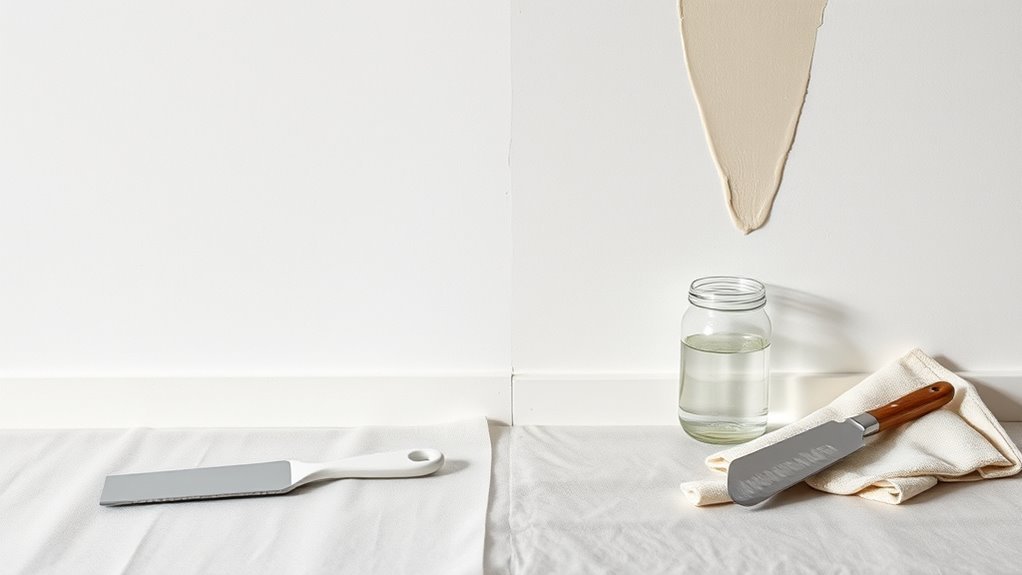
Safely Scrape Larger Drips Without Harming Surrounding Paint
Before you start, protect the surrounding paint with painter’s tape or a thin card to avoid accidental scratches.
Soften the drip with a warm, damp cloth or a little rubbing alcohol to make it easier to remove.
Then use a flexible putty knife at a low angle and gently scrape until the drip lifts, stopping if you see any damage.
Protect Surrounding Paint
A few simple steps will keep the surrounding paint safe while you remove larger drips. Protect edges with painter’s tape and a thin plastic shield to isolate the drip from intact areas.
Work slowly with a razor or plastic scraper, angling away from the wall so you don’t lift adjacent finish. If you nick the surface, sand lightly and touch up, matching texture and color—use careful color matching to blend repaired spots.
Consider paint layering: apply primer if needed, then thin coats to recreate the original sheen. Clean tools and remove tape before full drying to avoid pull-up.
Soften The Drip
When the drip’s surface has hardened but the paint underneath is still intact, soften it gently so you can scrape without damaging the surrounding finish. You’ll apply a mild solvent or warm, damp cloth to relax the top layer; work slowly and test a small spot first. That lets you preserve texture and limits the need for texture matching or color correction later.
- Use a soft cloth with rubbing alcohol or a manufacturer-recommended solvent, dabbing until pliable.
- Heat with a hairdryer on low, keeping it moving to avoid blistering.
- Always blot, don’t rub, to protect the underlying paint.
Gentle Scrape Technique
Since you’ve softened the drip, use a thin, stiff putty knife or a single-edge razor held nearly flat to lift the softened paint without digging into the wall. Work from the drip’s edge toward the center, applying steady, gentle pressure to peel layers off.
If resistance spikes, stop and re-soften rather than force. Collect flakes on a drop cloth and dispose properly.
After scraping, sand lightly to blend edges and inspect for damage. This careful approach makes paint removal effective while preserving surrounding finish.
Proper wall preparation before repainting guarantees a smooth repair and better adhesion for touch-ups.
Use Heat or Steam to Loosen Stubborn Dried Paint
If you’re dealing with stubborn, dried paint drips, applying controlled heat or steam can soften the finish and make scraping much easier.
You’ll choose between heat application with a hair dryer or heat gun (on low) and the steam method using a handheld steamer.
Hold heat several inches away, move constantly, and test a small area.
With steam, keep the nozzle a safe distance to avoid soaking drywall.
Once softened, gently lift edges with a putty knife.
Clean residue with a damp cloth and let dry before touching up.
Take precautions: ventilation, heat-safe gloves, and slow, steady technique.
- Use low, even heat
- Keep movement constant
- Test and protect surfaces
Fill Deep Drip Hollows: Choose Filler and Primer
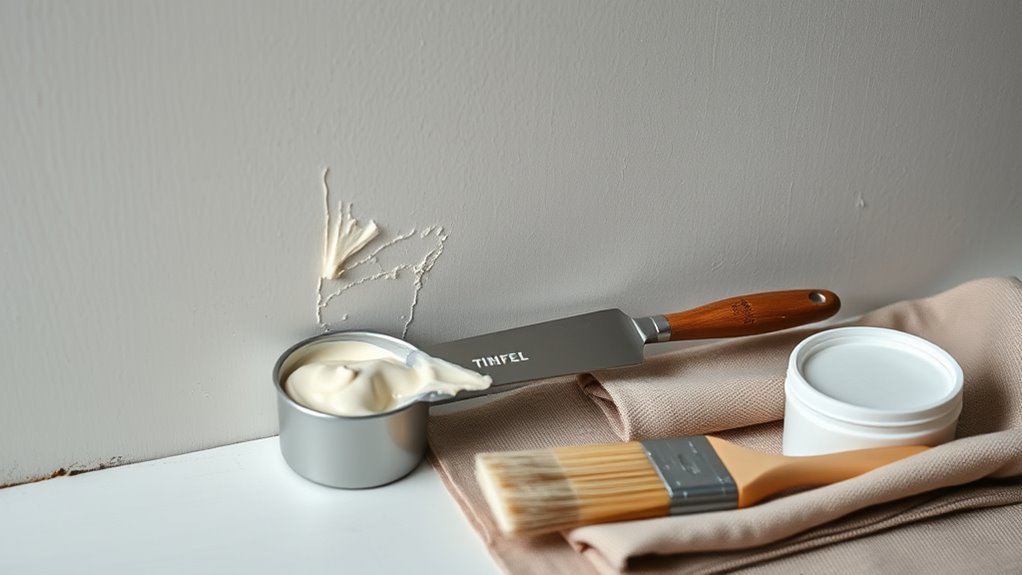
After you’ve softened and lifted the paint, fill any deep hollows with a suitable filler so the wall’s surface is smooth and ready for priming.
Once paint is softened and lifted, fill deep hollows with suitable filler to smooth the wall for priming.
Choose filler selection based on depth and wall type: lightweight spackle for shallow pits, polymer or gypsum-based filler for deeper hollows, and exterior-grade options for damp areas.
Apply filler in thin layers, pressing to eliminate air pockets, and let each layer cure fully.
Once cured, spot-check for voids and reapply if needed.
For Primer application, use a stain-blocking or adhesion primer compatible with the filler to guarantee uniform finish and paint adhesion.
Sand to Feather Edges Smooth
With the filler cured and primed, sand the repair until the edges blend smoothly into the surrounding wall. You’ll gently feather the patch to avoid ridges, focusing on texture blending so the surface reads uniform before any touch-up. Use light, consistent strokes and inspect from different angles to catch low spots.
- Start with medium-grit, then finish with fine-grit sandpaper for a seamless feel.
- Use a sanding block or sponge to keep pressure even and preserve flatness.
- Clean dust thoroughly before evaluating color and planning paint matching to follow.
Feathering well saves time and yields a professional-looking repair.
Spot‑Touching: Step‑By‑Step Blending and Color Match
Once you’ve feathered the repair and cleaned the dust, it’s time to spot‑touch—matching color and blending edges so the patch disappears into the surrounding wall.
Choose a small brush or mini roller for even coverage. Test your paint matching on scrap cardboard, adjusting tint until it vanishes against the wall under the same light.
Apply thin coats, working outward from the center and feathering each pass to avoid ridges. Let each coat dry fully, then assess in different lighting.
If needed, scuff lightly between coats. Finish with a final light blend to guarantee seamless color blending across the area.
Quick Fixes by Paint Type: Latex vs. Oil‑Based Drips
If you’re dealing with dried paint drips, the easiest fix depends on whether the paint is latex or oil‑based: latex softens with water and mild cleaners, while oil‑based paint needs solvents and more careful surface prep.
You’ll check drip texture and recent paint drying time to choose tools and methods. For latex, gently soften with warm soapy water, scrape, sand lightly, then spot‑prime.
For oil‑based, use mineral spirits or paint thinner, ventilate, then sand and prime with oil‑compatible primer.
Protect surrounding surfaces and test solvents on an inconspicuous area first.
Protect nearby surfaces and try any cleaner or solvent first on an out‑of‑sight spot to avoid damage.
- Latex: water, softening, gentle sanding
- Oil: solvent, ventilation, oil primer
Always test for paint drying stage and texture
Troubleshooting: Stubborn Drips, Texture Mismatch, and Color Differences
When a drip won’t come off, stays rough after sanding, or the repaired spot just looks off, you’ll need a targeted approach that addresses removal, texture blending, and color matching without making the problem worse.
First, remove stubborn drips carefully with a scraper and fine-grit sandpaper, then spot-prime to seal exposed areas.
For texture matching, study surrounding patterns and apply matching compound or stipple techniques in thin layers, letting each dry.
Test paint samples nearby to achieve color consistency before committing.
Blend feathered edges, recoat lightly, and inspect under different light to confirm a seamless repair.
Common Mistakes That Make Drips Worse : And How to Avoid Them
Because rushed fixes and the wrong tools usually make drips worse, you’ll want to stop and assess before you touch the spot. You’ll avoid common pitfalls by not scraping aggressively, not over-sanding glossy edges, and not using solvent on water-based paint.
Improper techniques spread damage, create uneven texture, or strip surrounding finish. Work slowly: test a small area, soften hardened paint if needed, and choose the right scraper or sandpaper grit.
Keep these quick reminders in mind:
- Don’t gouge the wall with a metal scraper; use a plastic blade first.
- Avoid harsh solvents on latex paint.
- Don’t sand without masking adjacent areas.
Prevent Drips Next Time: Painting Tips and Technique
Although removing drips can salvage a wall, preventing them saves time and gives a smoother finish—so plan your next paint job with technique and the right tools.
Start with proper prep: clean, sand, and prime so paint adheres evenly.
Start with solid prep—clean, sand, and prime so paint bonds smoothly for an even finish.
Use high-quality rollers and the right brush size; practice brush techniques that load and release paint evenly to avoid heavy edges.
Thin coats dry faster, so apply multiple light layers rather than one thick one.
Maintain a wet edge and control drips by tapping off excess paint.
Keep samples for color matching and test small areas before committing to full coverage.
Checklist: Final Inspection and Touch‑Up Tips
Before you call the job done, take a systematic walk‑through to spot missed drips, uneven coverage, or texture differences so you can fix them quickly. Check in different light and at various angles; drips hide in low light and highlight creative wall finishes’ flaws. Use a gentle scraper, fine sandpaper, and matching paint for touch‑ups, blending into surrounding wall texture techniques. Keep tools nearby and work in small sections to avoid overworking the area.
- Inspect seams and corners for buildup or thin spots.
- Sand feathered edges before repainting small areas.
- Test touch‑ups under intended lighting conditions.
Frequently Asked Questions
Can Dried Paint Drips Damage Drywall Beyond Surface Repair?
Yes — if paint drips are thick or have hardened with solvent, they’ll bond and can tear paper or gouge gypsum during paint removal; you’ll need careful paint removal and possible drywall repair to restore the surface.
Can I Remove Paint Drips From Textured Popcorn Ceilings?
Yes — you can remove paint drips from textured popcorn ceilings, but you’ll need gentle texture repair techniques so you don’t damage the finish. Use careful scraping, spot sanding, and matching compound to maintain paint adhesion.
Will Removing Drips Affect Nearby Wallpaper or Decals?
I’ve seen a neighbor cry over ruined wallpaper; yes, removing drips can harm nearby wallpaper safety and decal preservation if you’re rough. You should test a patch, use gentle solvents, and peel softly to avoid damage.
Can I Use Household Solvents Like Vinegar or Rubbing Alcohol?
You can try vinegar or rubbing alcohol cautiously; they’ll sometimes dissolve latex but can cause chemical reactions with finishes. Test a hidden spot first, use gentle cleaning techniques, and don’t scrub hard to avoid damage.
How Long Should I Wait After Painting Before Fixing Drips?
Wait until paint’s dry, not tacky; wait until it’s fully cured, not just set. You’ll want to do paint touch up after 24–48 hours, allow primer application if needed, and wait up to a week for full cure.
Conclusion
You’ve conquered those clumsy, crusty colors—confident, careful, and creative. Calmly correct small scabs with a razor, cautiously scrape larger globs, or coax stubborn spots with steam. Fill hollows, feather primer, and finish with flawless final touches. Prevent future puddles by practicing proper paint pace, steady strokes, and patient prep. Stay steady, stay smart, and savor satisfying, streak‑free surfaces—your skillful, serene space shows the subtle, successful strides you’ve made.