How to Remove Ink From Painted Wall Without Damage
Blot fresh ink immediately with a clean, dry cloth—don’t rub—to reduce absorption, then test a hidden spot to check paint durability and sheen. Start with mild soap and water or a damp microfiber, progressing to rubbing alcohol or mineral spirits only after spot-testing. Dab solvents outward with a cotton swab, rinse lightly, and dry; use a magic eraser very gently. If paint softens or dulls, stop and consider touch-up or professional help—keep going to learn gentle troubleshooting and repair tips.
Stop Fresh Ink Stains Fast
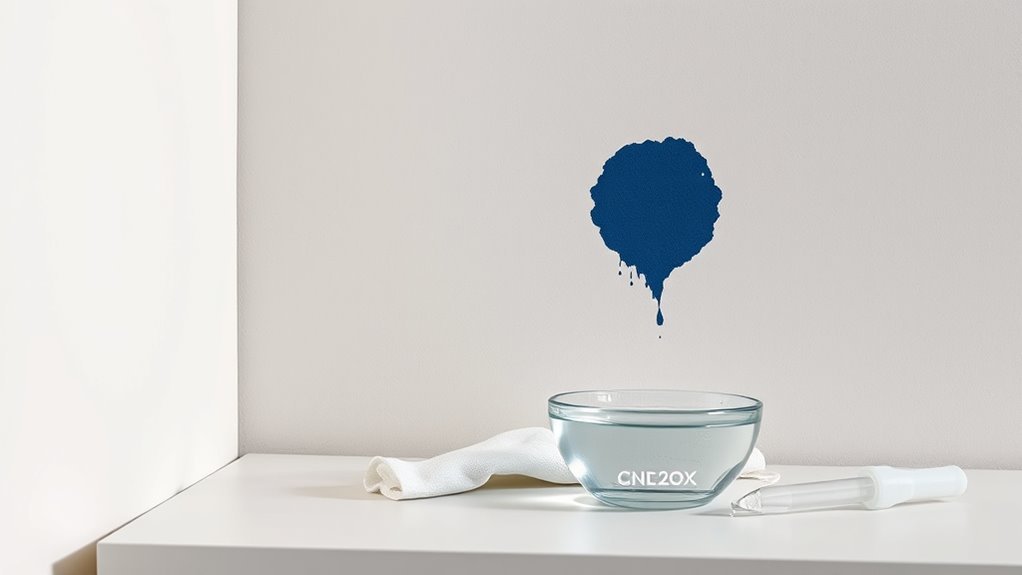
Caught an ink drip and need to act fast? You blot immediately with a clean, dry cloth to reduce ink absorption and limit spread. Don’t rub—that forces pigment deeper. Use gentle pressure, switching cloth sections as ink transfers.
For stain prevention, place a paper towel beneath the area to catch bleed-through. If blotting removes most ink, dampen a microfiber with water and lightly dab the spot; test nearby first. Continue alternating blotting and testing until no more transfers.
Finish by patting dry and airing the wall. Acting quickly and controlling ink absorption gives you the best chance at stain prevention.
Quickly Identify Your Paint Type
First check the paint finish—flat, satin, or gloss will react differently to cleaners.
Then perform a small spot test in an inconspicuous area to see if the ink lifts or the paint softens.
Match your solvent to the results—water for latex, mild alcohol for satin or semi-gloss, and stronger solvents only if the test shows the paint can handle them.
Check Paint Finish
Want to know which cleaner will work without damaging the surface? Check the paint sheen first: flat or matte is delicate, eggshell and satin tolerate mild cleaners, semi-gloss and gloss handle stronger solvents.
Run your hand over the wall to feel wall texture — smooth finishes resist wiping, textured ones trap ink and need gentler approaches.
Note that painted trim often has a different sheen than the wall. Also consider age: older paint may lift more easily.
Identifying sheen and texture tells you how aggressive you can be, so choose cleaning methods that match both to avoid damage.
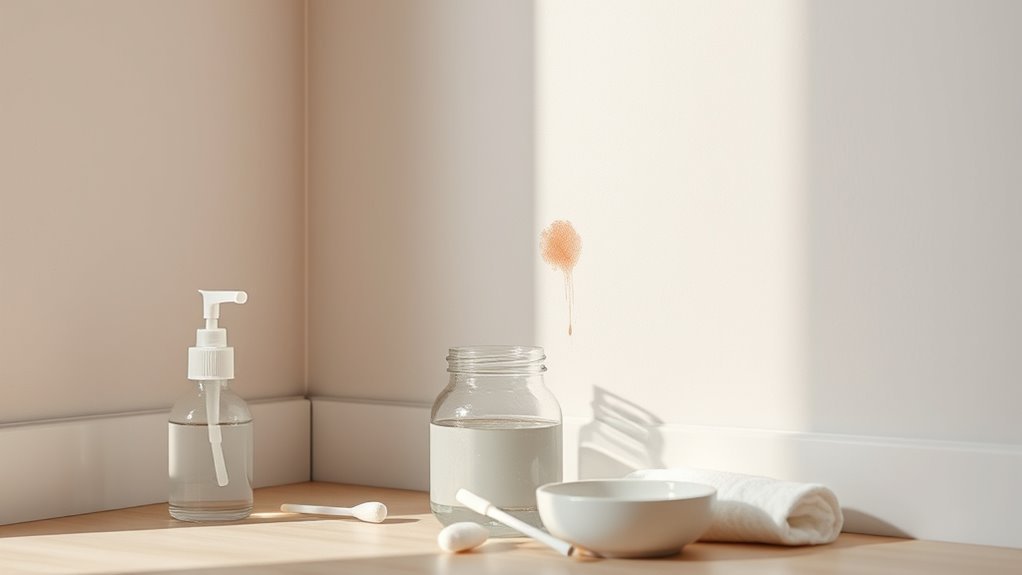
Perform A Spot Test
How do you quickly confirm which paint you’re dealing with before scrubbing? You’ll do a small spot test to protect finish and guide safe ink removal.
Pick an inconspicuous area, dab a cotton swab dampened with water, then with rubbing alcohol if needed; observe any softening, gloss change, or paint lift. Note results and stop at the first sign of damage.
Record what worked for future stain testing so you won’t repeat harm across the wall.
- Relief: you avoided ruining a beloved room.
- Confidence: you know the paint’s reaction.
- Control: you can proceed calmly with ink removal.
Match Solvent Carefully
Since solvents react differently with latex versus oil-based paints, confirm the type before you reach for stronger cleaners. Use the spot-test notes you just took to guide your choice.
You’ll identify latex by a soft, flexible finish and oil by a harder, glossy surface.
Once identified, pick a solvent rated for that paint—mild soap and water or rubbing alcohol for latex, mineral spirits for oil-based—always prioritizing solvent safety.
Wear gloves, ventilate, and test again in an inconspicuous spot.
Monitor chemical reactions closely: fizzing, softening, or color loss means stop and switch to a gentler method.
Test a Small Spot to Check Paint Durability
Before you apply any cleaner broadly, test a small, inconspicuous spot to make sure the paint won’t soften, streak, or lift. You’ll confirm paint durability and gauge stain resistance before risking visible damage. Dab the cleaner, wait a few minutes, then blot gently—look for color change, tackiness, or peeling.
If the spot stays intact, proceed cautiously; if not, stop and choose a gentler approach. Trust your observation over assumptions.
- Relief when the finish survives and your wall looks unchanged
- Anxiety eased by a proven safe result
- Confidence to continue without fear of ruining the paint
Household Cleaners That Remove Ink Safely
While you’ll always want to start with the gentlest option, several common household cleaners can lift ink without damaging most painted surfaces.
You can try mild dish soap mixed with warm water using a soft cloth, or a diluted all-purpose cleaner applied sparingly and blotted, not scrubbed.
A magic eraser-type foam pad can work on tougher marks if you test first.
Always rinse with clean water and pat dry to preserve the finish and avoid streaks that clash with Creative wall art or Interior color schemes.
Work gently, test first, and stop if paint softens or dulls.
When to Use Rubbing Alcohol, Acetone, or Peroxide
If a gentle cleaner won’t budge the stain, reach for stronger solvents—but choose carefully based on your paint type and finish. You’ll test in a hidden spot first: rubbing alcohol works on water-based ink and many painted surfaces; acetone is powerful but can soften or dull some paints; peroxide lifts pigment gently over time.
For stain removal, dab—don’t scrub—and wait between attempts. Your solvent selection depends on glossy versus flat finishes and manufacturer’s guidance. Trust your patch test.
- Relief when the mark finally fades
- Anxiety easing as you proceed cautiously
- Satisfaction restoring your wall’s look
Tools to Avoid Scratching or Spreading Stains
When you’re removing ink, pick soft, non-abrasive cloths to avoid scratching the paint.
Use rubber-tip tools or silicone scrapers for lifting spots without spreading them.
These gentle options help you target stains while protecting the finish.
Soft, Non-Abrasive Cloths
Because ink can easily smear or abrade paint, choose soft, non-abrasive cloths—like microfiber or lint-free cotton—to blot and gently lift stains without scratching the finish. You’ll want soft cloths for gentle cleaning; they absorb ink instead of spreading it.
Dampen a cloth slightly with water or mild soap solution, wring thoroughly, and pat—don’t rub. Replace soiled cloths promptly to avoid re-depositing ink.
Test a corner first to ensure paint compatibility. Using the right fabric helps preserve color and sheen while removing marks carefully.
- Relief when a stain fades
- Confidence in careful correction
- Satisfaction from a saved wall
Rubber-Tip Tools
After blotting with a soft cloth, switch to rubber-tip tools to lift stubborn ink without scratching paint or smearing stains further. You’ll use a gentle, pointed rubber tip to tease ink from pores; don’t press hard. Work from the edge toward the center, lifting tiny particles instead of spreading them.
Clean the tool frequently on a paper towel to avoid redepositing ink. For larger marks, a rubber eraser-style tip can roll pigment away without abrasives. Test on an inconspicuous spot first.
These rubber tip tools improve ink stain removal while protecting finish, letting you treat spots precisely and safely.
Remove Ink From Latex (Water‑Based) Paint
If you catch ink on a latex-painted wall, act quickly to prevent it from setting into the finish; latex is water‑based, so many stains respond well to gentle, prompt cleaning. Blot excess ink with a soft cloth, testing a hidden area first to check paint compatibility.
Mix mild dish soap with warm water and gently work from the edges inward to reduce ink absorption.
For stubborn spots, try a diluted isopropyl solution briefly, then rinse. Dry the area and touch up with matching paint if needed.
- Frustration eased
- Relief at seeing stain lift
- Confidence restored
Remove Ink From Oil or Enamel Paint
Oil or enamel paints react differently than latex, so you’ll want to test any solvent on an inconspicuous spot first to make sure it won’t soften or discolor the finish.
Start with a gentle solvent—like rubbing alcohol or a dedicated enamel-safe cleaner—and apply it sparingly with a cotton swab.
If the spot holds up, work from the outside of the stain inward with light pressure to lift the ink without damaging the paint.
Test Solvent First
Before you start scrubbing, test your solvent on a hidden patch of the painted surface to make sure it won’t soften, discolor, or remove the enamel. You’ll use simple testing techniques: apply a tiny amount, wait a few minutes, then blot and inspect for sheen changes or tackiness. Record results and compare solvents if unsure.
Prioritize solvent safety—work in a ventilated area, wear gloves, and avoid mixing chemicals. If the patch looks unchanged, you can proceed cautiously. If it shows damage, stop and choose a milder option or consult a pro.
- Relief at a small success
- Frustration avoided
- Confidence to continue
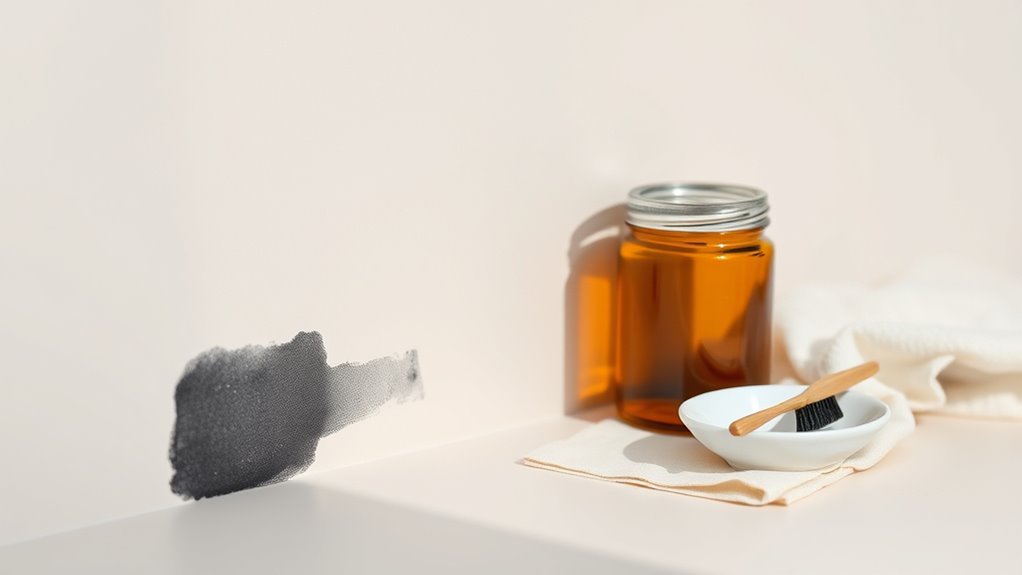
Gentle Solvent Application
When you’ve confirmed the paint won’t react, work in small sections and apply a gentle solvent—like mineral spirits or an alcohol-based cleaner—sparingly with a soft cloth or cotton swab to lift the ink without saturating the surface.
You’ll dab outward from the stain’s edge, monitoring solvent compatibility with the finish and noting any change. Blot transferred ink onto a clean cloth; avoid rubbing, which increases ink absorption into porosity or damaged binder.
Rinse the area lightly with a damp cloth to remove residue, then let it air dry. Repeat only if necessary, testing between passes to protect the enamel or oil paint.
Remove Permanent Marker and Printer Ink
If a permanent marker or printer ink has stained your painted wall, don’t panic—you can often lift the mark with the right solvent and a gentle touch.
Test ink removal techniques on an inconspicuous patch first and follow paint compatibility tips to avoid finish damage.
Apply solvent sparingly with a microfiber cloth, blotting outward; don’t scrub.
Rinse with a damp cloth, then dry.
For stubborn spots, repeat testing or try a different solvent suited to your paint type.
- Relief when the wall clears
- Confidence after a careful test
- Satisfaction restoring a spotless surface
Blend and Touch Up Paint After Ink Removal
After you’ve removed the ink, match the paint sheen and color so the repair disappears into the surrounding wall. Inspect the cleaned area under natural light, then test color matching on a scrap or hidden spot.
Feather small amounts of paint outward from the center using a soft brush or small roller; this paint blending avoids hard edges. Use multiple thin coats rather than one heavy one, letting each dry completely.
If exact color matching’s tricky, get a sample chip for a paint store match. Finally, step back and confirm consistency before declaring the job finished.
Common Mistakes That Damage Paint : And How to Avoid Them
Because paint is softer than you might think, a few common missteps can leave lasting damage, but most are avoidable with the right techniques. Don’t scrub hard, use harsh solvents, or ignore testing first. You’ll worsen finish, strip pigment, and create texture differences that make Color matching and Texture restoration harder later.
Test cleaners in an unseen spot, dab gently, and work outward from the stain. If touch-up is needed, feather edges and match sheen for seamless repair. Be patient—rushing causes more harm than the original ink stain.
- Frustration from streaks
- Dread of redoing work
- Relief when it’s fixed
When to Repaint or Call a Professional
Knowing when to keep cleaning and when to repaint or call a pro will save you time and money. If ink stains persist after gentle cleaning, or the paint film softens, stop and reassess. You’ll want to repaint when stains bleed through, texture’s damaged, or touch-ups won’t blend.
A pro helps when large areas need repainting, tricky color matching is required, or underlying issues like moisture exist. Expect proper wall preparation—sanding, priming, and sealing—before paint.
Get quotes, check reviews, and ask about warranty. Choosing sooner prevents repeated attempts that can worsen damage and raise costs.
Frequently Asked Questions
Can Ink Transfer to Clothing While Treating Wall Stains?
Yes — ink transfer can happen while treating wall stains, so you should wear gloves and old clothing to avoid clothing staining; blot carefully, avoid smearing, and keep treated fabrics away from clean garments to prevent cross-contamination.
Will Sunlight Help Fade Ink Without Cleaning?
Like an old photograph, sunlight fading can lighten an ink stain over time, but it won’t fully remove fresh marks; you’ll need gentle cleaners for thorough removal, and prolonged sun may age or discolor the paint.
Can Pets Be Harmed by Ink Removal Products?
Yes — you should be careful: many ink removal products can pose pet safety risks and increase ink toxicity exposure; keep pets away, ventilate, use pet-safe cleaners, and store products securely to prevent accidental ingestion or skin contact.
How Long Before I Can Touch up With Paint After Cleaning?
You can touch up after the surface’s fully dry—usually 24–48 hours depending on cleaning agents and ventilation. Do surface preparation like light sanding and wiping; that guarantees new paint adheres and hides any residue.
Do Wallpapers React Differently Than Painted Walls to Cleaners?
Absolutely — you’ll find wallpapers react wildly different than painted walls: cleaning chemical reactions can soften adhesive, ruin wallpaper adhesion, and cause bubbling or color loss, so you’ll want gentler, tested cleaners and cautious spot-testing first.
Conclusion
You’ve got this—act fast, identify the paint, and always test a small spot before using cleaners like rubbing alcohol, acetone, or peroxide. Gently work ink stains from the outside in, and use mild household solutions first; save harsher solvents for stubborn printer or permanent marker marks. Patch and blend any dull spots, avoid scrubbing, and don’t be tempted to use sandpaper like a medieval squire. If unsure, repaint or call a pro.