How to Remove Scuff Marks From Painted Walls
You can usually remove scuff marks quickly with household items: wipe the area with a damp microfiber cloth and mild soap, then try a gentle melamine (magic) eraser on low pressure for tougher marks. Test first in a hidden spot to avoid dulling the finish. For crayon or marker use rubbing alcohol or a baking-soda paste; for gouges, sand, fill, and touch up paint. Keep supplies handy and keep going to learn more techniques and prevention.
Quick Fix: Remove Most Scuff Marks in 5 Minutes
If you need a fast, reliable fix, grab a soft cloth, a magic eraser or a bit of mild dish soap and water—then tackle the scuff with gentle, circular motions. You’ll test a small, hidden spot first to protect the finish.
Use light pressure and rinse the cloth frequently; switch to the eraser for stubborn marks. Match technique to wall texture to avoid dulling or roughening paint.
Dry and inspect, repeating once if needed. For visible areas, follow decorating tips: blend repairs by softening edges and keeping cleaning minimal. You’ll restore appearance quickly without repainting.
How to Tell Scuffs From Paint Damage
Quick cleaning can erase many scuffs, but you’ll want to stop and inspect when marks don’t lift or the surface looks different after wiping. You’ll press a damp cloth and see whether residue comes off or the paint itself is abraded.
True paint damage often feels rough, shows bare substrate, or flakes; scuffs are surface transfers that usually rub away. Check edges and compare gloss and color—color matching issues mean underlying paint was removed or faded.
Also examine wall texture: if texture is flattened or gouged, it’s paint damage. That tells you whether to clean or prep for repair.
Tools and Household Supplies for Scuff Removal
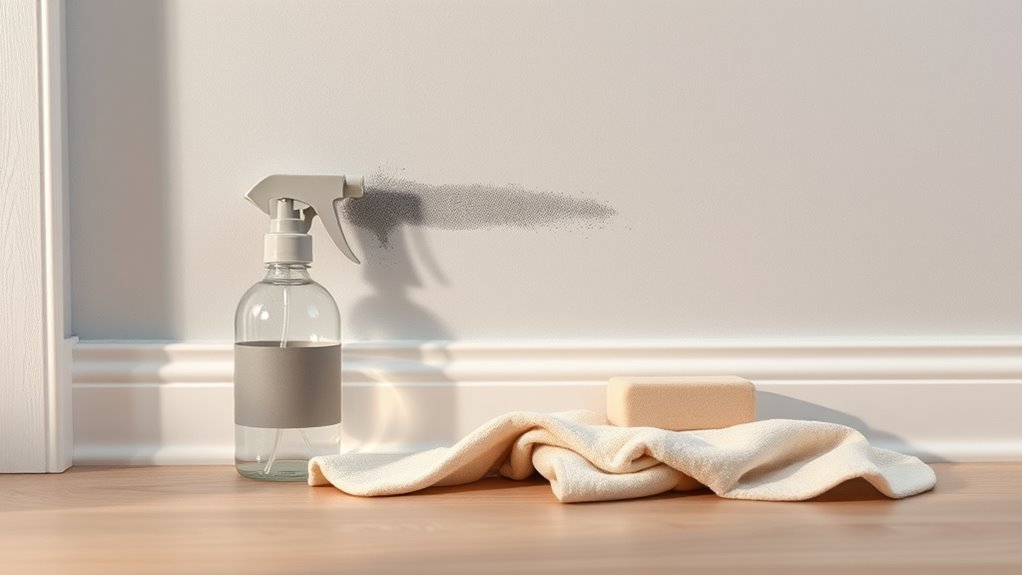
Before you start scrubbing, gather a few basic tools and household supplies so you won’t stop mid-job. You’ll need soft microfiber cloths, melamine sponge, mild dish soap, baking soda, and a gentle all-purpose cleaner.
Keep a small bowl for mixing, a spray bottle, and a soft-bristled toothbrush for stubborn marks. Have painter’s tape and a damp sponge handy to protect nearby wall art while you work.
If scuffs come from furniture placement, use felt pads after cleaning to prevent recurrence. Test cleaners on an inconspicuous spot first, and replace abrasive tools if they begin to scratch.
Safety Tips to Protect Painted Walls
Gathering the right supplies makes the job smoother, but protecting the paint while you work matters just as much. You’ll want to prevent new marks and avoid damaging wall art or finishes. Move furniture carefully and plan furniture placement to keep edges from rubbing.
Use gentle cleaners and test a hidden spot before treating scuffs. Wear soft, clean gloves to avoid transferring oils. Place drop cloths under treatment areas and secure them to prevent slips.
- Lift furniture; don’t drag it across painted surfaces.
- Cover wall art frames and outlet plates.
- Keep cleaners dilute and spot-tested.
Magic Eraser: Fastest Way to Remove Scuffs
If you want the fastest way to remove scuffs, reach for a melamine sponge (commonly sold as a Magic Eraser) and work gently—these sponges lift marks with minimal effort but can dull glossy finishes if used too hard. You’ll dampen the sponge, test a hidden area, and lightly rub scuffs. Consider wall textures and paint finishes—flat tolerates more abrasion than gloss. Rinse the area and pat dry. Stop if paint dulls.
| Tip | Why |
|---|---|
| Damp sponge | Activates cleaning |
| Test first | Prevents damage |
| Light pressure | Protects finish |
| Rinse after | Removes residue |
When to Use a Melamine Sponge vs. a Cloth
Use a melamine sponge when scuffs are stubborn and the paint is washable, since it gently abrades away marks without extra cleaners.
Reach for a soft cloth and mild soap when the paint is flat, delicate, or you just need to wipe dirt rather than scrub.
Test either method in an inconspicuous spot first to avoid damage.
When To Use Melamine
Wondering whether to reach for a melamine sponge or a soft cloth for scuff removal? Use melamine when marks are stubborn and the finish is durable. It excels on glossy paints and many surfaces like Melamine furniture, but inspect wall texture first—smooth surfaces handle melamine better than heavily textured ones. Test a hidden spot to avoid finish loss.
- Choose melamine for tough rubber scuffs and ink smears.
- Avoid on soft, flat paint or rough textures that gather crumbs.
- Apply light pressure and rinse the sponge; repeat gently rather than scrubbing hard to protect paint.
When To Use Cloth
Although melamine sponges tackle stubborn marks, reach for a soft cloth when the paint is matte, delicate, or heavily textured—you’ll protect the finish and avoid removing paint while still lifting surface grime.
Use a dampened microfiber for gentle wiping; its absorbent weave and microfiber longevity grab dirt without abrasion. Reserve stiffer cloths for washable semi-gloss or satin surfaces where scrubbing won’t strip pigment.
Test any cloth in an unseen spot to confirm no finish change. Monitor cloth durability—replace frayed or contaminated cloths to prevent scratching.
When in doubt, start with light pressure and a clean, soft cloth to preserve your wall.
Use a Damp Microfiber for Light Scuffs
Before you start, wipe dust and dirt away so you’re working on a clean surface.
Lightly dampen a microfiber cloth and wring it out until it’s just barely wet.
Gently wipe the scuff in one direction to lift marks without damaging the paint.
Prep The Surface
If the scuffs are light, grab a clean microfiber cloth, dampen it with plain water, and gently wipe the mark in a circular motion—don’t scrub hard, as that can remove paint.
Before you wipe, prep the surface so your simple action works best: dust away loose grit, note the wall texture, and check the paint sheen to anticipate buffing results.
Follow these quick prep steps:
- Remove dust and cobwebs with a dry microfiber.
- Lightly moisten areas with a spray bottle to avoid over-wetting.
- Test a hidden spot for color change or sheen loss.
Then proceed confidently, keeping pressure minimal.
Gentle Microfiber Wipe
When scuffs are shallow, grab a damp microfiber and wipe them away with gentle, circular motions so you lift grime without abrading the paint. Start at the scuff’s edge and work inward, rinsing or replacing the microfiber cloths as they pick up particles.
Test a hidden spot first to confirm the finish and wall texture won’t react. Don’t scrub hard — pressure can dull or remove paint.
For stubborn marks, add a drop of mild dish soap to the water, then rinse with a clean damp cloth to remove residue. Pat dry with a soft towel and inspect the area for touch-up needs.
Clean Scuffs With Mild Dish Soap and Water
Although mild, dish soap is often all you need to lift scuff marks without damaging paint. Mix a few drops with warm water, dampen a soft cloth or sponge, and gently rub the mark in circular motions until it fades.
Test a hidden area first so you can check how wall texture and paint sheen react.
Work patiently, rinse with a clean damp cloth, and dry to avoid streaks.
If marks persist, repeat once.
Tips:
- Use a microfiber or soft cotton cloth to protect the finish.
- Avoid abrasive scrubbing that alters paint sheen.
- Change solution if it becomes dirty.
Remove Grease and Stubborn Marks With Baking Soda
Make a paste with baking soda and a little water, then apply it to greasy or stubborn marks.
Test the paste on a hidden spot first to make sure it won’t harm the paint.
Gently rub the mark with a soft cloth or sponge until it lifts, then wipe the area clean.
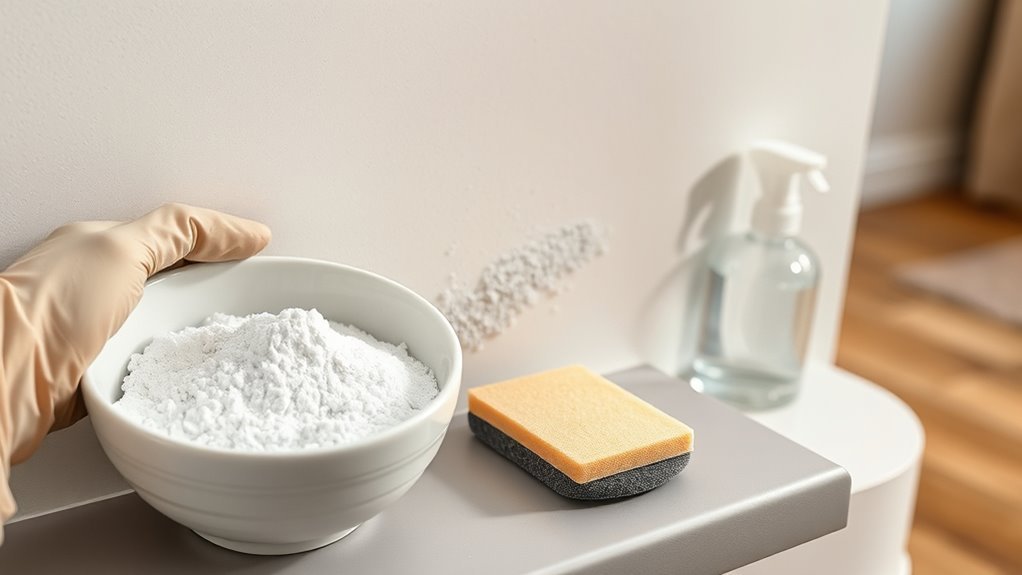
Prepare Baking Soda Paste
If grease or stubborn scuffs won’t budge with a sponge, mix a paste of baking soda and water to lift them gently without damaging paint. Measure a 2:1 ratio of baking soda to water, stirring until you get a thick, spreadable paste.
Consider color matching and wall preparation before applying so you don’t overwork the finish. Use small amounts and a soft cloth to apply.
Start with a teaspoon of water per two teaspoons baking soda.
Keep the paste slightly gritty, not runny.
Store leftovers in a sealed container for quick touch-ups.
Test And Gently Rub
Before you touch the wall, test the baking soda paste on an inconspicuous spot—like behind a door or near baseboard trim—to make sure it won’t dull the paint. Use small circular motions with a soft cloth and wait a few minutes to inspect for any discoloration.
Try testing techniques on different wall textures; smooth, eggshell, and satin finishes may react differently than flat or semi-gloss.
If the test spot looks fine, dampen the cloth, apply the paste sparingly, and gently rub the scuff in short strokes. Rinse residue with a clean damp cloth and pat dry to check results.
Use White Vinegar Safely on Painted Walls
Although white vinegar’s acidity makes it great at cutting scuff marks, you’ll want to dilute it and test it first to protect the paint finish.
For vinegar safety and proper wall preparation, mix one part white vinegar with two parts water, blot a hidden spot, and wait for any dulling. If safe, proceed gently with a soft cloth.
- Use a microfiber cloth dampened, not dripping.
- Work in small sections, rinse with plain water afterward.
- Avoid prolonged soaking or scrubbing glossy or delicate finishes.
Stop immediately if paint softens or color changes.
Best Approach for Crayon, Marker, and Ink Scuffs
Vinegar works well for many scuffs, but crayon, marker, and ink need different tactics because they sit on or stain the paint surface rather than just smearing. You’ll test hidden spots first, use a gentle eraser for crayon, rubbing alcohol or a magic eraser for marker, and dab alcohol-based ink remover for ink stains. For stubborn marks, feather sanding lightly and touch-up with matching paint helps; consider color matching and textured finishes when repairing so repairs blend.
| Type | Treatment |
|---|---|
| Crayon | Eraser, mild soap |
| Marker | Alcohol, eraser |
| Ink | Dab remover, touch-up |
| Repair | Sand, color match |
Fix Scuffs From Shoes and Furniture Rubs
For shoe and furniture scuffs, start by choosing a cleaner that’s safe for your paint finish—mild dish soap, a magic eraser used gently, or a commercial wall cleaner.
Test your chosen product in an inconspicuous spot, then work the mark with light, controlled strokes to avoid removing paint.
If the scuff won’t budge, stop and reassess rather than scrubbing harder.
Choose The Right Cleaner
How do you pick a cleaner that removes scuffs without damaging paint? You want a product that’s safe for your finish, matches any special needs like color matching touch-ups, and won’t compromise stain resistant coatings. Test cleaners in an inconspicuous spot first. Choose a mild option and escalate only if needed.
- Start with a gentle, pH-neutral cleaner designed for painted surfaces.
- Use a melamine sponge or diluted cleaner for tougher scuffs, avoiding abrasives on flat paint.
- Pick products labeled safe for stain resistant or low-VOC paints and follow manufacturer directions precisely.
Gentle Removal Techniques
When scuffs from shoes or furniture appear, start gently so you don’t strip paint or leave a dull spot; test your chosen method on an inconspicuous area, then work outward from the mark.
Use a soft eraser or microfiber cloth with mild detergent, rubbing lightly in a circular motion.
For tougher marks, try a melamine sponge sparingly.
After removal, assess finish — you may need light color matching with touch-up paint and feathered texture blending to hide repairs.
Work in thin layers, let each dry, and avoid aggressive scrubbing. That preserves paint integrity and keeps walls looking uniform.
Treat Scuffs on Semi-Gloss and Satin Paint
Because semi-gloss and satin finishes are tougher than flat paint, you can usually remove scuffs without repainting by using gentler, targeted methods that preserve the sheen. Assess the wall texture and paint sheen first so you choose tools that won’t alter the finish. Test a small hidden area.
- Use a soft melamine sponge with light pressure for surface marks.
- Try a diluted dish soap solution on a microfiber cloth for greasy scuffs.
- For stubborn spots, lightly abrade with a fine, nonwoven pad, then wipe clean.
Dry thoroughly and inspect; repeat gently until the scuff lifts without dulling the finish.
Clean Flat/Matte Paint Without Changing Sheen
Semi-gloss and satin finishes can take a bit of scrubbing, but flat or matte paints need a gentler touch since they’ll show shine if you overwork them. You’ll start with a soft dry eraser, test an inconspicuous spot, then use diluted mild soap and a microfiber cloth with light dabbing. Rinse and pat dry to avoid streaks. If touch-up’s needed, match color matching carefully and consider wall texture when applying paint. Avoid heavy scrubbing or abrasive pads.
| Tool | Action | Tip |
|---|---|---|
| Dry eraser | Light rub | Test first |
| Microfiber | Dabbing | Low moisture |
| Mild soap | Dilute | Rinse well |
| Touch-up paint | Small brush | Match texture |
| Avoid | Abrasives | Prevent sheen |
Remove Scuffs From Baseboards and High-Traffic Areas
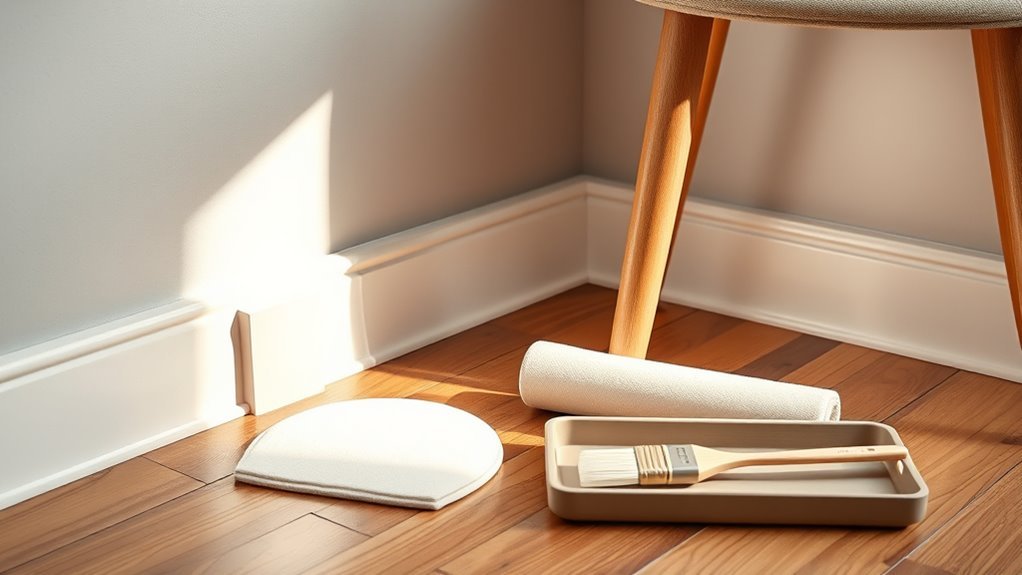
Before you start, you’ll want to prep the surface by wiping away dust and loose dirt so the scuff-removal method can work effectively.
For baseboards and other high-traffic spots, use gentle cleaning techniques—like a soft cloth with mild soap or a magic eraser on low pressure—to avoid removing paint.
Test your chosen method on an inconspicuous area first to make sure it won’t damage the finish.
Prep The Surface
While you’ll tackle walls next, start by prepping baseboards and other high-traffic trim where scuffs gather most; cleaning these areas first prevents smudges from spreading and gives you a true sense of what needs sanding or touch-up. Inspect for gouges, loose paint, or dirt that hides scuffs. Note color matching needs against adjacent wall texture before you sand or prime.
Lightly sand raised edges and fill deeper marks with lightweight spackling. Wipe dust thoroughly.
Then:
- Remove debris and grease with a dry cloth, not water.
- Sand rough spots smooth and feather edges.
- Prime patched areas before repainting.
Gentle Cleaning Techniques
Now that your trim is prepped and any gouges are filled, you can gently clean scuffs from baseboards and other high-traffic areas without damaging paint. Use a soft cloth, mild detergent, and a magic eraser sparingly. Test cleaners on hidden spots to protect wall textures and check color matching before touching visible trim. Work from top to bottom, rinse, and dry promptly. For stubborn marks, lightly sand and touch up with matched paint.
| Tool | When to Use | Tip |
|---|---|---|
| Soft cloth | Light scuffs | Blot, don’t rub |
| Mild soap | General dirt | Dilute well |
| Magic eraser | Stubborn marks | Use gently |
| Touch-up paint | After sanding | Ensure color matching |
Removing Scuffs on Textured and Popcorn Walls
Because textured and popcorn walls trap grime in crevices, removing scuffs takes a gentler, more deliberate approach than smoothing painted surfaces. You’ll assess texture patterns and paint sheen before testing a small area. Work softly to avoid flattening peaks or changing finish.
- Start with a dry microfiber brush to lift loose dirt.
- Use a damp sponge and mild detergent, blotting rather than rubbing.
- For stubborn marks, try a melamine eraser gently and in short strokes.
If color lifts, stop and spot-prime then touch up with matching paint to preserve texture and sheen.
Cleaning Scuffs on Exterior Painted Surfaces
For exterior scuffs, start by identifying the paint type so you pick cleaners and touch-up products that won’t damage the finish.
Next, remove dirt, mildew, and other surface contaminants with a mild detergent and soft brush before treating the mark.
Finish by touching up with matching exterior paint and sealing as needed to protect against weathering.
Assess Paint Type
Before you start scrubbing, identify the exterior paint type so you pick cleaners and tools that won’t damage the finish. Check the label or test a small hidden area to learn sheen, binder type, and expected paint durability. That tells you whether solvents, mild detergent, or gentle abrasion are safe and how the wall texture affects approach.
- Smooth, high-gloss finishes resist scuffs but show scratches; use nonabrasive cleaners.
- Satin and eggshell balance durability and appearance; prefer mild cleaners and soft brushes.
- Rough or textured stucco soaks cleaners and hides marks; rinse thoroughly and avoid harsh scrubbing.
Remove Surface Contaminants
Wondering how to get rid of scuff marks without stripping the paint? Start by rinsing the area with a soft brush and mild detergent to remove dirt, pollen, and residue that hide scuffs.
Test a small inconspicuous spot to confirm cleaning won’t alter paint sheen.
Use a non-abrasive sponge or microfiber cloth, working gently along wall textures to avoid lifting pigment.
For stubborn contaminants, try a diluted trisodium phosphate substitute, then rinse thoroughly.
Let the surface dry completely before evaluating.
Cleaning first preserves the finish and prevents unnecessary sanding or repainting while maintaining the original wall textures and paint sheen.
Touch-Up And Seal
Once the wall is clean and dry, it’s time to touch up and seal scuffs so they blend with the existing exterior finish. Match the original paint sheen and consider wall textures before you start. Lightly sand rough spots, wipe away dust, and use a small brush or foam applicator for precise coverage.
After paint dries, seal for durability.
- Use exterior-grade touch-up paint that matches color and paint sheen.
- Feather strokes into surrounding areas to preserve wall textures.
- Apply a clear sealer or protective topcoat suited for outdoor surfaces.
Check results in different light and recoat if needed.
How to Test a Method on an Inconspicuous Spot
While you test a cleaning method, pick a small, hidden area—like inside a closet, behind a door, or under trim—so you can check for color change, finish damage, or residue without risking a visible wall.
Start with proper wall preparation: clean the spot gently, let it dry, and note existing sheen for accurate color matching later.
Apply a tiny amount of your chosen cleaner, wait the recommended time, then blot—don’t rub.
Inspect under good light for streaks, dulling, or lift.
If the finish and color stay intact, proceed cautiously on visible areas.
Step-by-Step: Avoid Rubbing Through Paint
If you want to remove scuff marks without stripping paint, start gently and increase pressure only as needed. Work from the outside of the mark inward to avoid enlarging it. Consider wall texture and paint sheen so you match technique to surface. Use a soft cloth and mild cleaner; dab, don’t scrub.
- Test on an inconspicuous area first to gauge abrasiveness.
- Use short, controlled strokes following any texture pattern.
- Rinse cloth frequently and dry to check progress.
If the scuff persists, repeat gently rather than using more force, preserving the finish and avoiding rubbing through paint.
What Not to Use: Cleaners and Tools That Damage Paint
Don’t reach for abrasive cleaners or scouring pads, because they’ll scratch and remove your paint finish.
Avoid harsh chemical solvents like acetone or paint thinners, which can soften or strip the coating.
Instead, stick to gentle cleaners and soft cloths to protect the surface.
Abrasive Cleaners And Pads
Because harsh scrubbing and gritty cleaners can strip or scratch paint, you should avoid abrasive powders, heavy-duty scouring pads, and anything labeled “abrasive” for painted walls. You want to protect finish and color, so skip harsh mechanical options.
Abrasive cleaners and rough household pads remove scuff marks by taking paint with them, leaving dull or uneven patches. Instead, choose gentler methods and test first in an inconspicuous spot.
Don’t use tools that dig into the surface.
- Avoid metal scrubbers and steel wool
- Skip powdered abrasive cleaners
- Don’t use coarse household pads on painted areas
Treat paint gently to preserve appearance.
Harsh Chemical Solvents
When strong solvents meet painted walls, they can strip finish, discolor pigments, or soften the paint film, so steer clear of acetone, paint thinner, lacquer thinner, and undiluted alcohol for routine scuff removal.
You shouldn’t reach for harsh solvents to tackle marks; they remove protective gloss and can cause permanent wall discoloration. Instead, test any cleaner on an inconspicuous spot, use mild detergent, baking soda paste, or a magic eraser gently.
If a stubborn scuff resists, repainting a small section or consulting a pro beats risking bigger damage. Protect paint by choosing gentle, tested methods first.
Restore Sheen After Cleaning Without Repainting
After you’ve removed scuff marks, the cleaned area can look dull or uneven compared to the surrounding paint, so you’ll want to restore the original sheen without repainting.
Match restoration to wall texture and paint sheen: gently buff flat finishes, use a damp microfiber for eggshell, and avoid overworking gloss.
Try these quick fixes:
- Apply a small amount of furniture polish or mineral oil to restore shine on glossy spots.
- Lightly buff eggshell with a dry microfiber to even out sheen.
- Use a matte-finish clear spray for flat paints, testing a hidden spot first.
Work gently to prevent damage.
Touch-Up Paint vs. Cleaning: When to Repaint Scuffs
If a scuff still shows after cleaning, decide whether to touch up the paint or repaint the whole area based on its size, depth, and location.
If it’s small and superficial, you can usually touch up with the same finish; test color matching on a hidden spot and feather the edges to blend with existing wall texture.
For larger, noticeable scuffs or areas where primer shows through, repainting the section or entire wall gives a uniform result.
Consider traffic patterns and visibility: in high-traffic zones, full repainting prevents repeated patchy fixes.
Always prep and use the right tools for a seamless outcome.
Quick Fixes for Deep Gouges That Remove Paint
Because deep gouges strip paint and often expose drywall or wood, you’ll need a slightly different repair approach than for surface scuffs. First, clean debris, then assess whether you must replace a chunk of drywall or simply fill. Match the wall textures and paint color for a seamless result.
- Sand edges smooth, apply patching compound in thin layers.
- Texture to match surrounding wall while compound is wet or use a texture spray.
- Prime the repaired area, then feather in paint color with small coats until it blends.
Work patiently; proper prep avoids obvious repairs and preserves your wall finish.
Prevent Scuffs: Placement, Bumpers, and Shoe Rules
Once you’ve fixed gouges, focus on preventing new scuffs by planning furniture placement, adding bumpers, and setting simple shoe rules.
After repairing gouges, prevent future scuffs: reposition furniture, add bumpers, and adopt simple shoe rules.
Position chairs and sofas a few inches from walls so legs don’t rub against wall texture when you move. Use felt pads, rubber bumpers, or adhesive cushions on furniture and door handles to absorb impact.
For high-traffic zones, choose washable paint sheen and test bumpers on a hidden spot to avoid finish damage.
Post a polite no-shoes policy or provide slippers near entrances to limit heel and dirt scuffs.
Regularly inspect vulnerable areas and adjust placements as needed to minimize wear.
Products to Keep on Hand for Ongoing Maintenance
When you want to keep walls looking fresh with minimal fuss, stock a few reliable products for routine touch-ups and scuff removal. You’ll want items that respect color matching and the wall texture so repairs disappear.
- A gentle melamine sponge for light scuffs and quick cleanups without sanding.
- A small touch-up paint kit (sample pot, fine brush) matched to your paint sheen and color.
- A lightweight liquid sandpaper or fine-grit sanding pad to blend repairs on textured surfaces.
Keep labels and a swatch; test a discrete spot first. Replace supplies seasonally so they’re ready when you need them.
Troubleshooting: When a Scuff Won’t Come Off and Next Steps
If a scuff won’t come off after your usual cleaning steps, don’t assume it’s permanent—try a few targeted troubleshooting moves before repainting. Check the scuff under varied interior lighting; shadows can hide residue. Test a mild abrasive like a magic eraser on an inconspicuous spot, considering wall texture so you don’t dull eggshell or satin finishes. If the mark persists, try rubbing alcohol or a gentle solvent, then rinse and dry.
| Step | Action |
|---|---|
| 1 | Inspect under different lighting |
| 2 | Test cleaner on hidden spot |
| 3 | Rinse, assess, consider touch-up paint |
Frequently Asked Questions
Can Scuff Removal Methods Harm Wallpaper Nearby?
Yes — you could damage wallpaper if you’re careless. You’ll want to test cleaning solutions on an inconspicuous spot first, use gentle methods, and follow wallpaper safety guidelines to avoid peeling, color loss, or surface abrasion.
How Do I Remove Scuffs From Painted Trim With Gold Leaf?
Like polishing a coin, you’ll gently clean scuffs with a soft eraser, then use gold leaf restoration and delicate paint touch up techniques to reapply and blend, sealing with a clear satin varnish to protect the trim.
Will Cleaning Scuffs Affect Paint Warranty or Home Insurance Claims?
Generally, cleaning scuffs won’t void paint warranty or affect insurance claims if you use safe methods; you should check paint durability and cleaning product safety recommendations, document damage, and avoid harsh chemicals that could cause noticeable alterations.
How Long Should Cleaned Areas Remain Untouched Before Resealing?
You should wait 24–48 hours; coincidentally, while the paint fully cures, your cleaning duration lets moisture evaporate, so schedule wall resealing after that window—longer for humid conditions—to guarantee proper adhesion and finish.
Can Pets’ Nails Cause Scuffs That Need Different Treatment?
Yes — pet nails can cause scuffs and nail scratches that need different treatment; you’ll assess depth, gently sand or fill deeper nail scratches, then touch up or repaint while preventing future damage with trims and nail caps.
Conclusion
You’ve got the tools and tricks to banish scuffs fast, and funny enough, the places you walk past most—hallways, couch sides, that kid’s race-track—are exactly where scuffs show up first. So if you keep a magic eraser, touch-up paint, and felt bumpers handy, you’ll fix marks before they become damage. That coincidence means a little preparation saves big work later, so keep supplies nearby and handle scuffs right when you spot them.