How to Use Spray Gun to Paint Walls Evenly
You’ll get even walls by prepping, choosing the right gun and tip, and using steady, overlapping passes. Clean, patch, and prime surfaces, mask trim, then test spray on scrap to set pressure, flow, and fan width. Hold the gun 6–12 inches away, keep it perpendicular, move at a steady speed with about 50% overlap, and apply thin coats to avoid runs. Keep consistent technique and proper cleanup—keep going and you’ll find detailed tips and troubleshooting next.
Should You Spray Your Walls? Quick Decision Guide
If you’re weighing whether to spray your walls, consider the room size, surface condition, and your comfort with equipment. Spraying’s fast and gives smooth, even coverage on large or textured walls, but it takes more prep, masking, and practice than brushing or rolling.
You’ll decide based on scale, time, and cleanup: small rooms or detailed trim often suit rollers; big open areas benefit from spray.
Think about patching, priming, and how easily you can achieve color matching across batches. Research spray gun brands for reliability, warranty, and parts availability before committing to the technique.
Pick the Best Spray Gun for Interior Walls
When choosing a spray gun for interior walls, focus on nozzle size, flow rate, and ease of cleanup so you get even coverage without wasting time on rework. You’ll want the Best equipment that balances control and capacity, matches your paint type, and minimizes overspray.
When picking an interior spray gun, prioritize nozzle size, flow rate, and easy cleanup for even, efficient coverage.
Pick a gun that’s comfortable to hold, easy to clean, and compatible with common wall paints. Don’t skip safety precautions: use masks, ventilate, and protect floors. Test on cardboard before starting.
- Handheld HVLP for control
- Lightweight turbine models
- Gravity-feed for efficiency
- Easy-disassemble parts
- Durable, serviceable materials
Spray Gun Tips & Nozzle Sizes: How to Choose
Because nozzle size and tip pattern determine how paint atomizes and lays on your wall, choosing the right spray gun tip is key to a smooth, even finish. You’ll match nozzle selection to paint viscosity and surface: use smaller nozzles for thin primers and trims, larger ones for thicker latex on walls.
Check the spray pattern—vertical, horizontal, or round—so you cover edges and corners efficiently. Test on scrap board, adjust distance and pressure to avoid runs or dry spray, and swap tips if texture changes.
Keep spare tips clean and labeled to speed setup and guarantee consistent results every time.
Paints & Thinners: What Works With HVLP vs. Airless?
Wondering which paints and thinners work best with HVLP versus airless sprayers? You’ll choose by viscosity and desired finish texture. HVLP excels with thinner, detail paints and produces smoother finish texture, so you’ll often thin latex or acrylics slightly for even atomization.
HVLP suits thinner, detail paints for a smoother finish; choose viscosity and tip size for proper atomization.
Airless handles heavier body paints and maintains paint color consistency with less thinning, making it ideal for faster coverage on large walls.
- HVLP: thin low-VOC latex for fine control
- Airless: full-bodied latex or enamel for speed
- Thinners: water for latex, mineral spirits for oil/enamel
- Test spray for color and texture
- Adjust tip size, not just thinner
Calculate Paint Volume & Coverage for Spraying
How much paint will you need to spray your walls smoothly and without interruption? You’ll calculate surface area, adjust for texture and coats, then factor in wastage from spraying. Use coverage calculation from the paint can, add 10–20% for overspray, and plan paint mixing ratios per manufacturer instructions. Keep notes: wall sq ft × coats ÷ coverage per gallon = gallons needed. Test a small area to confirm coverage. Use this quick reference:
| Item | Guideline |
|---|---|
| Coverage per gal | See can (sq ft) |
| Wastage allowance | +10–20% |
| Mixing | Follow paint mixing ratios |
Buy List: Supplies You Need Before Spraying
Before you start spraying, gather the essential supplies so the job goes smoothly: a compatible spray gun and tips, air hose or compressor rated for your sprayer, enough paint thinned per the manufacturer’s instructions, mixing sticks and a graduated container, drop cloths and painter’s tape, respirator and safety glasses, gloves, filters and strainers to remove debris, a cleaning kit for the gun, and a ladder or scaffold for high areas.
Before spraying, gather compatible gear, safety gear, paint mixed per instructions, filters, and cleaning supplies for a smooth job.
You’ll also want swatches for design inspiration and to test color psychology in your space. Pack spares and test tools so you won’t interrupt a coat.
- Extra tips and seals
- Small primer pot
- Measuring cup
- Touch-up brush
- Spare filters
Prep the Room: Dust Control, Masking & Ventilation
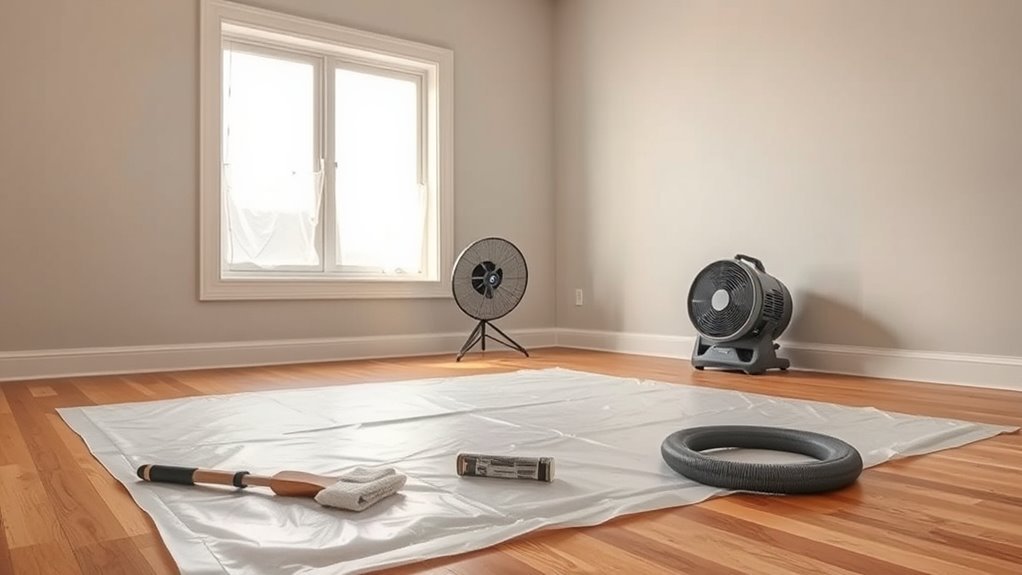
Because airborne dust and overspray ruin smooth finishes, prep the room thoroughly: clean floors and walls, wipe surfaces with a damp cloth or tack rag, cover furniture and vents with drop cloths or plastic sheeting, and use painter’s tape to seal trim and edges tightly.
You’ll want a dust mitigation plan: run a HEPA vacuum, wipe ledges, and avoid traffic during painting.
Apply masking techniques to protect fixtures, outlets, and windows—overlap plastic with tape, create skirted barriers for doorways, and hang a temporary drop barrier for HVAC intakes.
Guarantee cross-ventilation and use an exhaust fan with filters to clear fumes.
Prep Walls: Cleaning, Patching & Priming for Spray
When you’re ready to paint, start by thoroughly cleaning the walls so the spray adheres evenly: remove grease and grime with a mild detergent or TSP substitute, rinse with clean water, and let the surface dry completely.
Inspect for damage, sand glossy areas, and remove loose paint. Patch holes with spackling, sand smooth, and dust off before priming. Good surface preparation prevents failures and improves finish.
- Identify stains and use appropriate cleaners
- Fill cracks and large holes, then sand
- Feather edges of old paint for uniformity
- Choose primer selection based on substrate and topcoat
- Apply primer evenly and let it cure
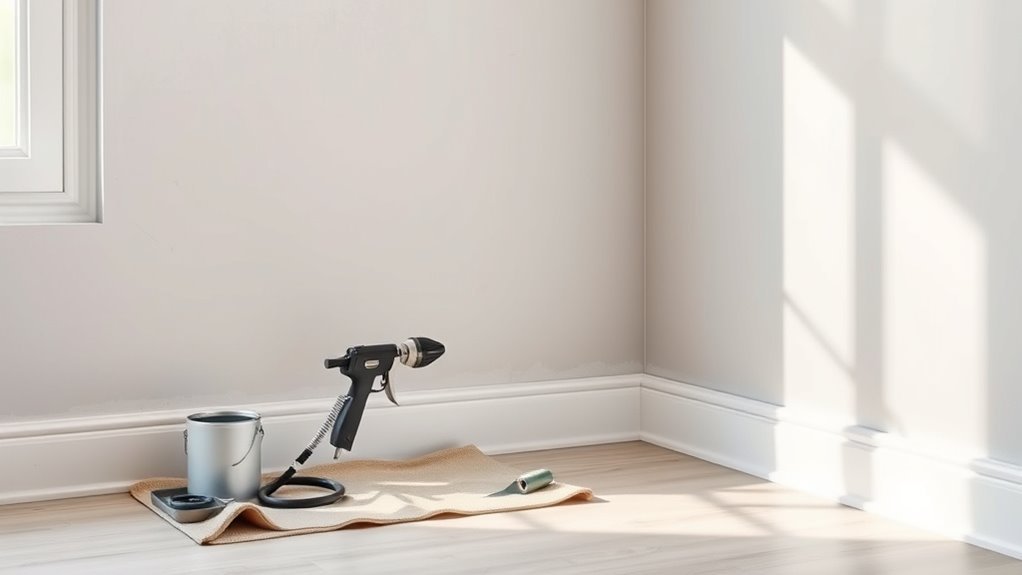
Set Your Gun: Pressure, Flow & Spray Pattern
Before you start spraying, set your gun’s pressure regulator to match the paint and your compressor’s output.
Then adjust the material flow so the coating lays down smoothly without runs.
Finally, shape the spray pattern to a consistent fan that covers an even width with each pass.
Adjust Pressure Regulator
As you set up your spray gun, adjust the pressure regulator so the paint flows smoothly without spitting or over-spraying. You’ll perform pressure adjustment by starting low, increasing until the atomization is even, and noting the regulator calibration mark for repeatability.
Check the gauge while holding the gun at spraying distance; listen and watch for consistent mist. Make only small changes; big swings mask problems you’ll fix with material flow later.
- Start at manufacturer-recommended PSI
- Increase in 5 PSI increments
- Watch edge clarity for overspray
- Note a stable gauge reading
- Lock the regulator after final setting
Set Material Flow
Once you’ve dialed in the pressure, set the material flow so the gun lays down a uniform film without runs or dry spots. Start with the manufacturer’s recommended flow, then adjust incrementally while testing on cardboard. Watch for bead size and film thickness — too heavy causes runs, too light yields orange peel.
Keep material consistency steady by stirring and straining to avoid clogs that alter flow. Use short trigger strokes to fine-tune feed rate, and maintain proper spray gun ergonomics to reduce fatigue and keep distance steady.
Recheck flow periodically during large jobs to ensure even coverage.
Shape Spray Pattern
Now that your flow is set, shape the spray pattern to match the surface and coverage you need. You’ll adjust fan width and direction so overlap stays consistent; match nozzle selection to paint viscosity and surface texture.
Test on scrap, watch edge definition, and tweak pressure for even atomization. Keep movements steady to avoid buildup.
- Choose nozzle selection sized for interior wall paint
- Set fan narrow for corners, wide for open walls
- Raise or lower pressure to refine droplet size
- Test passes to confirm uniform coverage
- Keep gun perpendicular to surface for consistent spray pattern
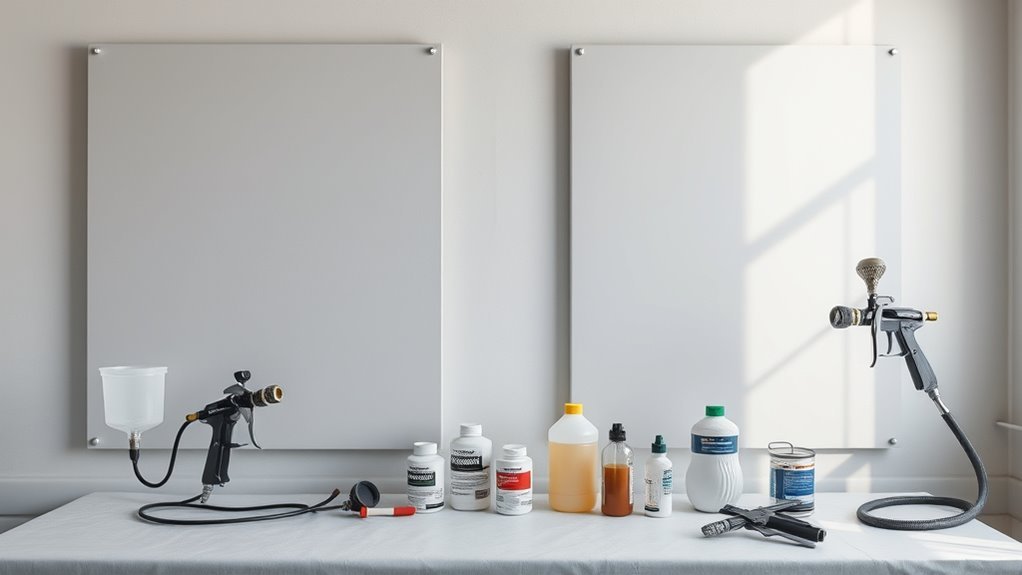
Test the Pattern and Adjust for Even Coverage
Before you start spraying the wall, test the gun on a scrap board or cardboard so you can see the pattern, adjust the fan width and flow, and confirm the spray is even across the whole stroke.
Do pattern testing in short bursts, holding the gun steady to reveal any hollow spots, heavy edges, or drips. Note where paint builds up and tweak fluid and air settings for coverage adjustment until the spray lays flat and uniform.
Walk the board after each change, letting coats dry briefly to judge true coverage. Record your settings for the wall paint and same nozzle to repeat results.
Spray Gun Technique: Distance, Angle & Speed
Keep the sprayer the right distance from the wall—usually about 6–12 inches—to get an even coat without runs.
Hold the gun square to the surface and maintain a consistent angle as you move to avoid thin or heavy spots.
Move at a steady, even speed with overlapping passes so each stroke blends smoothly into the next.
Optimal Sprayer Distance
Although it takes practice to get it right, holding the spray gun at the correct distance — typically 6–12 inches from the wall for HVLP guns and slightly farther for airless systems — gives you a smooth, even coat without runs or dry spots. You’ll adjust distance for paint viscosity; thicker paint needs slightly more gap.
Mind sprayer ergonomics to reduce fatigue and keep steady motion. Maintain consistent speed and overlap. Check test panels and tweak pressure.
- Keep a 50% overlap on each pass.
- Use short, controlled bursts for edges.
- Walk parallel to the wall, not the gun.
- Recheck nozzle pattern often.
- Let thin coats flash before recoating.
Correct Spray Angle
Now that you’ve got distance and overlap consistent, focus on keeping the spray gun perpendicular to the surface as much as possible—aim for a 90-degree angle so the fan pattern hits evenly and avoids heavy edges.
Hold the gun so the spray angle stays constant across the panel; tilt only to follow contours or corners.
Use nozzle adjustment to narrow or widen the fan, matching coverage without changing your arm angle.
Check spray angle frequently, especially near trim or outlets, and correct immediately if you see drift or buildup.
Consistent angle plus proper nozzle adjustment prevents streaks and uneven coats.
Consistent Stroke Speed
When you move the gun at an even, steady pace, the paint lays down uniformly and you avoid runs or thin spots. Keep a consistent stroke speed to maintain coverage and blend with adjacent passes. Match your tempo to the nozzle and paint viscosity, and use the same rhythm as you’d with brush techniques for edges.
Practice on scrap to find the ideal pace, then maintain it across the wall. Watch overlap and release the trigger only between passes.
- Start and stop off the surface for clean edges
- Keep 6–12 inches distance steady
- Maintain perpendicular angle
- Overlap passes 50%
- Adjust for color matching on corners
Overlap Passes to Avoid Stripes & Thin Spots
Want consistent coverage without visible bands? Use an overlap technique: keep your passes about 50% overlapping so each new pass covers the edge of the previous one. Maintain the same distance and angle, and move at a steady pace so paint layers build evenly.
Watch for lighter areas and immediately feather another half-pass rather than re-spraying full passes. For stripe prevention, time your trigger pulls so you start and stop off the wall or in a shaded sweep to avoid heavy edges.
Practice the rhythm on scrap before walls; consistent, overlapping passes eliminate thin spots and deliver uniform finish.
Control Runs & Sags: Slow Down, Thin, or Back Off
If you start seeing runs or sags, slow your trigger speed and pull back slightly from the wall so paint lays down thinner and levels before it can drip. You’ll want immediate run control and sag prevention: ease off the trigger, thin the material a touch, and maintain consistent strokes. Watch edges and verticals where gravity wins.
Test adjustments on scrap before committing.
- Reduce overlap and speed to avoid heavy buildup.
- Thin paint in small increments; don’t overdo it.
- Keep the gun perpendicular for even atomization.
- Pause between passes to let thin coats tack up.
- Inspect under different light angles for hidden sags.
Cut In Trim & Windows When Spraying Walls
After you’ve got wall sections laid down without runs, turn your attention to cutting in around trim and windows so you don’t overspray or create heavy edges. Work from the wall toward the trim, holding the gun a bit farther back and using lighter passes to feather paint into the corner.
Mask adjacent surfaces with low-tack tape and paper for crisp lines. For window framing, backbrush or use a sash brush immediately after a light spray to blend.
Practice steady speed and overlap 20–30% on each pass. Focus on trim detailing with short, controlled strokes to avoid buildup and visible ridges.
Spraying Trim and Small Areas Without Overspray
When you switch to trim and small areas, slow your stroke, pull the gun a little farther back, and use a narrower fan to reduce overspray and buildup; this lets you control coverage without dark edges. You’ll focus on trim detailing and small area masking to protect adjacent surfaces. Keep the gun perpendicular, use light overlapping passes, and adjust pressure for thinner coats. Hand-hold or use a detail tip for corners.
Work from top to bottom and remove masking immediately after tack-free.
- Choose a low-flow tip for edges
- Apply thin, even passes
- Shield nearby surfaces
- Feather starts and stops
- Inspect and touch up
Drying Times, Recoat Windows & When to Sand
Although paint can feel dry to the touch in an hour or two, you’ll need to wait longer for solvents to evaporate and solvents to off-gas before recoating or sanding. Follow the manufacturer’s stated recoat window and factor in temperature, humidity, and film thickness.
You’ll monitor the drying process: cooler, humid conditions lengthen cure times, thick coats take longer, and ventilation speeds things up. For recoat timing, test a small hidden area—lightly press a fingernail to check set and tack.
Sand only when the film is fully cured to avoid clogging paper or causing gummy sanding; use fine grit for smooth results.
Troubleshooting: Fix Uneven Finish Quickly
If your sprayed wall looks blotchy or has runs, act quickly to correct it before the finish fully cures. You’ll catch issues faster by inspecting under good light, then decide whether to blend, sand, or recoat.
Use gentle sanding to knock down runs, feather edges, and employ texture techniques to match the surrounding surface. For color matching, test small patches with the same spray settings.
Gently sand down runs, feather edges, and match texture; test small patches with identical spray settings for color accuracy
If pooling or orange peel persists, thin the paint slightly and adjust the spray pattern. Clean the tip and check the pressure. Repeat light coats, letting the recommended flash times pass between passes.
- Sand light imperfections with fine grit
- Feather edges before recoating
- Adjust gun pressure and overlap
- Thin paint for smoother atomization
- Test color matching on scrap
Clean, Maintain & Store Your Spray Gun Safely
Because proper cleaning and maintenance keep your spray gun reliable and prolong its life, you should clean it immediately after each use and follow a regular inspection routine.
Disassemble the nozzle, needle, and cup, then flush with the correct solvent. Use dedicated cleaning brushes to remove buildup without damaging seals.
Inspect O-rings, filters, and hoses for wear; replace parts as needed. Lubricate moving parts lightly to prevent sticking.
For storage, choose dry, dust-free storage solutions and keep small parts in labeled containers.
Store the gun assembled with protective caps on fittings to prevent contamination and accidental damage.
Frequently Asked Questions
Can I Spray Textured Walls Without Removing Texture First?
Yes — you can spray textured walls without removing texture first. You’ll preserve texture by doing careful surface preparation, masking, using proper spray settings, and applying consistent passes so paint bonds evenly and texture detail stays intact.
How Do I Paint Over Oil-Based Finishes With a Spray Gun?
You’ll strip or scuff glossy oil finishes, clean thoroughly, then apply an oil based primer for adhesion; guarantee surface preparation is thorough, thin paint to spray viscosity, and spray in overlapping passes for even coverage.
Can I Spray Outdoors in Mild Wind Without Overspray Issues?
Like a sail tamed, you can spray outdoors in mild wind if you prioritize wind mitigation and equipment adjustment: angle your gun, lower pressure, use larger overlap, mask surrounding areas, and stop if gusts pick up to avoid overspray.
What Safety Gear Is Essential Beyond a Respirator and Goggles?
You should also wear protective gloves and ear protection, plus a full-face shield or goggles with a respirator, coveralls, and sturdy boots; you’ll want a ventilation plan and fire-safe clothing when spraying flammable coatings.
How Do I Match Sprayed Finish Sheen to Brushed/Strolled Areas?
Match sheen consistency by testing sprays on scrap, adjusting thinning and spray pressure, and using same paint batch; feather sprayed edges into brushed/strolled areas for finish blending, then sand lightly and apply a uniform topcoat if needed.
Conclusion
Spraying your walls can cut painting time by up to 75% compared with rolling, so it’s worth considering if you’ve got space and prep time. Choose the right gun, nozzle, and paint, practice consistent motion, and control overspray on trim. Let coats dry fully before sanding or recoating, and clean your gun after each use to avoid clogs. With a little care, you’ll get a smooth, even finish faster than you’d expect.