Is a Foam Roller Good for Painting Walls
You can use a foam roller for painting walls, but it’s best for smooth, primed indoor surfaces, small panels, or touch-ups with thin water‑based paints where you want a very smooth finish and minimal splatter. Avoid foam on textured walls, delicate trim, narrow profiles, or heavy exterior jobs because it can nick details, leave stipple, or wear quickly. Clean and load it carefully for even laydown — keep going to learn when foam outperforms nap rollers and when it doesn’t.
Should You Use a Foam Roller for Walls? Quick Verdict
If you want a smooth, even finish on flat interior walls, a foam roller can work—but only in specific situations. You’ll find it handy for thin, enamel-like paints and touch-ups where texture matters little.
Don’t expect miracles on textured or rough surfaces; foam skips crevices and shows streaks. Pay attention to roller grip to maintain control and avoid pressure marks.
Foam rollers won’t hide texture—expect skipped crevices and streaks; maintain a steady grip to prevent pressure marks.
Also consider color matching: foam can lay down a slightly different sheen, so test a patch to confirm the hue and finish match adjacent areas.
Use foam sparingly and pair it with the right paint for best results.
When Is a Foam Roller the Best Choice?
When you need a glass-smooth finish on a flat, primed surface—like cabinets, trim, or metal doors—a foam roller is often the best tool for the job. You’ll choose foam when minimizing texture matters: it lays down thin, even coats without nap marks, so your final sheen looks professional.
Use it for touch-ups, enamel paints, or when working with small panels where brushstrokes would show. Pair with sturdy roller handles for control and swap to different foam densities for varied paints.
Also, foam helps reduce splatter, and it complements careful color mixing by showing true tones as you roll.
When to Avoid a Foam Roller for Walls
You should skip a foam roller when working near delicate trim and molding, since its texture and edges can easily nick or overload fine details.
Don’t use it on heavy-duty exterior surfaces either, where rough texture and weatherproof coatings need sturdier rollers or brushes for proper coverage.
In those cases, choose tools designed for precision or rugged performance to get a clean, durable finish.
Delicate Trim And Molding
Although foam rollers speed up broad wall coverage, they’re often too blunt for delicate trim and molding. You should skip a foam roller when painting narrow profiles, intricate grooves, or raised panels because it can smear paint and obscure detail.
For clean lines, use angled brushes or mini rollers designed for trim after proper wall preparation. On textured surfaces adjacent to trim, tape carefully and feather edges with a brush to avoid buildup.
Take your time on corners and joints; precision beats speed here. If you want crisp, professional-looking trim, choose tools that match the scale and detail of the molding.
Heavy-Duty Exterior Surfaces
Ever wondered if a foam roller can stand up to rough exterior jobs? You’ll find it’s not ideal for heavy-duty exterior surfaces. Foam compresses on coarse stucco, brick, and rough wood, leaving uneven coverage and fast wear.
You should choose a thicker nap roller or a brush designed for textured siding to get consistent coverage and durability. Foam works fine for smooth interior decor tasks or precise furniture painting, but exterior exposure, grit, and repeated scrubbing will shred the foam fast.
Save foam for indoor, smooth projects and use robust tools for outside heavy-duty surfaces to avoid rework.
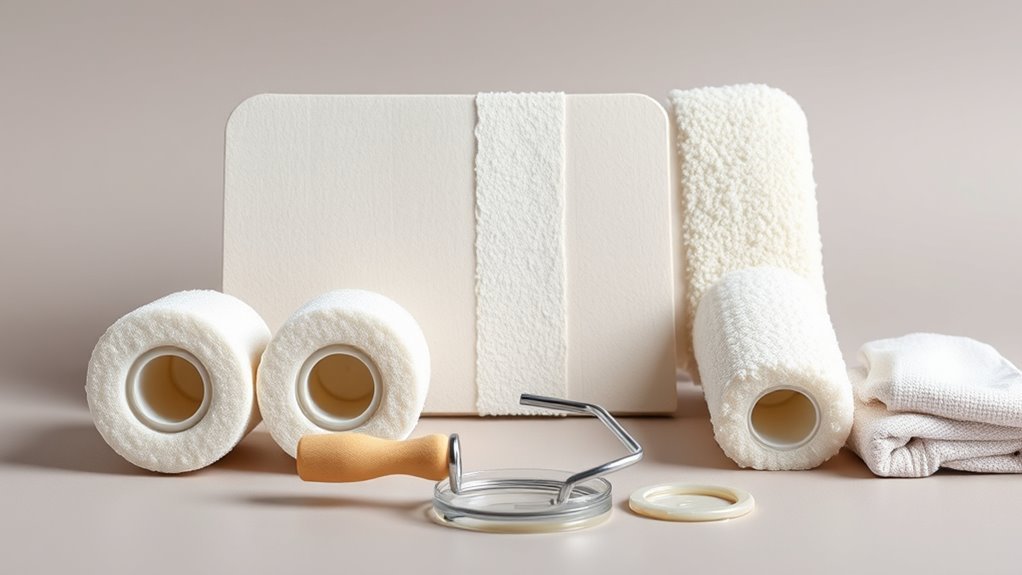
Foam Roller Types: Open vs. Closed Cell, Sheets, Sleeves
When choosing a roller, start by knowing the difference between open- and closed-cell foams and the sheet or sleeve formats they come in; each affects paint hold, finish, and durability.
You’ll pick open-cell foam if you want high paint absorption and smoother laydown on flat walls, but it needs careful foam roller maintenance to avoid tearing and ghosting.
Closed-cell foams repel excess paint, offering crisper edges and easier cleanup.
Sheets let you cut custom sizes; sleeves fit standard frames and swap quickly.
Check paint compatibility—some solvents degrade foam—so match roller type to your paint for best results.
Foam Density & Cell Size: How They Change the Finish
How dense the foam is directly affects how much paint you lay down and how smooth the finish will be. Smaller cell sizes give a finer finish with less texture.
Larger cells absorb more paint and can leave more stipple. You’ll want to match density and cell size to the paint type and the surface you’re covering.
Foam Density Effects
Although foam rollers may look similar, their density and cell size change how paint spreads and the texture you’ll get on the wall. You’ll notice high-density foam lays paint smoothly, resists gouging, and gives a polished look, while low-density foam soaks up more paint and can leave uneven marks. Choose based on sheen and surface imperfections: denser foam for sleek finishes, softer foam for quick coverage on rough walls. Trust your touch—press lightly with dense rollers, firmer with soft ones—to control finish.
| Emotion | Choice | Result |
|---|---|---|
| Calm | High density | Smooth |
| Frustration | Low density | Blotchy |
| Pride | Right pick | Clean |
| Regret | Wrong pick | Repaint |
| Relief | Tested | Perfect |
Cell Size Influence
Because the foam’s cell size controls how paint sits and spreads, you’ll see distinct differences in finish even between rollers of the same density. You’ll notice that cell size interacts with foam density to change texture, absorption, and coverage. Choose based on the surface and paint thickness.
- Small cells: smoother finish, less paint pickup, ideal for thin coats.
- Medium cells: balanced absorption and coverage for general walls.
- Large cells: high pickup, textured or rough surfaces, faster coverage but more stipple.
Match cell size with foam density to control sheen, reduce drip, and get the finish you want.
Which Paints Work Best With Foam Rollers
When you pick a paint for a foam roller, think about viscosity and finish: low- to medium-viscosity latex and water-based acrylics spread evenly with foam.
While thick, heavily pigmented or solvent-based paints can clog or dissolve the roller.
Thick, heavily pigmented or solvent-based paints can clog or even dissolve foam rollers — choose compatible, thinner formulas.
You’ll prefer satin, eggshell, or flat sheens for walls because foam hides brush marks and maintains uniform color blending across the surface.
Avoid high-gloss or oil-based enamels unless you test compatibility.
Use paints labeled for rollers and thin slightly if necessary.
Match roller pore size to paint body, and keep edges clean to prevent transfer issues without skipping surface preparation steps.
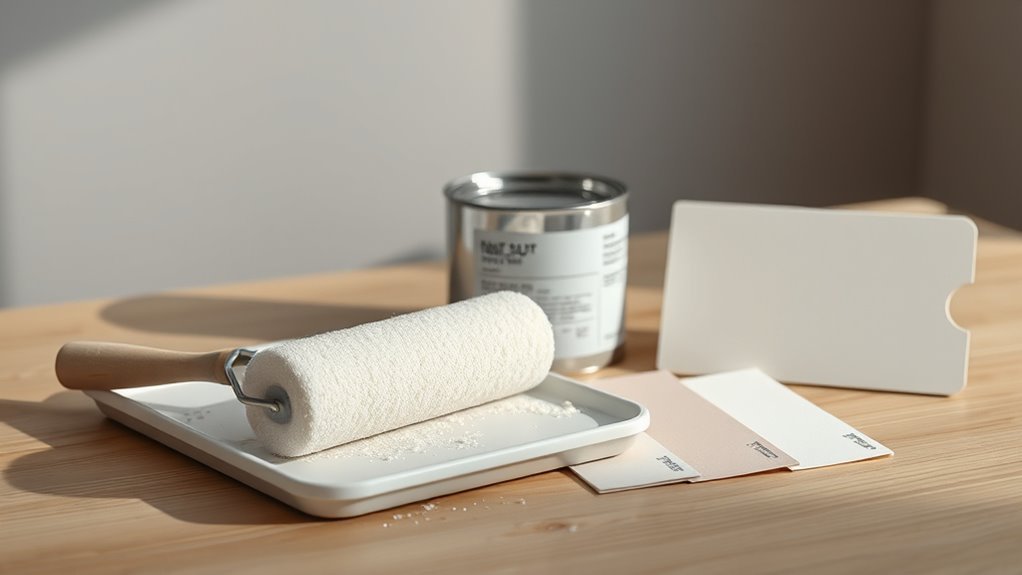
Prep Steps for a Smooth Foam-Roller Result
Before you roll, set the stage by cleaning, patching, and priming the wall so the foam transfers paint evenly and avoids bumps or stains. Clear dust, grease, and loose texture; sand filled areas smooth. Match primer to topcoat for uniform absorbency and consistent color mixing.
- Wash walls with mild detergent; rinse and dry completely.
- Fill holes, sand flush, and wipe dust away.
- Apply primer and wait per label for paint drying.
Tape trim, protect floors, and work in consistent light so you spot flaws before you load the roller.
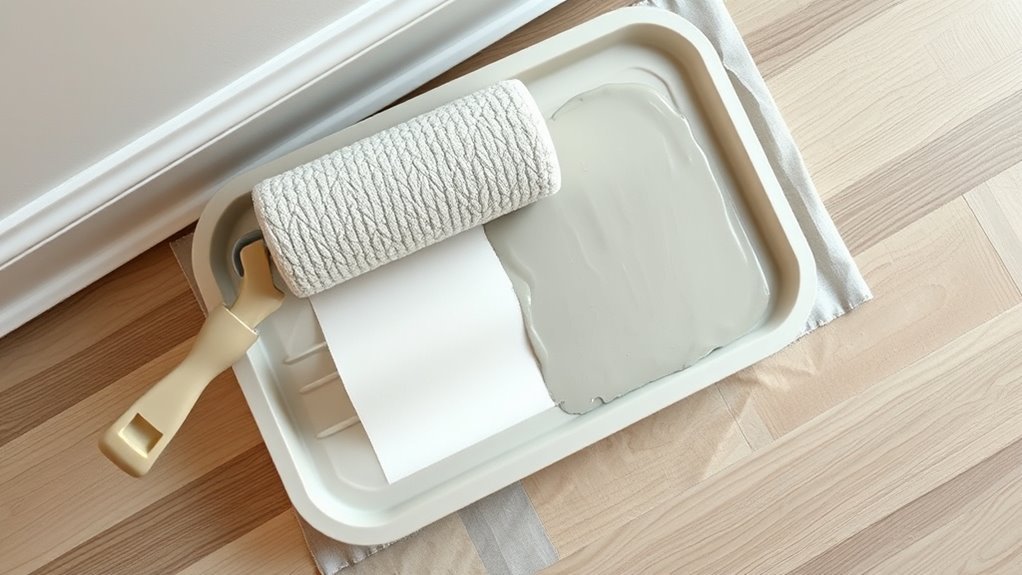
How to Load and Apply Paint With a Foam Roller
Start by loading the foam roller evenly—dip it into the tray and roll it back and forth to pick up paint without over-saturating.
Hold the roller with a light, steady grip and use consistent pressure to spread paint smoothly across the wall.
If you notice drips or uneven coverage, reload and feather the edges with lighter strokes.
Properly Loading The Roller
Curious how much paint a foam roller should hold? You’ll load the roller to avoid drips while keeping coverage even. Pour paint into the tray, stir thoroughly for consistent paint mixing so texture patterns stay predictable.
Dip and roll slowly across the tray’s rib to remove excess. Aim for a damp, saturated roller, not a dripping one.
- Light load — thin, even coat for smooth surfaces.
- Medium load — good coverage without globs on semi-rough walls.
- Heavy load — use only for very textured surfaces, watch for drips.
Re-roll on a clean tray edge before applying.
Applying Even Paint Pressure
Now that your roller’s loaded correctly, focus on consistent pressure as you apply the paint. Keep a light, even grip and let roller handle ergonomics guide wrist movement so you don’t press too hard or too soft.
Start with a W or M pattern, then fill in without overworking edges. Reload when coverage thins, not when streaks appear.
If you’re blending a new shade, manage color mixing on the tray, not the wall, to avoid uneven bands.
Pause to inspect from different angles, correcting thin spots with smooth, overlapping passes.
Consistency beats force for a professional finish.
Cutting In and Blending With a Foam Roller
When you need crisp edges around trim, ceilings, or fixtures, cutting in with a small, firm foam roller gives you control without the drip and brush marks of a traditional brush.
For crisp trim and ceiling edges, use a small firm foam roller for control without drips or brush marks.
You’ll load it lightly to manage paint absorption, roll along edges in short strokes, then blend outward to match the wall’s texture patterns.
Work steadily and don’t overwork wet paint.
- Lightly load roller to avoid drips.
- Roll from edge toward field in short passes.
- Feather the final pass to blend.
Practice on scrapboard first so you can judge pressure and blending speed.
How to Prevent Streaks, Bubbles, and Roller Marks
If you want a smooth, professional-looking finish, focus on technique and preparation to prevent streaks, bubbles, and roller marks. Start with properly mixed paint — good color mixing guarantees consistent viscosity and avoids streaky patches.
Load the foam roller evenly, rolling back and forth on the tray’s ramp to saturate without dripping. Work in a “W” pattern, then fill in without pressing hard; let the roller’s nap do the spreading.
Maintain a wet edge and overlap strokes before paint skins. Use quality roller accessories like extension poles and shields to keep consistent pressure and reach, reducing marks and air bubbles.
Cleaning, Storage, and Reusing Foam Rollers
Although foam rollers give a smooth finish, they need proper cleaning and storage to stay usable. Rinse them thoroughly with warm water (and mild detergent for latex or water-based paints) until the water runs clear. Then squeeze out excess paint without twisting the foam.
You’ll want to dry and store them flat or hanging to keep surface textures intact and prevent deformation. For reusing, check for embedded paint or odor that could affect color matching.
Follow simple steps:
- Rinse until clear, then spin or shake off water.
- Pat dry with a lint-free cloth.
- Store in a sealed bag away from heat.
Cost & Durability: When to Pick a Nap Roller Instead
Because foam rollers are cheap and handy for small, smooth jobs, you’ll still want a nap roller when you need durability and coverage.
When you weigh a cost comparison, foam seems cheaper upfront, but nap rollers last longer on textured walls and rough surfaces, lowering replacement frequency.
You’ll pay more initially for quality nap covers, yet material longevity means fewer purchases over time.
For large rooms, uneven surfaces, or repeat projects, pick a nap roller to save money and get better results.
Choose foam for trim or touch-ups; choose nap when resilience and consistent coverage matter most.
Frequently Asked Questions
Can Foam Rollers Be Used on Textured or Popcorn Ceilings?
Yes—you can use foam rollers on textured or popcorn ceilings, but they’re limited: textured ceiling coverage will be uneven, so you’ll likely need thicker nap rollers or consider popcorn ceiling removal for best results, especially on heavy textures.
Are Foam Rollers Safe for Use With Oil-Based Paints?
Yes — you can use foam rollers with oil based paints, but check roller safety: choose solvent-resistant foam, avoid swelling, test compatibility, use proper cleanup solvents, and wear gloves and ventilation to prevent fumes and deterioration.
How Do Foam Rollers Perform in Very Cold or Hot Weather?
Cold ruins flexibility while heat softens nap—yet you’ll manage if you’re careful. You’ll notice temperature sensitivity affects nap performance and paint adhesion, so you’ll store rollers moderate, avoid extremes, and test on scrap first.
Can Foam Rollers Be Used for Exterior House Siding or Fences?
Yes — you can use foam rollers on exterior siding or fences for smooth finishes, but they’ll suit interior finishing-style sections and detailed wall preparation less; you’ll want sturdier nap rollers or brushes for textured or weathered surfaces.
Are There Eco-Friendly or Biodegradable Foam Roller Options?
Yes — you can find eco-friendly materials and biodegradable options for rollers; you’ll want natural-fiber covers, recycled foam cores, or plant-based foam alternatives, and you’ll compost or recycle responsibly to minimize environmental impact and waste.
Conclusion
You can use a foam roller for walls, but choose carefully. For smooth, satin or semi-gloss surfaces a closed‑cell foam roller gives a fine finish; for textured walls pick a nap roller. Avoid open‑cell foam with heavy paints or primers. For example, a renter used a 3/16″ closed‑cell sleeve to repaint a bedroom satin without texture, cutting in with a brush and blending with the foam—resulting in even coverage and no visible nap marks. Clean and store promptly.