Is It Necessary to Wash Walls Before Painting?
Yes — you should wash walls before painting because dirt, grease, and residues stop paint from sticking and cause blotches, peeling, or uneven color. Clean walls give you truer hues, smoother finishes, and longer-lasting results. For light dust a quick wipe works; for grease or grime use a mild detergent or eco-friendly degreaser, rinse well, and let surfaces dry. Follow simple spot tests and proper rinsing, and you’ll avoid costly repairs—keep going to learn the best steps.
Do You Really Need to Wash Walls Before Painting?
Even if the walls don’t look dirty, you should wash them before painting because dust, grease, and grime prevent paint from adhering properly.
You want your new wall color to look even and true, so skip assumptions about cleanliness. You’ll remove oils that cause blotches, and you’ll clear particles that make the paint finish feel rough or fail prematurely.
Washing boosts adhesion, reduces touch-ups, and helps primer and paint perform as designed. For lightly soiled surfaces, a mild detergent works; for kitchens or heavy grime, use a stronger cleaner.
Don’t ignore prep—clean walls save time and money.
Quick Answer Plus a 3-Step Wall-Washing Checklist
If your walls are dusty, stained, or you haven’t painted in years, you should wash them before you start. Use a simple 3-step checklist:
- Spot-treat stains.
- Wash from top to bottom with a mild cleaner.
- Rinse or dry thoroughly.
Follow those steps and your new paint will adhere and look better.
When To Wash Walls
When you’re prepping to paint, wash walls whenever they look grimy, have visible stains, or haven’t been cleaned in months—these conditions stop primer and paint from adhering properly and can lead to uneven finish or peeling.
You should also wash before changing colors, since color coordination needs a clean base to show true hues.
Wash textured surfaces more often because wall textures trap dust and grease.
Wash high-traffic rooms like kitchens and entryways before repainting.
If you notice flaking, chalking, or sticky spots, wash first.
Follow a quick 3-step checklist: inspect, spot-treat, then wash the whole surface.
How To Wash Walls
Because a clean surface helps paint stick and look its best, you’ll want to wash walls before priming or repainting—especially in kitchens, bathrooms, and other high-traffic areas where grime, grease, or chalky residue collects.
Quick answer: scrub gently, rinse, let fully dry. Check wall texture first; use softer brushes for smooth walls and a medium brush or sponge for textured surfaces to avoid damage. Proper cleaning also aids color matching by removing dulling films.
3-step checklist:
- Dust and vacuum corners, trim, and fixtures
- Degrease with mild detergent, scrub stains
- Rinse, blot excess water, let dry completely
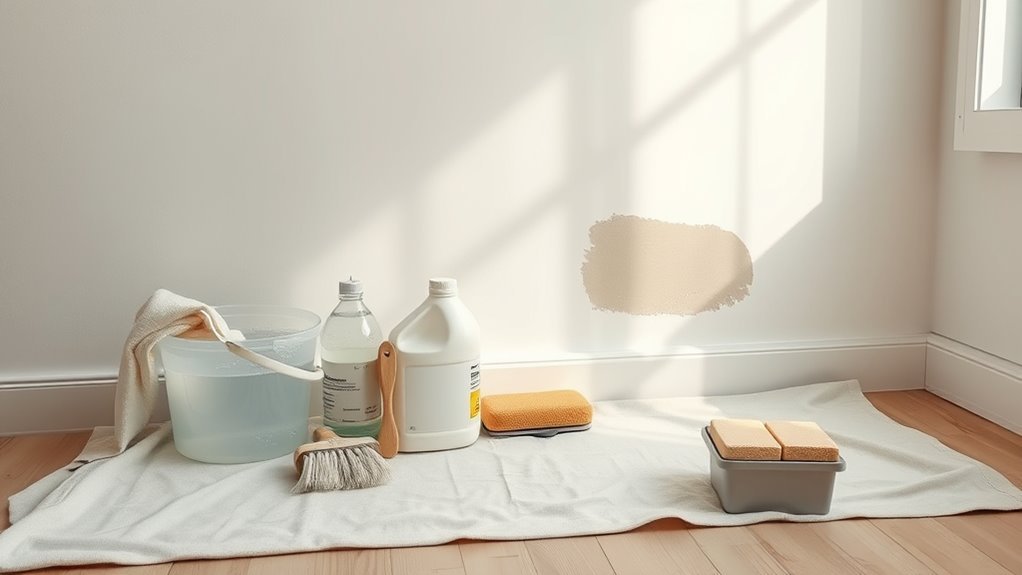
Tools and Supplies for Washing Walls Before Painting
Before you start scrubbing, gather the right tools so the job goes faster and cleaner. You’ll need microfiber cloths, sponges, a soft-bristle brush, a bucket, and a ladder or step stool.
Add a mild detergent or trisodium phosphate alternative and a spray bottle for spot cleaning. Use drop cloths and painter’s tape to protect trim and floors.
For textured walls, choose a brush that reaches crevices without damaging wall texture. Pick cleaners safe for your paint finish—matte needs gentler care than semi-gloss.
Keep gloves and eye protection handy, and have a second bucket for rinsing.
Step-by-Step: Wash Walls Before Painting
Now that you’ve gathered supplies, you’re ready to tackle the cleaning in a clear sequence. Start by protecting floors and removing outlet covers. Mix a mild cleaner, test a small area, then work top to bottom so drips don’t streak fresh spots. Rinse with clean water and let walls fully dry; moisture affects wall color and paint texture.
Protect floors, remove outlet covers, clean top-to-bottom, rinse, and let walls fully dry before any painting.
Repair dents and sand rough spots before priming. Finish by vacuuming and wiping trim.
- Work from ceiling to baseboards
- Use gentle scrubbing for stains
- Allow complete drying time
These steps make your painting smoother and improve final adhesion.
Gentle Cleaning for Dust and Cobwebs
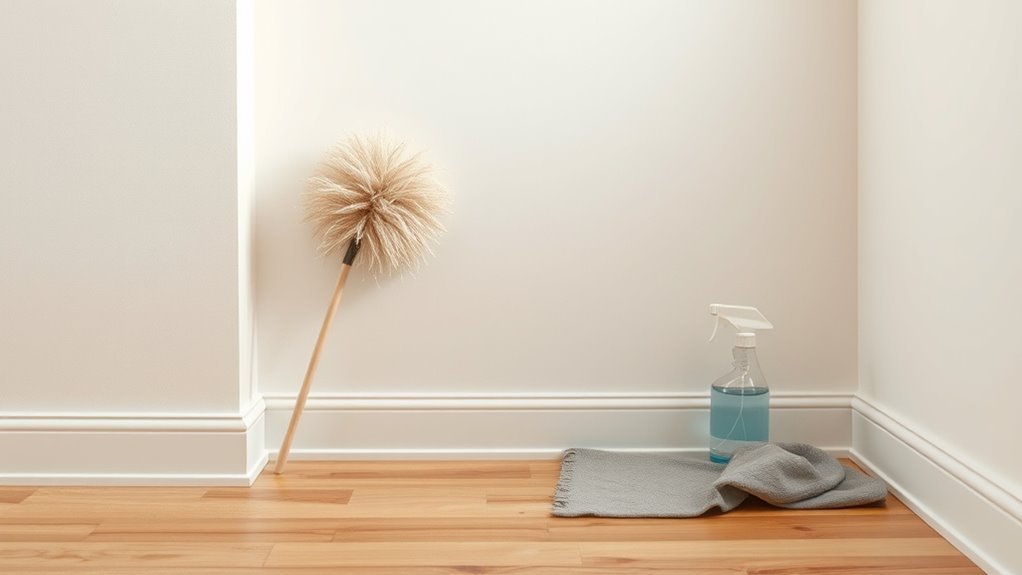
When dust and cobwebs collect on your walls, use a soft-bristle brush or microfiber duster to remove them gently, working top to bottom so particles fall away from cleaned areas. You’ll do quick Dust removal and cobweb elimination before any wet cleaning. Start at ceilings, corners, light fixtures, then sweep down walls and baseboards. Use a vacuum with brush attachment for high spots. Check textured surfaces carefully. After dry dusting, wipe lightly with a damp microfiber cloth if needed. Inspect once more for missed strands or specks before priming or painting.
| Area | Tool |
|---|---|
| Ceiling corners | Duster |
| Light fixtures | Brush |
| Upper walls | Vacuum |
| Mid walls | Cloth |
| Baseboards | Brush |
Remove Kitchen Grease and Heavy Oils Safely
When you’re dealing with kitchen grease, choose a proper degreasing solution—commercial kitchen degreasers or a mix of warm water and trisodium phosphate (TSP) work well.
Test the cleaner on a small area, wear gloves and eye protection, and cover countertops and appliances to avoid damage.
Rinse thoroughly and let the wall dry before priming or painting.
Degreasing Solutions And Methods
Because heavy kitchen grease can repel paint and ruin adhesion, you’ll want to remove it with the right degreasing solutions and methods before you prime or paint.
Use a degreaser suited to the job: trisodium phosphate (TSP) substitutes, citrus-based cleaners, or mild detergent for light buildup.
Test on a small area to preserve delicate wall textures and avoid altering paint finishes.
Scrub gently with a non-abrasive sponge, rinse with clean water, and let dry completely.
Repeat stubborn spots.
Choose products labeled safe for painted surfaces and follow manufacturer directions to protect existing finishes.
- TSP substitute for heavy grease
- Citrus cleaner for natural option
- Mild detergent for light soil
Protecting Surfaces And Safety
If you’re removing kitchen grease and heavy oils, protect adjacent surfaces and yourself before you start—cover counters, appliances, floors, and trim with drop cloths or plastic sheeting and tape seams to prevent runoff.
Wear gloves, eye protection, and a mask if using strong cleaners.
Open windows or run ventilation to avoid fumes.
Keep a bucket of clean water and rags nearby to wipe drips quickly so cleaning stays controlled and safe.
Work from top to bottom, test cleaners on a small area to avoid altering wall texture, and rinse thoroughly.
Once dry, assess stains for color matching before priming and repainting.
Remove Nicotine, Smoke, and Stubborn Stains
Though nicotine and smoke stains can look set-in, you can remove them with the right cleaners and technique. Start by testing a small area to protect wall texture and your desired paint color. Use a trisodium phosphate (TSP) substitute or a diluted all-purpose cleaner, scrubbing gently with a nonabrasive sponge. Rinse thoroughly and let dry before priming.
Test a small area, clean nicotine stains with TSP substitute and a nonabrasive sponge, rinse and dry before priming.
- Work from top to bottom to avoid streaks.
- Use a stain-blocking primer for persistent discoloration.
- Replace sponges if they get too dirty to avoid smearing.
If stains persist, consider professional cleaning before repainting.
Cleaning Painted vs. Unpainted Drywall and Plaster
When you’re preparing to paint, remember that painted and unpainted drywall and plaster require different cleaning approaches.
If surfaces are already painted, you can lightly dust, wipe with a mild detergent solution, and rinse to remove grime without harming the existing finish. This preserves wall texture and helps paint durability for the new coat.
For unpainted drywall or fresh plaster, avoid over-wetting—use a dry brush or a slightly damp sponge to remove dust and sanding residue so the surface can fully absorb primer.
Always let surfaces dry completely and repair imperfections before priming and painting.
Prep Glossy or Previously Sealed Surfaces
Because glossy or previously sealed surfaces resist new coatings, you’ll need to scuff and degrease them before painting so the new paint can adhere properly. Start by evaluating wall texture and existing paint sheen to choose abrasive grit and cleaner.
Light sanding or a liquid deglosser evens slick spots without removing texture. Wipe residue with a tack cloth and let dry fully. If seams or trim are sealed, mask carefully to avoid shine bleeding.
- Sand glossy areas evenly
- Remove oils and contaminants
- Match preparation to paint sheen
This prep ensures uniform adhesion and a consistent finish.
How Grime Prevents Paint From Sticking
If you skip cleaning, grime and dust create a weak surface that reduces paint adhesion and leads to peeling.
Oil and grease form slick barriers that paint can’t grip, so brush or roller marks won’t bond properly.
Wiping walls with a degreaser or TSP substitute before painting fixes this and helps your finish last.
Paint Adhesion Loss
Although grime might look harmless, it creates a barrier that keeps new paint from bonding to your walls. You’ll notice adhesion loss where dirt, dust, or residue interrupts contact between primers and substrate, especially on varied wall texture. That gap shortens paint durability, causes peeling, and makes touch-ups fail sooner.
- Clean surfaces guarantee consistent primer penetration.
- Rough textures trap particles that block bonding.
- Even small residues reduce long-term coating performance.
You should remove contaminants before painting so coatings bond uniformly. Proper surface prep preserves adhesion, extends paint life, and prevents premature flaking and rework.
Oil And Grease Barriers
When oil or grease sits on your walls, it creates a slick layer that literally prevents paint from gripping the surface, so new coatings slide, pool, or bead instead of forming a continuous film. You’ll notice uneven coverage where grime hides in crevices and around outlets, and wall texture affects how much contaminant stays behind.
If you skip cleaning, solvent-based stains can bleed through, altering paint sheen and causing patchy gloss or dull spots. Wiping with degreaser or trisodium phosphate restores adhesion by removing the barrier.
After rinsing and drying, inspect for residual film before priming to guarantee proper bonding.
How to Spot-Test Cleaners Safely
Before cleaning the whole wall, pick a discreet spot and test your chosen cleaner so you can catch any damage early. Wet a cloth, apply cleaner, and wait a few minutes.
Check how the wall texture reacts and whether paint colors soften, fade, or lift. If you see bubbling, streaks, or color loss, stop and try a milder solution.
- Test near edges or behind furniture.
- Try diluted cleaner before full strength.
- Wait to inspect under different light.
Record which cleaners worked and which didn’t. Proceed only when the test area shows no harm to finish the job safely.
Rinse, Dry, and Prime Timing
After you’ve confirmed your cleaner won’t damage the finish, rinse the wall thoroughly with clean water to remove residue that can interfere with paint adhesion. Use a sponge or low-pressure hose, working top to bottom, and blot excess moisture with lint-free towels.
Let the surface air-dry; drying time depends on room ventilation, humidity, and wall texture—smooth surfaces dry faster than textured ones. Only prime once the wall feels completely dry to the touch; dampness can trap moisture under primer and ruin the paint color.
If stains remain, spot-prime those areas before full-priming to guarantee uniform coverage.
Quick Wall Washing for Same-Day Painting
If you need to paint the same day, start with a fast, targeted wash that removes dust, grease, and fingerprints without soaking the wall. Wipe with a microfiber cloth dampened in mild detergent solution, then rinse with a clean damp cloth.
Work top to bottom, section by section, so surfaces dry quickly. This quick prep helps your chosen wall color go on smoothly and supports paint durability by removing contaminants that block adhesion.
- Tackle visible spots first
- Use minimal water to avoid long drying
- Keep ventilation strong to speed curing
Eco-Friendly Cleaners Safe for Painting Prep
You can usually get paint-ready walls with simple, eco-friendly cleaners that won’t leave harmful residues. Try mild soap and water for light dirt, a diluted vinegar solution for general cleaning, or a plant-derived degreaser on sticky spots.
Test any solution in an inconspicuous area first and rinse well so the paint will adhere.
Mild Soap And Water
When prepping walls for paint, mild soap and water often give you the cleanest, safest result without harsh chemicals. You’ll mix a gentle detergent with warm water, test a small area, and wipe from top to bottom.
This removes dust, oils, and fingerprints that affect how primer and paint adhere, especially on varied wall texture. Clean walls help reveal true paint color so you won’t be surprised after the first coat.
Rinse with clear water and let fully dry before painting. Use soft cloths and gentle scrubbing to avoid damage.
- Safe for most surfaces
- Low residue risk
- Easy, inexpensive
Vinegar-Based Solutions
Because vinegar cuts grease and lifts grime without harsh chemicals, it’s a go-to eco-friendly cleaner for paint prep that still protects adhesion. You mix vinegar solutions—usually white vinegar and water, about 1:3—to wipe walls before painting. Use a soft sponge, rinse with clear water, and let surfaces dry fully.
For stubborn spots, apply undiluted vinegar briefly, then neutralize and rinse to avoid lingering acidity. Vinegar can reduce mild wall discoloration from cooking smoke or smudges, but it won’t fix stains that bleed through paint; those need specific primers.
Test a hidden area first to ensure compatibility.
Plant-Derived Degreasers
If vinegar isn’t cutting through heavy kitchen grease or you prefer a milder scent, plant-derived degreasers offer an effective, eco-friendly alternative for paint prep. You’ll find formulations based on citrus, coconut, or soy that lift oils without harsh fumes, helping paint adhere and preventing stains from bleeding through decorative finishes.
Use diluted solutions, test a small area, then rinse with clean water. They’re gentle on surfaces and safer for indoor air, aligning with plant care principles if you work around houseplants.
- Choose biodegradable labels
- Patch-test before full use
- Rinse thoroughly to avoid residue
When to Hire a Pro for Surface Preparation
Before you tackle extensive repairs or large-scale prep, know when it’s smarter to call a pro: hire a contractor if the walls have widespread mold, structural cracks, severe peeling, or moisture damage that needs diagnosis and repair. You should also call pros when wall texture needs specialty sanding or matching, when old lead paint requires abatement, or when paint fumes pose health risks in occupied buildings. Pros handle testing, permit work, and complex repairs faster and safer than DIY.
| Issue | Pro task | Why hire |
|---|---|---|
| Mold | Remediation | Health risk |
| Structural cracks | Repair | Safety |
| Lead paint | Abatement | Legal/safety |
| Texture match | Skilled finish | Aesthetics |
Frequently Asked Questions
Can Washing Walls Remove Lead Paint Hazards Safely?
No — you can’t safely remove lead paint hazards just by washing; lead removal usually needs certified professionals and containment. For paint safety, you’ll want proper abatement, HEPA cleanup, and following local regulations to protect you and others.
Will Wall Washing Affect Mold Behind Paint?
Like peeling wallpaper, washing won’t reach hidden mold behind paint; you’ll only affect the wall surface. You can’t fully remove underlying mold by cleaning alone, so adjust cleaning frequency and investigate/repair moisture sources to stop growth.
Can I Use a Pressure Washer Indoors for Walls?
No, you shouldn’t use a pressure washer indoors for walls; you’ll damage drywall and create excess moisture. Instead, use gentle interior cleaning methods for safe surface preparation, and dry thoroughly to prevent mold and paint issues.
How Soon After Drywall Repair Should I Wash Before Painting?
You should wait until joint compound and patches are fully dry—usually 24–48 hours—then do wall preparation and wash to remove dust; your painting timeline should start after washing and recheck dryness before priming.
Does Humidity Level Affect Cleaning Effectiveness Before Painting?
Think of humidity as a shy companion: yes, humidity impact matters — it can lessen cleaning methods’ effectiveness by slowing drying and encouraging residue. You’ll want lower humidity and quicker drying to guarantee cleaners work and paint bonds properly.
Conclusion
Think of a freshly washed wall as a blank stage curtain—clean, taut, ready for the paint to sing. You don’t always need a deep scrub, but washing removes dust, grease, and loose bits that’ll mute your color. Follow the quick checklist, rinse and let it dry, then prime as needed. When in doubt or facing stubborn stains, call a pro—better to prep than to watch your finish flop under opening night lights.