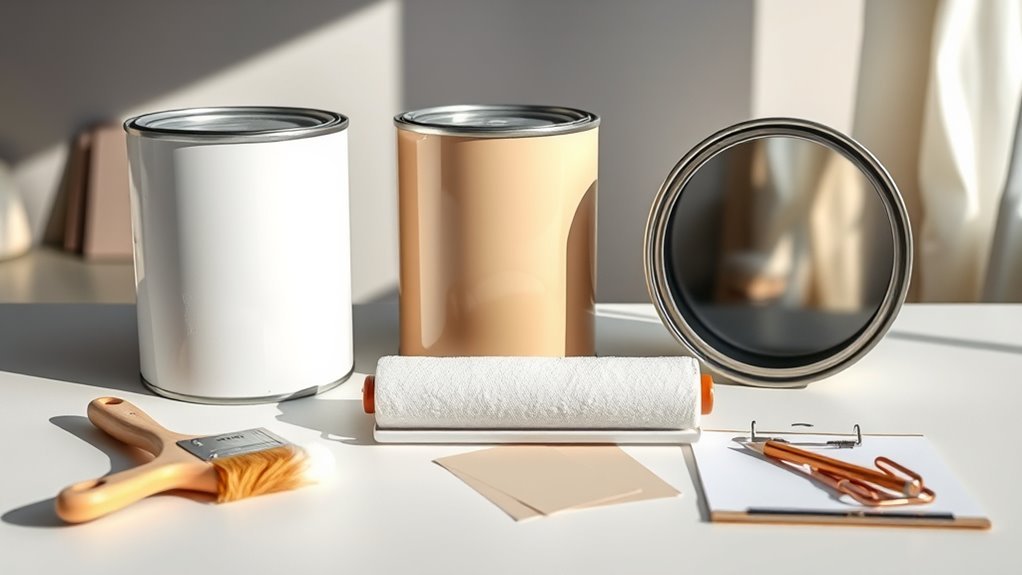
Is Latex Paint Oil or Water Based?
Latex paint is water‑based: you’ll find synthetic polymer binders dispersed in water as an emulsion, not dissolved in oil or solvents. It dries faster, cleans up with soap and water, and resists yellowing and cracking better than traditional oil paints. Oil or alkyd paints cure by oxidation, form harder films, and need solvents for cleanup, so they’re still useful for trim and heavy‑wear areas. Keep going below to learn when to choose each type.
Who This Guide Is For and What You’ll Learn
If you’re picking paint for a home project or just trying to understand product labels, this guide is for you: it explains whether latex paint is oil- or water-based, how that affects application, cleanup, durability, and which types suit different surfaces and situations.
You’ll learn practical steps for choosing paints, comparing pros and cons, and avoiding common mistakes. The focus includes environmental impact—what to expect with VOCs and disposal—and a brief historical evolution of latex formulations so you grasp why modern options perform differently.
This guide’s aim is to help you make efficient, informed, and responsible painting choices.
Quick Answer: Is Latex Water‑ or Oil‑Based?
Short answer: latex paint is water‑based, meaning the pigment and resins are suspended in water for easy cleanup and faster drying.
You’ll see differences in sheen, durability, and application compared with oil‑based paints, which use organic solvents and take longer to cure.
Keep reading to compare performance, cleanup, and best uses so you can pick the right type for your project.
Water‑Based Composition
Though latex is often called “water-based” because it uses water as the primary solvent, it’s actually an emulsion of polymer particles (like acrylic or vinyl) suspended in water, so when you apply it the water evaporates and leaves behind a durable polymer film. You’ll notice minimal chemical reactions during drying—mostly physical coalescence of polymers—so paint preservation focuses on preventing freeze, contamination, and UV degradation. Your cleanup uses soap and water. Below is a simple comparison to visualize components and roles:
| Component | Role |
|---|---|
| Water | Solvent/carrier |
| Polymer particles | Film former |
| Additives | Stabilize, aid preservation |
Oil‑Based Comparisons
You’ve seen how latex paint relies on water and polymer particles to form its film; now compare that to oil‑based paints, which use organic solvents—like mineral spirits or turpentine—to dissolve natural or synthetic resins (alkyds, for example) and carry pigments.
You’ll notice oil formulas dry by solvent evaporation plus oxidative chemical reactions that crosslink resins, producing harder, more durable films. That affects application, cleanup, and longevity.
Color matching differs: oils often yellow less in deep tones but can shift as they cure, so test swatches.
Choose based on substrate, desired finish, VOC concerns, and ease of maintenance.
What “Latex” Meant Historically vs Today
When you hear “latex” in older texts, it referred to natural rubber sap used in coatings and adhesives.
Today “latex paint” usually means a water‑based paint that uses synthetic polymers, not rubber.
Understanding that shift helps you avoid confusion when reading labels or talking to pros.
Latex Origins Term
If you look back to the 19th and early 20th centuries, “latex” referred to the milky sap collected from rubber trees and other plants—a natural, elastic colloid used for products like gloves and balloons.
You’ll notice the term shifted as synthetic polymers emerged; knowing that history helps you understand why painters kept the name even as formulations changed.
Think about practical concerns such as color mixing and paint storage when you handle modern products labeled “latex.” You’ll appreciate the lineage without conflating eras.
- Natural sap origins
- Shift to synthetic polymers
- Practical painter considerations
Modern Latex Meaning
How did “latex” go from tree sap to paint can label? You now see “latex” meaning shift: historically it named natural rubber sap; today it signals water-based paints using synthetic polymers. You’ll note Latex durability comes from polymer films, not rubber. You won’t confuse it with oil-based products, though some water-based paints mimic Oil sheen for finish. Below is a quick comparison you can scan.
| Era | Source | Impression |
|---|---|---|
| Historical | Natural sap | Elasticity |
| Mid-20th C | Synthetic polymers | Practicality |
| Today | Water-based binders | Durability, finish |
How Latex Paint Is Formulated (Water‑Based Emulsions)
Although it looks simple, latex paint is actually a carefully balanced water-based emulsion made by dispersing tiny polymer particles in water with surfactants, thickeners, pigments, and additives so the mixture behaves like a paint you can brush, roll, or spray.
Although simple-seeming, latex paint is a precise water-based emulsion of polymer particles, surfactants, pigments, and additives.
You mix binders (acrylic or vinyl), water, pigments for color matching, rheology modifiers for consistency, and coalescing agents that let polymer particles film-form as water evaporates.
You’ll control gloss, durability, and paint textures by tweaking solids and additives.
Key formulation steps include:
- Selecting binder and pigment load
- Adjusting rheology and flow
- Adding preservatives and performance additives
How Oil‑Based Paint Differs Chemically
Switching from waterborne latex to oil-based systems means you’re trading dispersed polymer particles for true molecular solvents and reactive resins. You’ll notice oil-based formulas rely on organic solvents that dissolve binders, enabling molecular-level flow and film formation as solvents evaporate.
Reactive resins (alkyds or oils) cure via oxidative chemical reactions, crosslinking into a hard, continuous film. That curing changes mechanical properties and boosts Paint adhesion on certain substrates.
Because the film forms by chemistry rather than mere coalescence, you get different durability, solvent resistance, and repair behavior. Expect longer drying and stronger solvent interactions compared with latex.
When to Choose Latex Paint vs Oil/Alkyd Paint
Think about what the surface needs and how tough the finish must be: you’ll pick oil/alkyd for trim and high-wear areas and latex for walls and ceilings.
Also consider dry time and ventilation—latex dries faster and smells less, while oil/alkyd takes longer and needs more airflow.
We’ll compare those trade-offs so you can choose the right paint for each job.
Surface And Durability Needs
When deciding between latex and oil/alkyd paint, consider the surface and how tough the finish must be. You’ll pick latex for flexible surfaces and easier color mixing, while oil/alkyd shines on high-wear areas and delivers a smoother texture finish. Match paint to substrate and expected abrasion.
- Use latex for drywall, ceilings, and lightly trafficked rooms.
- Choose oil/alkyd for trim, doors, cabinets, and metal that need hard, scuff-resistant coating.
- Prep and priming matter: slick or stained surfaces often require oil/alkyd-compatible primers for long-term adhesion and durability.
Dry Time And Ventilation
How fast do you need the job done and how much fresh-air time can you give it? You’ll pick latex for quick dry, low fumes, easy color mixing and faster recoat; choose oil/alkyd when you can ventilate longer, want smoother texture application and tougher leveling. Consider environment, schedule, and odor tolerance. Quick jobs favor latex; high-gloss or heavy-wear spots favor alkyd if ventilation’s possible.
| Paint Type | Dry Time | Ventilation Need |
|---|---|---|
| Latex | 1–2 hrs | Low |
| Alkyd | 6–24 hrs | High |
| Hybrid | 2–8 hrs | Moderate |
Applying Latex: Brush, Roller, and Spray Tips
Ready to start painting? You’ll want solid brush techniques and basic color mixing knowledge before you begin. Load brushes lightly, cut in edges with steady strokes, and keep a wet edge to avoid lap marks.
Ready to start painting? Use light brush loads, steady edge cuts, and keep a wet edge to avoid lap marks.
For rollers, choose nap length for surface texture and roll in a “W” pattern.
With sprayers, thin to manufacturer specs, test spray pattern, and maintain consistent distance.
- Use a flagged brush for smoother walls and blend with short, even strokes.
- Match roller nap to wall finish for uniform coverage.
- Practice spray passes on cardboard to avoid runs.
Recoat Times, Drying vs Full Cure for Latex
When you’re planning a project, check the paint can for recoat time guidelines—most latex paints are ready for a second coat in 2–4 hours under normal conditions.
Remember that “dry to the touch” isn’t the same as fully cured; full cure can take 7–30 days depending on thickness, temperature, and humidity.
Follow recoat windows to avoid sanding or adhesion problems and allow full cure before heavy use or cleaning.
Recoat Time Guidelines
Because latex paint dries to the touch faster than it fully cures, you’ll need to follow specific recoat windows to avoid lifting, poor adhesion, or extended tackiness.
You should wait the manufacturer’s minimum—often 2–4 hours—before recoating; colder or humid conditions lengthen that. When you recoat, maintain consistent color mixing and use proper brush techniques to prevent streaks and uneven build.
Check tackiness by lightly touching an inconspicuous area; if paint lifts, wait longer.
- Interior walls: typically 2–4 hours between coats
- Exterior latex: 4–8 hours, longer in cool/wet weather
- Full cure: weeks to a month depending on conditions
Drying Vs Full Cure
Although latex paint feels dry to the touch within hours, it doesn’t reach full cure for days or even weeks, so you should treat “dry” and “cured” as different stages.
You can recoat after the recommended dry time, but avoid heavy use until cure completes; cured film resists scuffs, stains, and moisture.
Temperature, humidity, and film thickness affect cure speed, so check manufacturer specs before sanding or final cleaning.
If you’re doing color mixing or adjusting sheens, remember altered batches may cure differently.
Good paint accessibility—working space, ventilation, and tools—helps you control drying and achieve a uniform, fully cured finish.
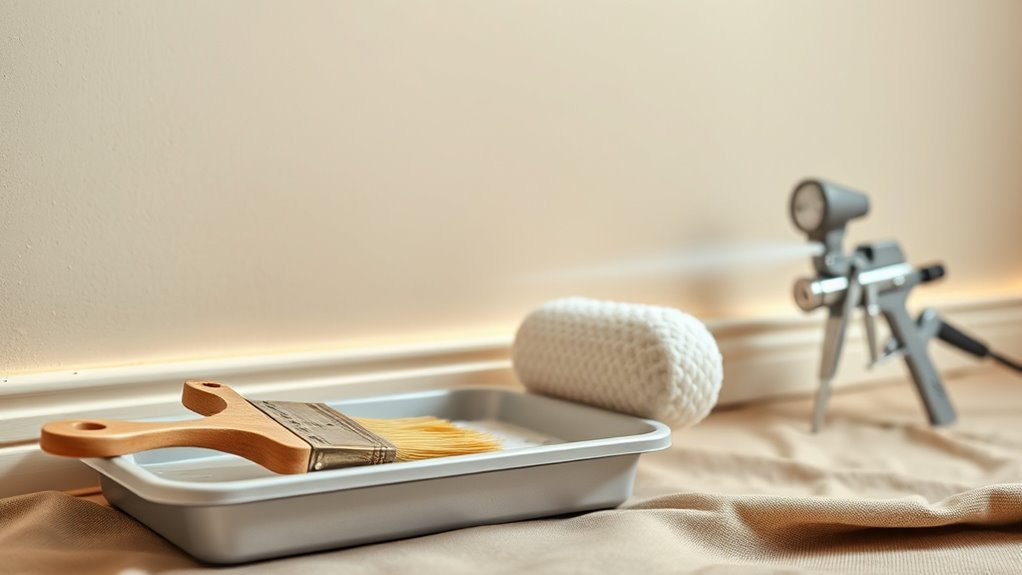
Cleanup and Tools for Latex Paint (Soap vs Solvents)
If you want tools and hands to stay clean after a latex paint job, soap and water will handle most of the work—latex is water-based, so fresh paint washes off easily with warm water and a little dish soap. Rinse brushes until water runs clear, spin them on a rag, and reshape bristles.
For stubborn spots, use a soft brush and mild degreaser. Solvents aren’t necessary unless paint’s cured or contaminated.
- Rinse and comb brushes promptly.
- Use nylon or synthetic brushes for different paint finishes.
- Keep a small bucket for color matching swatches and quick cleaning.
Durability and Wear: Where Each Type Holds Up Best
When you need paint that resists scuffs, stains, and heavy cleaning, understanding where latex and oil-based formulas excel matters. You’ll find oil-based paints generally tougher for high-traffic woodwork and trim; they harden to a durable film that withstands bumping and frequent wiping.
Latex offers flexibility and better resistance to cracking and yellowing over time, so it’s ideal on walls and exterior siding where movement occurs.
For color matching, latex adapts more easily at the store and on-site, while oil can hide imperfections under thinner coats.
Choose based on substrate, maintenance needs, and desired paint finishes.
Finish and Sheen: Leveling, Gloss, and Appearance
Beyond durability, the finish and sheen you choose shape how paint looks up close and how imperfections read from a distance. You’ll pick flat, eggshell, satin, semi-gloss, or gloss to control light reflection, hiding flaws with lower sheen or highlighting trim with higher gloss.
Leveling affects whether brushstrokes smooth out as paint dries. Consider color matching—sheen can make matched hues appear different under light.
Also weigh environmental impact: low-VOC latex formulations level well without heavy solvents. Decide based on room use and desired look, balancing appearance with practical and ecological concerns.
- Flat hides flaws best
- Satin balances washability
- Gloss emphasizes trim
Adhesion and Prepping Surfaces for Latex Over Old Coatings
Although old coatings can be a challenge, you can get excellent adhesion by cleaning, scuffing, and removing loose or chalky paint before applying latex.
Although old coatings can be tricky, thorough cleaning, scuffing, and removing loose paint ensures great latex adhesion.
Start by washing surfaces to remove grease, mildew, and dust; use a TSP alternative for better environmental impact.
Sand glossy or uneven areas to create tooth, then wipe residues away.
Patch and prime bare spots or stains with a compatible primer to guarantee uniform absorption and aid color matching.
Test a small area to confirm bond and appearance.
Proceed only when surfaces are dry and free of contaminants to ensure durable, even latex coverage.
Converting Oil‑Based Surfaces for Latex Repainting
If your project involves repainting an oil‑based finish with latex, you’ll need to remove or chemically degloss the old coating and prime with a bonding or oil‑blocking primer so the new paint will stick and perform.
You should sand glossy surfaces, clean thoroughly, and test adhesion with a small trial.
Choose primers labeled for oil-to-latex conversion.
Consider eco friendly options like low-VOC bonding primers and waterborne alkyds.
For color matching, bring a sample to the store or use digital matching after priming.
Follow manufacturer cure times before topcoating to avoid peeling.
- Sand and clean
- Use proper primer
- Verify color matching
VOCs, Indoor Air Quality, and Ventilation Advice
When you’re repainting indoors, know that volatile organic compounds (VOCs) from oil‑based and some conventional latex paints can cause headaches, irritation, and long‑term indoor air problems, so you should minimize emissions and ventilate well during and after the job.
Choose low‑ or zero‑VOC paints to reduce health risks and environmental impact.
Follow VOC regulations for your area when disposing of leftover paint and thinners.
Ventilate by opening windows, using box fans to exhaust air, and running HVAC with fresh‑air intake.
Wear appropriate respirators for high‑VOCs tasks, and keep occupants and pets out until odors subside.
Cost Comparison and Long‑Term Value of Latex vs Oil
Because upfront price isn’t the whole picture, you should weigh both initial costs and long‑term value when choosing between latex and oil‑based paints.
Latex usually costs less, dries faster, and needs fewer coats, lowering labor expenses.
Oil can last longer on trim and high‑wear areas, potentially reducing repaint frequency.
Consider maintenance, resale appeal, Environmental impact, and VOC levels when estimating lifetime expense.
- Compare purchase price, expected lifespan, and touch‑up needs.
- Factor in cleanup costs and time (water vs solvents).
- Account for indoor air quality concerns and potential remediation costs.
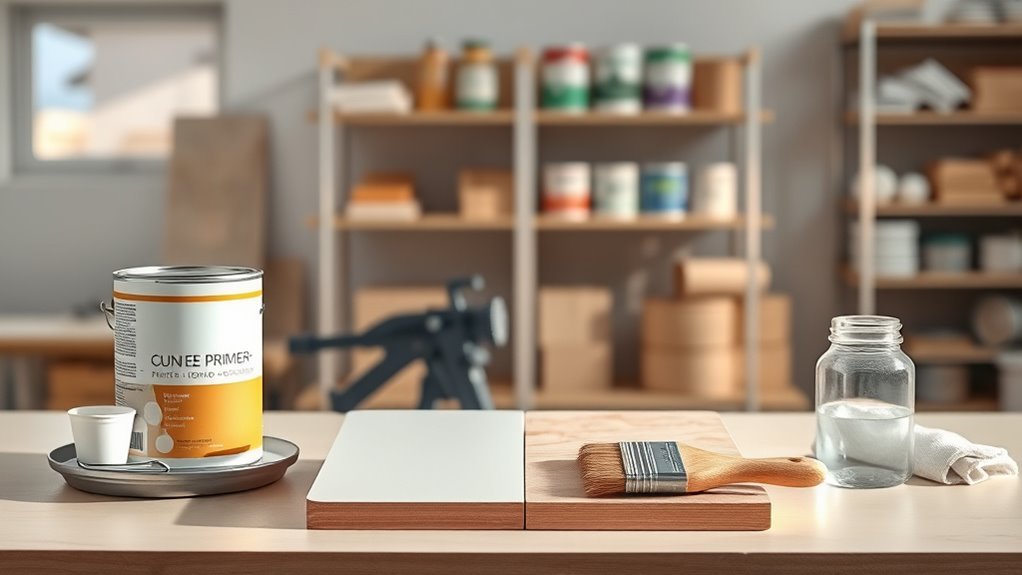
When to Use Oil‑Based or Alkyd Primers/Paints
When you’re choosing oil‑based or alkyd primers and paints, consider the surface—bare wood, metal, or glossy finishes usually benefit from oil for better sealing and adhesion.
Remember oil formulas dry slower than latex, so factor in work time and dust sensitivity.
Also plan recoats and sanding: oil/alkyd often require longer recoat windows but can bond strongly if you follow the manufacturer’s adhesion guidelines.
Surface Type Compatibility
Curious which surfaces call for oil‑based or alkyd primers? You’ll choose based on adhesion needs and substrate porosity.
For stained or tannin‑rich woods, metal, or glossy surfaces, oil/alkyd primers stick better and block bleed‑through. Consider color mixing effects—oil bases can alter tinting slightly, so test samples. Also think about brush selection: natural bristle suits oil/alkyd for smoother lay‑down.
- Bare wood: use oil/alkyd to seal and prevent tannins.
- Metal and previously painted glossy surfaces: oil/alkyd improves adhesion and prevents rust.
- Water‑sensitive or high‑traffic areas: prefer alkyd for durability and resilience.
Drying Time Considerations
How long do you need to wait between coats and before light use? You’ll find oil‑based and alkyd primers/paints dry slower than water‑based latex, so plan longer cure times—often 8–24 hours between coats and several days before handling.
Use oil/alkyd when you need durability or specific texture options that latex can’t match, but expect extended tack and solvent odor.
For fast projects or easy color mixing, latex wins with shorter recoat windows.
Temperature, humidity, and film thickness change timing, so follow product data for precise intervals.
Always allow full cure before heavy use to avoid damage.
Recoat And Adhesion Guidelines
You’ve seen how drying and cure times affect recoating windows, so next focus on adhesion and when oil‑based or alkyd primers/paints are the better choice. You’ll prefer oil or alkyd when bonding to glossy finishes, stained wood, or metal; they tolerate longer open times and handle temperature swings during paint storage.
Prep matters: sand glossy surfaces, remove contaminants, and use a compatible primer. Consider color matching: oil/alkyd primers block stains and provide a uniform base for accurate tinting.
Choose latex over oil on properly prepped porous drywall. Always follow manufacturer recoat intervals for best adhesion.
- Glossy or stained substrates
- Metal or trim work
- Severe stains or tannins
Common Painting Mistakes With Latex (And Fixes)
Because latex paint’s forgiving nature can make you overconfident, many DIYers still run into predictable mistakes—like poor surface prep, wrong primer choice, or applying coats too thick—and each one has a straightforward fix you can use to get professional results.
Latex paint’s forgiving nature can breed overconfidence, but common mistakes—prep, primer, coat thickness—have simple fixes.
You’ll avoid brush marks by using quality brushes and light, even strokes; sand between coats for smoothness. Test color mixing on a poster board before committing.
Don’t paint over glossy surfaces without deglosser or sanding. Thin paint only with manufacturer-recommended solvent.
Label and seal cans, store upright in a cool place to prolong life—proper paint storage prevents waste.
Specialty Latex Paints: Exterior, High‑Heat, and Industrial Types
When your project calls for durability beyond typical interior walls, specialty latex paints—formulated for exterior use, high‑heat environments, or industrial settings—give you the performance you need without the hassle of oil‑based cleanup.
You’ll choose exterior latex for weather resistance and UV stability, high‑heat latex for grills or engines, and industrial latex for chemical or heavy‑wear areas.
Pay attention to color matching and paint texture to guarantee consistent appearance and adhesion across substrates.
Consider these common specialty features:
- Enhanced binder systems for longevity and corrosion resistance
- Heat‑stable pigments and binders for prolonged high‑temperature exposure
- Textured finishes for slip resistance and concealment
Buying Checklist: Pick the Right Latex Paint for Your Project
Specialty formulations show how varied latex paints can be, but choosing the right one for your job comes down to a few practical checks. Decide surface type, sheen, and durability needs first. Match interior versus exterior formulas and confirm stain resistance or mildew control.
Pick paint color using samples and view them in different light at different times. Check VOC levels if ventilation’s limited. Compare coverage, drying time, and adhesion ratings.
Read label instructions for prep and application tools. Plan brush maintenance: clean brushes immediately with water, store properly, and replace worn tools for best results.
Frequently Asked Questions
Can Latex Paint Be Used on Floors Subjected to Vehicle Traffic?
Yes — you can use latex paint on vehicle traffic floors if you choose high-quality, traffic-rated formulas. You’ll need thorough surface preparation and durability testing to guarantee adhesion, wear resistance, and long-term performance under heavy loads.
Will Latex Paint Yellow Over Time in Low-Light Rooms?
Picture tiny vampires hiding from sunlight — yes, latex paint can yellow slowly in low-light rooms, but you’ll mostly avoid it with quality formulas. Prioritize paint longevity and color stability; choose pigments and low-VOC binders for durability.
Can I Tint Latex Paint Darker Without Affecting Performance?
Yes — you can tint latex paint darker without hurting performance, as long as you use manufacturer-approved colorants; you’ll maintain paint durability and color consistency if you avoid over-tinting and follow recommended mixing and application guidelines.
Is Latex Paint Safe for Use on Toys and Children’s Furniture?
Yes—you can use latex paint for toys and children’s furniture if you choose low-VOC, non-toxic formulas and fully cure and seal surfaces; always check for safety certifications, avoid lead, and let items off-gas before use.
How Does Temperature Affect Latex Paint Curing in Cold Climates?
Cold climate: Temperature impact slows latex paint curing, so you’ll wait longer and risk tacky, weak film; work during warmer daylight, use heaters or slow-dry additives, and don’t rush — patience pays off.
Conclusion
Latex paint today is water‑based, though the name sticks from older rubber‑based formulas. You’ll usually choose latex for easy cleanup, faster drying, and low fumes; oil/alkyds still win for stain-blocking, durability, or high‑heat jobs. Match primer and finish to substrate and conditions, and don’t skimp on prep—measure twice, cut once. With the right paint and technique, your job will look better and last longer, saving time and money.