Should You Sand Walls Between Coats of Paint?
You should usually do a light scuff-sand between coats to knock down dust nibs, remove raised fibers, and improve adhesion, but you can skip it if the previous coat is fully cured, smooth, and compatible with the new paint; use 220–320 grit for most touch-ups and 120–180 only for stubborn drips. Wait the recommended dry time for latex or oil before sanding. Keep it light and clean up dust, and you’ll get a smoother, more durable finish — more tips follow.
Quick Answer: When to Sand Between Coats
If you want a smooth, durable finish, sand between coats when the surface feels rough, has raised fibers or drips, or when the next coat is a different sheen or color; otherwise you can usually skip it—light sanding helps adhesion and removes imperfections, while heavy sanding isn’t necessary for most touch-ups or when using high-quality self-leveling paints.
You’ll sand lightly with fine-grit paper to scuff glossy spots, knock down nibs, and blend edges. That targeted approach delivers sanding benefits without overworking the wall.
Prioritize sensible surface preparation: clean, dry, and lightly abraded surfaces yield the best, most consistent results.
When Sanding Changes Finish or Adhesion
When you sand a painted surface, you change both how the finish looks and how well the next coat will stick, so knowing what each action does matters:
| Action | Effect |
|---|---|
| Light scuff | Improves paint adhesion; maintains finish durability |
| Aggressive sand | Alters texture uniformity; may need touch-up |
| Between-coat sanding | Surface preparation for paint compatibility; finish enhancement |
| Frequent sanding | Reduces finish durability if overdone; adjust sanding frequency |
You’ll pick sanding techniques to balance adhesion and appearance. Match grit and method to coating type to protect finish durability and achieve texture uniformity while ensuring paint adhesion and overall finish enhancement.
When You Can Safely Skip Sanding
You can skip sanding between coats in situations where the previous layer is fully cured, clean, and compatible with the next product—such as repainting with the same paint type (latex over latex or oil over oil) and using light rolling or spraying rather than heavy buildup.
If surfaces are smooth and free of dust, you’ll preserve sanding benefits elsewhere without compromising paint adhesion. Consider skipping when you’ve avoided drips, orange peel, or texture changes.
- Surface is intact and dry
- Previous coat cured per manufacturer
- No contaminants or uneven buildup
When in doubt, test a small area to confirm adhesion and finish.
Does Latex, Oil, or Enamel Change Your Sanding Plan?
How much the paint type changes your sanding plan depends on the binder and finish: latex (water-based) lays down smoother and often needs only light scuffing.
Oil-based paints bond strongly and tolerate more aggressive sanding, and hard, glossy enamels demand thorough abrasion to guarantee adhesion.
Oil-based paints allow firmer sanding, while hard, glossy enamels need thorough abrasion to ensure proper adhesion.
You’ll adjust surface preparation and timing: latex sanding is usually minimal after proper drying times, letting you avoid heavy abrasion.
Oil adhesion benefits from firmer sanding to break the slick surface before recoating; enamel finish requires the most rigorous prep to avoid peeling.
Match technique to product and respect recommended drying times.
What Sandpaper Grit to Use Between Coats
Although grit choice seems minor, it makes a big difference in how the next coat sticks and how smooth the finish looks.
You’ll use different sanding techniques depending on paint type and dryness. For most latex and acrylic layers, start with finer grits to avoid cutting through the film; for enamel or flawed spots, slightly coarser grits help feather edges.
- 220–320 grit: light scuffing between coats for smooth adhesion
- 120–180 grit: use sparingly on stubborn drips or raised texture
- 400+ grit: final polish on high-sheen finishes before topcoat
Choose grit selection to match surface condition and desired smoothness.
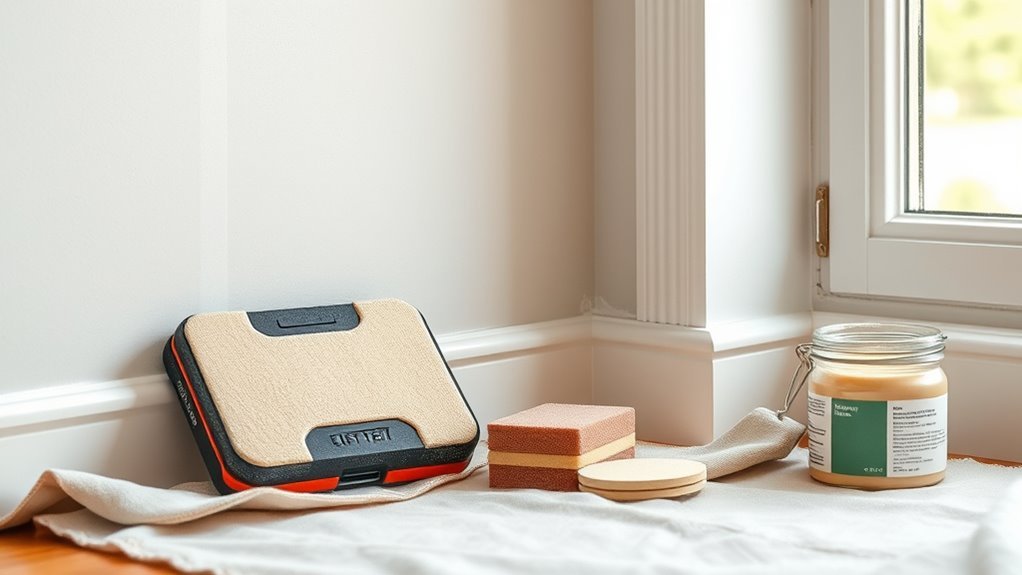
Tools and Supplies for Sanding Walls Between Coats
You’ll want to choose the right sandpaper grit for the job—usually fine grits like 220–320 for smoothing between coats.
Make sure you’ve got essential tools on hand, such as a sanding block or pole sander, tack cloths, and a respirator or mask.
With the proper supplies, you’ll achieve a smooth finish without damaging the previous coat.
Sandpaper Grit Options
Picking the right sandpaper grit makes the difference between a smooth, paint-ready surface and one that shows scratches or unevenness.
You’ll choose grit based on coat type and drying—fine for smoothing latex between coats, very fine for enamel, and medium only to knock down imperfections.
Consider grit selection alongside sanding techniques: light, even passes prevent gouging, and a foam sanding block helps maintain flatness.
- 120–150: removes small bumps without deep scratches
- 180–220: ideal for between-coat smoothing on most paints
- 320+: for ultra-smooth finishes or final polishing
Match grit to paint and pressure for best results.
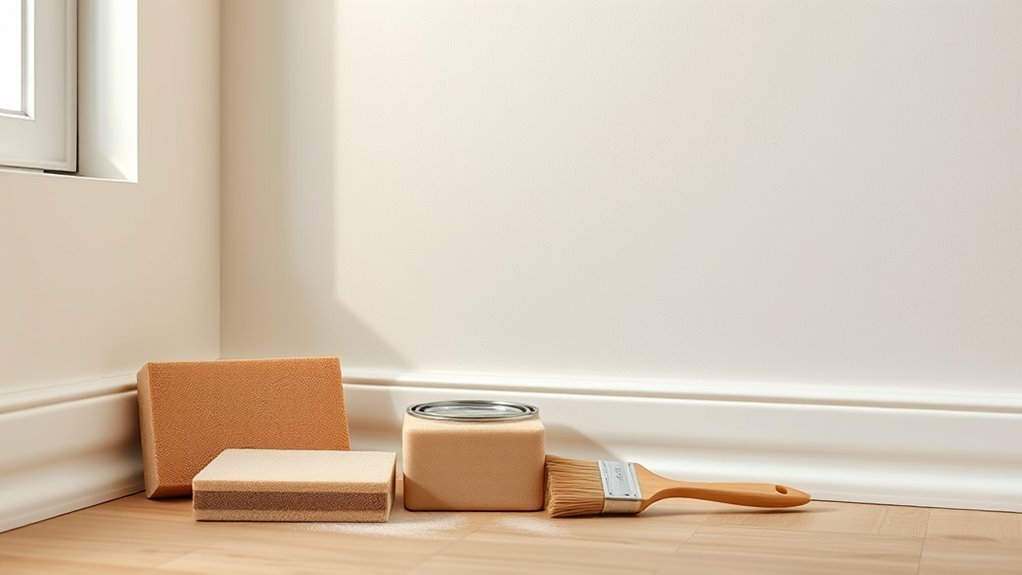
Essential Sanding Tools
When you’re prepping between coats, the right tools make quick work of imperfections and help you avoid rework.
You’ll want a selection of sandpaper grits, from 220 to 320, plus a sanding block to keep pressure even. For larger areas, use a pole sander or a fine-grit sanding sponge. An orbital or detail sander speeds work but control dust.
Keep tack cloths or microfiber rags for cleanup and a vacuum with brush attachment. Always wear a dust mask, goggles, and drop cloths to follow sanding safety.
These tools support consistent sanding techniques and a smooth final finish.
Step-by-Step: Sanding Between Coats
Start by guaranteeing the first coat is fully dry to the touch and no longer tacky—this prevents smearing and guarantees the sandpaper abrades the right surface.
Lightly sand with fine-grit (220–320) using even pressure, focusing on drips or brush marks. Use sanding techniques that keep the finish uniform and support good wall preparation before the next coat. Feather edges to avoid ridges. Check by running your hand lightly.
Lightly sand with fine 220–320 grit, feathering edges and checking by hand for a uniform, smooth finish
- Use a sanding block for flat areas.
- Shift to a sponge for contours.
- Replace abrasive when it clogs.
Finish by inspecting for smoothness, then apply the next coat.
Clean and Prep After Sanding (Dust-Free)
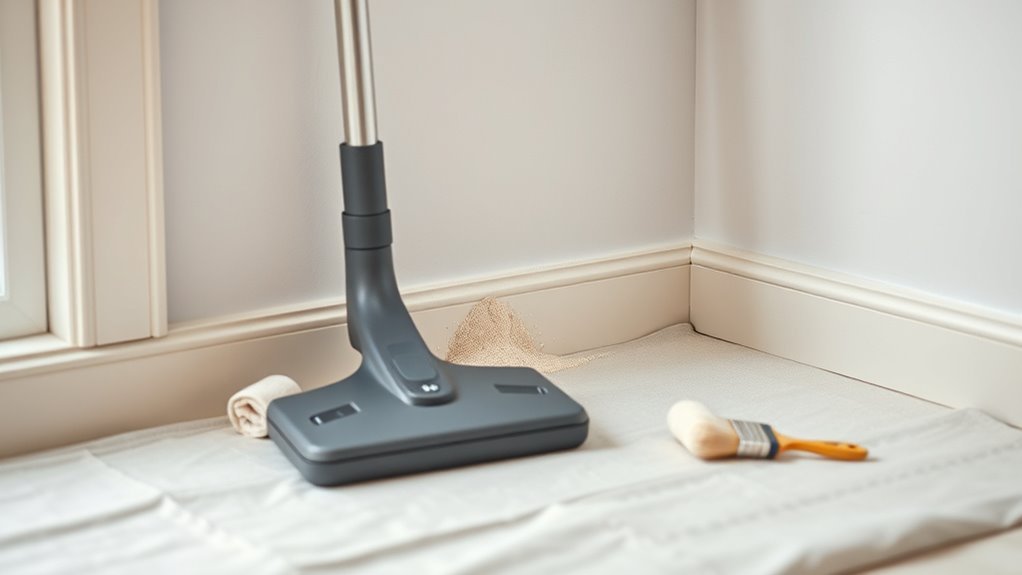
After sanding, you’ll need to remove dust thoroughly with a vacuum and a damp cloth so it doesn’t interfere with adhesion.
Follow up with a tack cloth for a final wipe to pick up any remaining particles.
Once the surface feels clean and smooth, you’re ready for the next coat.
Remove Dust Thoroughly
Because even the finest sanding leaves a film of dust, you’ll need to remove it completely before applying the next coat to guarantee adhesion and a smooth finish.
You’ll focus on dust removal as an essential part of surface preparation: any leftover particles will show through or prevent proper bonding. Start with a vacuum using a brush attachment, follow with a microfiber cloth dampened lightly, then let the surface dry.
For corners and trim use compressed air or a soft-bristled brush. Check by running your hand over the wall—if it feels clean and smooth, you’re ready for the next step.
- Vacuum edges and baseboards
- Microfiber wipe-down
- Blow out crevices
Tack Cloth Final Wipe
When you’ve removed the bulk of sanding dust, grab a tack cloth for a final wipe—this sticky, lint-free fabric picks up the fine particles that a vacuum and damp cloth can miss, ensuring the surface is truly dust-free before you paint. You’ll notice tack cloth benefits immediately: improved adhesion, smoother finish, and fewer imperfections. Work methodically, folding the cloth to fresh areas, and avoid overworking painted edges. Use light pressure and replace the cloth when saturated. This final dust removal step prevents trapped particles from ruining your coat and makes subsequent layers look professional and durable.
| Task | Tip |
|---|---|
| Wipe | Fold cloth often |
| Pressure | Use light strokes |
| Replace | When dirty |
| Finish | Inspect surface |
Fixing Drips, Brush Marks, and Rough Spots
Spot, sand, and smooth any drips, brush marks, or rough spots before the next coat so your finish looks professional and even. You’ll focus on drip removal, brush smoothing, and rough spot repair as part of surface preparation.
Use light sanding with fine-grit paper, scrape high spots gently, and wipe dust away.
- Scrape off cured drips, then sand feathered edges.
- Lightly sand brush marks with a sanding block for even texture.
- Fill deep rough spots, sand smooth, and clean thoroughly.
Take your time: correcting flaws now saves rework and guarantees a uniform final coat.
Alternatives to Sanding: Scuff-Sanding vs. Liquid Deglossers
If you’d rather skip extensive sanding after fixing drips and smoothing brush marks, two common options can save time: scuff-sanding and liquid deglossers.
You’ll use light abrasive pads or fine-grit paper to dull glossy spots—follow scuff sanding techniques to remove sheen without cutting into drywall or primer.
For stubborn gloss or detailed trim, liquid deglossers benefits include quick application and no dust, chemically etching surface for better adhesion.
Wear gloves and ventilate when using deglossers.
Choose scuff sanding for control and minimal fumes; pick liquid deglossers when speed and convenience outweigh cleanup.
How Long to Wait Between Coats for Best Adhesion
How long you wait between coats matters for adhesion and the final finish.
Follow drying time guidelines on the can, but remember oil-based paints usually need longer than water-based (latex) ones.
If you rush a coat before it’s dry, you’ll risk poor bonding and visible flaws.
Drying Time Guidelines
While paint feels dry to the touch fairly quickly, you’ll get the best adhesion by waiting the recommended drying time between coats—usually 2–4 hours for latex and 4–8 hours for oil-based paints—so the first coat fully cures enough to accept the next without lifting or trapping solvents.
You should respect the drying phases: tack-free, dry-to-handle, and cured. That timing helps subsequent paint layers bond properly.
Consider these quick tips:
- Wait for tack-free stage before light sanding to avoid gumminess.
- Use humidity and temperature to adjust wait time.
- Longer cure improves durability; don’t rush coats.
Paint Type Differences
Because different paint chemistries dry and cure at varying rates, you’ll need to adjust your waiting time between coats based on the type you’re using.
For water-based latex, wait 2–4 hours for tack-free surfaces; full cure takes weeks, but light sanding after a few hours improves paint adhesion.
Oil-based paints need 24 hours to dry and often 48 for safe sanding—longer in cool or humid conditions.
Fast-drying enamels and acrylics can shorten waits, but always test.
Whatever you use, prioritize surface preparation: remove dust, allow proper drying, and sand lightly to guarantee consistent adhesion and a smooth final coat.
Common Mistakes That Ruin the Next Coat
One of the biggest mistakes you can make between coats is skipping proper surface prep—neglecting dust, grease, or loose paint will keep the next coat from bonding and leave you with visible flaws.
You should address common misconceptions about sanding techniques: you don’t always need aggressive sanding, but you do need consistent, light scuffing when required.
Also avoid these pitfalls:
- Painting over tacky or untested spots that trap solvent or moisture.
- Ignoring incompatible previous finishes or failing to use a primer.
- Applying too-thick coats or recoating before the previous layer fully cures.
Catch these errors early to guarantee a smooth, durable finish.
Quick Pre-Paint Sanding Checklist
Start with a quick scan of the walls for loose paint, bumps, grease spots, and nail heads—addressing these issues first saves time and prevents problems after you paint.
Next, clear the area and protect floors.
Lightly sand glossy areas with fine-grit sandpaper, then feather rough patches; these sanding techniques reduce visible shifts.
Wipe walls with a tack cloth or damp rag to remove dust.
Fill holes and sand smooth once filler dries.
Check for remaining contaminants and prime bare spots.
This surface preparation checklist keeps coats bonding well and helps you get a smooth, professional-looking finish.
When to Call a Pro Instead of DIY Sanding
If the quick checklist above handled minor scuffs and prep, know when sanding becomes more than a weekend task.
You should call a pro when issues exceed your DIY confidence or risk damaging surfaces. Professionals bring tools, safety gear, and training that save time and prevent costly mistakes.
When DIY risks damaging surfaces or exceeds your confidence, hire a pro for safety, proper tools, and a flawless finish.
- Extensive repairs: large holes, water damage, or multiple layers of lead-era paint.
- Complex surfaces: textured walls, high ceilings, or intricate trim requiring scaffolding.
- Health or permit concerns: suspected lead, mold, or local regulations demanding certified handling.
Trust professional expertise for safety, guaranteed finish, and peace of mind when the job’s scope grows.
Frequently Asked Questions
Can Sanding Between Coats Remove Lead Paint Hazards?
No — sanding between coats won’t remove lead paint hazards; you’ll create toxic dust. If lead paint’s present, use certified abatement or containment, because disturbing it increases health risks and you shouldn’t DIY without precautions.
How Does Humidity Affect Sanding Effectiveness?
Humidity effects matter: when air’s humid, you’ll find sanding techniques less effective because grit clogs and dust clumps, slowing progress and reducing adhesion; in dry conditions, sanding’s cleaner, faster, and paint bonds more reliably.
Can You Sand Painted Trim the Same Way as Walls?
Yes — you can, but investigate the theory that trim needs gentler abrasion: for trim preparation you’ll use finer grit and precise sanding techniques, working carefully around edges and profiles to avoid gouges and maintain crisp lines.
Will Sanding Between Coats Change VOC Emissions?
Yes — sanding between coats can change VOC emissions: you’ll disturb and release some solvent-laden dust, but sanding benefits include better adhesion and smoother finish; use low-VOC paints and proper ventilation to minimize emissions.
Is Sanding Necessary for Textured or Popcorn Ceilings?
No—you don’t need to sand textured surfaces or popcorn texture; you’d only sand if you’re bravely smoothing chaos, but usually you’ll repair loose bits, prime, and paint, preserving texture without aggressive sanding.
Conclusion
Think of sanding between coats as tuning a violin—you’re not changing the music, just refining the tone. When you scuff glossy spots or remove dust nibs, you let the next layer sing smoothly and stick firmly. Skip it only when finish and product allow, but don’t shortcut adhesion. With the right grit and drying time, your walls will wear like well-polished wood: subtle, resilient, and honest. If unsure, call a pro to keep the harmony.