Should You Wash the Walls Before Painting? Guide
Yes — you should wash walls before painting to remove dust, grease, and residues that stop paint from adhering and cause finish problems. Light grime needs mild detergent and a sponge; greasy kitchen walls often require a TSP substitute or degreaser. Rinse and let surfaces dry, sand rough spots, and patch holes before priming. Test cleaners on a hidden spot first and protect floors. Keep going to learn specific cleaners, tools, and quick spot‑cleaning tricks.
Do I Need to Wash Walls Before Painting? Quick Checklist
Wondering whether you need to wash your walls before painting? You should follow a quick checklist for proper wall preparation: remove dust and cobwebs, degrease kitchens and high-touch areas, patch holes, and sand rough spots.
If surfaces feel slick or show stains, clean them—grease and grime will prevent paint adhesion. Lightly rinse and let walls fully dry before priming.
For previously painted walls in good condition, a wipe-down may suffice; for textured, heavily soiled, or high-traffic walls, a thorough wash is essential.
Proper cleaning saves time and avoids finish problems once you paint.
How to Tell If a Wall Is Clean Enough for Paint
Start by giving the wall a careful visual inspection to spot dirt, stains, or grease.
Then run your hand over the surface to feel for any residue that could prevent paint from sticking.
Finally, sprinkle a little water—if it beads, there’s likely grease; if it soaks in, the surface is ready.
Visual Inspection For Dirt
How can you tell if a wall is clean enough for paint? Stand back and scan for visible dirt accumulation: streaks, smudges, grease spots, and dust lines near baseboards or light switches.
Check corners, behind furniture, and around vents where grime collects. Note differences across wall textures — smooth surfaces show marks clearly, textured finishes hide dust but trap particles in crevices.
Use a strong light at an angle to reveal shadows that indicate dirt. If stains, discoloration, or mildew are obvious, plan cleaning; if surfaces look uniformly clean with no contrast, you’re likely ready to prime and paint.
Touch Test For Residue
Want to know if residue will interfere with paint adhesion? Run your hand gently across the wall; a gritty or tacky feel signals contamination.
For residue detection, press a clean white cloth or paper towel against the surface and rub—any darkening or film shows oils, dust, or cleaners left behind.
Test several spots: high-touch areas, near vents, and behind furniture. If the cloth stays clean and the wall feels smooth and dry, your surface preparation is likely sufficient.
If you find tackiness or smears, wash with an appropriate cleaner, rinse, and retest before priming and painting.
Water Beading And Absorption
Curious whether your walls are truly clean enough for paint? Place a few drops of water on different areas. If droplets bead and sit, the surface likely has residue or a water-resistant coating that will hinder paint adhesion.
If water spreads and soaks in, the wall’s surface is porous and ready for primer or paint. Test multiple spots—especially near trim, outlets, and high-traffic areas.
For beading areas, wash with a mild degreaser or trisodium phosphate substitute, then retest. Once water consistently absorbs, you’ll know the wall is clean and prepped for a durable paint job.
Best Cleaners for Washing Walls : And How to Use Them
Before you start painting, you’ll want the right cleaning solutions for grease, grime, and mildew—mild detergent, TSP substitute, and a bleach solution cover most jobs.
Use soft sponges or microfiber cloths for gentle cleaning, work top-to-bottom, and rinse with clean water to avoid residue.
For stubborn stains or mold, spot-treat with a stronger mix, let it sit briefly, then scrub and rinse thoroughly.
Best Cleaning Solutions
Because paint sticks best to a clean surface, choosing the right cleaner matters—use a mild detergent for light dirt, a TSP substitute for greasy or heavily soiled walls, and a degreaser or trisodium phosphate for kitchen areas with baked-on grime.
Pick eco friendly cleaners where possible to protect surfaces and air quality, or try homemade solutions like vinegar with water for light cleaning. Test any cleaner in a small area first.
Consider these options:
- Mild detergent and warm water — safe for most painted walls.
- TSP substitute — tackles heavy dirt without harsh fumes.
- Degreaser/trisodium phosphate — for stubborn kitchen grease.
Proper Application Methods
Now that you’ve picked the right cleaner, you’ll want to apply it in a way that removes grime without damaging the surface.
Work top to bottom so drips don’t streak fresh areas. Use soft brush techniques for corners, trim, and textured spots—light pressure, short strokes, and frequent rinsing prevent abrasion.
For large flat areas, use rolling methods: a microfiber or lambswool roller with a low‑nap cover distributes cleaner evenly. Rinse the roller often and swap to clean water for final wiping.
Finish by drying with lint‑free cloths or a clean sponge to avoid residue before priming and painting.
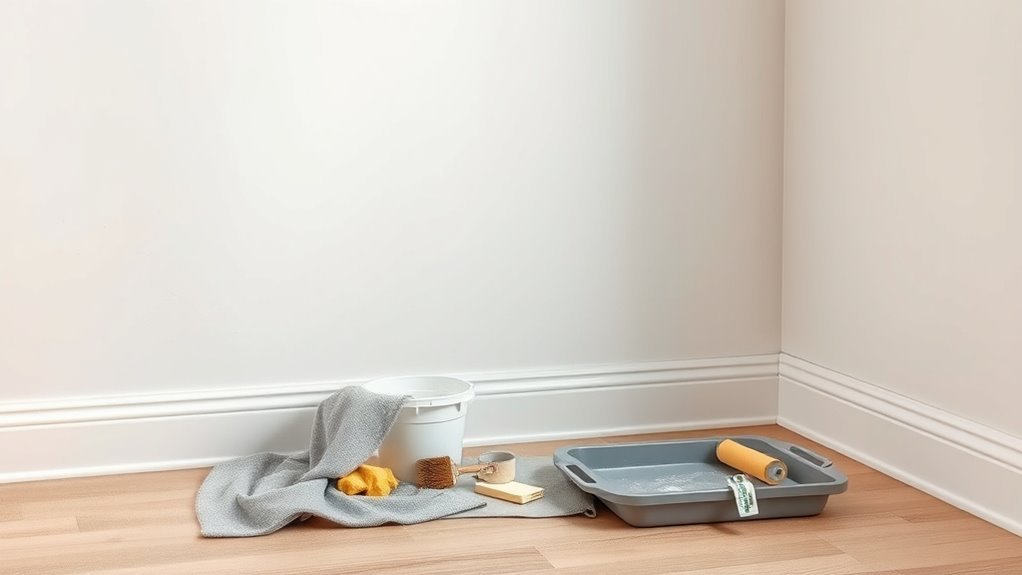
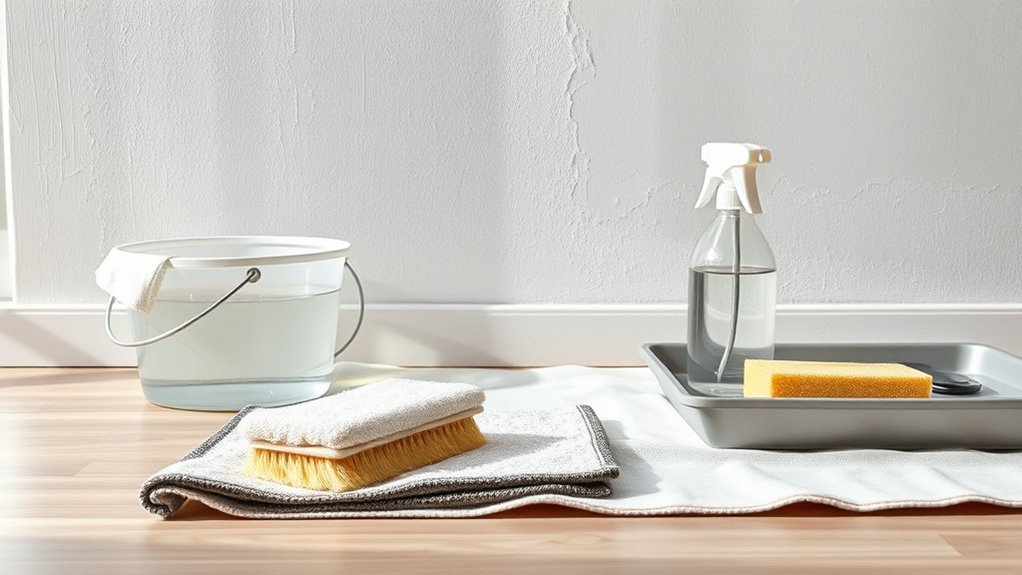
Tools & Supplies for Washing Walls
You’ll only need a handful of items to get walls clean enough for paint: a bucket, mild detergent or trisodium phosphate (TSP) alternative, sponges or microfiber cloths, a soft-bristle brush or scrub pad for stubborn spots, a ladder for high areas, and drop cloths to protect floors.
You only need a few basic supplies—bucket, mild cleaner, sponges, soft brush, ladder, and drop cloths.
Choose gloves, safety glasses, and a mask if you’re using stronger cleaners. Match tools and solutions to wall materials and use appropriate cleaning techniques to avoid damage.
Store rags in a sealed bag. Carry a spray bottle for spot cleaning and a mop or extension pole for tall walls.
- Gloves, goggles, mask
- Sponges, brushes, cloths
- Bucket, spray bottle, extension pole
Wash Painted Drywall & Plaster: Step-by-Step
Start by clearing the area and laying down drop cloths so dust, furniture, and floors stay protected.
Inspect drywall and plaster for stains, crayon, or grease.
Mix mild detergent with warm water, or use trisodium phosphate for heavier grime. Test a small area first.
Work top to bottom with a soft sponge, using circular strokes, then rinse with clean water to avoid residue.
Repair dents or cracks after drying, sanding smooth. Allow full drying before priming.
These wall cleaning techniques and wall preparation tips help paint adhere evenly and prevent peeling, ensuring a professional-looking finish.
Clean Glossy Paint, Oil-Based Finishes, and Trim: Step-by-Step
Because glossy and oil-based surfaces repel water and show imperfections, you’ll need a different cleaning approach than for flat drywall: work with a mild degreaser or a trisodium phosphate (TSP) solution, use a non-abrasive pad, and rinse thoroughly so new paint will bond evenly to trim, baseboards, and glossy walls.
Start by dusting and taping off hardware. Test the cleaner in a hidden spot to confirm it won’t soften oil-based finishes. Gently scrub, rinse, and dry completely.
Lightly scuff high-gloss areas with fine sandpaper before priming.
- Dust and tape
- Clean and rinse
- Scuff and prime
Treating Mold, Mildew, Nicotine Stains, and Grease
1. You’ll tackle stubborn spots before painting: use a bleach solution or commercial product for mold removal, scrubbing gently and rinsing thoroughly.
For mildew prevention, dry the area and improve ventilation to stop recurrence.
For nicotine cleaning, apply trisodium phosphate or a degreasing cleaner, scrub with a microfiber cloth, then rinse to avoid yellow bleed-through.
For grease treatment, degreasing agents cut oils; follow manufacturer directions and test a small patch first.
Wear gloves and eye protection, ventilate the room, and discard contaminated rags safely.
Proper cleaning guarantees paint adheres and lasts without trapped contaminants.
Repair and Prep After Washing: Sand, Patch, and Prime
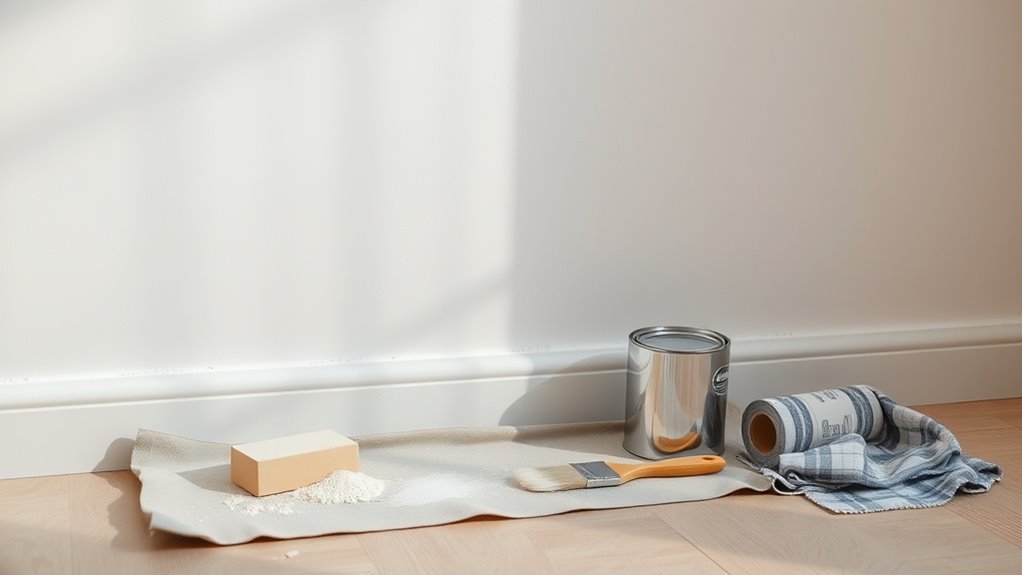
Once the wall’s clean and dry, you’ll want to sand any rough spots to create a smooth surface.
Patch holes and cracks with spackle or compound, then sand those repairs flush with the wall.
Finally, prime any bare drywall or repaired areas so the paint adheres evenly.
Sand Rough Spots
Inspect the walls closely for any rough patches, peeling paint, or raised edges left after washing—these are the spots you’ll need to sand smooth before patching and priming.
You’ll use proper sanding techniques to feather edges and create an even surface preparation for primer adhesion. Work with fine-grit sandpaper and a sanding block or pole sander for larger areas. Keep dust down with a vacuum or tack cloth.
- Start with 120–150 grit to remove high spots.
- Finish with 220 grit to smooth edges.
- Clean dust thoroughly so primer bonds well.
Patch Holes And Cracks
After you’ve smoothed rough spots, it’s time to fill holes and cracks so your primer and paint lay down evenly. You inspect the surface inspection results, mark defects, and choose the right filler—spackle for small dings, patching compound for larger gaps. Apply in thin layers, let each cure, then sand flush. Clean dust before moving on. This wall preparation step prevents visible imperfections and improves adhesion. Use a putty knife, sandpaper, and a damp cloth. Track repairs and sizes in a simple table to prioritize work and estimate materials.
| Area | Size | Filler |
|---|---|---|
| Hole | 1″ | Spackle |
| Crack | 0.25″ | Compound |
Prime Bare Or Repaired
When your patches are smooth and the surface is dry, prime any bare drywall and repaired areas to seal the substrate and create a uniform base for paint.
You’ll choose primer types based on substrate and stain-blocking needs; oil-based and shellac block stains, while acrylic primers work for most drywall.
Proper surface preparation guarantees adhesion and consistent sheen.
Apply thin, even coats and sand lightly between coats if needed.
Follow with your topcoat once the primer cures.
- Pick primer types for the job.
- Clean and sand before priming.
- Allow full cure time before painting.
Spot-Cleaning Shortcuts That Save Time (And Don’t Ruin Adhesion)
Even if you don’t have time for a full wash, targeted spot-cleaning can remove the grime that ruins paint adhesion without slowing your project down; focus on greasy smudges, handprints, and dusty corners using the right tools and cleaners so new paint sticks properly.
Use a microfiber cloth, mild detergent or trisodium phosphate alternative, and a soft-bristle brush for stubborn spots. Test cleaners on an inconspicuous area first.
Work top-to-bottom, drying each spot completely. For porous repairs, gently scuff before priming.
These spot cleaning adhesion tips save time while keeping surfaces ready for paint without compromising adhesion.
Common Washing Mistakes That Ruin Paint Adhesion
If you rush the cleaning or use the wrong products, you’ll often do more harm than good to paint adhesion. You’ll want correct washing techniques matched to wall materials; otherwise residues, softening, or abrasion prevent primer and paint from sticking.
Avoid common mistakes:
- Using excessive water pressure on drywall or plaster — it soaks and weakens the surface.
- Applying harsh solvents to delicate finishes or wallpaper — they leave residues that repel paint.
- Skipping a neutralizing rinse after alkaline cleaners on masonry — leftover alkalinity disrupts adhesion.
Follow manufacturer guidelines for cleaners and test a small area first to protect adhesion.
Frequently Asked Questions
Can I Paint Immediately After Power-Washing Exterior Walls?
You can’t paint immediately after power-washing exterior walls; you should wait until surfaces fully dry. Use proper power washing techniques to avoid damage, then guarantee paint adhesion by letting walls cure 24–72 hours depending on conditions.
Will Washing Remove Lead Paint Hazards From Older Homes?
Imagine a terrified grandmother holding her grandchild—no, washing alone won’t remove lead paint hazards; you’ll need professional abatement. You should follow strict safety precautions, use certified contractors, containment, and proper disposal to protect everyone.
Can I Use Vinegar on Wallpaper Before Painting?
You can use vinegar on wallpaper before painting, but it’s limited: vinegar effectiveness loosens surface grime and mild adhesive, aiding wallpaper preparation, yet it won’t remove stubborn paste or old layers, so strip or prime when needed.
How Does Humidity Affect Drying After Washing Walls?
Obviously, humidity levels love sabotaging you: higher humidity lengthens drying time dramatically, while low humidity speeds it up. You’ll want ventilation and dehumidifiers because they’ll cut drying time and prevent paint problems like blistering or mildew.
Are There Eco-Friendly Cleaning Alternatives for Sensitive Pets?
Yes — you can use natural cleaners like diluted vinegar, castile soap, and baking soda solutions to clean safely; you’ll improve pet safety by ventilating, keeping pets away during cleaning, and rinsing surfaces thoroughly afterward.
Conclusion
You should wash walls before painting — clean surfaces make paint stick and last. If walls look dull, greasy, or you can smear dirt with your finger, don’t skip cleaning. Tackle stains, mold, and nicotine first, then sand, patch, and prime. Use mild cleaners for painted drywall and stronger solutions for grease, but rinse well. Remember, “measure twice, cut once” — prepping right now saves headaches later and gives you a flawless finish.