What Brush to Use to Paint Walls? Best Options
You should pick a synthetic-filament angled brush for most wall painting because it holds latex and acrylic well, resists water, and gives clean edges; use a 2½–3″ brush for broad wall areas and a 1½” sash brush for trim and tight spots. Natural bristles work only with oil-based paints, and mixed bristles balance both. Match brush shape to your surface—flat for smooth, block for textured—and keep brushes clean and stored correctly if you want better results and more tips to follow.
Quick Brush Decision Guide for Wall Painting
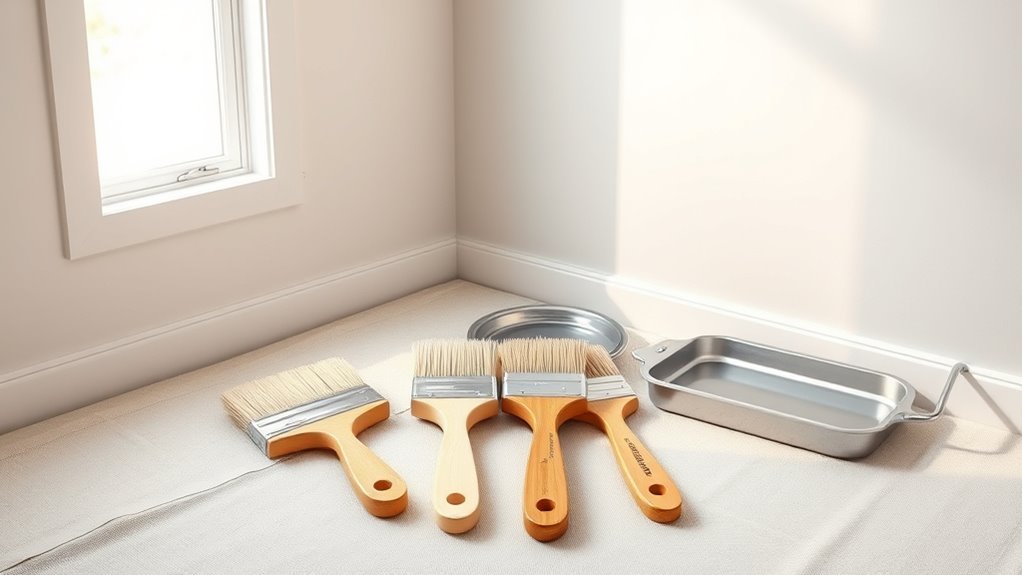
If you want fast, professional-looking results, pick the right brush before you start: synthetic-filament angled brushes work best for latex on walls, while natural-bristle brushes suit oil-based paints; choose a 2½- to 3-inch cut for most walls and a 1½-inch sash brush for trim and tight spots.
You’ll want a comfortable handle and firm ferrule so you control edges and corners. Test one brush on scrap to confirm stroke and coverage.
After painting, follow brush maintenance: clean thoroughly, reshape bristles, and let dry flat.
After painting, clean brushes well, reshape the bristles, and let them dry flat to preserve their shape.
For brush storage, hang or wrap brushes to protect tips and prevent deforming.
Which Bristles for Walls: Natural vs. Synthetic
When you’re choosing bristles, natural options give great paint pickup and a smooth finish with oil-based paints.
Synthetic bristles work better with water-based paints, hold their shape, and clean up easily.
Match bristle type to your paint for the best coverage and durability.
Natural Bristles Pros
Although natural-bristle brushes need more care than synthetics, they give exceptional hold and a smooth finish with oil-based paints and stains.
You’ll notice natural bristle advantages when you want control, fewer brush marks, and better stain pickup. Use them with compatible solvents and follow proper painting techniques to keep tips aligned and flexible.
Treat brushes gently during cleaning and storage so they last.
- Superior paint pickup and release for even coverage
- Excellent for oil-based enamels and stains
- Better control for cutting in and detail work
- Durable if cleaned and stored correctly
Synthetic Bristles Benefits
Because synthetic bristles resist water and hold their shape, they’re the go-to choice for latex and water-based paints on walls.
You’ll notice synthetic durability: these brushes shrug off swelling, dry quickly, and last through multiple jobs. They maintain a firm edge for cutting in and deliver consistent application smoothness across flat and semi-gloss finishes.
Cleaning’s easier, so you’ll spend less time restoring shape between coats. Lightweight handles and balanced flex give you control, minimizing fatigue.
For everyday wall work, synthetic bristle brushes save time, preserve finish quality, and offer reliable performance without special care.
Paint Type Compatibility
Synthetic brushes work great for water-based paints, but picking the right bristle depends on the paint you’re using. You’ll want natural bristles for oil-based paints and varnishes, while synthetics suit latex, acrylics, and stains.
Consider paint finish compatibility and wall texture considerations when choosing.
- Natural bristles: excel with solvent-based paints; hold thicker oils.
- Synthetic bristles: resist water, keep shape with latex and acrylics.
- Mixed or blend: offer balance for varied finishes and minor texture.
- Specialty brushes: low-nap for smooth finishes; higher-nap for textured walls.
Match bristle type to paint and surface for best results.
Synthetic Filaments Explained: Nylon, Polyester, and Blends
Brush filaments determine how paint lays down, and when you pick a brush made of nylon, polyester, or a blend, you’re choosing materials that behave differently on various paints and surfaces.
You’ll notice nylon durability gives resilience, holding shape for cutting in and resisting splaying. Polyester flexibility helps with smooth laydown and spring, making it easier to control edges.
Blends aim to balance both: nylon adds toughness, polyester adds snap.
Blended filaments strike a balance—nylon for durability and polyester for lively spring, giving reliable control and smooth laydown.
Choose a synthetic based on finish and surface texture, wipe brushes clean promptly, and store bristles straight to extend life and keep consistent performance.
Brushes by Paint: Latex, Acrylic, and Oil-Based
When you’re choosing brushes, match the bristles to the paint: synthetic filaments work best for latex and acrylic, while natural-hair brushes suit oil-based paints.
You’ll get smoother coverage and less shedding with a quality nylon or polyester blend on water-based paints.
For oils, pick a tapered hog bristle to hold more paint and leave a finer finish.
Best Brushes For Latex
For latex paints you’ll want a brush that holds lots of paint, releases it evenly, and cleans up easily—so choose a high-quality nylon or nylon/polyester blend with a tapered, flagged tip for smooth coverage and minimal brush marks.
You’ll work faster and get straighter edges with the right tool. Focus on ferrule construction and comfortable handle shape.
Remember brush maintenance after each use to prolong life and keep bristles true. Match brush width to trim size and consider color selection for touch-up tools.
- Nylon/nylon-polyester blend
- Tapered, flagged tip
- Sturdy ferrule
- Easy-clean finish
Brushes For Oil Paint
Oil paints demand a different tool: choose natural-hair brushes—hogs hair or bristle—because their stiffness and split ends (flagging) hold heavy-bodied paint and lay it down smoothly without splaying.
You’ll pick brushes based on oil paint types and finish goals: alkyds flow faster, traditional oils need more open bristle.
Use flats for broad coverage, sash or angled brushes for cutting in and trim, and filberts for smoothing edges.
Match brush sizes to the task—wide brushes for walls, smaller sizes for detail.
Clean with mineral spirits, reshape while damp, and store upright to preserve the hairs.
Brush Shapes for Walls: Flat, Oval, and Block
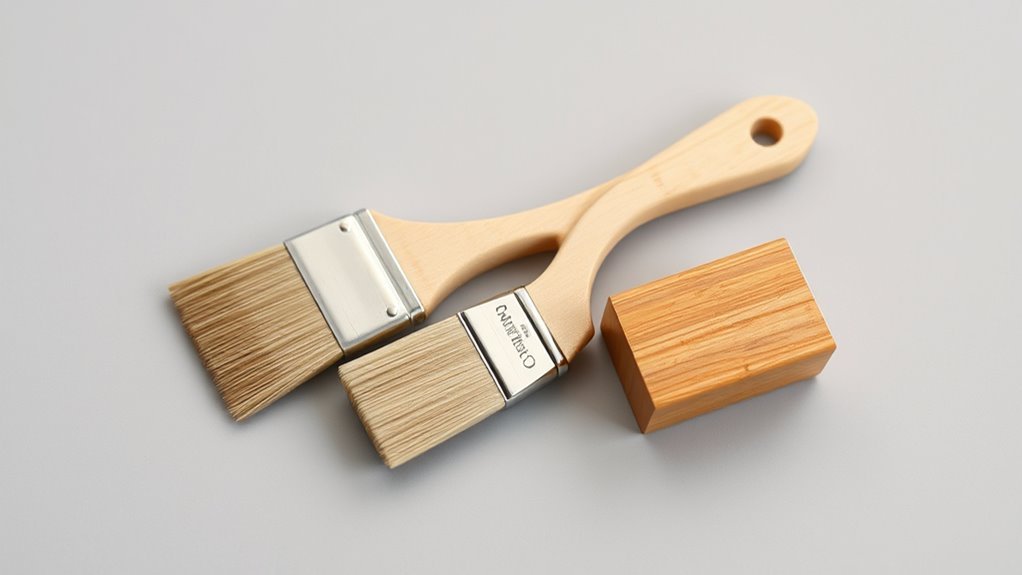
Although each brush profile tackles paint differently, you’ll usually choose between flat, oval, and block shapes based on the surface and finish you want.
You’ll pick brush types to match wall finishes and texture: flat brushes spread paint fast on smooth walls, oval brushes give controlled, even laydown for subtle sheen, and block brushes handle textured or rough surfaces without splaying.
Consider ergonomics and bristle type for the best results.
Think about handle comfort and bristle type to get the cleanest, easiest paint finish.
Compare these common uses:
- Flat — smooth walls, quick coverage.
- Oval — precision and even finish.
- Block — textured walls, durable pressure.
- All — choose bristle suited to paint type.
When to Use Angled Sash Brushes for Cutting-In
When you’re cutting-in around trim or ceilings, an angled sash brush is your go-to for clean control.
Use it whenever you need precise strokes along edges and in tight corners that a flat brush can’t reach.
It lets you paint straight lines faster and with less touch-up.
Best Moments To Use
Sometimes you’ll want an angled sash brush for cutting-in because it gives you clean control along trim, corners, and ceilings where rollers can’t reach.
You’ll choose angled sash when you need precision and consistent edges; it pairs well with the best brush types and ideal painting techniques. Use it when you want to avoid tape, when paint needs to meet a different color, or when working near fixtures.
- Tight spots around windows and doors
- Near light switches and outlets
- Along ceiling lines without drop cloth shifts
- Short runs where a roller is inefficient
Edges And Corners
After you’ve handled tight spots and short runs with an angled sash brush, focus on edges and corners where clean lines matter most. You’ll use angled sash brushes for edge techniques that let paint follow trim without overflow. For corner precision, tip the brush and steady your wrist; work from the wall toward trim, feathering strokes. Practice short controlled strokes, keep bristles loaded but not dripping, and clean up with a light touch. Use painter’s tape only when needed. The table below summarizes practical reminders for consistent cutting-in results.
| Tip | Action |
|---|---|
| Angle | 30–45° |
| Load | Moderate |
| Stroke | Short |
| Wrist | Steady |
| Tape | Optional |
Cutting-In Techniques With an Angled Brush
If you want crisp edges around trim and corners, start by loading an angled brush with a moderate amount of paint and tapping off the excess.
You’ll use cutting in techniques that rely on steady hands and the angled brush advantages to control paint flow. Follow this quick sequence:
- Rest the bevel against the trim and drag slowly for a thin line.
- Use short, confident strokes to extend the line along the wall.
- Feather the paint inward with light taps to blend with rolled sections.
- Replenish the brush sparingly to avoid drips and maintain edge control.
Practice steady wrist motion for consistent results.
Choosing Brush Width: Trim, Corners, and Large Areas
When you pick brush width, match it to the task: use a 1–2 inch angled brush for trim and tight corners, a 2.5–3 inch brush for wider trim and doorframes, and a 3–4 inch (or larger) flat brush for broad areas where a roller won’t reach.
Choose brush size based on reach and control: smaller widths give precision, larger widths speed coverage. Consider handle comfort for longer sessions; try different grips to reduce fatigue.
For textured or irregular surfaces, slightly wider brushes help fill grooves. Keep a narrowly sized angled brush handy for touchups and a wider flat for continuous edging.
Roller vs. Brush: Nap Length and When to Switch
Although rollers look simple, nap length dramatically changes how paint covers different surfaces, so you’ll want to match nap to texture and finish. You’ll pick roller types for smooth walls (short nap), semi-rough (¾”–1″), and rough textures (1½”–2″).
Switch to a brush when edges, corners, or detail work need control — that’s where brush techniques matter. Consider these quick rules:
- Smooth surfaces: 1/4″ nap for minimal texture.
- Semi-smooth: 3/8″–1/2″ balances coverage and finish.
- Rough textures: 3/4″–1″ or more for deep nap.
- Use a brush to cut in, feather, and tidy edges.
Choose Good Brushes Without Overspending: What to Look For
Because you don’t need to spend a fortune to get brushes that perform, focus on three things: bristle type, ferrule and handle construction, and the brush’s shape and size for the job.
Choose synthetic bristles for water-based paints and natural or blended for oil; they control finish and shedding, so inspect tips.
For water-based paints, use synthetic bristles; for oil, pick natural or blended—check tips for finish and shedding.
Look for a crimped, rust-resistant ferrule and a comfortable, solid handle—loose parts ruin work.
Match width and shape to trim, corners, or large areas.
Compare brands for brush quality vs. price, read reviews, and buy budget friendly options that balance durability and performance.
Prepare, Store, and Protect Brushes for Longer Life
Start by getting your brushes ready before the first dip: loosen and fan the bristles, remove any loose hairs, and wet synthetic brushes slightly for water-based paints (or apply a light coat of solvent for oil-based) so they pick up paint evenly.
You’ll extend brush life with simple brush maintenance and smart storage solutions. After use, remove excess paint, rinse or solvent-clean thoroughly, reshape bristles, and let dry flat or hanging. Store brushes protected from dust and pressure.
Follow these four steps:
- Clean immediately after use.
- Reshape and dry properly.
- Use protective covers.
- Rotate and inspect regularly.
Avoid Brush Marks and Lint: Techniques and Cleaning Tips
When you want a smooth, professional finish, control the amount of paint on the brush and keep bristles clean so they don’t leave streaks or fling lint onto the wall.
Load lightly, tap off excess, and use long, even strokes toward wet edges to avoid brush marks. Choose a high-quality brush and inspect for stray hairs before starting.
For brush maintenance, clean immediately after use with appropriate solvent or warm soapy water, rinse thoroughly, and reshape bristles. Store flat or hanging to prevent splaying.
For reducing streaks, sand between coats lightly and use a final gentle back-brush for an even appearance.
Frequently Asked Questions
Can I Paint Walls Without Priming Over Stains or Dark Colors?
You can, but you shouldn’t: untreated stains and deep hues often show through. Use a stain blocking primer for reliable dark color coverage, then paint—otherwise you’ll need extra coats and may still see bleeding or uneven finish.
How Long Should Paint Dry Between Coats in Different Climates?
You’ll feel like you waited eons, but typical drying times are 2–4 hours between latex coats in warm, dry climates and 6–24+ hours in cold, humid ones; humidity effects slow curing, so plan longer waits.
Are Foam Brushes Ever Appropriate for Wall Painting?
Yes — you can use foam brushes for trim touch-ups and small areas; foam brush benefits include smooth finish and low cost, but foam brush drawbacks are poor durability and shedding, so avoid large wall surfaces or heavy textures.
What Safety Gear Should I Wear When Painting Indoors?
You should wear a respirator, goggles, gloves, and protective clothing; imagine a clear mask filtering paint fumes as you stir. You’ll also ventilate, use drop cloths, and keep a fan running for fresh air.
How Do I Fix Paint Odor Lingering After Painting?
Open windows, run fans, and use ventilation tips like box fans exhausting air; place odor neutralizers (baking soda, activated charcoal, commercial neutralizers) around the room, and keep doors open until the smell fully dissipates.
Conclusion
When you’re choosing brushes for walls, remember: 80% of DIYers say brush quality is the top factor in a smooth finish, so don’t skimp. Pick synthetic bristles for latex or acrylic, natural only for oil, and use flat or block shapes for even coverage. Match roller nap to texture, keep brushes clean and stored upright, and use proper technique to avoid marks. A good midpriced brush saved most users time and gave near-professional results.