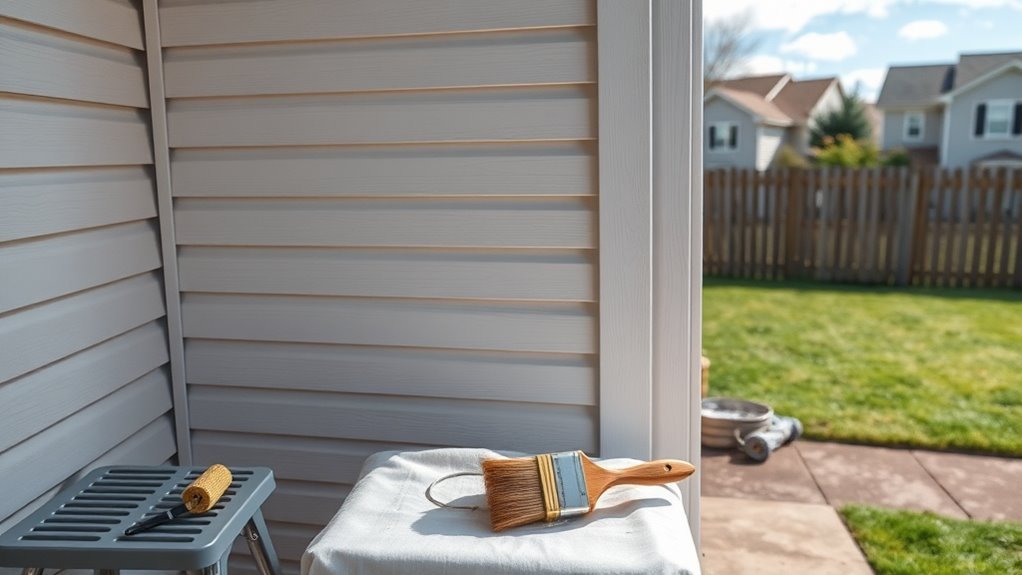
What Is Minimum Temperature for Exterior Painting?
You shouldn’t paint exterior surfaces below the paint maker’s labeled minimum—typically about 35–50°F (2–10°C)—because cold air or surface temps prevent proper film formation, slow curing, and cause adhesion failures like cracking or peeling. Check both air and surface temps with a thermometer and an IR gun, avoid dew and overnight lows, and use quick-flash primers, thin coats, or portable heat if you must work near limits. Keep going to learn timing, tools, and fixes.
Quick Minimum-Temperature Guide for Exterior Paint
Most exterior paints need a minimum temperature range to cure properly, and if you paint when it’s too cold you’ll risk poor adhesion, extended drying times, and a finish that can crack or peel.
You should check local exterior conditions before starting: cold nights, damp air, or wind can lower surface temps and trap moisture. Aim to paint when air and surface temps stay above the product’s safe threshold for the full cure period.
Use a thermometer on the substrate, plan for warmer daytime highs, and avoid overnight exposure. Adjust schedules rather than forcing work in marginal paint temperature windows.
Manufacturer Minimum-Temperature Recommendations
Because paint formulations vary, always consult the manufacturer’s labeled minimum temperature before you start—it’s the baseline for proper curing and warranty coverage.
You should follow manufacturer guidelines closely; they account for paint chemistry and additives that affect drying and adhesion.
Note that temperature variations between day and night, surface temperature versus air temperature, and microclimates around shaded or sun-exposed areas can change performance.
If conditions dip below the labeled minimum, delay work or use a product rated for colder conditions.
Keep records of the product batch and conditions in case warranty questions arise and to guarantee consistent results.
Minimum Temperature for Latex (Water‑Based) Exterior Paint
When you’re using latex (water‑based) exterior paint, pay close attention to cold weather limits because the paint can stop forming a proper film below the manufacturer’s minimum.
Cooler temperatures also slow curing time, which increases the risk of tackiness, poor adhesion, and dirt pickup.
We’ll look at how these factors affect timing and techniques for successful cold‑weather applications.
Cold Weather Limits
If you plan to paint exterior surfaces with latex (water‑based) paint in cold weather, know that the minimum temperature listed on the can is a guideline—not a guarantee—and surface temperature, humidity, and wind can all raise the risk of poor adhesion, slow drying, and freeze damage.
You should assess conditions, delay if frost or dew’s likely, and choose additives or formulations rated for lower temps.
Consider these painting challenges and mitigation steps:
- Monitor surface temp with an infrared thermometer.
- Avoid painting in wind or when humidity exceeds recommendations.
- Use fast‑drying, cold‑rated latex when possible.
- Protect work with tents or heaters.
Curing Time Effects
Beyond choosing the right moment and additives, you’ll want to think about how low temperatures slow the paint’s curing process and what that means for durability.
You’ll notice extended curing duration at cooler temps: latex develops film strength more slowly, so tackiness persists and layers remain vulnerable to dirt, rain, and freezing. That temperature impact raises risks of poor adhesion, blistering, or incomplete coalescence.
To minimize problems, apply only when forecasted temps stay above the paint maker’s minimum for the full drying window, allow extra drying time between coats, and avoid overnight dips that could interrupt curing.
Minimum Temperature for Acrylic and 100% Acrylic Paints
Acrylic and 100% acrylic paints typically require air and surface temperatures of at least 50°F (10°C) to cure properly, though some modern formulations can be applied down to about 35–40°F (2–4°C) with slow-drying additives or special cold-weather labels.
You’ll want to follow the manufacturer’s temperature range and avoid freezing conditions, since acrylic paint cures by water evaporation and coalescence.
Keep these practical tips in mind:
- Monitor surface temperature, not just ambient air, before painting.
- Use fast-draining, frost-free days to prevent moisture issues.
- Apply thin coats to guarantee proper film formation.
- Store cans above freezing during work.
Minimum Temperature for Oil‑Based and Alkyd Exterior Paints

While oil‑based and alkyd paints don’t rely on water evaporation the way acrylics do, they still need moderately warm conditions to flow and cure properly; most manufacturers recommend at least 40–50°F (4–10°C) for application and a few degrees warmer for overnight curing.
You’ll find oil based properties give longer open time and better leveling, so brushing and smoothing are easier in mild cool weather.
Alkyd advantages include strong adhesion and durability, but remember slower drying increases dust pickup risk.
Alkyds offer excellent adhesion and durability, though their slower drying heightens the chance of dust pickup.
If temperatures drop near the lower limit, plan longer curing and avoid recoating until the film feels dry and tack‑free.
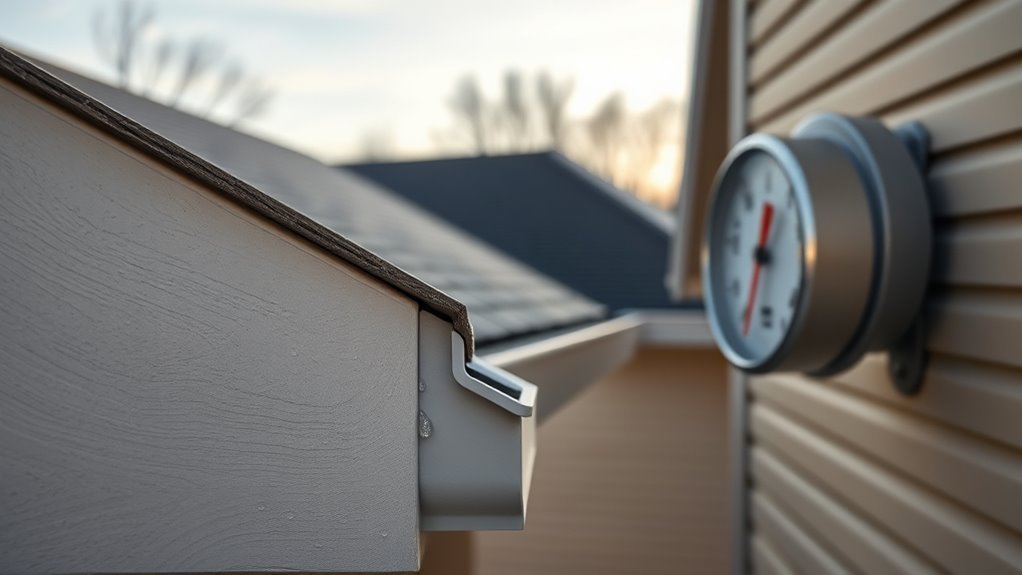
Surface vs. Air Temperature: Why It Matters for Painting
Temperature readings from your thermostat or a weather app don’t tell the whole story when you’re painting outdoors — the surface itself can be warmer or cooler than the air, and that difference changes how paint sticks, levels, and cures.
You need to check surface conditions because temperature impact on adhesion and drying is direct. Cold surfaces can retard film formation; hot surfaces can flash-dry and cause brush marks.
Manage surface vs. air differences by timing and preparation:
- Measure surface temperature with an infrared thermometer.
- Avoid painting on sun-heated or frosty surfaces.
- Prime to improve bonding on marginal surfaces.
- Test a small area first.
Humidity, Dew Point, and Minimum Painting Temperature
Because moisture in the air and on surfaces directly affects whether paint will dry and adhere properly, you need to watch both relative humidity and the dew point before you start painting outdoors.
You’ll notice humidity effects slow curing; high humidity traps solvents and extends tack time, increasing drip and adhesion problems.
Check the dew point considerations to avoid painting when surface temperature is within a few degrees of the dew point, which causes condensation.
Aim for moderate humidity and a surface several degrees above dew point for recommended drying.
Use a hygrometer and dew point calculator to decide whether conditions meet the paint maker’s specs.
Why Overnight Lows Determine Paint Success
If your overnight low drops near or below the paint maker’s minimum, you’ll undo a day’s worth of proper surface prep and application by causing slow cure, film defects, or even condensation on the finish.
You need to monitor overnight humidity and temperature fluctuations because paint cures chemically; a cold, damp night stalls crosslinking and traps moisture.
Plan work so the finish stays above minimum overnight, or delay. Watch forecasts and use simple mitigation like heaters or temporary enclosures.
- Reduced adhesion from trapped moisture
- Blushing or milky finish from condensation
- Extended tack time inviting dirt
- Increased risk of peeling and cracking
How Paint Formula and Viscosity Affect Cold‑Weather Drying
Paint chemistry and viscosity control how quickly solvents and water leave the film. In cold weather, you’ll see slower evaporation, longer open time, and a higher chance of surface skinning while the underlying layers stay soft.
Cold temperatures slow solvent evaporation, extend open time, and risk surface skinning while underlying paint remains soft.
You need to pick formulas with low minimum film formation temperatures and appropriate coalescing agents when temperatures drop. Higher viscosity slows flow and leveling, increasing brush marks and trapping solvent; thinner formulations may sag but dry more uniformly.
Always consider temperature influence on curing reactions: ionic or coalescent-dependent systems respond differently.
Adjust thinning and application thickness to balance coverage with safe cold-weather drying performance.
Tools to Measure Air, Surface, and Dew-Point Temperatures
You’ll need three basic measurements to decide whether it’s safe to paint: air temperature, surface temperature, and dew point.
Use simple tools for accurate temperature measuring and humidity assessment so your paint cures properly. Carry a handheld digital thermometer for ambient air, an infrared surface thermometer for siding and trim, and a wet-bulb or psychrometer for relative humidity.
For dew point, use a combined hygrometer/dew-point calculator or a smartphone app paired with local readings.
- Handheld digital thermometer
- Infrared (non-contact) surface thermometer
- Psychrometer or wet-bulb sling
- Hygrometer with dew-point readout
Timing Prep and Application Around Temperature Windows
When temperatures approach your paint’s limits, plan prep and application around the warmest, driest hours of the day so coatings can bond and cure properly; aim to start work after the dew has lifted and finish at least two hours before expected temperature drops or moisture returns. You’ll monitor temperature fluctuations and surface readings, sequence cleaning, priming, and painting to maximize paint bonding, and pause if conditions worsen. Use short windows for small sections; schedule large jobs on multi-day forecasts with stable highs. Simple checklist:
| Task | Ideal Window | Risk |
|---|---|---|
| Cleaning | Mid-morning | Dew, damp |
| Priming | Late morning | Cold nights |
| Topcoat | Early afternoon | Rapid cooling |
| Inspection | Before night | Moisture return |
Cold‑Weather Techniques to Improve Adhesion and Drying
Although cold conditions slow chemistry, you can still get good adhesion and drying by controlling surface temperature, moisture, and film thickness; heat the substrate when possible, work during the warmest part of the day, and keep coatings thin so solvents can evaporate.
You’ll need focused cold weather preparation for successful paint application. Preheat surfaces with low-heat devices, monitor dew point, and use fast-flash primers designed for low temps.
Follow these practices:
- Use portable heaters or heat lamps to raise substrate temperature safely.
- Remove frost and allow surfaces to stabilize.
- Apply thin, even coats and avoid heavy buildup.
- Store and warm materials before use to guarantee consistent flow.
Signs Paint Failed From Low Temperatures: And Fixes
If your exterior paint is peeling or flaking, or you spot blistering and wrinkling, it may have failed because it was applied too cold.
You’ll want to inspect affected areas to determine whether the film lost adhesion or trapped moisture during curing.
Next we’ll cover simple fixes—from spot-sanding and priming to full repainting when necessary.
Peeling Or Flaking
Even though cold nights seem harmless, low temperatures can cause exterior paint to peel or flake as it loses adhesion and becomes brittle. You’ll notice curled edges, powdery patches, or sheets of paint coming away from the substrate.
You should identify peeling causes quickly and act to limit damage. Inspect for moisture, frozen substrate, or painting below manufacturer minimums.
For flaking prevention, remove failed paint, dry surfaces, and only repaint when temperatures meet product specs.
- Scrape to sound substrate
- Sand feathered edges
- Prime with low-temp compatible primer
- Recoat during stable warm period
Blistering And Wrinkling
Peeling often starts at the edges, but blistering and wrinkling show a different kind of paint breakdown you’ll want to catch early.
If you paint when it’s too cold, solvent and water can’t evaporate properly, so blistering causes include trapped moisture and improper film formation. You’ll spot raised bubbles or puckered surfaces; wrinkling effects look like crumpled skin where the topcoat dried before underlying layers.
To fix it, strip or sand affected areas, let substrates dry, prime with a product rated for low temps, and repaint within the manufacturer’s temperature range.
Prevention beats repair—wait for suitable conditions.
When to Postpone Exterior Painting and Temporary Alternatives
When temperatures drop below the paint manufacturer’s recommended minimum, postpone exterior painting to avoid poor adhesion and extended curing times. Instead, protect surfaces with temporary measures like breathable tarps, moisture-resistant primers, or heat-assisted enclosures until conditions improve.
If temperatures fall below the paint maker’s minimum, delay exterior painting and protect surfaces with breathable tarps or temporary heat.
You shouldn’t paint in adverse weather conditions or confuse exterior timing with interior painting schedules. Monitor forecasts, humidity, and surface temperature, and plan for a stable stretch of warm, dry days. Temporary alternatives buy you time and prevent costly failures.
- Use breathable tarps to block precipitation
- Apply a compatible moisture-resistant primer
- Run portable heaters in enclosed areas
- Reschedule around reliable weather conditions
Frequently Asked Questions
Can Paint Be Applied During Light Rain or Mist?
You shouldn’t apply paint during light rain or mist; rain effects compromise adhesion and drying, and you’ll face moisture concerns that cause blistering, streaks, and poor curing. Wait for dry conditions and proper surface prep.
How Long Should Newly Painted Surfaces Be Protected From Frost?
For example, after a fall repaint of your porch, you should protect newly painted surfaces from frost for at least 24–48 hours; you’ll avoid frost protection failures because temperature effects can mar curing and adhesion during that period.
Does Cold-Weather Paint Smell Indicate Poor Curing?
Yes — if you smell strong solvent in cold weather, it can mean paint curing slowed and solvents are off-gassing longer. You’ll want to guarantee proper ventilation, warmer temps, and patience so paint curing completes correctly.
Can Primers and Topcoats Have Different Temperature Requirements?
Yes — you can; primer application often tolerates cooler conditions while topcoat adhesion may need warmer temperatures, so you’ll follow each product’s specs, guarantee proper cure times, and avoid painting in extremes for best results.
How Does Paint Storage Temperature Affect Application Performance?
A contractor once thinned cold paint and missed a deadline. You’ll see paint viscosity change with storage temperature: temperature extremes thicken or thin coatings, so you’ll store at moderate temps to guarantee proper application performance.
Conclusion
Think of exterior painting like baking—temperature’s the oven. If you paint below the recommended minimum, the finish can sag, peel, or never fully cure. Follow manufacturer temperature limits for your paint type, prep when nights stay warm, and use cold‑weather techniques to help adhesion. If conditions aren’t right, postpone and protect surfaces with tarps or primer rescue. Wait for the proper window, and your paint job will rise to the occasion.