What Paint for Exterior Trim? Best Options
You should pick a high-quality exterior acrylic-latex or a modern alkyd (oil) trim paint depending on your substrate and climate; acrylic-latex works well on wood, fiber cement, and previously painted trim while alkyds give extra toughness for doors and high-traffic areas. Match primer to material, prep thoroughly, and choose satin to gloss for durability and easier cleaning. Test a small area for adhesion and color, and keep going to learn prep, finish choice, and troubleshooting tips.
Best Paint for Exterior Trim : Quick Answer & Decision Guide
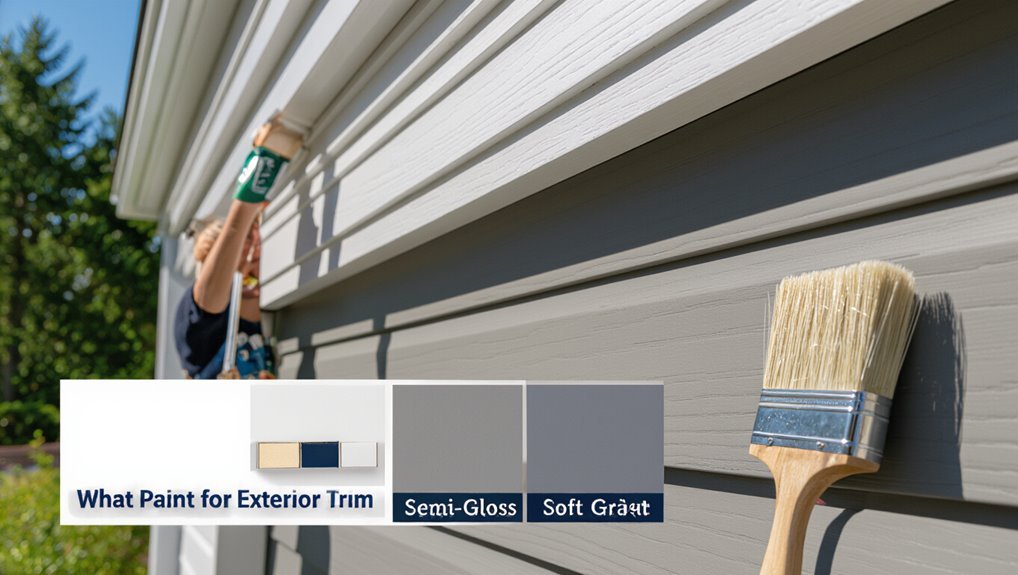
When you’re choosing paint for exterior trim, pick a product that balances durability, adhesion, and finish—acrylic latex is the go-to for most jobs because it resists weathering, holds color, and cleans up with water.
You’ll evaluate substrate, climate, and desired sheen to guide paint selection: smooth, semi-gloss, or satin sheens hide imperfections and shed dirt.
Prep matters—clean, sand, and prime bare wood or patched areas to guarantee adhesion and longevity. Match primer type to trim material, and test a small area to confirm compatibility and color under real light before committing to full application.
Oil vs. Water-Based Trim Paint: When to Pick Each
You’ve already narrowed choices to acrylic latex for most exterior trim, but sometimes the decision comes down to oil- versus water-based trim paints—each has strengths depending on the job.
You’ll pick oil when you need stain-blocking, longer open time for smoothing, and toughness—classic oil paint benefits for trim that’s weathered or stained.
Choose water-based when you want faster drying, easier cleanup, and better flexibility—key water-based advantages on modern substrates and in variable temperatures.
Opt for water-based for quicker drying, simple cleanup, and flexible performance—ideal on modern materials and in changing temperatures.
Consider substrate, staining, and climate.
- Stained or tannin-bleeding wood
- New milled lumber
- Previously painted glossy oil
- Fast turnaround projects
Best Trim Finish: Satin, Semi-Gloss, or Gloss?
Choosing between satin, semi-gloss, and gloss comes down to the trade-off between durability and appearance, since shinier finishes resist wear and clean more easily.
You’ll also want to take into account how much surface imperfection you’re willing to hide, because higher sheens make flaws more obvious.
Think about how often you’ll clean the trim and how smooth the prep work will be before picking a finish.
Durability vs. Appearance
Deciding between satin, semi-gloss, or gloss comes down to balancing how tough you need the finish to be against how much sheen you want to show.
You’ll weigh paint longevity versus aesthetic appeal: higher sheen resists wear and cleans easier, while lower sheen softens look.
Choose based on traffic, weather exposure, and how bold you want trim to read. Consider durability needs first, then match sheen to style.
- Satin: moderate sheen, good durability, subtle look.
- Semi-gloss: higher durability, moderate shine.
- Gloss: maximum durability, high shine.
- Match exposure to sheen choice.
Surface Imperfections Visibility
Light reflects off paint differently at each sheen, so imperfections stand out more on glossier finishes. You’ll notice gloss and semi-gloss amplify bumps, brush marks, or uneven surface texture, while satin hides flaws better.
If your trim has minor dings or inconsistent grain, choose satin to minimize visibility.
Remember that smoother prep improves paint adhesion regardless of sheen; sanding, priming, and filling gaps reduce defects and boost longevity.
If you prefer gloss for cleaning or aesthetic reasons, invest extra time on surface prep to guarantee the finish looks crisp rather than spotlighting every imperfection.
Acrylic-Latex Trim Paint: Pros, Cons, and Best Uses
Acrylic-latex trim paint blends durability with easy cleanup, so it’s a strong choice for many exterior trims where you want a reliable finish without fuss.
You’ll get acrylic durability and excellent color retention, quick drying, and flexible film that resists cracking. It’s waterborne, low-VOC, and easy to touch up.
Downsides: slightly less leveling than oil and can show heavy brush marks on imperfect surfaces.
Use it on wood, fiber cement, and previously painted trim. Consider priming porous areas and selecting high-quality brands for best longevity.
- Quick drying and easy cleanup
- Resists yellowing, holds color
- Flexible for seasonal movement
- Best on prepped, smooth substrates
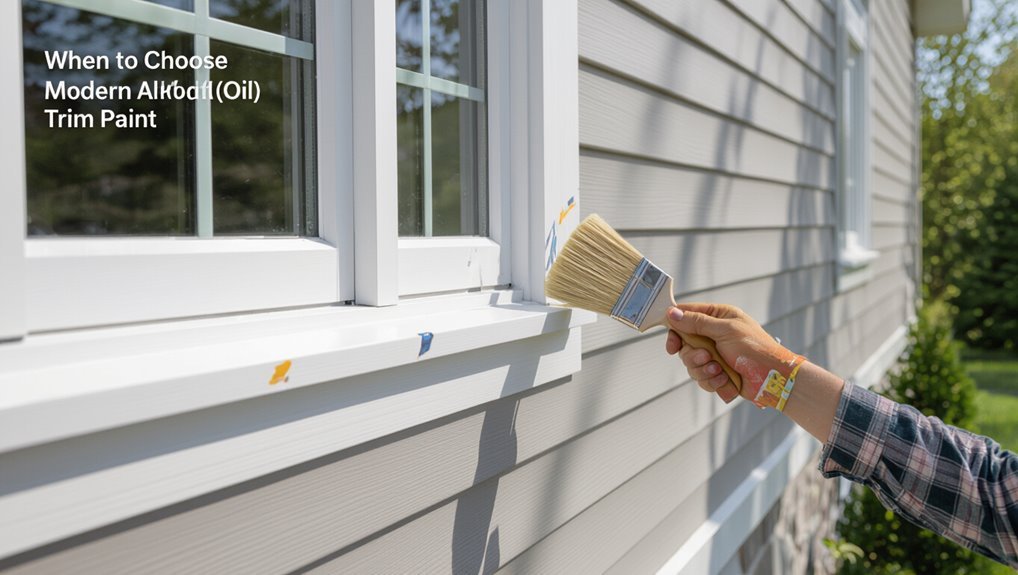
When to Choose Modern Alkyd (Oil) Trim Paint
If you need a tougher, glossier finish for high-traffic trim or want superior leveling to hide brush marks, modern alkyd (oil) trim paint is the better pick. You’ll choose it when durability, smoothness, and stain resistance matter more than quick drying or easy cleanup. Consider modern alkyd benefits like hard, long-lasting surfaces and excellent flow that minimize brush strokes. Ideal application situations include doors, railings, window sashes, and areas subject to knocks or frequent cleaning. Weigh longer cure time and solvent cleanup against performance.
| Situation | Why pick alkyd |
|---|---|
| Doors | Withstands frequent contact |
| Railings | Durable, glossy wear |
| Window sashes | Smooth, hides brush marks |
| High-traffic trim | Long-lasting finish |
Enamels & Hybrid Trim Paints: Extra-Durability Options
While modern alkyds give you toughness and smoothness, enamels and hybrid trim paints raise durability even further by combining tough resins with improved application and cleanup.
You’ll pick these when you want long-lasting gloss, scuff resistance, and easier maintenance. Learn enamel types—oil, waterborne alkyd, and urethane-modified—and how finish level affects hardness.
Expect hybrid benefits like faster drying, soap-and-water cleanup, and better adhesion without classic oil drawbacks. Consider surface prep and compatible primers.
Typical uses include high-traffic eaves, window sills, and door frames.
- Hard gloss enamel for wear
- Satin enamel for subtle sheen
- Waterborne alkyd for cleanup
- Urethane hybrid for toughness
Matching Paint to Trim Material: Wood, PVC, Fiber Cement, Metal
Different trim materials demand different paint choices, so match your product to wood, PVC, fiber cement, or metal for best results. You’ll pick primers and coatings for trim material compatibility: oil-based or acrylic-enamels for wood, flexible acrylics for PVC, masonry-grade acrylics for fiber cement, and corrosion-resistant primers plus enamel for metal. Consider paint finish options—satin or semi-gloss for easier cleaning, matte for hiding imperfections. Prep matters: clean, sand, and prime per substrate. Use the table below to compare quick guidance.
| Material | Best Paint/Primer |
|---|---|
| Wood | Oil or acrylic-enamel |
| PVC | Flexible acrylic |
| Fiber cement | Masonry acrylic |
| Metal | Rust-blocking primer + enamel |
How Climate Affects Exterior Trim Paint Performance
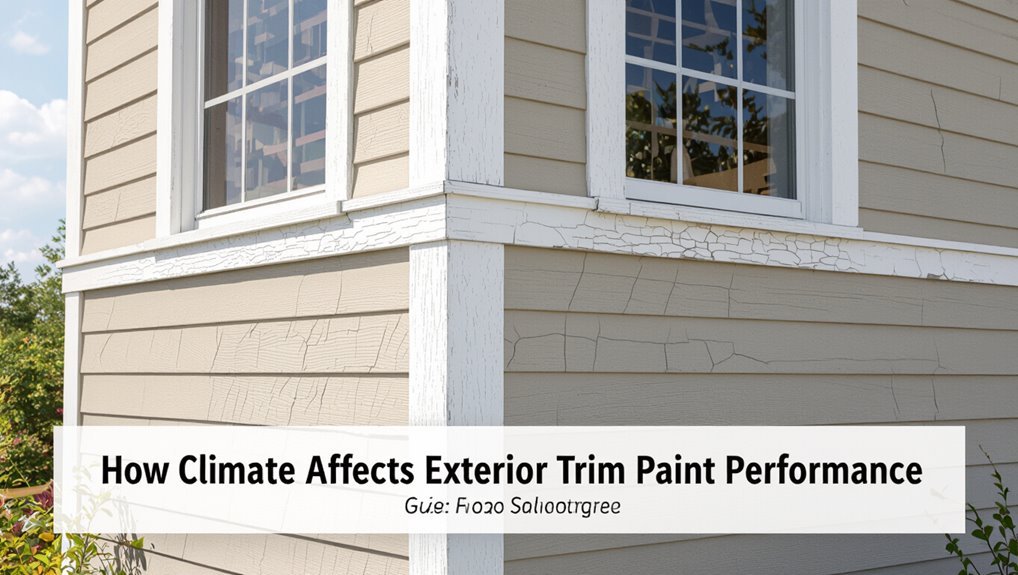
You’ll want to pick trim paint with your local climate in mind, since temperature extremes can cause cracking or poor curing.
High humidity and frequent moisture affect adhesion and promote peeling or mildew, while strong UV exposure fades color and breaks down binders over time.
Knowing how these factors play out where you live helps you choose the right formulation and maintenance schedule.
Temperature Extremes
Because extreme temperatures push paint beyond its comfort zone, choosing the right finish and formulation matters more in some climates than others.
You’ll want coatings designed for temperature fluctuations and strong weather resistance so trim won’t crack, peel, or lose adhesion.
Pick acrylic or elastomeric paints for flexibility in cold and heat, and low-VOC formulas that cure properly across temps.
Apply within manufacturer temperature windows and allow longer dry times when needed.
Consider lighter colors to reduce thermal gain on sunny facades.
Regular inspections catch early damage so you can touch up before problems widen.
- Freeze–thaw cracking
- Heat-driven expansion
- UV breakdown
- Adhesion loss
Humidity And Moisture
When humidity climbs or moisture lingers, paint on exterior trim faces a very different set of challenges than in dry climates. You’ll want coatings with strong moisture resistance to prevent blistering, peeling, and mold growth.
Oil-modified enamels and high-quality exterior acrylics bond well and shed water better than cheap latex. Pay attention to surface prep: dry, clean wood and use priming systems rated for damp conditions so adhesion holds.
Ventilation and proper flashing reduce trapped moisture behind trim. Monitor humidity effects seasonally and choose paints with mildew inhibitors and flexible films to tolerate repeated wet-dry cycles.
UV Exposure Effects
If your trim sits in strong sun, UV rays will break down binders and fade pigments, causing chalking, color loss, and brittle film that cracks and flakes.
You should choose coatings with UV protection strategies and follow paint longevity considerations: pick high-UV latex or acrylics, lighter colors that reflect sunlight, and primers designed for sun-exposed wood.
Maintain finishes with regular inspections and touch-ups before failure. Clean surfaces to remove chalk and contaminants that accelerate degradation.
Consider shade, overhangs, or UV-stabilizing clear coats to extend service life.
- Fading and chalking
- Binder breakdown
- Color choice impact
- Preventive maintenance
Surface Prep and Priming for Long-Lasting Trim Paint
Although trim paint’s longevity depends on the product you choose, how you prep and prime the surface matters just as much; start by cleaning, scraping loose paint, sanding smooth, and repairing gaps so the primer can bond properly. You’ll focus on surface cleaning to remove mildew and chalk, then choose primer selection based on substrate—wood, metal, or PVC. A quality primer seals, blocks stains, and improves adhesion, reducing peeling and flaking.
| Feeling | Result |
|---|---|
| Pride | Durable finish |
| Relief | Fewer callbacks |
| Confidence | Even coverage |
| Satisfaction | Long-lasting curb appeal |
Trim Application Tips: Brushes, Rollers, and Sprayers
Choose the right tool for each trim detail—brushes for cutting in and corners, rollers for flat boards, and sprayers for fast, even coverage—so you get a smooth, professional result without wasted effort.
Choose the right tool—brushes for edges, rollers for flats, sprayers for speed—for smooth, professional trim results.
Match brush types to paint: angled sash brushes for control, synthetic bristles for latex, natural for oil.
Use roller techniques with thin naps for smooth profiles and back-rolling to reduce sags.
Keep a wet edge, maintain consistent pressure, and overlap passes.
Clean sprayer tips often and thin only as recommended.
Practice on scrap trim, keep edges crisp with light sanding between coats, and work section by section.
- Angled sash brush
- Synthetic bristle brush
- Thin-nap roller
- Airless sprayer
Color and Sheen: Hide Flaws and Highlight Trim Profiles
When you pick trim colors and sheens, think about hiding minor flaws while accenting profiles. You’ll use color psychology to set mood—cool neutrals recede, warm tones pop.
Lighter trims brighten edges; darker trims add contrast and definition. Choose satin or semi-gloss where you want sheen effects that highlight moulding lines and resist dirt.
Flat or low sheen hides small imperfections and works on textured surfaces. Match sheen to architectural style: historic homes suit softer sheens, modern homes handle higher gloss.
Test swatches in sunlight and shade to confirm how color and sheen read from the street.
Estimating Paint Quantity and Project Cost for Trim
Before you buy paint, measure the trim to calculate surface area so you know how many coats and how much product you’ll need.
Factor in primer, sealant, brushes, tape, and drop cloths when budgeting for supplies. With those numbers you can estimate total cost and avoid surprises mid-project.
Calculating Surface Area
Although trim pieces are narrow, their combined length adds up fast, so you’ll want to measure carefully to estimate paint needs and costs accurately.
Start by doing surface area calculations: measure trim length and width, multiply per piece, then sum. Include both faces and edges if you’ll paint them.
- Measure each trim run’s length and width accurately.
- Multiply length × width to get square feet per piece.
- Add all pieces for total painted square footage.
- Divide total by your paint’s coverage (sq ft/gal) to find required gallons.
These measuring trim steps keep estimates reliable and waste minimal.
Budgeting Paint And Supplies
Now that you’ve calculated the total square footage of your trim, you can turn those numbers into a realistic budget for paint and supplies.
Estimate paint needed by dividing square footage by the paint’s coverage per gallon, then add 10–15% for touchups.
Compare mid-grade and premium paints; choose budget friendly options where exposure is low, but invest in quality supplies—brushes, caulk, primer—for smoother application and fewer reworks.
Factor in tape, drop cloths, sandpaper, and disposal.
Total labor or rental costs should be included.
Round up costs, keep receipts, and plan a small contingency for unexpected needs.
Common Problems and Fixes: Peeling, Cracking, Staining
What’s causing that trim to peel, crack, or stain—and how do you fix it?
You’ll spot peeling paint from poor adhesion, cracking paint from temperature stress, and staining issues from moisture or tannins.
Use proper repair techniques: clean, sand, prime with a stain-blocking primer, and choose flexible exterior trim paint.
Prevent recurrence by addressing leaks and ensuring good ventilation.
- Scrape loose paint, sand edges smooth.
- Clean stains with appropriate cleaners; rinse thoroughly.
- Apply stain-blocking primer to affected areas.
- Use high-quality acrylic or elastomeric trim paint for durability.
Repaint vs. Repair or Replace: Decision Checklist
If the trim shows only surface wear—minor peeling, a few small cracks, or isolated stains—you can usually repaint after spot repairs.
But when damage runs deep, recurrent rot, or extensive warping is present, you’ll need to repair sections or replace the whole piece.
Evaluate decision factors: extent of decay, structural soundness, cost, time, and matching materials.
Try simple repair options first—scrape, sand, fill gaps with epoxy, prime, then paint.
Replace boards if rot penetrates framing, fasteners fail, or profiles can’t match.
Prioritize long-term durability over quick fixes to avoid repeated work and higher costs later.
Frequently Asked Questions
Can I Paint Trim Myself While Living in the House With Pets and Children?
Yes, you can; you should use safety precautions, like ventilating, sealing off rooms, and using pet friendly options with low-VOC or zero-VOC paints. Keep pets and children away until fumes dissipate and surfaces fully cure.
How Soon Can I Wash Exterior Trim After Painting?
You can gently wash exterior trim after about 48–72 hours, depending on drying time and conditions; use mild soap, soft brush or sponge, rinse gently, and avoid high-pressure washing to protect fresh paint and seams from damage.
Are Low-Voc Paints Safe for People With Chemical Sensitivities?
An ounce of prevention is worth a pound of cure—you’ll often find low-VOC benefits reduce odors and fumes, so you’ll usually tolerate them better with chemical sensitivity, but always test small areas and check ingredient labels first.
Can I Paint Over Lead-Based Trim Without Professional Removal?
You can’t safely paint over peeling lead-based trim without precautions; lead paint risks demand containment and prep. Use encapsulation-approved products, seal surfaces, wear PPE, and consider certified abatement or a lead-safe contractor for safe painting practices.
What Maintenance Schedule Extends Exterior Trim Paint Life?
Right off the bat, you’ll inspect yearly, clean and touch up every spring, caulk gaps, repaint every 5–7 years, and address damage promptly; consistent exterior trim care and paint longevity depend on routine checks, sealing, and timely repairs.
Conclusion
You’ve got choices: go water-based for easy cleanup and flexibility, pick modern alkyd for durability and leveling, or choose satin/semi-gloss for balance and gloss for punch. Match primer to substrate, fix rot before painting, and test color and sheen on trim profiles. Budget for proper prep, enough paint, and quality brushes. Decide to repaint, repair, or replace based on damage, time, and long-term value — then act with confidence.