What to Thin Latex Paint With? Easy Guide
You’ll almost always thin latex paint with clean water, adding a little at a time and stirring thoroughly until the viscosity suits brushing, rolling, or spraying; most manufacturers recommend no more than about 10% by volume to keep hiding, sheen, and film strength. Strain for skins or debris, test on a scrap, and label mixed cans—use within a day for consistency. Keep good ventilation and protective gear, and continue for tips on ratios, sprayers, and eco options.
Quick Answer: How to Thin Latex Paint Safely
Start by checking the paint’s label and stirring the can thoroughly—most latex paints only need water to thin and you’ll rarely need more than 10% by volume.
You’ll choose thinning techniques based on latex paint types and the job: flat or eggshell benefits from minimal water; primers and high-build latex may need a touch more.
Add water gradually, mix thoroughly, and test viscosity with a brush or roller.
Avoid solvents unless manufacturer allows them.
Keep a clean container, measure additions, and note amounts for consistency.
If paint feels off after thinning, stop and consult the label or manufacturer before continuing.
When You Should Thin Latex Paint Before Use
If your paint is too thick to spread smoothly or to load your brush or roller evenly, you should thin it before starting—especially with stored cans, heavy-body formulations, or when spraying.
You’ll want to thin when your chosen application techniques (brush, roller, spray) aren’t working with the paint consistency out of the can.
Thin small test batches to match the tool and surface: spraying needs thinner, fine-detail brushing may tolerate slightly thicker mixes.
If the paint drags, leaves heavy edges, or sputters from a sprayer, stop and adjust.
Always mix gradually and test on a scrap area before proceeding.
How Thinning Affects Coverage, Sheen, Drying Time, and Durability
Once you’ve adjusted paint consistency to suit your tool, be aware that thinning changes more than just flow: it alters coverage, sheen, drying time, and long-term durability.
You’ll notice a coverage impact immediately—thinner paint spreads farther but hides less, often requiring extra coats.
Expect sheen variations: reduced solids can dull gloss and shift finish toward matte.
Expect sheen shifts: lowering solids can reduce gloss and push a finish toward a flatter, more matte look.
Drying effects include faster evaporation for water-thinned paint, which can shorten open time and affect leveling.
Durability changes occur because fewer binders lower film strength, making the surface more prone to wear, staining, and reduced washability unless you limit thinning.
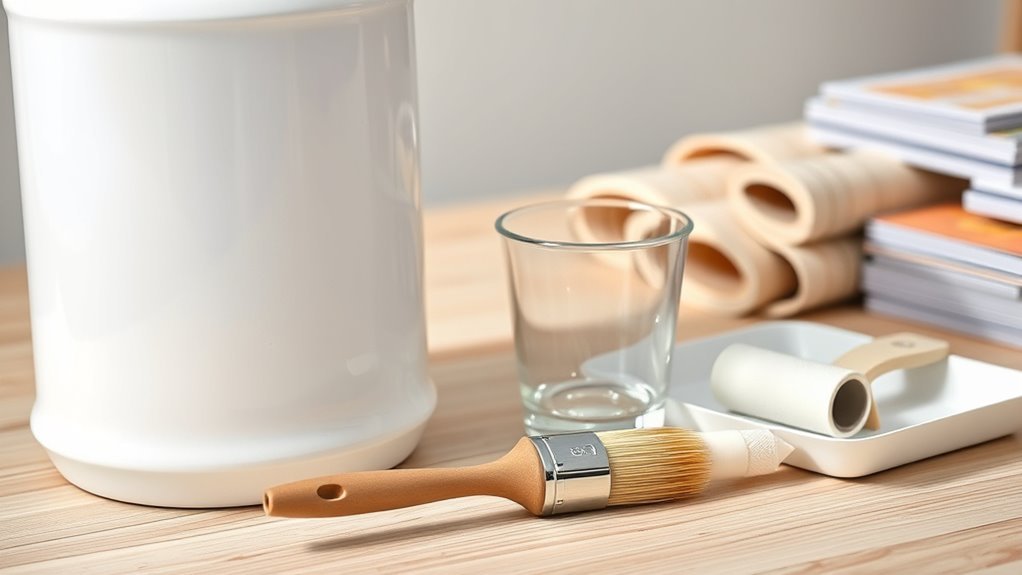
Prepare Paint: Stirring, Straining, and Inspecting Cans
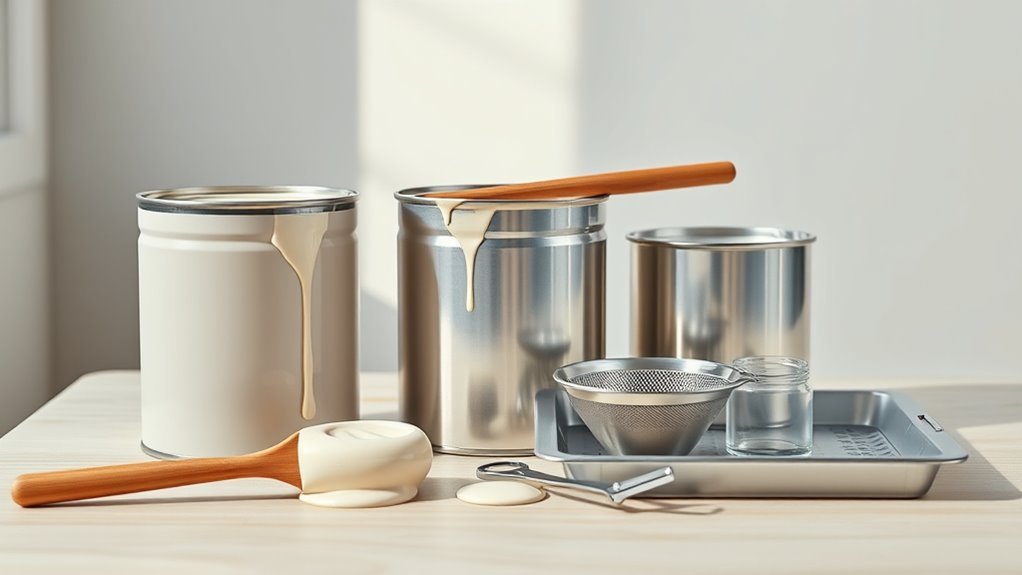
Before you pour a drop, check and prepare the can so the paint goes on smoothly: stir thoroughly to re-emulsify pigments and binders, strain to catch skin and debris, and inspect the can for separation, contamination, or rust that could ruin your finish.
You’ll want to use proper stirring techniques: scrape the sides and bottom with a flat paddle, lift and fold until color and viscosity are uniform.
Employ straining methods like a disposable mesh filter or nylon stocking stretched over a funnel.
When inspecting cans, look for lumps, odor changes, or metal flakes. Address problems before thinning or applying.
Water for Latex Paint: Basics and Safety
You’ll thin latex paint with water only when the consistency’s too thick for your sprayer or roller.
Add small amounts—start with a few teaspoons per quart and test until you reach the right flow.
Always work in a well-ventilated area, wear gloves and eye protection, and follow the manufacturer’s recommendations.
When To Thin
Wondering when to thin latex paint with water? You’ll thin when paint’s latex paint viscosity prevents smooth flow or hinders your application techniques—like brushing, rolling, or spraying.
Thin to improve leveling, reduce brush marks, or allow even spray atomization. Don’t thin just to cover poor surface prep or to force cheaper paint to perform; fix adhesion, clean, and prime first.
Also avoid thinning when formula already matches manufacturer specs or when lowered viscosity compromises hide and durability for the job.
Test on a small area and let it dry; that’ll tell you if thinning was necessary before proceeding.
How Much Water
Measure carefully and add water incrementally, stirring thoroughly between additions to assess paint consistency. Use clean water at room temperature—extreme water temperature can affect drying and film formation.
Test the thinned paint on a scrap surface to confirm coverage, flow, and adhesion before full application.
Safety Precautions
When thinning latex paint with water, take precautions to protect yourself and your work—wear nitrile gloves, safety glasses, and a mask if you’re spraying, and work in a well-ventilated area to avoid inhaling vapors or aerosolized particles.
You should follow safety gear guidelines, including long sleeves and respirators for prolonged jobs. Use ventilation tips like cross-breezes, fans, or open windows to disperse fumes and particulates.
Observe handling precautions: avoid skin contact, clean spills immediately, and dispose of rags safely.
For paint storage, seal containers tightly, label mixtures, and keep them out of reach of children and pets.
Thinning Latex Paint for Brushing and Rolling (Water Ratios)
For brushing and rolling latex paint, you’ll usually thin with clean water in small increments—start with about 5–10% (roughly 1–2 ounces per quart) and only increase if the paint drags or doesn’t level.
You’ll test on a sample board, evaluating brush techniques for smooth laydown and watching how roller application covers without spatter. Stir thoroughly and let the paint rest a few minutes before retesting.
Don’t exceed about 10–15% total thinning for most indoor paints; too thin weakens hide and adhesion. If leveling improves and coverage remains acceptable, proceed.
Always label mixed cans and use within the same day.
Thinning Latex Paint for Spraying and HVLP (Water Ratios)
If you’re spraying latex with an HVLP or airless setup, you’ll usually need more thinning than for brushing—start conservatively at about 10–20% water (roughly 3–6 ounces per quart) and adjust until the paint flows smoothly through the tip without spitting or clogging.
Test small batches: add water in increments, stir thoroughly, and run through the sprayer to check atomization.
Focus on sprayer technique—maintain consistent distance and speed to avoid runs. Proper thinning eases application but don’t overdo it or coverage suffers.
Keep records of ratios per paint type, and match thinning to nozzle selection and project needs.
Sprayer Setup and Recommended Nozzle Sizes After Thinning
Although thinning changes paint viscosity, you’ll still need to match your sprayer setup and tip size to the job to get consistent atomization and finish.
After thinning latex with water, test viscosity with the manufacturer’s cup and adjust pressure for smooth flow.
After thinning latex with water, check viscosity with the manufacturer’s cup and tweak pressure for smooth spray flow
For airless sprayers, use 0.015–0.019″ tips for light coats, 0.021–0.027″ for heavier body paints.
For HVLP, choose 1.4–2.0 mm nozzles depending on thickness.
Prioritize nozzle selection to avoid spitting or orange peel.
Maintain filters, clean passages, and perform regular sprayer maintenance to prolong life and guarantee reliable spray patterns.
When to Use Acrylic Conditioners Instead of Water
When you need better flow, leveling, or extended open time without over-thinning the binder, reach for an acrylic conditioner instead of plain water. You’ll choose conditioners when spraying, rolling, or brushing temperature-sensitive jobs. Acrylic advantages include maintained film strength, reduced brush marks, and longer working time. Know the conditioner types: slow-dry for hot days, flow improvers for smooth finishes, and anti-foaming blends. Use sparingly per manufacturer instructions to avoid blush or adhesion issues.
| Situation | Benefit | Typical Dose |
|---|---|---|
| Spraying | Smooth atomization | 1–3% |
| Hot weather | Slower drying | 2–5% |
| Brushing | Better leveling | 1–2% |
Using Commercial Flow Improvers and Retarders Correctly
When you pick a commercial flow improver or retarder, match the product to your paint brand and the finish you want.
Follow the manufacturer’s mixing ratios precisely to avoid thinning too much or creating surface defects.
Be aware that retarders slow drying while flow improvers improve leveling, so adjust drying time and recoat schedules accordingly.
Choosing The Right Additive
If your paint’s leveling or drying behavior isn’t giving you the finish you want, pick additives designed for latex—flow improvers smooth out brush and roller marks, while retarders slow drying to reduce lap marks and improve leveling.
Choose additive types based on surface, ambient conditions, and desired finish. Read product labels for compatibility concerns with acrylic, vinyl, or previously modified paints.
Test small areas to confirm appearance and adhesion before committing. Use only recommended dosages and avoid mixing multiple specialty additives unless manufacturer OKs it.
Proper selection prevents defects, preserves durability, and helps you achieve a professional-looking result.
Proper Mixing Ratios
Given the right additive, you’ll still need correct mixing ratios to get predictable drying and leveling; follow the manufacturer’s recommended dosage on the product label rather than guessing.
When using commercial flow improvers and retarders, measure by volume or weight and mix into a stirred paint can slowly to avoid foam.
Use proper mixing techniques: add small increments, stir thoroughly between additions, and test a sample for paint consistency before applying broadly.
Keep records of ratios that worked for each paint type and environmental condition.
Never exceed recommended amounts—overdosing can ruin film integrity, adhesion, and final appearance.
Effects On Drying Time
Because flow improvers and retarders modify surface tension and evaporation rates, they directly change how fast latex paint skins over and cures, so you need to pick and dose them carefully.
You’ll slow evaporation with retarders to reduce brush marks and improve leveling, but too much extends tack time and attracts dust.
Flow improvers help wetting and reduce fisheyes without greatly altering cure, yet combined with high humidity they can prolong touch and full cure times.
Match additives to drying conditions, adjust for humidity effects, test small areas, and follow manufacturer dose limits to avoid adhesion or finish problems.
Don’T Use Mineral Spirits or Solvents With Latex: Risks and Alternatives
While mineral spirits and other strong solvents can seem like a quick fix, you shouldn’t use them to thin latex paint because they break the water-based chemistry, ruin adhesion, and can cause flaking or poor drying. You’ll face latex paint risks like blistering, poor film formation, and compatibility failure. Instead, use water or designated alternative thinners (flow improvers, latex extenders) and follow manufacturer ratios. Below is a quick comparison to guide choices:
| Problem | Solvent Effect | Safer Option |
|---|---|---|
| Adhesion loss | High | Latex extender |
| Slower bonding | Moderate | Water/proper reducer |
| Surface defects | High | Flow improver |
| Cleanup toxicity | High | Water-based cleanup |
Thinning Latex Paint for Exterior vs. Interior Projects
When you’re thinning latex paint for exterior projects, you’ll usually add a bit more water to improve flow and help it resist wind and temperature changes.
For interior jobs, you’ll thin less to maintain coverage and reduce splatter, especially on walls and trim.
Knowing the differences helps you pick the right ratio and get a professional finish.
Exterior Paint Thinning
If you’re tackling exterior jobs, thin latex paint sparingly and only to improve flow in hot, dry, or windy conditions; outdoor surfaces demand slightly different handling than interior walls because exposure affects adhesion, drying speed, and coverage. You’ll add small amounts of water or manufacturer-recommended thinner to maintain film integrity, test on scrap, and watch for color matching shifts. Protect finish from dew and sun; faster drying can reduce leveling.
| Surface | Condition | Tip |
|---|---|---|
| Siding | Hot/windy | Thin 5% max |
| Trim | Smooth | Use flow additive |
| Masonry | Porous | Prime first |
Interior Paint Thinning
Shifting from exterior work to indoor jobs means you’ll handle thinning differently because indoor conditions and finishes demand smoother flow and less risk to adhesion.
You’ll thin latex minimally—usually 5–10% water—so brush and roller marks disappear without changing coverage or affecting interior color matching. Test small batches and let them dry to confirm true hue and sheen.
For trim and cabinets, avoid thinning or use manufacturer-recommended conditioner to maintain durability.
Consider paint finish selection carefully: flats mask imperfections, while eggshell or satin need smoother application.
Always stir thoroughly, strain if needed, and test on a hidden patch before committing.
Step-By-Step Mixing Method and Measuring Ratios
Mix the paint gradually and measure carefully to get predictable results: start by stirring the can thoroughly, then add small amounts of thinner—typically water for latex—while keeping a consistent ratio you’ve chosen. Use precise mixing techniques and measuring tools: pour measured water into a cup, add to paint, stir 1–2 minutes, let rest, test spray or roll, then adjust in 5% increments. Record ratios. For example, start at 10% water (by volume) for sprayers, 5% for rollers. Use this simple checklist:
| Step | Ratio | Action |
|---|---|---|
| 1 | 0–5% | Stir, test |
| 2 | 5–10% | Retest |
| 3 | +5% | Finalize |
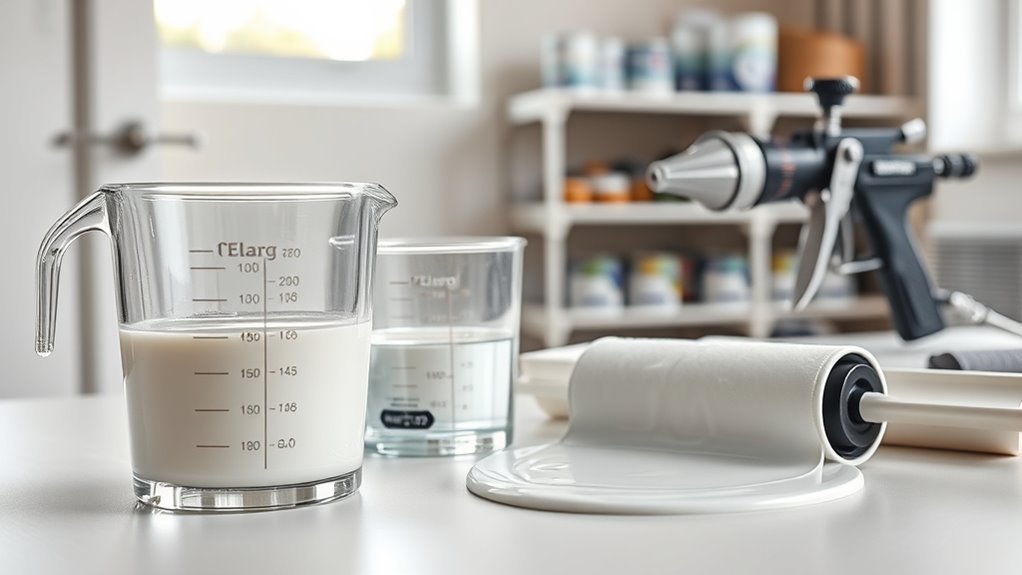
Tools and Equipment to Make Thinning Easier and Cleaner
Now that you’ve practiced measured thinning, equip yourself with the right tools to make the process faster, neater, and more consistent.
Use a graduated measuring cup, disposable stirring sticks, and a clean pour spout to control water additions during paint mixing. A mechanical mixer or drill-attached paddle saves effort and guarantees uniform consistency when applying thinning techniques.
Use precise tools—measuring cup, stir sticks, clean spout, and a mechanical mixer—for consistent, controlled paint thinning.
Keep fine-mesh strainers, labeled mixing jars, and a digital scale for repeatable ratios. Have nitrile gloves, rags, and a sealed waste container to maintain cleanliness.
These tools reduce mistakes, speed prep, and help you reproduce exact thinned batches every time.
Testing Thinned Paint: Brush, Roller, and Spray Checks
After thinning, always test the paint on a scrap board or hidden area before you start.
Run a brush stroke to check for smooth coverage and any dragging or bubbling.
If you’ll be spraying, do a spray pattern check to confirm atomization and even spray.
Brush Stroke Test
Before you commit to a full application, test the thinned latex on a scrap piece of the same surface to check brush, roller, and spray performance. You’ll focus on brush stroke behavior and paint consistency: dip lightly, apply even pressure, and watch for drag, leveling, and visible brush marks. If you see heavy lines or sagging, adjust thinner in small increments and retest. Record results to avoid over-thinning.
| Tool | Observation | Action |
|---|---|---|
| Brush | stiff or dragging | add small thinner |
| Roller | stipple or gaps | reduce thinner |
| Spray | (skip detail) | fine-tune elsewhere |
Spray Pattern Check
With brush and roller behavior dialed in, it’s time to check how the thinned latex atomizes and lays down from your sprayer.
Set up a scrap panel and test at recommended pressure and tip size. Aim for an even fan, watching for spitting, runs, or orange peel.
Adjust thinning in small increments and retest until spray technique produces uniform coverage. Note how overlap affects spray consistency; keep a steady distance and speed.
If texture or clogging persists, strain paint and re-evaluate viscosity.
Record settings that worked so you repeat the pattern reliably on the final surface.
Troubleshooting Thinning Problems: Blotchy or Thin Film
If your latex paint goes on blotchy or dries into a thin, streaky film, it’s usually a problem with the thinning process or application technique—you’ll want to check both the mix and how you’re rolling or brushing.
Start by confirming you didn’t over-thin; too much water lowers film thickness and causes blotchy finishes. Stir thoroughly and let thinned paint sit so additives re-emulsify.
Use the right roller nap and brush, apply even pressure, and maintain a wet edge to avoid lap marks.
Test a small area, adjust solvent incrementally, and clean tools between coats to prevent streaking and poor adhesion.
How Thinning Changes Coverage and How to Compensate
When you thin latex paint it weakens hiding power, so previously covered colors or stains may start showing through.
You’ll often need to apply an extra coat to restore full opacity.
Plan for more drying time and material when you thin paint to compensate.
Reduced Hiding Power
Because thinning latex paint lowers the concentration of pigments and binders, you’ll notice less hiding power per coat and may need more passes to fully cover the surface.
You’ll see reduced opacity and possible coverage issues, especially over dark or heavily stained areas. To compensate, test a thin sample first and adjust thinning ratios; keep water additions minimal.
Use a high-quality primer on problem spots and consider a paint with higher tint strength.
Maintain proper technique—even strokes and correct drying times—so each layer builds evenly. That way you control finish uniformity without sacrificing durability or color fidelity.
Increasing Coat Count
Reducing pigment and binder concentration means you’ll often need more coats to reach full coverage, so plan accordingly before you start.
When you thin latex, each coat lays down less pigment, so expect to apply additional layers. Use proper drying time between coats to avoid lifts, and adjust your layering techniques: apply even, light passes rather than heavy, dragging strokes.
For best results, test a small area to count required coats. Aim for ideal application by maintaining consistent thickness and using quality brushes or rollers.
Keep track of total wet film build to avoid sagging while achieving full, uniform coverage.
Compatibility: Additives, Primers, and Older Paint Cans
If you plan to add thinners, mixing agents, or primer to older cans, check compatibility first to avoid clumping, poor adhesion, or color shifts. You’ll test additive compatibility by mixing small amounts, noting separation, odor, or texture change. Primer interaction matters: some primers and older latex binders won’t blend, causing lifting or uneven sheen. Label solvents and millage dates, stir thoroughly, and discard questionable cans. Use this quick reference before thinning or combining components:
| Component | Risk | Action |
|---|---|---|
| Old latex | High | Strain/test |
| Water | Low | Measure |
| Additives | Medium | Patch test |
| Primer | High | Compatibility test |
| Solvent | Varies | Follow label |
Eco-Friendly Thinning Options and Low‑VOC Choices
If you want greener options, you can thin latex paint with specially formulated water-based eco thinners that cut VOCs and keep cleanup simple.
You can also choose low‑VOC paint additives designed to improve flow and leveling without releasing strong solvents.
I’ll cover how to use each safely and when they’re best for different projects.
Water-Based Eco Thinners
Because latex paints are water-based, you can often thin them with eco-friendly options that keep VOCs low and cleanup simple. You’ll use water, plant-based solvents, or biodegradable additives to adjust viscosity while preserving eco thinners benefits and minimizing environmental impact. Test small batches and stir well; thinner mixes affect coverage and drying.
| Thinner | Notes |
|---|---|
| Water | Best for light thinning |
| Corn‑based solvent | Biodegradable |
| Citrus solvent | Mild odor |
| Soy emulsifier | Improves flow |
| Controlled mix | Test before use |
Always follow manufacturer limits and ventilate when thinning.
Low‑VOC Paint Additives
When you need better flow or sprayability without raising VOCs, low‑VOC paint additives give you controlled thinning and performance tweaks while keeping indoor air safer.
You can choose products labeled for latex paints that thin slightly, improve leveling, and reduce splatter without compromising finish.
Read directions: small amounts go a long way, and test on a sample to avoid over‑thinning.
Look for eco friendly options that emphasize low VOC benefits and safe solvents or polymer modifiers.
These additives work well for sprayers and airless systems.
Store and dispose responsibly, and ventilate while applying to minimize exposure.
Safety and Ventilation When Thinning and Spraying Latex Paint
Although thinning and spraying latex paint can speed your job, you still need proper ventilation and basic safety gear to protect yourself from fumes, overspray, and airborne particles.
Set up ventilation systems or use fans and open windows to create crossflow. Wear a respirator rated for organic vapors and particulates, goggles, gloves, and disposable coveralls to minimize skin and eye contact.
Keep a wet film and spray containment to limit drift. Avoid smoking or open flames while thinning.
Work in short sessions and take breaks outside to reduce exposure. Dispose of rinse water and rags responsibly following local regulations.
Storing Thinned Paint and How Long It Remains Usable
After spraying or brushing, you’ll want to store any leftover thinned latex paint properly so it stays usable and safe.
Pour paint back into a clean, airtight container, minimizing air space to slow skinning and oxidation. Use original cans if possible, and press plastic wrap over the surface before sealing for extra container sealing.
Return thinned paint to a clean, airtight can, minimize air space, and press plastic wrap over the surface before sealing.
Label the can with date, thinner used, and ratio. Store in a cool, dry place away from freezing or direct heat.
With proper sealing and stable conditions, thinned latex paint retains usability for several months; check smell, consistency, and adhesion before reuse.
Quick Reference: Which Thinner and Ratio to Use for Each Application
Here’s a quick, practical guide to the most common thinners and mixing ratios so you can pick the right combo for brushing, rolling, or spraying; use the listed ratio as a starting point and adjust slightly by feel.
For interior/exterior latex (walls): add up to 10% water for brushing, 5–8% for rolling, 10–15% for light spraying.
For heavy-bodied acrylic latex: 5–10% water for brush/roll, 10–20% for spray.
For specialty water-based enamels: use manufacturer’s reducer 5–10%.
For cleanup coats or blended finishes, use a 1–5% reducer.
Match thinning techniques to paint types and application tool.
Frequently Asked Questions
Can You Thin Latex Paint in Hot or Humid Weather?
Yes — you can thin latex paint in hot or humid weather, but temperature effects and humidity impact drying and finish; you’ll need to adjust thinner amount, work faster, and use fans or climate control to avoid bubbling or poor adhesion.
Will Thinning Affect Paint Color or Tint Strength?
Yes — thinning can slightly alter color consistency, so you’ll monitor results and make tint adjustments if needed; dilute carefully, test a sample, and adjust pigment or add tints gradually to maintain the original hue and strength.
Can I Thin Latex Paint in the Original Metal Can?
Yes, you can thin latex paint in the original metal can, but you’ll stir carefully to adjust paint consistency, avoid over-thinning, and use proper application techniques like brushing or spraying, keeping the lid sealed between uses.
How Soon After Thinning Can I Apply a Second Coat?
Quick as a wink, you can recoat once the first layer’s dry to the touch—usually 1–4 hours depending on drying time, humidity, and temperature. Use proper application techniques and light sanding for best adhesion.
Does Thinning Change VOC Content or Labeling Requirements?
Yes — thinning can affect VOC regulations, labeling specifications, safety considerations, and paint performance. You’ll need to track added solvents, update labels if VOC limits change, follow regulations, and expect altered drying, coverage, and durability.
Conclusion
Thin carefully: a little water loosens, too much ruins finish. You want smooth flow for brushing, a lighter touch for spraying. Stir and strain, keep it ventilated, and remember thinned paint ages faster. Picture a satin wall—soft and even—next to a glossy door that fights dirt: the right thinning makes them cooperate. Choose the proper ratio, test a patch, and store leftovers properly so convenience doesn’t trade off with quality.