When to Prime Walls? Complete Prep Guide
You should prime walls whenever surfaces are porous, patched, stained, dramatically changing color, or switching sheen, because primer guarantees adhesion, seals repairs, and blocks bleed‑through. New drywall, raw plaster, and glossy finishes need a primer for uniform coverage and truer topcoat color. Skip primer only on sound walls with similar color and sheen. Use a matching primer type and follow dry times; keep tools and ventilation ready—keep going and you’ll learn how to handle each specific situation.
When to Prime Walls: Quick Answer
If your walls are new drywall, have bare patches, show stains, or you’re switching from a dark to a lighter color, you should prime them first.
New drywall, bare patches, stains, or a dark-to-light color change — always prime first for best results.
You’ll save time and get truer color while sealing porous surfaces and blocking stains — those priming benefits matter.
Prime when you’re covering repairs, changing between glossy and flat finishes, or when paint manufacturer’s directions call for it.
Don’t buy into primer myths that say it’s optional for every repaint; sometimes a quality paint with built-in primer suffices on sound, similar-color surfaces.
When in doubt, prime: it prevents problems and yields a cleaner finish.
Prime or Paint? Quick Decision Checklist
A quick checklist helps you decide whether to prime or just paint: note the wall’s condition, previous color and sheen, presence of stains or repairs, and the paint manufacturer’s recommendations.
If the surface is uniform and the old coat isn’t glossy, you can often skip primer when switching among similar paint types and finish options.
Choose primer when covering bold colors, repairing patches, or sealing stains.
For new drywall, fresh plaster, or drastic color changes, priming guarantees adhesion and true color.
Match primer to your topcoat—latex primer for latex paint types, oil-based primer for problematic surfaces—to get reliable results.
Signs a Wall Needs Priming
You’ve used the checklist to weigh primer versus paint; now look for clear signs that a wall actually needs priming.
Check for stains, smoke residue, or water marks that will bleed through new paint. Look at patched drywall, raw plaster, or drastic color changes—these surfaces need a uniform base.
Test paint adhesion by pressing a piece of tape to the surface and pulling it off; loose flakes mean poor adhesion and a primer is necessary.
Also note chalky or powdery finishes, excessive gloss, and repaired areas where texture differs.
Addressing wall condition first guarantees a durable, even finish.
When You Can Skip Priming
When walls are in good shape and you’re painting the same or a similar color, you can usually skip priming—clean, smooth drywall or previously painted surfaces with intact adhesion often need only a good cleaning and a quality topcoat.
You’ll encounter clear skip scenarios: no stains, no repairs, and compatible paint types.
Do a quick cost analysis — primers add expense and time, but can save repainting later.
Consider alternative methods like tinted topcoat or a bonding additive.
Check expert opinions and avoid common mistakes: neglecting adhesion tests, skipping spot priming, or misjudging gloss differences.
Priming New Drywall: First Steps
Before you prime new drywall, inspect the tape and joints for gaps, ridges, or exposed paper so you can spot any repairs.
Patch or sand imperfections until seams are smooth and clean.
Then apply a primer-sealer to lock in porosity and create a uniform surface for paint.
Inspect Tape And Joints
Since the tape and joints are what hide the seams, inspect them closely for gaps, bubbles, ridges, or exposed paper before you start priming.
Perform a careful tape inspection: run your hand over each seam, look for raised edges, and use a bright light to reveal imperfections.
For joint assessment, press gently to detect hollow spots and note any cracks or missing mud.
Mark trouble spots, sand ridges, and recoat where tape shows through. Fixing these now prevents telegraphing and adhesion problems later.
Only proceed to sealing once all tape inspection and joint assessment issues are resolved.
Apply Primer Sealer
Now it’s time to seal the surface: apply a high-quality drywall primer-sealer to lock in paper porosity and create an even base for paint. You’ll choose primer application techniques—roller for speed, brush for corners, sprayer for large areas—working wet edges to avoid lap marks. Follow primer safety considerations: ventilate, wear a mask and gloves, and store cans safely. Let primer dry fully before sanding lightly and inspecting for missed spots. Use the table to plan tools and checks.
| Task | Purpose |
|---|---|
| Roller | Even coverage |
| Brush | Detail work |
| Sprayer | Fast large area |
| Drying check | Prevent flaws |
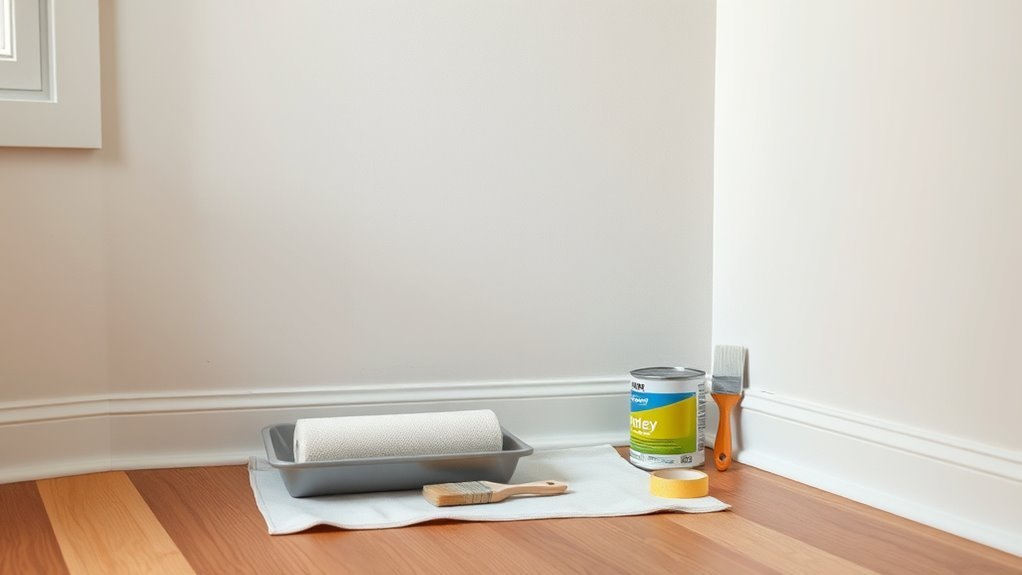
Surface Prep Before Priming (Clean, Sand, Mask)
Because primer only sticks to clean, smooth surfaces, you’ll need to clean, sand, and mask the area thoroughly before you roll it on.
Start by removing dust, grease, and mildew using targeted cleaning techniques—mild detergent for grime, TSP substitute for stubborn spots, and a bleach solution for mold.
Remove dust, grease, and mildew—use mild detergent, TSP substitute for tough grime, and bleach for mold.
Repair holes, then use proper sanding methods: medium-grit to level, fine-grit to smooth. Wipe surfaces with a tack cloth.
Apply masking tips: tape edges, protect trim and floors, and remove tape while primer’s tacky for sharp lines.
Gather preparation tools: sponges, sanders, putty knife, drop cloths, and quality tape.
Primer Types: Latex, Oil, Shellac, Bonding
Now that your surfaces are prepped, you’ll choose a primer type based on the job: latex for general interior use, oil for stain-blocking, and shellac when you need the strongest odor- and stain-sealing performance.
You’ll find latex primers are easy to clean and fast-drying, while oil and shellac handle tough stains and adhesion challenges better.
Think about the substrate and stains you’re facing to pick the right primer.
Latex Primer Uses
If you’re prepping interior walls, latex primer is the go-to for most situations: it dries fast, cleans up with water, and bonds well to drywall and previously painted surfaces.
You’ll use latex primer for sealing new drywall, covering mild stains, and creating a uniform base before topcoat.
Recognize latex primer benefits: low odor, quick recoat times, and flexible film that resists cracking.
For best results, follow latex primer application: stir, use a roller for flat areas, brush trim, and allow recommended drying time.
You can spot-sand between coats and proceed to paint when the primer feels dry and smooth.
Oil Vs Shellac
When choosing between oil and shellac primers, weigh the job’s needs: oil primers block tannin stains and bond to slick surfaces, while shellac excels at sealing severe stains and odor and offers the fastest drying time.
You’ll pick oil for durability and adhesion or shellac for rapid sealing and stain control. Consider ventilation, cleanup, and compatibility with topcoats.
Use oil based advantages when covering milky water stains or glossy trim; choose shellac benefits for nicotine, smoke, or pet odor.
Match primer to problem, not preference, and test adhesion on a small area before committing.
- Adhesion
- Stain blocking
- Dry time
- Cleanup
Choosing Primer by Surface and Problem
Because different surfaces and problems demand different primers, you’ll save time and get better results by matching the primer to the job before you start painting. Use primer selection strategies and a surface compatibility analysis to pick oil, latex, shellac, or specialty primers based on adhesion, porosity, and finish needs. Test small areas if unsure.
| Surface | Recommended Primer |
|---|---|
| Bare drywall | High-hide latex |
| Glossy trim | Bonding/adhesion primer |
| Metal | Rust-inhibiting oil |
| Water-affected plaster | Stabilizing primer/sealer |
Match primer properties to substrate for lasting results.
Covering Stains & Odors (Water, Smoke, Nicotine)
Although stains and odors can seem permanent, you can block them effectively by choosing the right primer and prep steps for the specific issue—water, smoke, or nicotine.
Stains and odors aren’t permanent—use targeted prep and the right primer to effectively block water, smoke, or nicotine.
You’ll clean and treat surfaces before priming: tackle stain removal gently, use cleaners for smoke film, and deodorize for odor neutralization.
Pick a primer labeled for stains and odors; shellac or oil-based primers often work best on severe cases. Seal damp areas after fixing leaks. Follow drying times.
- Clean surface and test stain lift.
- Repair source (leak, soot buildup, smoking area).
- Apply appropriate stain-blocking primer.
- Reinspect scent after curing.
Dark-to-Light Color Blocking & Tinting
If you’re going from a dark color to a light one, first assess how deep the previous shade was so you know how much coverage you’ll need.
Consider tinting your primer toward the new color to reduce coats and speed up uniformity.
Spot-prime areas with the highest contrast or remaining pigment so you don’t waste product on well-covered sections.
Assess Previous Color Depth
Wondering how much of the old paint you need to cover? You’ll perform a quick color assessment and depth evaluation to decide if priming’s necessary.
Test small areas under different light, noting where dark tones show through. Record contrast levels and substrate variations so you can plan coats and primer type.
- Tape a 6×6 swatch of new paint, observe at morning and evening.
- Scrub a test spot to reveal underlying layers.
- Photograph at consistent distance to compare visible bleed-through.
- Note edges where color blocks meet for potential feathering before priming.
Evaluate Primer Tinting
How do you decide whether to tint a primer when moving from a dark to a light color? You’ll weigh visibility, coverage, and hue shift.
Primer color psychology matters: a warm-tinted primer can neutralize cool darks, while a gray or softened version reduces red or blue bleed-through.
Tinting reduces required topcoats and speeds completion, but over-tinting can alter final color.
Use consistent primer application techniques—even coats, proper drying, and feathered edges—to guarantee bonding and true undertone reveal.
Test a small area and let it dry; if the dark still shows or the new paint looks off, adjust tint strength.
Spot-Prime High Contrast
Spot-priming high-contrast areas—those small patches where a deep color meets a pale one—lets you control bleed-through and reduce the number of finish coats you’ll need.
You’ll spot prime techniques on edges and seams, using a tinted primer matched toward the dark hue. Work efficiently: feather primer into surrounding paint, let it cure, then inspect under good light.
Focus on trouble spots rather than full walls to save time and material. For best results, follow this checklist:
- Clean and sand area.
- Apply tinted spot primer.
- Feather edges with a brush.
- Allow full dry time before topcoating.
Priming Glossy or Enamel Surfaces
If you’re working with glossy or enamel surfaces, you’ll need to prime them before repainting to guarantee proper adhesion and prevent peeling. You’ll sand lightly, clean thoroughly, and choose a bonding primer suited for glossy paint and enamel finish. That prep helps new paint grip and resist flaking.
| Surface Feeling | Why It Matters |
|---|---|
| Slick | Paint won’t stick |
| Frustration | Peeling wastes time |
| Relief | Bonding primer secures |
| Confidence | Finish lasts longer |
Use a high-adhesion or shellac-based primer; follow drying times and recoat recommendations.
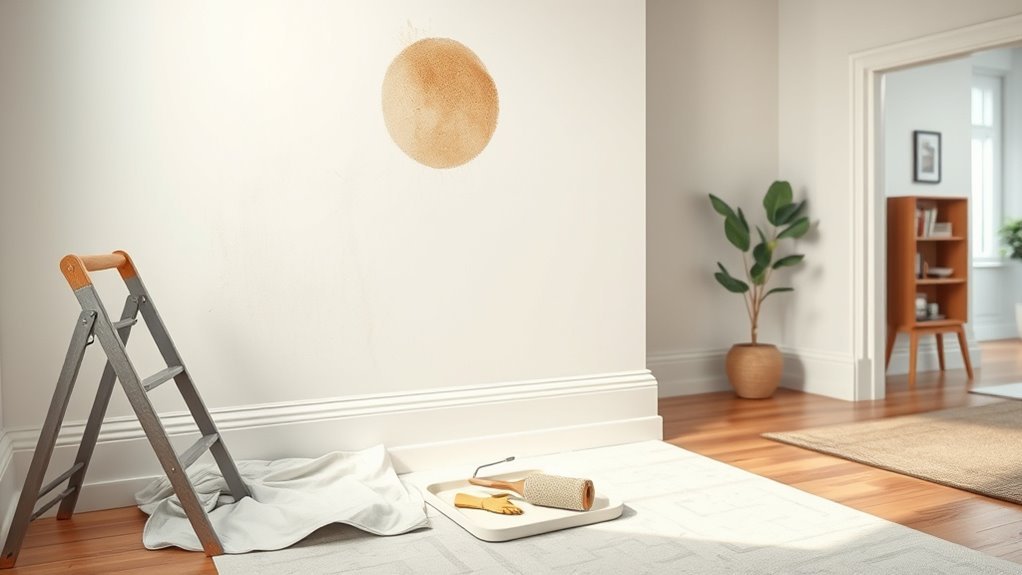
Repair Patches, Holes & Texture: When to Prime
When you’ve patched holes or rebuilt texture, prime those repaired areas before you paint to seal joint compound, hide porosity differences, and guarantee uniform sheen.
You’ll assess surface conditions, choose primer application methods that match repair materials and texture types, and confirm adhesive properties and paint compatibility with existing wall finishes.
Proper patch techniques reduce sinking and flashing; priming bonds repairs and equalizes absorption so topcoat looks consistent.
- Match primer to repair materials and texture types.
- Use spot-priming for small patches, full-panel for large repairs.
- Check adhesive properties for skim coats.
- Confirm paint compatibility before finishing.
Primer Coverage & Coat Count
You’ll want to know a primer’s coverage per gallon so you can estimate how much you need and how many coats you’ll have to apply.
Pay attention to recommended coat counts and wet-film thickness guidelines to make sure a single coat will block stains or whether a second coat is required.
That lets you plan time, cost, and the right amount of product before you start.
Coverage Per Gallon
Primer coverage per gallon tells you how much surface a single bucket will reliably coat, and it’s the starting point for figuring how many coats you’ll need.
You’ll check manufacturer coverage guidelines (often 300–400 sq ft/gallon) and adjust for surface texture, porosity, and application method.
Primer efficiency varies by formula; high-efficiency primers can reduce wasted material and labor.
Measure your walls, account for windows/doors, and pick a primer that matches substrate needs.
Consider test patches to confirm real-world spread rates before committing to full purchase.
- Measure area accurately
- Consult coverage guidelines
- Adjust for texture/porosity
- Test patch for efficiency
Number Of Coats
Now that you’ve estimated coverage, decide how many coats the job actually needs. You’ll assess surface condition, color change, and product instructions to choose coats efficiently.
For porous or repaired drywall, plan two coats; for drastic color shifts, a second coat or tinted primer helps. Use consistent priming techniques—rolling for broad areas, tipping for edges—to guarantee even laydown and avoid rework.
Factor in dry time, primer type, and finish when making coat considerations so you don’t overapply. Test a small area first; if your first coat hides flaws and accepts topcoat evenly, one may suffice.
Primer Thickness Guidelines
When you’re planning coat count, think regarding mils and coverage rather than vague “thickness.” You’ll measure primer thickness in mils (thousandths of an inch) to match substrate porosity and desired hide.
Different application methods change wet-film thickness; brushing, rolling, and spraying each deposit different amounts. Aim for manufacturer-specified dry mils, adjusting coat count if one coat can’t reach that target.
Monitor coverage and tackiness between coats, and let each coat dry fully.
- Check substrate and spec mils.
- Choose application methods for uniform laydown.
- Adjust coat count to reach dry mils.
- Verify with a wet-film gauge.
Apply Primer: Tools & Techniques
Gather the right tools and techniques before you start so applying primer goes smoothly and gives an even, lasting base coat. You’ll focus on surface preparation, choose quality primer, and use proper roller techniques and brush techniques for edges. Work top-to-bottom, maintain a wet edge, and avoid overworking spots. Use a nap suited to texture and a good angled brush for corners. Clean tools promptly.
| Task | Tool/Tip |
|---|---|
| Smooth walls | 3/8″ nap roller |
| Textured walls | 3/4″ nap roller |
| Edges | Angled brush |
| Small repairs | Lightweight filler and sandpaper |
Drying & Recoat Times (When to Topcoat)
Although primer may feel dry to the touch within an hour or two, you should wait for the manufacturer’s recommended film-dry time and environmental conditions to confirm proper adhesion and even topcoat coverage.
You should monitor room temperature, humidity, and ventilation; those drying conditions directly affect when you can safely recoat. Check the can for minimum and maximum times, then feel for tack and uniformity before proceeding.
For best results, plan recoat timing during stable weather and avoid rushing.
- Note label film-dry and recoat timing.
- Measure humidity and temp.
- Assure good airflow.
- Test small area first.
Troubleshooting Primer Problems (Peel, Blotch, Slow Dry)
If your primer starts peeling or drying unevenly, you’ll want to check the cause before recoating.
Look for surface contamination, insufficient adhesion, or incompatible products, and sand or strip failed areas as needed.
For slow or blotchy drying, improve ventilation, lower humidity, and consider a different primer formulated for your substrate.
Primer Peeling Causes
When primer starts peeling, you’ll want to check a few common causes right away: poor surface prep, moisture, incompatible products, or painting over contaminants like grease or dust.
You should evaluate primer durability factors and environmental influences that affect adhesion. Look for trapped moisture, chalky old paint, or latex over oil without a proper bond coat.
- Surface not cleaned or sanded — dust, wax, or loose paint.
- High humidity or moisture intrusion weakening adhesion.
- Product mismatch — oil vs. latex without a primer designed for both.
- Old, deteriorated substrate reducing primer bonding strength.
Uneven Drying Fixes
Because primer dries unevenly for a few predictable reasons, you can usually diagnose and fix the issue without redoing the whole job.
Start by evaluating humidity, temperature, and ventilation; high moisture or cold slows drying and causes blotches or uneven textures.
Lightly sand glossy or thick areas, clean dust, and feather edges where primer pooled.
Use thinner coats and proper drying techniques: improve airflow, raise room temperature a few degrees, or wait longer between coats.
If stains show through, spot-prime with stain-blocking product.
Reapply only after full cure to guarantee uniform adhesion and consistent finish.
Cost vs. Value: When Priming Saves Time & Money
Although priming adds an upfront step, it often cuts overall time and cost by improving paint adhesion and coverage, so you’ll need fewer coats and less touch-up work down the line.
Do a simple cost analysis and value assessment: compare primer plus one finish coat versus multiple finish coats. You’ll save labor, recoat time, and materials on porous, stained, or drastic color changes.
- Faster coverage on porous surfaces.
- Fewer finish coats needed.
- Reduced likelihood of costly repairs later.
- Better long-term durability and appearance.
Choose priming when the math clearly favors fewer total coats.
Low‑VOC & Eco Primer Options
If you’re aiming to reduce indoor pollutants and environmental impact, low‑VOC and eco primers give you reliable adhesion and stain blocking without heavy odors or toxic solvents.
You’ll find eco friendly options in water‑based acrylics, plant‑derived binders, and zero‑VOC formulas that still seal stains and improve topcoat performance.
Low VOC benefits include quicker air quality recovery and safer handling for sensitive occupants.
Choose a primer labeled for stain blocking, mildew resistance, or high-solids coverage depending on surface needs.
Test adhesion on tricky substrates, and always follow manufacturer dry times to guarantee durable paint jobs with minimal environmental tradeoffs.
Room Recommendations: Bathroom, Kitchen, Bedroom
Bathrooms, kitchens, and bedrooms each demand different priming priorities—moisture and mildew resistance in bathrooms, stain and grease sealing in kitchens, and smooth adhesion plus odor control in bedrooms.
You should pick primers aimed at bathroom moisture to prevent peeling, mildew-resistant formulas for high humidity, and shellac or oil-based seals for stubborn kitchen grease.
For bedrooms, use low-odor, tint-ready primers to lock bedroom color and guarantee even topcoats.
Consider these quick recommendations:
- Bathroom: mildew-resistant primer.
- Kitchen: stain-blocking, grease-cutting primer.
- Bedroom: low-VOC, tint-ready primer.
- General: repair surfaces, sand, then prime.
Frequently Asked Questions
Can I Prime Over Wallpaper Without Stripping It First?
You can, but you shouldn’t usually—old wallpaper often impedes primer adhesion, so you’ll likely need wallpaper removal or thorough prep first; if paper’s intact and well-adhered, use a quality primer designed for sealed, smooth surfaces.
How Long After Priming Before Moving Furniture Back?
Like a sunrise settling, you should wait 24–48 hours after priming before moving furniture back; drying time varies with humidity and coat thickness, and you’ll want furniture protection like pads or plastic to avoid sticking or stains.
Will Primer Smell Trigger Allergies or Asthma?
Yes — primer smell can trigger allergies or asthma; some primer ingredients release VOCs that irritate airways and cause allergy symptoms like sneezing, coughing, or wheezing. You should ventilate, use low‑VOC or allergy‑friendly primers, and test.
Is Tinting Primer at the Store Different Than DIY Tinting?
Store tinting often uses precise dispensers and professional tinting options, so you’ll get consistent color and primer benefits like better coverage and adhesion; DIY tinting can work but may vary in match and performance unless you measure carefully.
Can I Use Leftover Interior Primer for Outdoor Projects?
By Jove, yes—you can use leftover primer for outdoor projects, but it won’t hold up like exterior-rated primer; you’ll need a weatherproof topcoat and should check adhesion, mildew resistance, and VOCs before committing.
Conclusion
You’ve prepped, checked for stains, and picked the right primer—now step back and picture the room as a blank canvas, light pooling smoothly across even, sealed walls. When you prime, you’re laying down the quiet foundation that keeps color true and finishes lasting, like a calm sea under a clear sky. Trust the process: prime where needed, skip when safe, and enjoy paint that looks professional and stands up to everyday life.