How to Clean a Latex Paint Brush Without Damage
Rinse your latex brush under warm water right after use, squeezing until the runoff’s clear, then work mild dish soap or a water‑based brush cleaner through the bristles from ferrule to tip. Gently comb or finger‑pull out any trapped paint, avoid twisting, and blot with a lint‑free cloth. Reshape the tips, let the brush air dry bristles down or flat, and store dry to prevent rust or splaying. Keep going for tips on tough paint, tools, and storage.
Quick: Clean a Latex Brush Right After Use
If you want to keep your latex brush usable, clean it immediately after you’re done painting; dried latex is much harder to remove and will ruin bristles and shape.
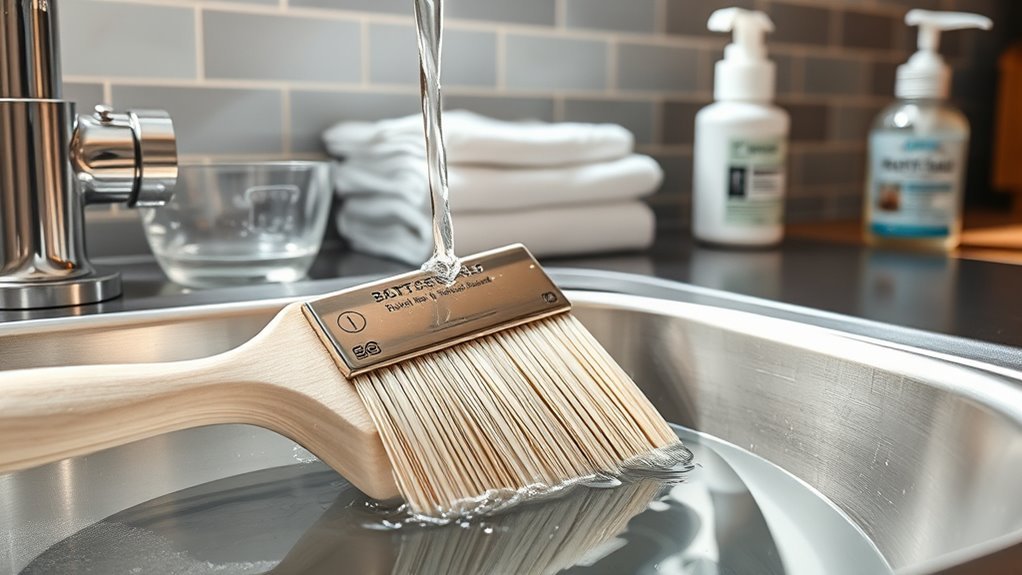
You rinse under warm water, squeezing gently until runoff is clear of paint color. Use a mild soap and work bristles with your fingers or a brush comb to remove trapped latex.
Rinse with warm water, gently squeeze until clear, then use mild soap and fingers or a comb to remove trapped latex.
Don’t soak the handle—protect brush ergonomics by drying with bristles down or hanging. Reshape the tip, spin out excess water, and let it air-dry fully before storing.
Quick care preserves performance and saves you from premature replacement.
How to Tell if a Brush Is Latex‑Safe
Wondering whether your brush can handle latex? Check labels and construction: natural-hair brushes often aren’t ideal for latex, while synthetic filaments usually offer better latex compatibility and resist swelling. Look for manufacturer notes about solvent resistance and designed for paints.
- Inspect the ferrule and handle for corrosion or loose gluing that shortens brush longevity.
- Read packaging or the maker’s website for explicit “latex” or “all-purpose” claims.
- Test with a tiny amount of latex paint on a scrap and clean promptly to observe shedding or stiffness.
If you see damage or excessive clumping, retire the brush to protect finish quality.
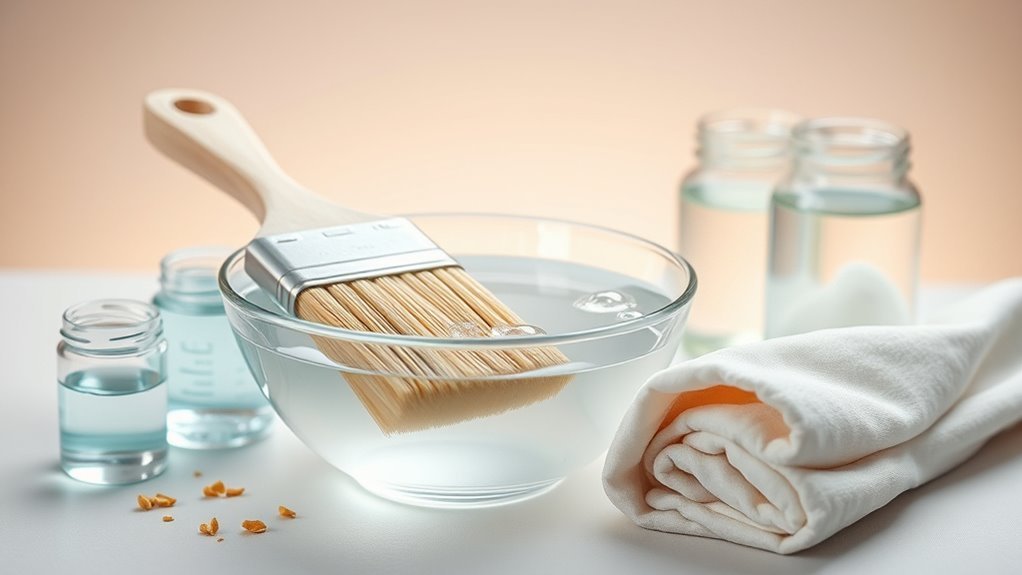
Essential Tools for Cleaning Latex Brushes
Now that you’ve confirmed a brush can handle latex, gather the right tools so cleaning goes quickly and doesn’t damage bristles. You’ll need a sturdy brush comb, a bucket, mild cleaner, gloves, and a towel to protect bristles and prolong Brush maintenance. Confirm Paint compatibility before using any cleaner.
| Tool | Purpose | Tip |
|---|---|---|
| Brush comb | Remove dried paint | Work gently |
| Bucket | Rinse and soak | Use warm water |
| Mild cleaner | Breaks latex | Test first |
| Gloves | Protect skin | Disposable |
| Towel | Dry & reshape | Pat, don’t rub |
These essentials keep your brushes ready and undamaged.
Safe Soaps and Solvents for Latex Brush Cleanup
Because latex is water-based, you can safely rely on mild, water-soluble soaps and gentler solvents to strip paint without wrecking bristles or finishes. Choose products that won’t lift ferrish finishes or ruin synthetic filaments. Consider biodegradable dish soap, brush cleaner formulas labeled for water-based paints, or a small amount of isopropyl alcohol for stubborn spots.
Think ahead: proper brush care affects color mixing consistency and long-term brush storage.
- Biodegradable dish soap — gentle, inexpensive, widely available.
- Commercial water-based brush cleaners — formulated for latex.
- Isopropyl alcohol (small use) — targets dried edges, use sparingly.
How to Use Water and Mild Detergent Effectively
When you rinse a latex brush, work quickly with warm water and a mild detergent to loosen paint before it bonds to the bristles. You’ll swirl water through the ferrule until the water runs clear, gently combing with your fingers or a brush comb. Check paint compatibility on labels to avoid emulsifying incompatible additives. Rinse thoroughly, reshape bristles, and blot excess moisture. For short-term Brush storage, hang or wrap in paper to keep shape; for longer, clean fully and dry flat.
| Action | Tip |
|---|---|
| Rinse | Warm water, mild detergent |
| Dry | Reshape, air dry |
How to Use Vinegar and Household Cleaners Safely
If you choose vinegar or other household cleaners to help strip dried latex from bristles, dilute them and use them sparingly to avoid damaging the brush. You’ll follow Vinegar safety and Household cleaner precautions to protect bristles, finish, and yourself. Use gloves, eye protection, and work in a ventilated area. Apply cleaners briefly, then rinse thoroughly.
- Dilute: mix vinegar with water (1:1) to reduce acidity.
- Test: try on a few stray bristles to check for stiffness or discoloration.
- Limit exposure: soak only short periods, then neutralize with water and mild detergent.
Step‑by‑Step Wet Cleanup for Fresh Latex Paint
Right after you finish painting, rinse the brush under warm running water to wash out as much latex as you can.
Gently work the bristles with your fingers and then swirl the brush in a mild soap solution to break up remaining paint.
Rinse thoroughly until the water runs clear and reshape the bristles to dry.
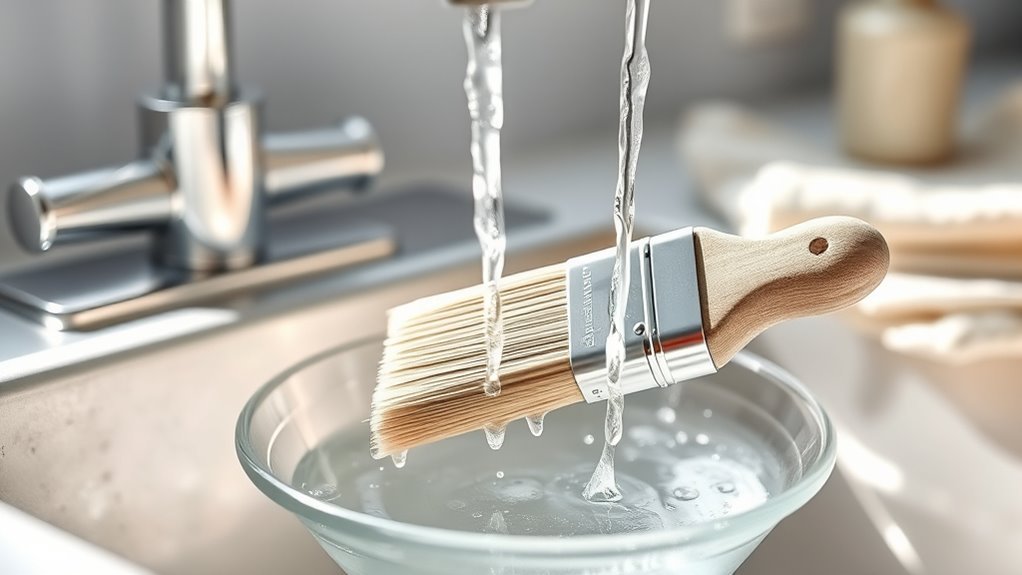
Rinse Immediately After Use
Because latex paints dry fast, you should rinse your brush as soon as you’re done using it to prevent clumping and stiff bristles. Hold the ferrule under warm running water, splay the bristles gently with your fingers, and flush out paint until the water runs clear.
Keep the paint color in mind to avoid cross-contamination if you’ll switch hues later. After rinsing:
- Shake excess water and reshape the bristles.
- Blot lightly with a lint-free cloth.
- Position the brush for proper brush storage—hanging or flat—so it dries without deforming the tip.
Do this promptly to protect the bristles.
Use Mild Soap Solution
When you’ve rinsed out most of the paint, mix a mild dish soap with warm water and work the solution into the bristles, massaging from ferrule to tip to lift remaining latex without splaying the hairs.
Gently squeeze and comb the bristles with your fingers or a brush comb until the water runs clear. Avoid twisting or bending; that keeps shape for accurate color mixing later.
Rinse thoroughly, shake out excess water, then reshape the bristles. Let the brush air dry flat or hanging bristles-down to prevent water in the ferrule.
Proper cleaning extends life and prepares the brush for proper brush storage.
Deep‑Clean Hardened Latex Paint From Bristles
If hardened latex paint has crusted into the bristles, don’t toss the brush yet—you can often rescue it with patience and the right technique.
For effective latex paint removal and brush preservation, work methodically:
- Soak bristles in warm water with a few drops of dish soap, loosening dried paint.
- Gently comb from ferrule to tip with a brush comb or fine-tooth tool, repeating so softened flakes come out.
- Rinse thoroughly, reshape bristles, and let dry hanging or flat.
Repeat soaking and combing as needed; avoid harsh scrubbing that splays hairs, and store brushes properly to protect their shape.
When to Use Commercial Brush Cleaners (How)
If soap and water won’t remove dried or tacky latex, you’ll need a solvent-based commercial brush cleaner to loosen the paint.
Choose products labeled for water‑based paints and low‑VOC or biodegradable formulas when possible to reduce fumes and skin irritation.
Always work in a well‑ventilated area and follow the manufacturer’s safety instructions.
When Solvents Are Necessary
Need more than soap and water? You’ll reach for solvents only when brushes carry stubborn, cured latex or deep-set additives that resist detergent. Prioritize solvent safety and consider chemical alternatives first; use harsher products as a last resort.
When to use commercial cleaners:
- When bristles stay gummy after extended soaking and mechanical agitation.
- When dried paint forms a crust you can’t break without loosening ferrules or damaging bristles.
- When restoration is cheaper than replacement and you can ventilate, wear gloves, and follow label precautions.
Use minimal exposure, work outdoors, and neutralize residues before storing the brush.
Choosing Safe Commercial Cleaners
Wondering which commercial cleaner to pick without risking your health or the brush? Choose water-based, low-VOC products labeled for latex; they’re safer and often rinse clean.
Use eco friendly alternatives like biodegradable cleaners or citrus-based formulas when possible to reduce fumes and disposal hazards.
Read labels for flammability and solvent strength—avoid aggressive ketones unless the brush is sturdy and synthetic.
Apply concentrated cleaner briefly, agitate gently, then rinse and repeat as needed.
Combine with brush preservation techniques: reshape bristles, remove excess solvent, and store dry.
Follow manufacturer instructions and ventilate the area during use.
Protect Natural‑Hair vs. Synthetic‑Bristle Brushes
Because natural-hair and synthetic-bristle brushes respond differently to water and solvents, you’ll need to treat them according to their materials. You want to preserve performance, so follow precise steps tailored to Natural bristle and Synthetic bristles.
- Rinse synthetic bristles in warm water with mild soap; they tolerate water and dry faster.
- Wipe natural bristle gently with minimal water; use brush conditioner or solvent-safe cleaner sparingly to avoid swelling and split ends.
- Inspect ferrule and handle after cleaning; remove trapped paint and avoid soaking either type to prevent loosening or damage.
Dry and Reshape Brushes to Prevent Damage
How should you dry and reshape your brush to keep bristles aligned and the ferrule secure? After rinsing, shake out excess water, then blot with a lint-free cloth—don’t twist.
Use gentle Drying techniques: position the brush with bristles pointing down or lay flat to prevent water migrating to the ferrule. Re-form the tip with your fingers so bristles lie straight and even.
For natural-hair brushes, splay slightly to restore shape; for synthetics, compress gently.
Let brushes air-dry completely before storage. Regular brush preservation prevents rust, loosening ferrules, and splayed bristles, extending brush life and performance.
Store Brushes So They Stay Clean and Ready
Once your brushes are clean and fully dry, store them so they’ll stay ready for the next job: keep bristles protected, ferrules dry, and handles accessible. Proper brush storage prevents Paint residue buildup and makes tools last.
Follow these simple steps:
- Hang brushes by the handle or lay flat in a low-humidity area to keep bristles straight.
- Use protective covers, wrap in paper, or store in a brush holder to stop dust and accidental deformation.
- Keep ferrules elevated and handles facing outward so you can grab the right brush without touching cleaned bristles.
Soften a Slightly Stiff Brush After Cleaning
If your brush feels a bit stiff after cleaning, you can quickly restore its softness with a few simple steps that won’t damage the bristles. Rinse thoroughly, shake out excess water, then work a small amount of mild fabric softener or brush conditioning oil into the bristles, avoiding the ferrule. Let it sit briefly, rinse lightly, reshape the bristles, and dry flat or hanging. Test latex compatibility first on a spare bristle to avoid residue. Maintain this routine after every wash to extend life and performance.
| Step | Action |
|---|---|
| 1 | Rinse |
| 2 | Apply conditioner |
| 3 | Sit briefly |
| 4 | Rinse light |
| 5 | Reshape & dry |
When a Brush Is Beyond Saving and Should Be Replaced
Even with careful cleaning and conditioning, you should replace a latex paint brush when the bristles are permanently splayed, hardened, or shedding excessively—these problems distort the paint film and make precise cutting-in impossible. You’ll know it’s time when performance drops despite brush preservation efforts. Consider these signs and actions:
- Bristles won’t return to shape after conditioning; replace the brush.
- Hardened or gummy bristles shed fibers into the finish; stop using it.
- Excessive shedding or rusted ferrule indicates replacement and proper paint disposal.
Don’t waste time prolonging poor results; swapping brushes saves effort and preserves finish quality.
Clean Paint From Handles and Ferrules (Fast)
While the bristles get most attention, don’t ignore the handle and ferrule—paint buildup there can harden, trap moisture, and make the brush awkward to use.
Don’t forget the handle and ferrule—paint buildup can harden, trap moisture, and ruin brush performance.
For quick handle maintenance, wipe wet latex with a damp cloth, then rub stubborn spots with a little dish soap and warm water. Use a plastic scraper or putty knife to lift dried smears gently.
For ferrule care, loosen dried paint around the metal with a brush comb or an old toothbrush dipped in rubbing alcohol, then wipe away residue.
Dry thoroughly and check for trapped paint before storing to prevent rust and warped handles.
3‑Minute Cleanup Routine for Tight Timelines
When you’ve only got a few minutes between coats or before a job wrap-up, prioritize a tight, focused cleanup. You’ll protect bristles and speed return to work by doing only what’s essential.
- Rinse briefly under warm running water, flexing bristles to remove loose latex.
- Use a small dab of mild soap, work in lather, then rinse until water runs clear.
- Shake excess water, reshape the tip, and air-dry hanging or flat so ferrule stays dry.
Store brushes in proper brush storage to avoid deformation.
Note paint color selection on tape to prevent cross-contamination next time.
Troubleshooting: Common Cleanup Mistakes and Fixes
If you notice stiff bristles, lingering paint smell, or a misshapen tip after cleaning, you can usually fix the problem without tossing the brush. Rinse thoroughly, work mild soap into the ferrule, and reshape the tip. For odor, soak bristles briefly in diluted vinegar, then rinse. Use common drying techniques: hang or rest flat to preserve shape. Store dry with bristles covered.
| Problem | Fix |
|---|---|
| Stiff bristles | Repeat soap rinse, comb bristles |
| Smell | Vinegar soak, air dry |
| Misshapen tip | Reshape while damp |
| Residue in ferrule | Flush with brush comb |
Prioritize Brush storage solutions to extend life.
Frequently Asked Questions
Can I Use Dishwasher Soap to Clean Latex Paint Brushes?
You can, but you shouldn’t rely on dishwasher soap alone; it can strip bristles. You’ll get better results using mild detergent, then a dedicated paint remover for stubborn spots and a brush conditioner to restore flexibility.
Is It Safe to Freeze Brushes to Remove Paint Later?
Yes — you can freeze brushes for short-term freezing preservation, but don’t expect perfect results; freezing can extend brush longevity briefly, yet repeated freezing or long storage may damage bristles, ferrules, or loosen adhesive.
How Long Can a Brush Sit in Water Before Bristle Damage Occurs?
Like a sponge left in a pond, bristles weaken quickly: you shouldn’t exceed 24 hours of water immersion for brush preservation, ideally rinsing and reshaping within hours, or you’ll risk splaying, loss, and shortened brush life.
Can Silicone-Based Lubricants Protect Bristles During Storage?
Yes — you can use silicone protection; it’ll coat bristles and reduce drying, and lubricant benefits include preventing stiffness and corrosion of ferrules. You’ll want a light, paint-safe silicone and wipe excess before next use.
Are Foam Brushes Cleaned the Same as Bristle Brushes?
About 70% of DIYers prefer disposable tools, so no, foam brushes aren’t cleaned like bristle brushes. You’ll use different cleaning techniques: foam tolerates simple rinses or solvent dips, while bristle brushes need thorough combing and reshaping.
Conclusion
You’ve done the sensible thing—cleaned your brush right away, like a sailor stowing a ship before a storm. Keep using gentle soaps, warm water, and the right tools, and inspect ferrules and bristles for wear. If a brush feels stubborn or misshapen, don’t cling to it; replace it. Treating your brushes with that steady care turns a chore into craft, so your next paint job goes smoothly and your tools last as long as they should.