How to Dry Paint Faster on Metal Doors & Railings
You can speed paint drying on metal doors and railings by prepping thoroughly, using fast-drying primers and acrylic or spray paints, and applying thin, even coats. Keep temperature 65–85°F and humidity 40–60%, use indirect fans and dehumidifiers, and add gentle, controlled heat if needed. Avoid over-thinning, let proper flash times between coats, and address tackiness with a reducer or light sanding. Follow safety precautions, and keep going to learn specific tips and fixes.
Quick Steps to Speed Paint Drying on Metal Doors and Railings
When you want paint to dry fast on metal doors and railings, start by preparing the surface: clean off dirt, grease, and rust, then sand lightly and wipe with a tack cloth so the coating adheres evenly.
Work in thin, even coats and allow recommended flash times between layers; thin films cure and dry faster. Use lower-humidity windows and a circulating fan to speed evaporation without forcing blisters.
Choose fast-dry formulations and compatible primers to avoid rework. For decorative projects, plan Creative color blending in advance and test on scraps to match Historical metal finishes while keeping coats minimal for quicker drying.
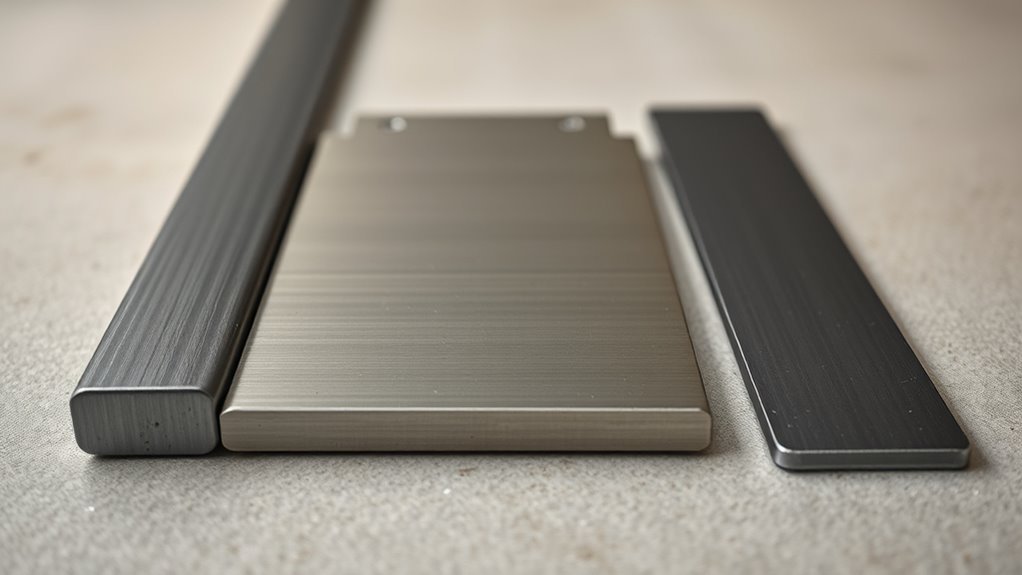
Why Metal Dries Differently Than Wood or Plastic
Because metal conducts heat and doesn’t absorb solvents, paint dries on it differently than on wood or plastic: you’ll get faster surface evaporation but slower through-cure for some formulations. You notice tacky tops with cured edges, because metal expansion shifts layers and hides solvent underneath. That affects sheen, adhesion, and rust prevention urgency. You should monitor drying time and avoid stress until full cure. Emotional stakes matter—it’s frustrating when finish fails. Feel reassured knowing the behavior is physical, not random.
| Concern | Feeling |
|---|---|
| Tacky surface | Annoyance |
| Rust risk | Anxiety |
| Uneven cure | Relief when fixed |
Surface Prep That Helps Paint Dry Evenly and Quickly
If you want paint to dry evenly and fast on metal, start by removing rust, grease, and old loose paint so new coatings stick and solvents can evaporate uniformly. You’ll prepare the surface texture and promote paint adhesion by sanding smooth yet slightly keyed, cleaning with solvent, and using a compatible primer.
Work in dry, ventilated conditions and feel for rough spots.
- Strip rust and loose paint — regain confidence.
- Degrease thoroughly — breathe easier about finish.
- Sand to consistent texture — feel pride in smoothness.
- Prime compatible metal — relax; it’ll bond.
Pick the Fastest Paint Type for Metal: Oil, Acrylic, Spray
You’ll weigh oil-based paint’s durability against its slower dry time when choosing what to use on metal.
Acrylic (waterborne) paints dry faster and are easier to recoat, while spray paints dry quickest thanks to rapid solvent evaporation.
Consider the job’s exposure and how soon you need the piece back in service when picking among them.
Oil-Based Durability Versus Dry Time
While oil-based paints give metal doors and railings exceptional toughness and resistance to chipping, they also take the longest to dry, so you’ll need to balance durability against downtime when choosing a finish.
You’ll appreciate oil’s superior paint adhesion on varied metal texture, but slower cure means longer wait for handling and layering. If you want lasting protection, accept extended dry times; if speed matters, plan work in stages or use faster options elsewhere.
Consider ventilation, thin coats, and warm conditions to shave hours off curing without sacrificing strength.
Acrylic Waterborne Quickness
Switching focus from oil-based options, acrylic waterborne paints give you the fastest drying times for metal doors and railings without sacrificing reasonable durability. You’ll appreciate that they dry by water evaporation, cutting tack time so you can recoat sooner and reopen spaces faster.
Prep still matters: remove rust and treat metal oxidation to prevent future failure. Use a compatible primer to maximize paint adhesion and reduce peeling.
Apply thin, even coats in low-humidity conditions and keep airflow steady to speed curing. For touch-ups, waterborne acrylics blend well and clean up with soap—convenient and efficient.
Spray Paint Instant Evaporation
Want the fastest drying option for metal? Spray paint’s solvents evaporate almost instantly, so you move faster and keep projects tidy. You’ll get thin, even coats that speed drying, but watch overspray and guarantee good ventilation. Choose formulations with strong paint durability and test color matching on a scrap before committing.
- Relief — quick touch-ups finish sooner.
- Confidence — consistent coverage reduces redo.
- Frustration avoided — minimal drips or runs.
- Pride — professional-looking railings in hours.
Prep, temperature control, and proper nozzle distance ensure you harness spray paint’s instant-evaporation advantage.
Choose the Right Primer to Shorten Total Dry Time
Pick a fast-drying primer to shave hours off the overall drying schedule and get your metal ready for topcoat sooner. Match the primer to the metal—use a rust-inhibiting primer for steel or a primer made for aluminum to guarantee proper adhesion and speedy curing.
Choosing the right primer up front means fewer coats and less waiting between steps.
Use Fast-Drying Primers
If you’re aiming to cut total dry time, start by choosing a fast-drying primer formulated for metal—these primers bond quickly, flash off faster, and let you topcoat sooner without sacrificing adhesion.
Use priming techniques that reduce tack and speed cure: thin even coats, work in warm, low-humidity conditions, and follow manufacturer recoat windows.
Proper metal surface preparation—clean, de-rust, and degrease—lets the primer perform at peak speed.
Pick primers labeled “fast-dry” or “rapid set” and test a small area first.
You’ll save time and avoid rework when you match process to product.
- Relief
- Confidence
- Urgency
- Satisfaction
Match Primer To Metal
Because different metals react differently to coatings, choosing a primer formulated for the specific substrate—steel, aluminum, galvanized iron, or wrought iron—will speed adhesion and reduce dry and recoat times.
You’ll prevent metal oxidation by selecting a primer with corrosion inhibitors matched to the alloy. For aluminum or galvanized surfaces, use etch or zinc-rich primers; for steel, pick rust-inhibiting formulas.
Proper primer adhesion lets topcoats cure faster and avoids peeling that forces rework. Apply thin, even coats, follow manufacturer flash times, and sand only when tack-free.
Matching primer to metal shortens total project time and improves long-term durability.
Thinning and Mixing Tips for Metal Paint
Thinning and mixing metal paint correctly speeds drying, improves flow, and prevents drips or brush marks. You’ll get better results when you control paint consistency and practice thoughtful color mixing. Use the manufacturer’s recommended thinner and add small amounts, stirring thoroughly between additions. Strain mixed paint before loading your brush or sprayer to remove clumps.
- Measure: follow ratios to avoid over-thinning that slows cure and weakens adhesion.
- Stir: mix slowly to avoid bubbles and maintain sheen.
- Test: apply a thin sample to check flow and drying time.
- Clean tools: residue alters future mixes; keep them pristine.
Ideal Temperature and Humidity Ranges for Fast Drying
You’ll get the fastest, most reliable drying when you paint in moderate warmth — aim for about 65–85°F (18–29°C).
Keep relative humidity between 40–60% so solvent evaporation and coating cure proceed efficiently.
If it’s colder or much more humid, expect longer tack times and slower full cure.
Optimal Temperature Range
When painting metal doors and railings, keeping the temperature between about 60°F and 85°F (15°C–30°C) speeds solvent evaporation without causing film defects. Keeping relative humidity below 60% prevents slow curing and blush.
You’ll want steady Temperature regulation because sudden swings upset paint chemistry and cause tackiness or cracking. Work when daytime temps are stable, and use heaters or fans cautiously to avoid overheating.
Aim for consistent warmth rather rather than extremes; that protects gloss and adhesion while drying faster.
Follow these emotional reminders:
- Feel confident as paint firms reliably.
- Relax knowing chemistry is stable.
- Enjoy visible progress sooner.
- Celebrate a smooth, durable finish.
Recommended Humidity Levels
Along with steady temperatures, controlling humidity makes a big difference in how fast paint cures on metal doors and railings. Aim for relative humidity between 40% and 60% for most latex and alkyd paints.
Lower than 40% can cause too-rapid skinning and cracking, while above 60% slows solvent evaporation and promotes blushing. You should check moisture levels before and during work with a hygrometer and avoid painting when dew or rain is likely.
Use dehumidifiers, fans, or heat to lower humidity, and humidifiers only when levels are too low. Good humidity control speeds drying and improves finish quality.
Safe Ways to Add Heat: Heat Guns, Heaters, Sunlight
If you want paint to dry faster on metal doors and railings, adding controlled heat can speed solvent evaporation and cure times—just do it safely. Use moderate sources: a heat lamp aimed from a distance or a thermostat-controlled electric heater raise surface temperature without scorching. Keep heat steady, not hot, and test a small area first. Maintain manufacturer temperature limits and allow coatings to off-gas.
Speed paint drying on metal safely: use steady, moderate heat (heat lamp or thermostat-controlled heater), test a small area first.
Avoid open flames and contact with wet paint. Monitor for blistering or soft spots; back off if they appear. Consider protective gear and never leave heating devices unattended.
- Relief — watch progress calm your worry.
- Confidence — steady warmth builds assurance.
- Urgency — faster cure eases deadlines.
- Pride — a smooth finish rewards care.
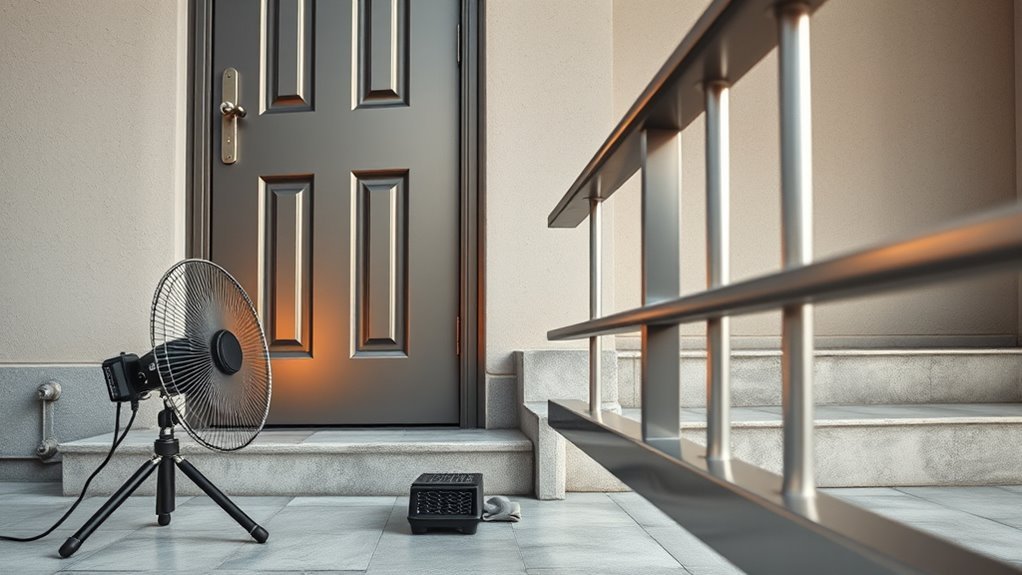
Airflow Tips to Speed Drying Without Runs or Dust
Because steady airflow speeds solvent evaporation without disturbing the film, position fans to create gentle, consistent circulation rather than blasts that risk runs or lifting dust. You’ll want indirect airflow that sweeps across surfaces, not straight onto wet paint, to preserve paint texture and avoid rippling.
Keep the area clean and cover nearby dust sources; even small particles mar a fresh finish. Monitor humidity and temperature so airflow doesn’t over-dry thin areas, which can change sheen and emphasize poor color selection.
Use low-speed, adjustable fans and check panels frequently so you can slow circulation if any defects appear.
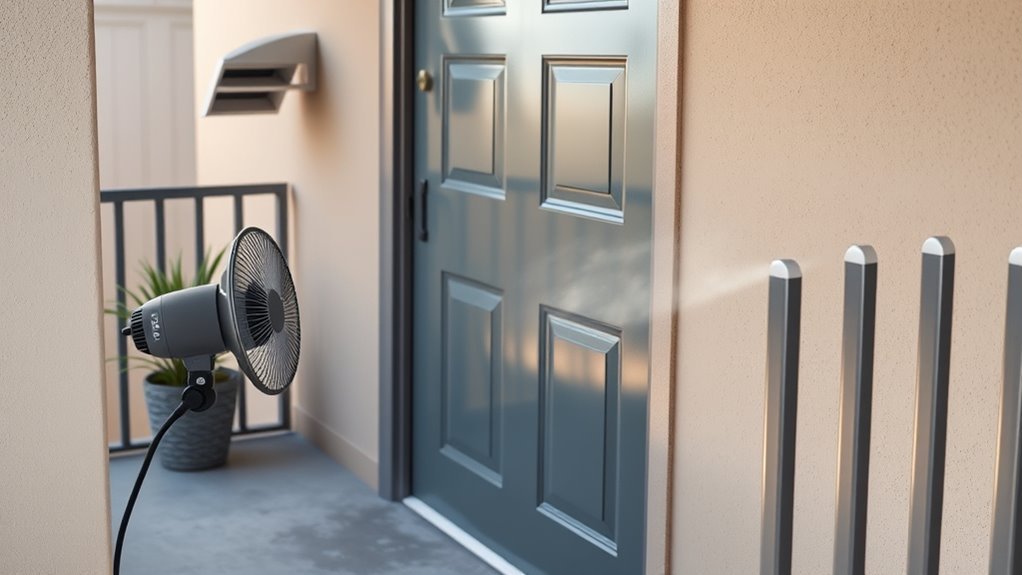
How to Position Fans and Vents for Metal Doors
When you set up fans and vents for metal doors, aim for gentle, even circulation that skims across the surface rather than blasting directly at the wet paint. Position intake vents low and exhaust slightly higher to guide airflow across panels; avoid aiming straight at seams where paint pools and could sag.
Keep fans angled parallel to the door, not perpendicular, to protect the paint sheen and prevent uneven drying that can expose bare metal and invite metal rust. Monitor temperature and humidity; adjust speed for steady drying.
Use low-heat fans and check frequently for tackiness.
- You’ll feel relief
- You’ll gain control
- You’ll trust the finish
- You’ll avoid regret
Best Spray vs Brush Techniques to Accelerate Drying
Although both spraying and brushing can give solid results, choosing the right method—and applying it correctly—directly affects how fast paint dries on metal.
You’ll spray thin, even coats to minimize buildup and speed solvent release; hold the gun 8–12 inches away, overlap passes slightly, and keep mobility steady.
With a brush, you’ll use long, smooth strokes, avoid heavy load, and feather edges to prevent ridges that trap moisture.
For color matching, keep consistent technique between touch-ups and full coats.
For texture enhancement, select spray tip or brush type to control finish while prioritizing thin layers for faster curing.
Fast-Drying Product Recommendations for Metal Fixtures
If you want metal fixtures to dry fast without sacrificing durability, choose products formulated for quick solvent release and thin-film cures. You’ll want a fast-dry alkyd or acrylic enamel that bonds to metal finish, resists runs, and preserves the intended paint sheen.
Pick coatings labeled “quick dry” or “fast cure,” and use rust-inhibiting primers made for metal if needed. Consider low-VOC formulas for safer ventilation.
Match product specs to temperature and humidity on the job.
Emotional payoff: satisfaction in smooth, reliable results that look professional and hold up.
- Confidence
- Relief
- Pride
- Trust
How to Schedule Coats and Recoat Times for Adhesion
You’ll get better adhesion if you control wet film thickness on each coat—too thick and solvents can trap, too thin and you mightn’t get full coverage.
Check the paint’s ideal recoat window so you can apply the next layer while the first is tacky but not fully cured.
Plan coats and drying intervals around that window to speed the job without sacrificing bond.
Wet Film Thickness
- Relief — lighter coats dry faster, less stress.
- Confidence — consistent WFT gives predictable adhesion.
- Pride — smooth, even finish on railings.
- Safety — fewer drips, safer handling.
Optimal Recoat Window
When should you recoat to lock in adhesion without trapping solvents? You’ll time coats so the previous layer’s surface is dry-to-touch but still chemically active—this promotes metal bonding and prevents paint chipping. Check manufacturer recoat windows; temperature and humidity shift them. Light sanding between coats improves mechanical keying if window’s missed. Use solvents/accelerants cautiously; they can speed surface dry but delay full cure. Monitor tackiness with a fingertip test in an inconspicuous spot.
| Condition | Recoat cue |
|---|---|
| Warm/dry | 30–60 minutes |
| Cool/moist | 2–4 hours |
| Very cold | 6–24 hours |
| Fast cure primer | 15–30 minutes |
Avoiding Common Fast-Dry Mistakes: Runs, Orange Peel, Adhesion
Although fast-drying formulas get paint hard quickly, they also raise the risk of runs, orange peel, and poor adhesion if you rush the process. You can prevent mistakes by prepping well, using appropriate thin coats, and choosing compatible primers and topcoats. Pay attention to color contrast and texture techniques so finish defects aren’t exaggerated. Work methodically, keep spray distance steady, and allow recommended flash times.
Fast-drying paints cut cure time but demand careful prep, thin coats, steady technique, and proper flash times.
- See issues early — they sting less when caught quickly.
- Slow your pace — steady hands calm panic.
- Test a small panel — avoid public embarrassment.
- Respect manufacturer drying windows — save effort.
Quick Fixes If Paint Stays Tacky, Wrinkles, or Bubbles
If the paint stays tacky, you can speed up drying with gentle heat and improved airflow, but don’t blast it or you’ll cause more problems.
For wrinkles, sand the affected area lightly once it’s dry and recoat with thinner layers.
If bubbles appear, pop them, smooth the surface, and let the substrate and paint fully dry before touching up.
Speed Up Drying
Because paint problems like tackiness, wrinkling, or bubbling can ruin a finish fast, you’ll want targeted quick fixes that address the cause and move drying along without damaging the coating. You’re protecting paint aesthetics and preventing metal corrosion while speeding cure time. Act quickly: thin stubborn spots per label, raise air circulation, and lower humidity. Avoid heat that blisters.
- Use a fan to boost airflow and confidence.
- Apply a thin coat reducer to salvage tacky areas.
- Run a dehumidifier to chase away trapped moisture.
- Lightly cross-ventilate to calm anxiety and speed curing.
Fix Wrinkles & Bubbles
Not sure what to do when paint wrinkles or bubbles? Act fast: remove tacky paint with a clean scraper or fine sandpaper once it’s dry to the touch, then wipe away dust.
For bubble repair, pop tiny bubbles with a pin, press out air, and smooth with a damp cloth. Larger bubbles need sanding and spot-priming before recoating.
Improve wrinkle prevention by thinning paint slightly, applying thinner coats, and maintaining steady temperature and airflow. Allow proper flash time between coats.
Always test a small area first and follow manufacturer drying times to avoid repeating repairs and guarantee a smooth finish.
Safety When Accelerating Paint Drying on Metal
When you speed up paint drying on metal, prioritize safety: proper ventilation, flame-free heat sources, and protective gear cut risks for you and anyone nearby. You’ll protect paint adhesion and avoid accelerated metal corrosion from improper chemicals or trapped moisture.
Work methodically, keep solvents sealed, and don’t rush temperature or airflow beyond product recommendations.
- Wear respirator, gloves, and eye protection to avoid fumes and splashes.
- Use electric fans and infrared lamps—not open flames—to speed drying safely.
- Make certain adequate airflow to disperse VOCs and reduce inhalation risk.
- Dispose of rags and solvents safely to prevent impulsive ignition.
Seasonal Strategies: Outdoor vs Indoor Metal Painting
After taking proper safety steps, you’ll want to tailor your approach to the season and location: outdoor painting faces temperature swings, humidity, and UV exposure, while indoor work grapples with ventilation limits and dust control.
In warm, dry seasons you’ll dry paint faster outdoors but monitor dew and direct sun that can blister finishes and shorten paint longevity; avoid painting when rain or high humidity threaten metal rust.
Indoors, use fans and filtered ventilation to speed curing without stirring dust; control temperature with heaters in cold months.
Always prep and prime to protect metal and guarantee durable, even results.
Cost vs Speed: Pros, DIY Tradeoffs and When to Hire a Pro
Because faster drying methods and professional crews often cost more, you’ll need to balance budget, timeline, and the finish quality you want. Do a Cost analysis: compare heater/rental, rapid-dry coatings, and pro hourly rates.
Balance budget, timeline, and finish: compare heater rentals, rapid-dry coatings, and pro hourly rates.
DIY considerations include skill, safety, and time — you can save money but risk runs or poor adhesion. Hire a pro when deadlines, complexity, or high-end finishes matter.
- Fear: rushing DIY can ruin a long-term finish.
- Relief: paying pros buys certainty and warranty.
- Pride: completing it yourself saves cash and builds skill.
- Regret: misjudging time costs more later.
Frequently Asked Questions
Can I Paint Metal Doors in Winter Without a Heated Space?
Yes — you can, but winter challenges matter: you’ll need slow-drying paint, lower-humidity days, and warm additives or portable heaters for outdoor painting. You’ll also prep thoroughly, avoid freezing, and allow extra curing time.
Will Fast-Drying Paints Resist Corrosion Long-Term?
Like a thin shield against rust, fast-drying paints can help, but they often sacrifice long-term paint durability and corrosion resistance compared with thicker, specialty coatings, so you’ll want primers and protective systems for lasting protection.
How Soon Can I Reinstall Hardware After Painting?
You can reinstall hardware reinstallation typically after 24–48 hours, but check drying time considerations for paint type and humidity; if paint’s fully cured and tack-free sooner, you can carefully refit hardware to avoid smudges or adhesion issues.
Can I Use Automotive Clear Coat Over Home-Use Metal Paint?
I’d say yes—if the home paint’s cured and compatible. I once sealed a rusty gate like varnishing a wooden boat; automotive finishes can work, but test clear coat compatibility and adhesion first to avoid peeling or clouding.
Are Voc-Reducing Techniques Compatible With Fast Drying Methods?
Yes — you can use VOC regulations-compliant practices while employing drying accelerators; you’ll need low-VOC accelerators, proper ventilation, and follow VOC regulations to guarantee faster curing without violating limits or harming finish quality or safety.
Conclusion
You can speed drying by prepping well, choosing fast-dry primer and paint, working in warm, dry air, and using thin coats. You can use heat lamps, fans, or low-heat infrared to finish faster, and you can touch up tacky spots with very thin re-coats or sanding. You’ll save time by planning, save money by doing simple steps yourself, and save headaches by hiring a pro when surfaces or conditions demand it.