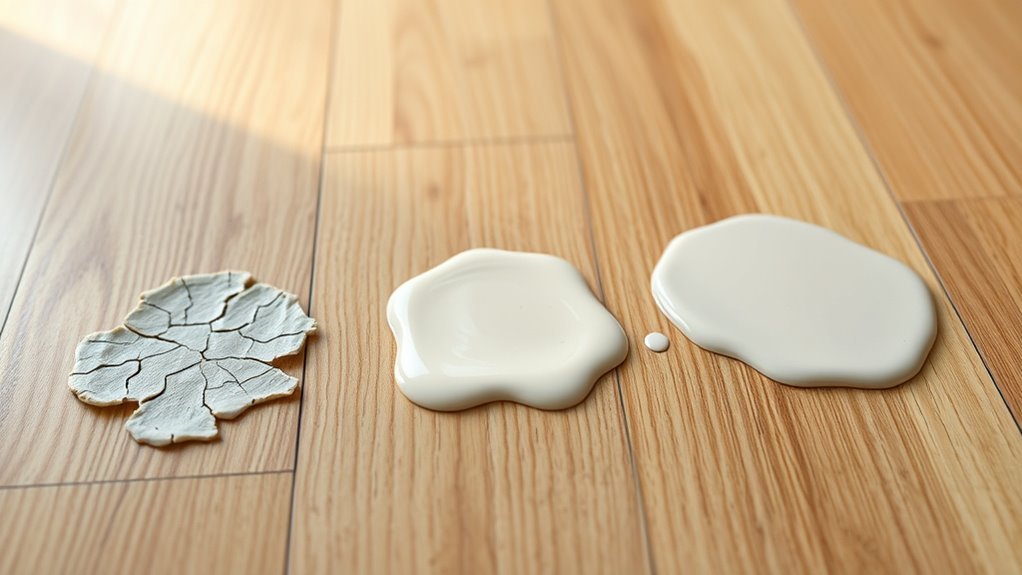
How to Get Dry Paint Off Wood Floors Easily
First, test a hidden spot to ID your finish and avoid damage. Soften latex with warm soapy water or rubbing alcohol; use mineral spirits for oil and denatured alcohol for shellac. Gently scrape along the grain with a plastic scraper or razor held nearly flat, wiping flakes with a microfiber cloth. Use a heat gun for stubborn bits, then clean and touch up finish or sand and refinish if needed. Keep going for detailed steps and tips.
Quick First-Step: Remove Small Paint Spots Fast

Not sure whether that tiny speck will come off? You’ll first assess the spot: note paint drying stage and whether color matching or surface sheen matter.
Gently scrape with a plastic scraper or fingernail, working outward to avoid a gouge. If residue remains, dampen a cloth with warm soapy water and rub lightly.
For stubborn bits, use a cotton swab with a small amount of denatured alcohol, testing in an inconspicuous spot. Wipe dry immediately and inspect for color matching issues.
If finish dulls, polish minimally to blend. Stop if wood fibers lift—seek professional help.
Test Your Floor Finish First
Before you start, identify whether your floor has a polyurethane, wax, shellac, or oil finish so you pick a safe remover.
Spot-test your chosen cleaner in an inconspicuous area, like inside a closet, to make sure it won’t damage or discolor the finish.
Wait for that test spot to fully cure before treating visible paint so you can judge the final result accurately.
Identify Your Finish
Since different floor finishes react differently to solvents and scrapers, you’ll want to identify yours before you touch the paint. Start with a quick finish comparison: oil-based poly, water-based poly, shellac, or waxed/unfinished wood. Each needs different surface preparation and removal care.
- Check sheen: high gloss often means polyurethane.
- Note color depth: ambering suggests oil-based finishes.
- Feel the surface: slick vs slightly tacky hints at shellac or wax.
- Ask prior owners or pros for history when possible.
Knowing your finish limits damage and guides method selection, saving time and preventing costly mistakes.
Spot-Test Inconspicuously
When you’ve identified the finish, pick a hidden spot—like inside a closet or under a baseboard—and try your cleaner or remover there first. This small test shows how the finish reacts and prevents visible damage.
You’ll see if solvents dull sheen, lift stain, or affect color matching with surrounding boards. Apply remover sparingly, wait the recommended interval, then blot and assess paint adhesion and finish integrity.
If the finish softens, flakes, or the cleaned area contrasts, choose a gentler method or consult a pro. Record the product and result so you don’t repeat an incompatible treatment elsewhere.
Wait For Full Cure
After you’ve confirmed how the finish reacts in that hidden spot, check whether the finish has fully cured before removing paint from the rest of the floor. You’ll avoid damage by respecting the paint drying and curing process; cured finishes resist solvents and abrasives differently than still-tacky surfaces. If unsure, wait the manufacturer’s recommended time and test again.
When ready, proceed methodically:
- Inspect the area for tackiness by lightly touching a corner.
- Use the gentlest remover that worked on your test spot.
- Work slowly, section by section, watching finish response.
- Stop immediately if finish softens or dulls and reassess.
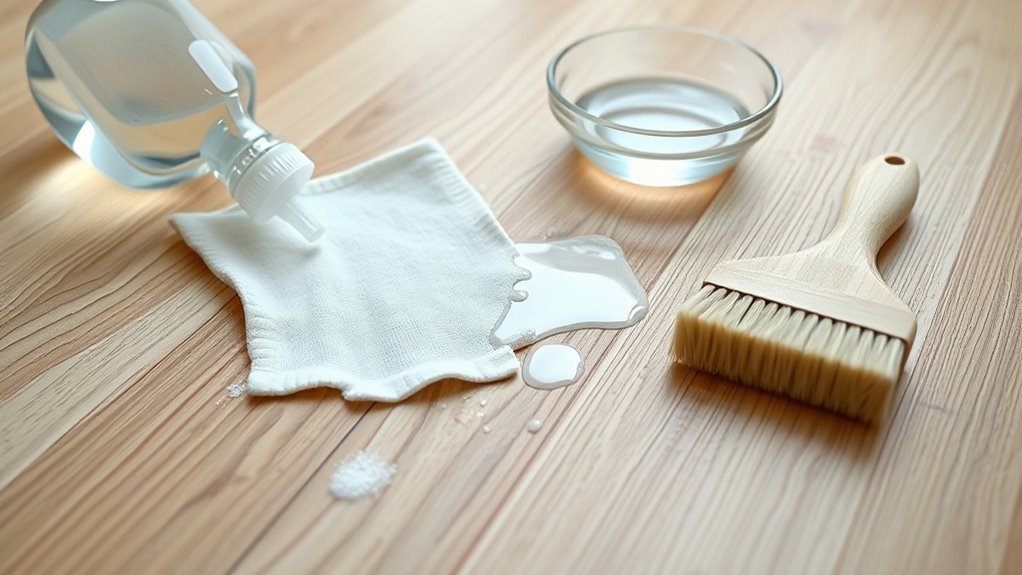
Gather Tools and Supplies
Before you start, put on safety gear like gloves and eye protection to keep dust and chemicals off your skin and out of your eyes.
Gather cleaning supplies—soft cloths, mild detergent, rubbing alcohol or mineral spirits—and a bucket of warm water.
Have scraping tools ready too, such as a plastic scraper, razor blade (for finished floors), and a stiff nylon brush.
Safety Gear First
Because you’ll be working with scrapers, solvents, and abrasive tools, put on proper safety gear before you touch the floor. You should prioritize protective gear and follow ventilation tips to minimize inhalation and contact risks. Fit items correctly and inspect them for damage before use. Keep kids and pets out of the area.
- Nitrile gloves for solvent resistance and grip
- Safety goggles to block splatter and dust
- A respirator (or mask) rated for fumes if using strong solvents
- Knee pads or cushioned mat to protect joints
Replace damaged equipment and ventilate continuously while you work.
Cleaning Supplies Checklist
Gather all the tools and supplies you’ll need so the job goes smoothly and you won’t have to stop mid-task. Lay out mild detergent, warm water, microfiber cloths, soft-bristle brushes, rubbing alcohol, denatured alcohol or a citrus-based remover, and a spray bottle.
Have a bucket, clean rags, painters’ tape, and disposable gloves. Keep a small jar for testing solutions on an inconspicuous spot to check for finish reaction and color shift.
Note the paint color and paint texture to choose the gentlest effective solvent and method. Keep waste bags and floor protectors nearby for a tidy, safe cleanup.
Tools For Scraping
Once you’ve checked your supplies, collect the right scraping tools so you can remove dried paint without damaging the wood. Choose tools based on paint color contrast and paint texture—thicker texture needs stiffer blades; thin paint peels with gentler options. Work with the grain and use light pressure.
- Plastic scraper for delicate finishes
- Putty knife (flexible) for thin coats
- Metal scraper (angled) for stubborn, thick texture
- Razor blade with holder for precision near edges
Wear gloves and test a corner first. Keep a soft cloth nearby to wipe loosened flakes and assess progress.
Which Paint Types Need Different Methods
Different paints bond and cure differently, so you’ll need to match your removal method to the type on your floor.
Oil-based paints form stronger paint adhesion and take longer drying time, so you’ll need gentle scraping plus a solvent like mineral spirits or a commercial remover.
Latex and water-based paints soften with warm water and mild detergent; you can often lift flakes after soaking and gentle scraping.
Shellac and lacquer require denatured alcohol or specific removers because they re-dissolve readily.
Enamels may need careful mechanical removal to avoid finish damage.
Test any solvent in an inconspicuous spot first.
Safety: Protect Yourself and the Room
After you’ve identified the paint type and tested a solvent in a hidden spot, protect yourself and the room before you start removing paint. Open windows and doors for proper ventilation, and run a fan toward an exit. Wear protective clothing—long sleeves, gloves, and eye protection—to avoid skin contact and splashes. Lay down drop cloths and tape seams to catch drips and shield trim. Keep pets and kids out of the area.
- Use a respirator if fumes are strong.
- Keep a bucket of clean water nearby.
- Have rags and waste bags ready.
- Read product labels carefully.
Remove Loose Flakes and Surface Debris
Start by sweeping and vacuuming the area to remove loose flakes and dust so you don’t grind debris into the wood.
Use a soft plastic scraper to lift stubborn chips without scratching the finish.
Finish by wiping the floor with a damp cloth to pick up any remaining residue.
Sweep And Vacuum
Before you tackle any stubborn spots, sweep and vacuum the area to remove loose paint flakes, dust, and grit that can scratch the finish or spread when you wipe. You’ll protect the wood and make later color matching or paint blending easier by starting with a clean surface. Use gentle, methodical motions and inspect as you go.
- Sweep with a soft-bristled broom toward one collection point.
- Vacuum with a floor-brush attachment along seams and edges.
- Check corners and under furniture for hidden chips.
- Empty the vacuum and discard debris away from the work area.
A tidy base prevents accidental smears and speeds repair.
Use A Soft Scraper
When loose paint flakes mar the floor, gently work a soft plastic scraper under each chip to lift it without gouging the finish. You’ll avoid deep scratches by keeping the blade flat and using short, controlled pushes. Don’t confuse this step with chemical paint remover; the scraper removes loose debris before any solvent is applied and supports overall floor protection. Test pressure on an inconspicuous spot. Collect flakes with a dustpan and discard. Below is a simple guide to prioritize safety, tools, and results:
| Action | Tool | Outcome |
|---|---|---|
| Lift flakes | Soft scraper | No gouges |
| Contain debris | Dustpan | Cleaner work |
| Assess finish | Inspect | Ready for next step |
Wipe With Damp Cloth
Although you’ve already lifted loose chips, wiping the area with a slightly damp cloth will pick up remaining flakes, dust, and grit that can scratch the finish if left behind. You’ll want a lint-free microfiber, gentle pressure, and clean water—avoid oversaturation.
After wiping, check for stubborn specks and use a soft-bristled brush as needed. Keep paint mixing supplies away while you clean to prevent new drops.
If you plan touch-ups, test color matching on a hidden spot after the floor fully dries.
- Use a microfiber cloth
- Work along the grain
- Rinse cloth frequently
- Let floor air-dry completely
Clean Latex (Water-Based) Paint With Soapy Water
If the paint is still wet, you can usually lift it with plain soapy water and a soft cloth or sponge. Gently blot and wipe, rinsing the cloth often to avoid smearing. Test a hidden spot to verify finish safety, since color matching and paint drying can fool you into thinking the stain’s gone. Work from edges inward, apply light pressure, and repeat until residue lifts. Dry with a clean towel to prevent water damage. Clean tools afterward.
| Step | Tool | Result |
|---|---|---|
| 1 | Soap | Loosen |
| 2 | Cloth | Blot |
| 3 | Water | Rinse |
| 4 | Dry towel | Finish |
Soften Dried Latex With Rubbing Alcohol or Vinegar
Because dried latex can become brittle, you’ll want to soften it before scraping so you don’t gouge the finish. Dampen a clean cloth with rubbing alcohol or white vinegar, test in an inconspicuous spot, and let it sit briefly to reduce tackiness.
Note that darker paint color may hide thin residue; lighter shades show more. Consider the paint’s drying time—older spots need longer soak.
- Apply solution sparingly to avoid finish damage
- Wait 5–10 minutes, reapplying if needed
- Gently lift softened paint with a plastic scraper
- Wipe area with a damp cloth and dry promptly
Remove Oil-Based Paint With Mineral Spirits Safely
When you’re dealing with oil-based paint on wood, mineral spirits cut through the film without swelling the finish like water-based solvents can, so use them carefully in a well-ventilated area.
Put on gloves and eye protection, test a hidden spot to confirm the finish isn’t damaged, and work small sections.
Dampen a clean cloth with mineral spirits and blot—don’t soak—the paint, letting it loosen.
Wipe away softened paint with a fresh cloth, repeating as needed.
Dispose of used rags safely to prevent fire risk.
For stubborn spots, repeat testing before applying more aggressive methods for oil based removal.
Scrape Dried Paint Safely (Plastic Scraper or Razor Blade)
Pick the right tool for the job: use a plastic scraper for finished floors and a razor blade angled flat for stubborn spots on sealed wood.
Work slowly and keep the blade or scraper nearly flat to avoid gouging the finish.
If paint resists, soften it first with a little heat or solvent so you can lift it without forcing.
Choose The Right Tool
If the paint’s fully dry, choose a tool that removes it without gouging your floor: a plastic scraper for wider, gentle pressure, or a razor blade held nearly flat for stubborn spots. You’ll pick based on paint thickness, finish, and nearby trim; consider how any tiny residue affects later color matching and paint blending if you’ll touch up.
Keep blades sharp and scrapers clean. Use protective gloves and eye protection.
- Plastic scraper: safe for finishes, covers more area.
- Razor blade: precise for small beads.
- Replace dull edges promptly.
- Test in an inconspicuous spot first.
Scrape With Care
Since dried paint can be stubborn, work slowly and keep the scraper nearly flat so you lift the film without gouging the wood. You’ll start with a plastic scraper for thin flakes, switching to a razor blade at a shallow angle only on sturdy finish.
Hold the blade steady, push don’t pry, and test an inconspicuous spot first. Wipe loosened paint frequently to avoid re-abrasion.
If finish softens, stop and use a recommended remover. Protect surrounding areas with drop cloths and avoid excess moisture for floor protection.
Proper technique minimizes damage during paint removal and preserves your floor’s finish.
When to Use Heat (Hair Dryer vs. Heat Gun) Safely
Although heat can loosen dried paint quickly, you need to choose the right tool and use it carefully to avoid damaging the wood.
For safe heat application, favor a hair dryer for small spots and a heat gun only for stubborn areas, keeping safety precautions in mind. Hold the tool moving constantly to avoid scorching, keep it at least 6–8 inches away, and test a hidden area first.
Use a plastic scraper as paint softens, never metal. Cool and wipe residue with a damp cloth.
If finish bubbles, stop immediately and consult a professional to prevent permanent damage.
Commercial Removers Safe for Hardwood & Engineered Floors
When you need a faster, less labor-intensive option, choose commercial paint removers formulated specifically for hardwood and engineered floors. You’ll look for products labeled safe for finishes, low odor, and containing eco friendly solvents when possible. Test a small area, follow manufacturer directions, and combine removers with gentle DIY removal techniques like soft cloths and plastic scrapers. Rinse residue and dry promptly to protect veneers.
| Product Type | Best For | Notes |
|---|---|---|
| Water-based gel | Surface stains | Low VOC |
| Citrus solvent | Oil-based paint | Eco friendly solvents |
| Soy-based remover | Sensitive finishes | Biodegradable |
Fix Paint Stains After Removal Without Sanding
After you’ve removed most of the paint and wiped away residue, small stains or ghost marks can still show up on the wood; you don’t need to sand to make the floor look right. You can spot-treat and blend finishes to hide blemishes. Test fixes in an inconspicuous area first. Consider these steps:
- Use a gentle solvent or mineral spirits to soften stains, then blot dry.
- Apply a stain pen or diluted wood stain for color matching, feathering outward.
- Lightly buff with a soft cloth to blend and restore finish sheen.
- Seal with a thin coat of compatible clear finish to protect the repair.
When Sanding or Refinishing Is the Only Option
If stains, deep drips, or finish damage won’t come out with solvents, spot repairs, or light buffing, you’re looking at sanding or refinishing as the practical solution. You’ll assess damage extent, match sanding grit to finish, and preserve wood grain direction. Sand broadly enough to feather edges, or refinish the whole plank if painting techniques altered color. Protect surrounding areas, wear a mask, and test stains on scrap. Use oil- or water-based finish to match sheen.
| Task | Tool | Result |
|---|---|---|
| Assess | Light sander | Scope |
| Strip | Chemical/abrasive | Clean surface |
| Sand | 120–220 grit | Smooth |
| Finish | Polyurethane | Durable sheen |
Repair Finish Damage and Blend the Spot
Once you’ve sanded or stripped enough to remove paint and level the surface, focus on repairing the finish and blending the spot so it disappears into the surrounding floor. You’ll choose a finish, test painting techniques, and guarantee color matching before applying anything widely. Work small, build thin coats, and let each layer cure.
After sanding to bare wood, repair and blend carefully—test finishes, build thin coats, and let each layer cure.
- Feather edges with fine sandpaper for a seamless shift.
- Use stain pens or diluted stain for subtle color matching.
- Apply finish coats with a soft brush or foam applicator.
- Buff and polish lightly after curing to blend sheen and texture.
How Long It Takes and Cost Estimate by Method
Expect the time and cost to vary widely by method: gentle scraping and sanding a small spot can take an hour or two and cost under $20 in sandpaper and a few disposable tools.
While chemical strippers or rental equipment for larger areas can stretch over a day and run $30–$150 plus disposal.
Professional refinishing typically takes 1–3 days and costs $3–8 per square foot.
You’ll assess paint drying time to judge how stubborn the film is.
DIY handheld methods are cheapest but slower; solvents speed removal but add material costs.
For budgeting, do a simple cost estimation: tools, materials, rental, and potential labor if you hire help.
Prevent Future Paint Spills and Easy Cleanup Habits
When you’re painting, plan for spills before they happen by setting up protective barriers, using drip-catching tools, and keeping cleanup supplies within reach. That small bit of prep cuts cleanup time and prevents most accidents. You’ll save time and protect finishes if you adopt good habits focused on Prevent spills and Spill prevention.
Keep a routine so cleanup’s instinctive: wipe drips immediately, use disposable trays, and never leave open cans.
Useful habits include:
- Lay drop cloths and secure edges
- Use roller guards and brush covers
- Keep rags, solvent, and scraper handy
- Clean tools before storing them
Frequently Asked Questions
Can Pet-Safe or Child-Safe Products Be Used to Remove Paint?
Yes — you can use pet-safe or child-safe products; you’ll prefer non toxic solvents and natural remedies like citrus cleaners or vinegar solutions, but always spot-test, ventilate, and protect wood finish to avoid damage.
Will Paint Removal Methods Affect Floor Warranty Coverage?
Yes — paint removal methods can void your floor warranty if you use harsh chemicals, abrasives, or unauthorized contractors; you should check the floor warranty terms, use approved techniques, and document any permitted repairs to protect coverage.
How to Remove Paint From Painted or Stained Baseboards Matched to Floor?
“Measure twice, cut once.” You’ll test paint removal techniques on an inconspicuous spot, gently scrape and use appropriate solvent, blend edges to match, then finish with careful paint residue cleanup so the baseboards stay uniform and protected.
Can Steam Cleaners Help Lift Dried Paint Without Damage?
Yes — you can use steam cleaning to help paint lifting, but you’ll proceed cautiously: you’ll test a hidden area, use low steam, blot gently, and combine with scraping or mild solvent if the paint resists.
How to Prevent Color Transfer From Paint Residues to Rugs or Shoes?
You’ll stop color transfer by isolating wet areas with drop cloths and quick paint removal; juxtaposing tidy rugs against messy shoes highlights Paint removal techniques and Paint stain prevention, so you’ll seal residues, clean promptly, and use protective shoe covers.
Conclusion
You’ve got this — removing dry paint from wood floors isn’t impossible. Start small, test your finish, and pick the gentlest method that’ll actually work: scraping, solvent, or light sanding as needed. Protect yourself and the room, and know when refinishing is the only real fix. With the right tools and patience, a tiny spot won’t ruin your whole floor — it’s not the end of the world, just a pesky hiccup you can fix quickly.