Can You Paint Acrylic Over Latex? What You Should Know
Yes — you can paint acrylic over cured latex as long as you prep the surface properly. Clean grease and dirt, sand glossy areas, and spot-prime damaged or stained sections with a bonding or stain-blocking primer. Apply acrylic in thin, even coats with quality brushes or rollers, allow full drying between coats, and watch humidity and temperature. Poor prep causes peeling or tackiness, so test a small area first — keep going to learn tips for tricky surfaces and professional vs. DIY choices.
Can You Paint Acrylic Over Latex?
Yes — you can paint acrylic over latex, and it’s a common, straightforward update for walls and trim.
You’ll enjoy acrylic benefits like faster drying, improved durability, and easier cleaning.
Acrylic paint dries quicker, resists wear better, and cleans up more easily for long-lasting results
Prepare the surface: clean, degloss, and repair. Lightly sand if needed to guarantee latex compatibility and adhesion.
Use a quality acrylic primer when switching finishes or covering stains for best results.
When It’s Safe to Paint Acrylic Over Latex
You can safely paint acrylic over latex when the surface is clean, free of grease, and sanded if needed.
Make certain the existing latex paint is sound — not peeling, chalking, or blistering — before you proceed.
If adhesion is a concern, apply a suitable primer to guarantee the acrylic bonds properly.
Surface Is Clean
A clean surface is the single most important condition for safely applying acrylic over latex, because any dirt, grease, or loose paint will prevent proper adhesion and lead to peeling.
Before painting, you’ll follow surface preparation steps: remove contaminants with degreaser, soap and water, or trisodium phosphate, rinse thoroughly, and allow drying.
Use light sanding and tack cloths to finish.
Existing Paint Is Stable
If the existing latex finish is firmly bonded, free of cracks, and shows no signs of blistering or flaking, you can confidently apply acrylic over it.
Unstable paint—peeling, chalking, or lifting under a fingernail—needs to be removed or fully stabilized first.
Check for uniform film tension and surface hardness to guarantee paint durability, and use proper adhesion techniques like scuffing and cleaning to promote a lasting bond.
Use Proper Primer
When the latex surface is sound, choose a primer that bridges latex and acrylic—acrylic-bonding or high-adhesion primers work best—so your new coat sticks and lasts.
You’ll pick primer types based on surface porosity and sheen, apply thin even coats, and sand lightly between layers.
Follow manufacturer drying times and proper application techniques to guarantee adhesion and a durable acrylic finish.
When You Should Not Paint Acrylic Over Latex
Although acrylic can adhere to many latex surfaces, you shouldn’t apply it over latex in cases where the existing paint is peeling, chalking, or has poor adhesion, because the new coat will fail quickly.
Don’t cover oil-based or heavily glossy latex without proper prep; paint adhesion suffers and compatibility issues arise.
Also avoid applying over mold, damp surfaces, or flexible trims—you’ll get cracking and delamination.
How Acrylic and Latex Paints Differ (Quick Primer)
You’ll notice acrylic and latex paints feel different because their bases aren’t the same: acrylics use acrylic resin while latex paints are water-based emulsions.
That difference affects drying time and how flexible the finish remains as temperatures change.
Understanding those traits helps you decide when acrylic over latex will hold up.
Base Composition Differences
Paint chemistry matters, and the main difference between acrylic and latex paints comes down to their binders: acrylics use acrylic polymers while most latex paints use vinyl acrylic or other latex-based emulsions.
You’ll notice acrylic benefits like stronger adhesion and color retention from that polymer structure, while latex limitations include less chemical resilience.
Know the base before layering to confirm compatibility and proper prep.
Drying And Flexibility
Because acrylic binders form tougher films, they usually dry to a firmer, more flexible finish than most latex emulsions.
So you’ll get better crack resistance and durability with acrylics. You’ll notice shorter drying times and less tackiness; that reduces flexibility issues as substrates expand and contract.
If you paint acrylic over latex properly, you’ll minimize peeling and handle movement without frequent touch-ups.
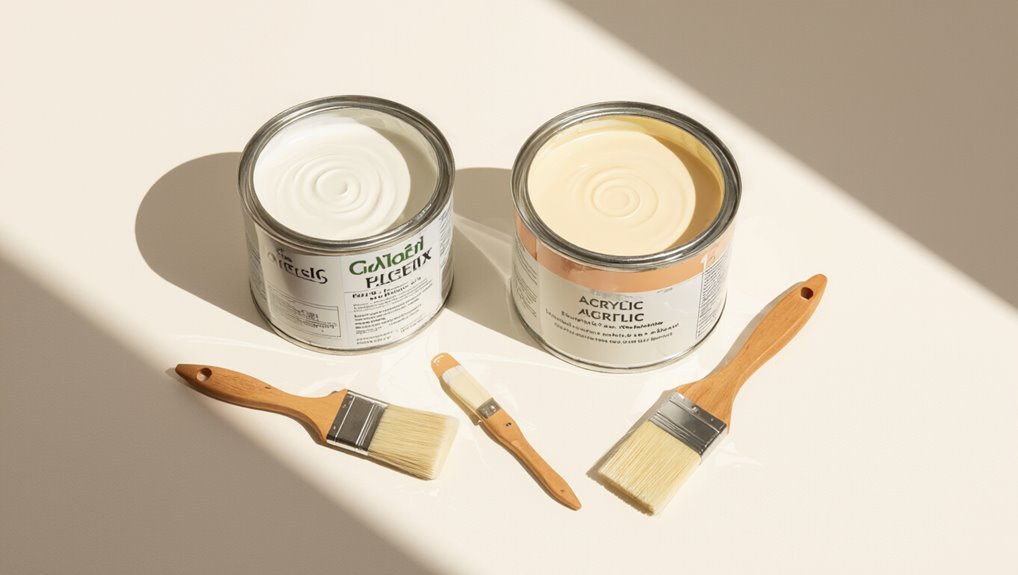
Which Acrylic Paint Types Work Best Over Latex
Which acrylics work best over latex depends on the project—water-based acrylic latex blends and 100% acrylic paints are your top choices because they bond well and resist peeling.
You’ll prefer heavy-body acrylics for textured surfaces and fluid acrylics for smooth walls.
Consider labeled acrylic paint types and verify latex paint compatibility; choose high-quality formulations for durability and minimal prep to guarantee good adhesion.
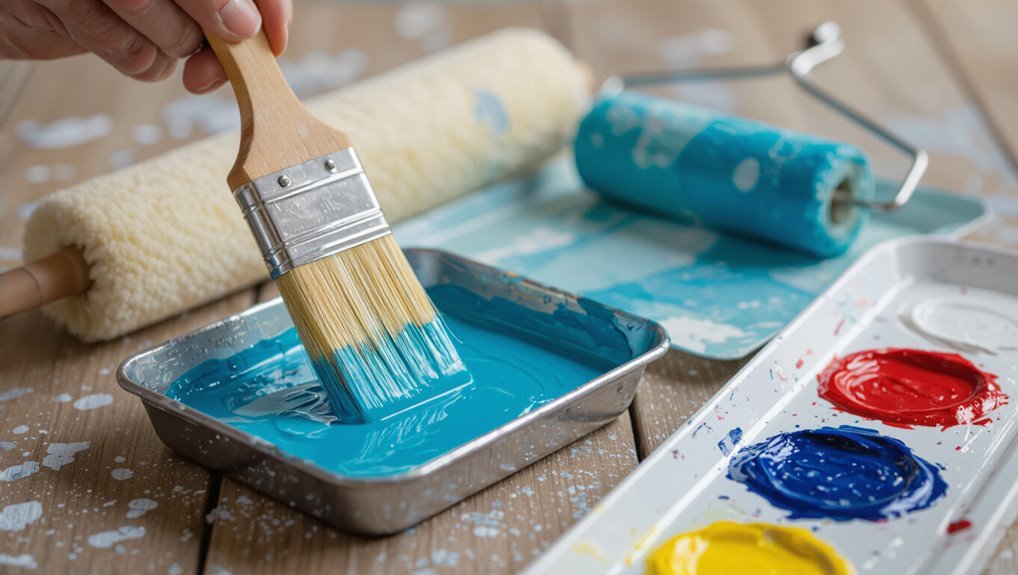
Tools and Materials You’ll Need
Before you start, gather the right tools: quality brushes, a couple rollers, and trays suited to the finish you want.
You’ll also need surface prep supplies like sandpaper, tack cloths, and primer to guarantee adhesion.
Don’t forget safety gear and cleaners — gloves, a mask, goggles, and a good brush cleaner or water for cleanup.
Essential Brushes And Rollers
When you’re ready to paint acrylic over latex, choosing the right brushes and rollers will determine the finish and how fast the job goes; pick synthetic-bristle brushes for acrylics and a medium-nap roller (3/8″–1/2″) for smooth to semi-rough surfaces to get even coverage without shedding.
Select brush types for trim and detail, and roller options for walls—foam for ultra-smooth, medium nap for general use.
Surface Preparation Supplies
If you want a smooth, durable finish when painting acrylic over latex, gather the right surface-preparation supplies first: sandpaper (80–220 grit), sanding block, tack cloths, putty knife, spackling compound, primer compatible with acrylic, painter’s tape, drop cloths, and a vacuum or brush.
These essential tools support common surface preparation techniques—cleaning, sanding, filling, and priming—so paint adheres evenly.
Safety Gear And Cleaners
Because paint dust and solvent fumes can harm your eyes, lungs, and skin, gear and cleaners are as important as brushes and rollers.
You’ll wear safety equipment: respirator, goggles, nitrile gloves, and disposable coveralls. Keep ventilation fans handy.
Use appropriate cleaning solutions—mild detergent for latex, mineral spirits for stubborn spots—and lint-free rags.
Dispose of solvents safely and follow label instructions.
Ready-to-Paint Checklist
Before you open the paint, take a few minutes to inspect and prepare the surface so your acrylic will adhere and look its best.
Take a moment to inspect and prep the surface—clean, dry, and smooth—for acrylic to adhere and look its best.
Gather ready to paint essentials: drop cloths, tack cloth, sandpaper, primer, and filler.
Use a surface readiness checklist: clean, dry, smooth, and dust-free.
Mask trim and vents, test a small patch, then start painting confidently.
Check the Existing Latex: A Surface-Condition Checklist
When you’re preparing to paint acrylic over existing latex, start by inspecting the old finish for adhesion, stains, and surface defects—this quick check tells you whether you can paint directly or need repair work first.
Check for peeling, bubbling, chalking, heavy stains, mildew, and grease.
Assess surface compatibility and guarantee solid paint adhesion; sand glossy areas and clean thoroughly before proceeding.
Quick Spot-Test for Acrylic-on-Latex Compatibility
Want to be sure acrylic will stick? Choose an inconspicuous area, clean lightly, and apply a small acrylic swatch.
Let it cure, then press, flex, and score to assess bond.
Use simple spot testing techniques—peel, tape, and scratch—to judge paint adhesion.
If the sample holds without lifting or cracking, acrylic is likely compatible; otherwise prep or primer may be needed.
Clean Latex Surfaces for Acrylic Adhesion
Before you paint, you need to remove surface dirt and loose particles so the acrylic can bond properly.
Next, degrease the area with a mild detergent or trisodium phosphate substitute, scrubbing stubborn spots where oils or fingerprints sit.
Rinse thoroughly and let the surface dry completely to prevent adhesion problems.
Surface Dirt Removal
If the latex surface looks dull or feels gritty, you’ll need to remove surface dirt so your acrylic will bond properly.
Begin with a soft brush or microfiber cloth to lift loose dust; use light soap and water for stubborn grime.
Focus on gentle surface cleaning and targeted dirt removal without saturating the substrate.
Let the area fully dry before sanding or priming.
Degreasing And Rinsing
After you’ve removed dust and surface grime, deal with oils and residues that soap alone won’t cut — they’ll prevent acrylic from sticking properly.
Use simple cleaning techniques: degrease with trisodium phosphate or a diluted citrus cleaner, rinse thoroughly, and dry. Proper surface preparation guarantees adhesion and longevity.
- Degrease with TSP or citrus cleaner
- Rinse until no residue remains
- Air-dry before priming
Sand Latex Paint for Best Acrylic Bonding
Lightly sand the existing latex surface to dull the glossy finish and give acrylic paint something to grip. Use fine-grit paper and circular motions; proper sanding techniques boost paint adhesion and reduce peeling. Wipe dust before painting.
| Tool | Purpose |
|---|---|
| 120–220 grit | Scuff gloss |
| Sanding block | Even pressure |
| Tack cloth | Remove dust |
| Vacuum brush | Clean grooves |
When to Prime Between Latex and Acrylic
You should prime between latex and acrylic when the surface is damaged, stained, or uneven so the new paint can adhere properly.
Check the existing sheen—glossier latex often needs a bonding primer while flat surfaces may not.
Also make sure the latex is fully dry and cured before priming to avoid adhesion problems.
Check Surface Condition
When the existing latex surface is intact, clean, and gloss level matches the acrylic you plan to use, you often won’t need a primer; however, if the latex is chalky, stained, peeling, or glossy, priming becomes necessary to guarantee adhesion and even coverage.
Do a surface evaluation for paint compatibility before priming.
- Check for chalking or flaking
- Test stain bleed-through
- Assess adhesion with a tape pull
Consider Paint Sheen
Because sheen affects adhesion and appearance, check the existing latex gloss before deciding whether to prime: higher-gloss latex repels new paint and can cause poor acrylic adhesion, while flat or eggshell surfaces usually accept acrylics without a primer.
If you’re uncertain, sand gloss, test a small area, or use a bonding primer to guarantee sheen compatibility and maximize paint durability.
Allow Proper Drying
Although latex dries fast, you’ll still need to wait long enough before priming or applying acrylic to guarantee a solid bond and avoid trapping moisture.
Check the paint’s recommended drying time and consider drying conditions like temperature and humidity. If unsure, wait extra hours.
Follow these steps:
- Confirm manufacturer drying time
- Improve drying conditions (ventilation, heat)
- Test adhesion before full acrylic coat
Choosing the Right Primer for Problem Surfaces
Start by matching the primer to the problem: peel-prone latex, tannin-bleeding knots, or slick glossy surfaces each need a different product to give acrylic paint a reliable bond.
You’ll choose primer types by evaluating surface compatibility—stain-blocking for tannins, bonding primers for slick finishes, and high-adhesion or oil-based primers for flaking latex.
Prep and follow manufacturer cure times.
Paint Acrylic Over Latex: Interior Walls (Step-by-Step)
When you’re ready to paint acrylic over existing latex on interior walls, follow a clear, step-by-step process so the new finish bonds, looks smooth, and lasts—begin with cleaning and repairing, then prime as needed, and finish with proper application and drying times.
You’ll protect interior aesthetics and confirm color compatibility before rolling.
- Clean and sand
- Prime problem areas
- Apply two thin coats, allow drying
Paint Acrylic Over Latex: Exterior Surfaces (Step-by-Step)
When painting acrylic over latex on exterior surfaces, you’ll start by thoroughly cleaning, scraping loose paint, sanding rough spots, and priming any bare areas.
You’ll then choose the right exterior acrylic and apply it in even coats with proper overlap, watching for weather windows and drying times.
Follow consistent technique—brush, roller, or sprayer—and check for drips, adhesion, and uniform coverage as the finish cures.
Surface Preparation Steps
Preparation makes the difference between a paint job that lasts and one that peels—so you’ll want to methodically clean, repair, and prime exterior latex before applying acrylic.
Assess surface types and confirm paint compatibility. Remove mildew, sand glossy spots, and fill cracks. Then use a suitable primer for adhesion.
- Clean thoroughly
- Sand and degloss
- Prime compatible surfaces
Exterior Application Technique
Now that you’ve cleaned, sanded, and primed the exterior, you’re ready to apply acrylic over latex with a methodical, weather-aware approach.
Work in small sections, maintain a wet edge, and use a quality brush or roller for even coverage.
Apply two thin coats, allowing proper drying time between coats to maximize exterior durability and weather resistance for long-lasting results.
Matching Finish and Sheen When Changing Paint Types
Why does sheen matter? You’ll want finish compatibility and sheen matching to avoid obvious patches and inconsistent light reflection.
Test small areas, use primer when needed, and choose comparable sheens (matte to matte, satin to satin).
Uneven gloss shows imperfections and affects durability, so match sheen to substrate and room use for a seamless, long-lasting finish.
- Test small areas
- Prime when needed
- Match comparable sheens
Humidity, Temperature, and Drying Times
Because acrylic and latex paints cure through evaporation and polymer cross-linking, the air temperature and humidity around your project directly control drying times and final film quality. You’ll manage humidity control and watch temperature effects: cooler or humid air slows curing, risking tacky films; warm, dry air speeds drying but can cause surface skinning.
| Condition | Effect | Tip |
|---|---|---|
| High humidity | Slow | Dehumidify |
| Low temp | Slow | Warm area |
| High temp | Fast | Ventilate |
How Long to Wait Between Coats and Before Use
The drying conditions you just managed will directly determine how long you should wait between coats and before putting a painted surface back into use.
You’ll follow manufacturer drying times and adjust coat intervals for humidity and temperature. Wait longer in cool, humid rooms; shorter in warm, dry ones.
Check tackiness before recoating and allow full cure before heavy use.
- Follow label drying times
- Space coat intervals by conditions
- Test tack before reuse
Common Problems and How to Fix Them
When you paint acrylic over latex, a few recurring problems can pop up—peeling, poor adhesion, brush marks, or uneven sheen—and most are fixable if you identify the cause quickly. Address adhesion challenges with sanding and primer, test color compatibility, and use proper tools.
| Problem | Cause | Fix |
|---|---|---|
| Peeling | Poor prep | Sand + primer |
| Brush marks | Thick paint | Thin + quality brush |
| Uneven sheen | Incompatible base | Test + adjust |
Longevity: What to Expect From Acrylic Over Latex
Lifespan depends largely on prep and conditions: if you sand, prime, and apply acrylic properly over cured latex, you can expect durable results that resist yellowing and chalking for a decade or more under normal indoor conditions.
You’ll preserve acrylic durability and maintain latex compatibility by addressing adhesion and moisture issues.
- Proper surface prep
- Quality primer choice
- Controlled humidity during curing
Cost/Time: Repainting Acrylic Over Latex vs. Full Strip
Although repainting acrylic over cured latex usually costs less and takes far less time than stripping to bare substrate, you’ll want to weigh labor, materials, and surface condition before deciding.
For a practical cost comparison, factor primer, patching, and paint versus full strip equipment and disposal.
Time savings are clear for repainting, but severe adhesion or damage can erase those advantages.
When to Hire a Pro vs. DIY
Facing a repaint job, ask whether your skills, tools, and the surface condition match the project’s demands—if you’re unsure about adhesion issues, heavy peeling, or lead paint risks, hire a pro; if the surface is sound, damage is minor, and you’re comfortable with prep and priming, you can likely tackle it yourself.
- DIY considerations: time, tools, safety
- Hire for professional expertise with complex surfaces
- DIY for minor fixes and solid prep
Frequently Asked Questions
Can Acrylic Paint Be Used Over Oil-Based Stains Sealed With Latex Primer?
Yes — you can, provided the oil based stains were sealed with a compatible latex primer; you’ll want to confirm primer compatibility, sand gloss, clean surfaces, and use quality acrylics for good adhesion and durable finish.
Will Acrylic Over Latex Affect VOC Levels or Indoor Air Quality?
Acrylic over latex won’t greatly raise VOC emissions if both are low-VOC waterborne products; you’ll mostly avoid strong odors. Still ventilate, allow full cure, and check labels—some primers or additives can worsen indoor air quality.
Can I Use Acrylic Markers or Craft Acrylics on Latex-Painted Furniture?
Like painting on glass, you can use acrylic markers or craft acrylics over latex-painted furniture, but you’ll need proper surface prep to guarantee good marker adhesion and maintain furniture durability; seal with compatible clear coat afterward.
How Does Acrylic Over Latex Respond to Mildew-Prone Bathrooms?
Acrylic over latex can tolerate humid, mildew-prone bathrooms if you pick mildew-resistant acrylics and prep surfaces; you’ll guarantee paint adhesion by cleaning, priming, and using moisture-friendly topcoats to prevent peeling and mold growth.
Are There Color-Matching Limitations When Switching From Latex to Acrylic?
By golly, yes — you can match most hues, but you’ll hit limits: color blending’s easier on similar bases, and finish compatibility affects perceived shade; test samples and tint adjustments before committing to full coats.
Conclusion
You can usually paint acrylic over latex, but think of it like laying a fresh blanket over an old couch: if the surface’s clean, sound, and primed, it’ll look great; if it’s flaky or glossy, you’ll get lumps and slips. Prep carefully, choose compatible acrylic, and expect decent longevity—though heavy wear or structural issues means sanding or pros. When in doubt, prep more or call a pro so your refresh doesn’t unravel.