What to Do With Dried Acrylic Paint (Reuse Ideas)
If you’ve got dried acrylic paint, don’t toss it—you can repurpose it into texture, tools, and décor. Test adhesion and flaking first, then scrape or soften pieces with warm soapy water, palette knives, or a touch of medium. Use flakes for textured backgrounds, DIY stamps, jewelry in resin, pigment blocks, or crushed mixes added to modeling paste. Sand or seal edges for durability and store sorted scraps. Keep going and you’ll find step-by-step ideas and safety tips.
How to Decide and Start Reusing Dried Acrylic Paint
Wondering whether that crusty blob of acrylic is trash or treasure? You’ll assess texture, color, and adhesion, then plan dried paint repurposing for textured accents or mixed-media pieces.
You’ll test a scrap, soften flakes with medium, and imagine Creative paint applications like palette knife strokes, collage details, or stamped patterns. Start small, document results, and refine your technique.
Quick Checklist: Is Dried Acrylic Reusable?
Start by checking the dried paint’s texture and flexibility—if it flakes or crumbles, it’s probably not reusable.
Then do a quick adhesion test on the actual surface you’ll paint to see if it sticks and levels properly.
If both checks pass, you can proceed with reuse; if not, consider scraping or repurposing it as texture.
Check Texture & Flexibility
Before you decide what to do with dried acrylic, give it a quick tactile and visual check: press gently, bend the surface if possible, and look for cracks, powderiness, or tackiness.
Use texture evaluation to note grain, hardness, and flaking.
Do flexibility testing by bending small sections; if paint flexes without cracking it can be repurposed for flexible crafts or trimmed into shapes.
Test Adhesion On Surface
Once you’ve checked texture and flexibility, you’ll want to confirm how well the dried acrylic sticks to its surface.
Do simple adhesion tests to judge surface compatibility before reuse. Try these quick checks:
- Scratch lightly with a fingernail.
- Tape application and removal.
- Apply a small solvent spot.
- Sand a corner and press for peeling.
Record results to decide reuse.
Safely Removing Dried Paint From Tubes and Jars
When a tube or jar has dried paint crusted on it, you can often loosen the gunk with warm, soapy water and a soft brush.
For stubborn bits, gently pry with a plastic scraper or palette knife to avoid damaging the container.
If the paint’s still solid inside, consider carefully using a suitable solvent to soften and salvage the remaining paint, working in a ventilated area and wearing gloves.
Use Warm Soapy Water
A simple soak in warm, soapy water can loosen and lift dried acrylic from the mouths of tubes and the rims of jars, making cleanup quick and safe; you’ll want to let parts sit long enough for the water to soften the paint but not so long that plastic degrades.
Use a mild soapy solution, then:
- Rinse debris with warm water
- Gently wipe with cloth
- Repeat if needed
- Dry thoroughly before sealing
Gently Pry With Tools
If warm, soapy water doesn’t fully loosen stubborn crusts, you can carefully pry dried paint away with small tools to restore tube and jar openings.
Use gentle pry techniques—tweezers, a toothpick, or a thin palette knife—and steady pressure to avoid tearing packaging.
Prioritize proper tool selection, work slowly, and clear debris into a disposable paper towel to keep containers reusable.
Salvage With Solvents
Because some dried acrylic can be stubborn, you can dissolve residues with the right solvents—but you need to do it safely and selectively to protect containers and your health.
- Test solvent types on a small spot to avoid plastic damage.
- Use gloves, ventilation, and goggles for safety.
- Apply minimal solvent, let sit, then scrape gently.
- Rinse thoroughly; adjust paint dilution when reusing salvaged paint.
Safety Rules When Sanding or Crushing Dried Paint
When you sand or crush dried acrylic paint, take steps to control dust and particles before you start:
wear an N95 mask, eye protection, and gloves; work outdoors or in a ventilated area; use gentle sanding techniques and careful crushing methods to minimize airborne debris; dampen surfaces slightly to reduce dust; clean up with a HEPA vacuum and damp cloths to avoid spreading particles.
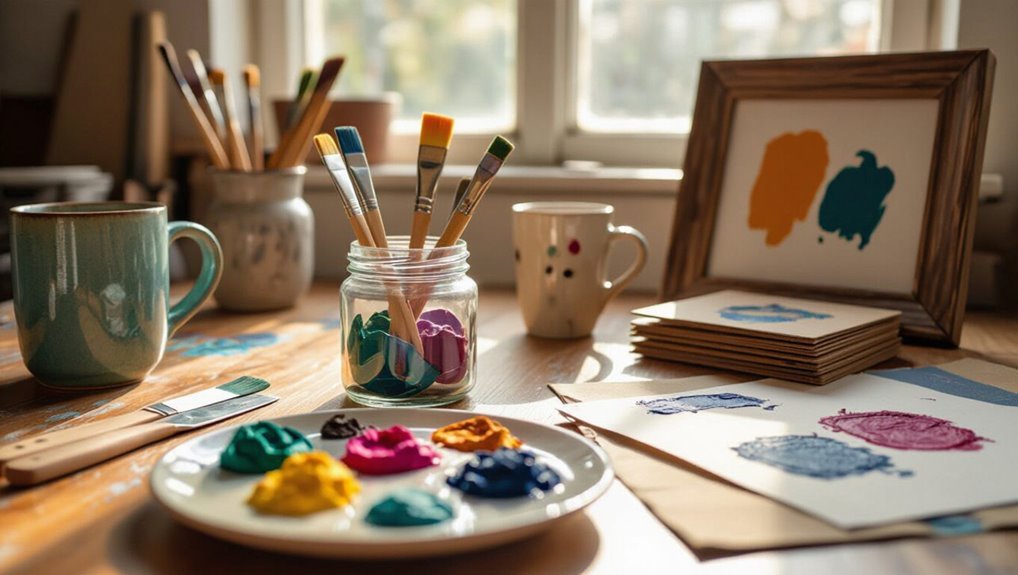
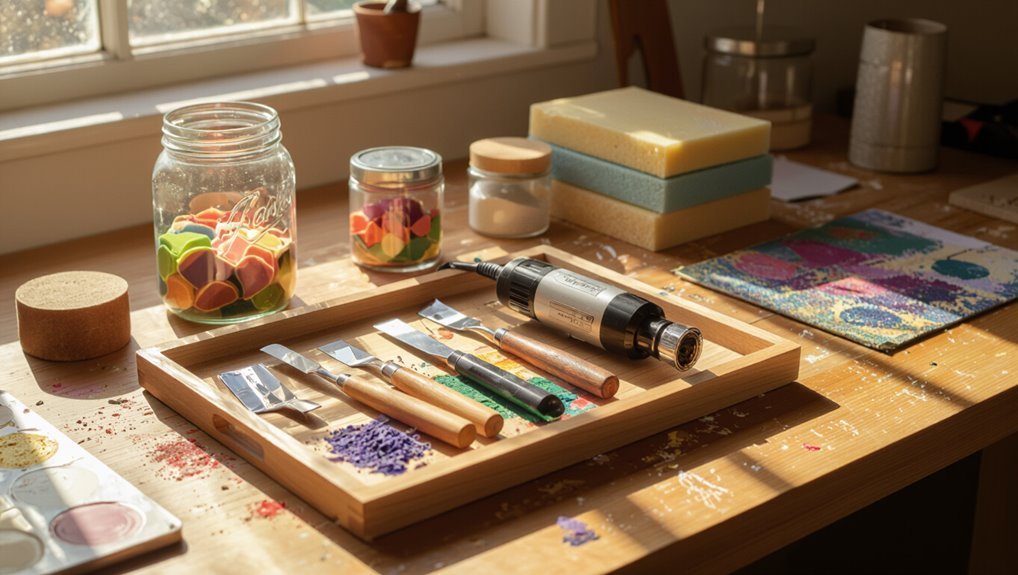
Tools That Make Repurposing Dried Paint Easier
You’ll find that the right palette knife—rigid for scraping, flexible for smoothing—makes separating and reshaping dried paint much easier.
Small syringes, spray bottles, or a damp brush let you rehydrate flakes or crusts precisely without over-wetting the rest.
With those simple tools on hand, you’ll save time and get cleaner, more usable results.
Palette Knife Options
If you want to scrape, lift, or reshape dried acrylic without tearing your surface, a good palette knife is essential.
You’ll use palette knife techniques for controlled removal and paint texture exploration to add dimension. Try different blade shapes and stiffness for varied effects.
- Flexible spatula
- Stiff diamond knife
- Rounded trowel
- Mini detail scraper
Rehydration Tools
Although dried acrylic can feel permanent, a few simple tools let you soften and reuse it quickly.
You’ll need a spray bottle for misting, a palette knife to scrape flakes, a jar and brush for mixing, and acrylic medium or flow improver to restore paint consistency.
These rehydration techniques help you revive colors, control texture, and reuse dried paint efficiently.
How to Store Dried Acrylic Paint Pieces for Later Use
Stash your dried acrylic paint pieces where they’ll stay clean, flat, and easy to find so you can reuse them without extra prep.
Use storing techniques and organization tips to label, sort, and protect pieces for projects.
- Zip bags by color and size
- Flat archival folders for larger skins
- Labeled plastic drawers for quick access
- Clear binders with sleeves for small scraps
Using Paint Skins and Flakes for Texture
When you press, crumble, or layer paint skins and flakes into your work, they add tactile interest and unpredictable edges that standard mediums can’t replicate. You’ll explore texture techniques and creative applications: press skins into wet gesso, crumble for granular relief, or layer flakes for ridged highlights. Use the visual guide below.
| Action | Result | Tip |
|---|---|---|
| Press | Smooth relief | Use gesso |
| Crumble | Granular texture | Seal lightly |
| Layer | Ridge highlights | Vary thickness |
Turning Paint Skins Into Collage Elements
Collect and sort your paint skins by color, thickness, and flexibility so you can choose pieces that suit the mood and structure of your collage.
Collect and sort paint skins by color, thickness, and flexibility to build collages with mood and structure.
You’ll trim, layer, and adhere skins as motifs, edges, or accents, exploring collage techniques and texture exploration to add contrast and rhythm.
- Trim shapes
- Plan composition
- Use archival glue
- Seal gently
Making Layered Mixed‑Media Panels With Paint Flakes
Start by cutting or sanding dried paint skins into flakes and dust. Then sort them by size and flexibility so you know what’ll lay flat or create texture.
You’ll build your panel by arranging and adhering layers with gel medium or PVA, alternating flakes with paper, fabric, or thin gessoed board for depth.
Finish by sealing the surface with a clear archival varnish or encaustic medium to protect and unify the layers.
Preparing Paint Flakes
Peel thin, brittle layers of dried acrylic from your palette or leftover pours to create paint flakes that’ll become textured elements in your mixed‑media panels.
Handle flakes gently, sort by color and thickness, and store flat. Note paint storage and reuse techniques to keep flakes usable.
- Collect
- Sort
- Label
- Store
Layering And Sealing
When you’re ready to build your panel, arrange flakes in deliberate layers—working from large, structural pieces to smaller, accent flakes—so textures interlock and won’t shift when sealed. Use layering techniques like staggered overlap, adhesive dots, and spacers, then test sealing options (matte varnish, gloss resin, spray fixative).
| Step | Tool | Seal |
|---|---|---|
| 1 | Tweezers | Varnish |
| 2 | Glue | Resin |
| 3 | Brush | Spray |
| 4 | Spacer | Wax |
| 5 | Clamp | Shellac |
Building Textured Canvas Backgrounds From Paint Bits
If you want to add depth and interest to a canvas without buying new materials, dried acrylic paint bits make an ideal, inexpensive texturing medium.
You’ll create textured backgrounds through creative layering: grind chips slightly, adhere pieces with gel medium, build low relief, then paint or glaze.
Try these approaches:
- Press flakes for subtle grain
- Layer chips for ridges
- Mix bits into paste
- Scrape for patterns
Shaping Dried Paint Into Mosaic‑Style Tiles
After you’ve built textured backgrounds from paint bits, you can cut and shape those dried flakes into mosaic‑style tiles to create patterned surfaces or inlaid accents. You’ll arrange pieces to explore mosaic tile patterns and experiment with color blending techniques for depth. Use adhesive and sealant to secure tiles, then grout or leave raw for a rustic look.
| Step | Result |
|---|---|
| Cut | Shapes |
| Arrange | Patterns |
| Seal | Durable |
| Grout | Finish |
Make Low‑Cost Stamps From Hardened Paint
You can turn thick, hardened paint into DIY stamps by cutting or carving shapes once the paint sheet is fully dry and flexible.
Use simple silhouettes, repeating patterns, or layered reliefs to get crisp impressions, and test on scrap paper to adjust depth and detail.
Attach stamps to a block or jar lid for a comfortable grip and consistent pressure.
Preparing Paint “Stamps”
When you let thick acrylic drips or globby leftovers cure into firm shapes, they become instant, low-cost stamps you can press into paper, fabric, or clay.
Clean edges, sand lightly for crisp stamp designs and reveal textured patterns. Seal with clear varnish so they won’t crumble. Store flat.
- Trim
- Sand
- Seal
- Label
Stamp Design Techniques
With your hardened paint pieces trimmed, sanded, sealed, and labeled, it’s time to shape them into effective stamps.
You’ll plan stamp design for repeatable patterns, simple motifs, and layered effects. Use carving tools, scissors, or craft knives to refine edges.
Test on scrap paper, adjust pressure, and combine pieces for complex prints. These creative techniques keep costs low and results professional.
Carving Dried Paint Chunks Into Custom Stamps
Try carving dried acrylic paint chunks into custom stamps to add unique textures and repeatable motifs to your projects.
Carve dried acrylic paint chunks into custom stamps for unique, repeatable textures and motifs in your projects.
You’ll sculpt shapes, test impressions, and refine carving techniques for consistent results. Use simple tools and firm bases so stamps last.
- Plan custom stamp designs.
- Trim chunks to size.
- Carve details carefully.
- Test and adjust.
Painting With Stamped Paint Shapes : Tips and Glue
1 simple stamped shape can become a layered motif once you plan placement, choose compatible paints, and secure pieces properly.
Use varied stamping techniques to build rhythm; match paint textures so layers bond.
Let stamps dry fully, then tack with a clear acrylic medium or craft glue before final adhesive.
Press evenly, wipe excess, and finish with a protective varnish for durability.
Create Painterly Jewelry From Cured Paint
Pick cured paint pieces that have interesting color, texture, and a sturdy thickness so they won’t crack when worn.
You’ll want to attach them to secure backings—like bezels, metal blanks, or strong epoxy—with proper sanding and adhesive for a lasting bond.
Finish by sealing edges and surfaces with a clear topcoat or resin to protect the paint and give a professional shine.
Selecting Paint Pieces
When you’re choosing cured paint pieces for jewelry, focus on shape, thickness, and surface interest—these determine how the piece will hang, reflect light, and wear over time.
Consider paint color selection and perform a quick paint condition assessment to spot cracks or delamination before cutting.
- Contrast and palette
- Thickness uniformity
- Surface texture
- Edge integrity
Preparing Secure Backings
Now that you’ve selected sturdy, attractive paint pieces, you’ll need to stabilize them with backings that support wear and attachment points.
Choose lightweight metal, leather, or polymer clay cut to size, and bond using epoxy or a strong adhesive that guarantees paint adhesion.
Reinforce holes or loops with rivets or wire wraps so your jewelry has durable, secure backings for everyday use.
Sealing And Finishing
Before you seal your cured acrylic pieces, make sure the surface is clean, dry, and free of dust or oils so the finish bonds correctly.
You’ll pick sealing techniques and finishing options that suit scale and wear. Choose a non-yellowing varnish, resin dome, UV spray, or wax seal for protection and polish.
- Varnish
- Resin
- UV spray
- Wax
Adding Dried Paint to Resin Jewelry and Charms
Experiment by embedding thin flakes or crushed pieces of dried acrylic into clear resin to create unique jewelry and charms that preserve color and texture.
You’ll learn resin techniques like layering, tinting, and bubble control to enhance effects.
Place fragments strategically in molds for varied charm designs, seal edges smoothly, and sand or polish cured pieces for wearable, durable results that showcase paint remnants.
Make Fridge Magnets From Leftover Paint Bits
Gather a few small dried paint pieces, strong adhesive, flat magnets, and a clear sealer so you can assemble durable fridge magnets.
You’ll press or glue the paint bits onto a backing—like wood discs, metal blanks, or bottle caps—then secure a magnet to the reverse.
Once the glue’s set, seal the tops with a glossy varnish or epoxy to protect colors and add shine.
Materials And Tools
To make fridge magnets from leftover dried acrylic paint, you’ll need a few basic tools and materials that keep the process simple and tidy:
- Small jars or envelopes for dried paint storage.
- Assorted sandpaper and a craft knife.
- Strong adhesive and flat magnet backs.
- Clear varnish or sealant.
You’ll follow paint reuse techniques to sort, prep, and protect pieces before assembly.
Assembly And Sealing
With your paint pieces prepped and sealed, start assembling the magnets by arranging shapes and mixing colors until you like the composition.
You’ll use a strong craft glue for paint assembly, pressing pieces onto magnetic blanks. After positioning, finish with a clear epoxy or varnish for paint sealing to protect edges and add shine.
Let cure fully before use.
Crush Dried Paint for Pigment Experiments
Crush dried acrylic paint into fine flakes or powder so you can reclaim its pigment for experiments like custom washes, mixed-media glazes, or homemade inks.
You’ll explore pigment mixing and color theory hands-on, testing tints, transparencies, and binder ratios to revive hues.
- Test small batches
- Sift for uniformity
- Mix with water or medium
- Label proportions and results
Mix Ground Dried Paint Into Modeling Paste
Try blending finely ground dried acrylic into modeling paste to add color, texture, and body to your sculptural surfaces.
You’ll mix small amounts until you reach a consistent tint, then apply with a palette knife for controlled texture enhancement.
The mixture stays stable, bonds well to canvas or board, and lets you build raised patterns, highlights, or weathered effects without wasting leftover paint.
Make Custom Chalk or Pigment Blocks From Flakes
If you’ve got flakes left over after mixing them into paste, you can press them into custom chalks or pigment blocks for drawing and glazing.
You’ll control color blending and experiment with texture exploration by adjusting binder and pressure. Let blocks dry fully before use.
- Grind flakes fine
- Add minimal binder
- Press into molds
- Dry and cure
Reusing Dried Metallics for Mixed‑Media Sheen
When you salvage dried metallic acrylics, you access a concentrated source of shimmer that’s perfect for mixed‑media accents.
Scrape thin flakes or sand to dust, then adhere them with gel medium or clear varnish to introduce metallic textures into collages, panels, or altered books.
You’ll boost highlights, create reflective edge work, and experiment with layered mixed media applications without wasting leftover shimmer.
Repair and Reinforce Canvases With Paint Skins
You can make flexible paint skins by pouring thin layers of acrylic onto a nonstick surface and letting them fully cure.
Peel and trim those skins into patches that you can glue over tears or weak spots on a canvas. They’ll blend texture and color while reinforcing the area without adding stiff bulk.
Create Flexible Paint Skins
Because dried acrylic forms a thin, flexible film, you can turn leftover paint into repair patches that strengthen or mend canvases.
You’ll cut paint skins into shapes, use flexible applications for edges, and employ creative layering to match texture and color.
Try these steps:
- Peel cured paint from a nonstick surface.
- Trim to shape.
- Thin edges with sandpaper.
- Adhere with flexible medium.
Apply As Canvas Patches
Patch torn or thin areas on a stretched canvas by cutting paint skins to size and bonding them with a flexible adhesive so they flex with the original fabric.
You’ll match texture and color, trim edges for seamless joins, and reinforce large tears with backing fabric.
Use canvas patching techniques to stabilize weak spots; these creative repairs keep originals intact and add unexpected surface interest.
Masking and Resist Techniques Using Paint Scraps
Masking and resist techniques turn leftover flakes and chips of dried acrylic into precision tools for creating crisp edges, layered patterns, and surprising negative space effects.
You’ll use masking techniques and resist methods to press, scrape, and lift scraps for sharp shapes and texture.
Try these quick approaches:
- Edge masking with tape and flakes
- Scrape-resist stencils
- Lift-off negative shapes
- Layered mask overlaps
Embedding Paint Flakes Into Decorative Planters
Start by breaking your dried paint into uniform flakes and removing any loose bits so they’ll embed cleanly.
Try different embedding techniques—press flakes into wet plaster or resin, or sprinkle them onto tacky gel medium—to see which gives the texture and color you want.
Once set, seal the surface with a clear varnish or epoxy to protect the flakes and make the planter waterproof.
Preparing Paint Flakes
Gather your dried acrylic paint flakes and a few basic tools—tweezers, a stiff brush, and a sealed container—so you can sort and prep them quickly for embedding into decorative planters.
Focus on paint flake preparation and practical paint reuse techniques:
- Remove dust and loose bits.
- Sort by color and size.
- Trim sharp edges.
- Store dry, labeled, sealed.
Embedding Techniques Explained
Once your flakes are clean, sorted, and labeled, you can embed them into planters using a few straightforward methods that give consistent, durable results. You press flakes into clay or adhere with clear medium, arranging patterns for striking creative applications. Try combinations, test placement, and refine embedding techniques.
| Method | Result |
|---|---|
| Press into clay | Textured surface |
| Embed in resin | Smooth finish |
| Glue on rim | Accents |
| Inlay strips | Stripes |
Sealing And Finishing
After you’ve pressed or adhered flakes into the planter and arranged the look you want, you’ll need to seal and finish the surface to protect the design and unify the texture.
Use proper sealing techniques and add finishing touches to last outdoors or indoors.
Follow steps:
- Clean and dry surface.
- Apply clear epoxy or outdoor polyurethane.
- Sand lightly between coats.
- Cure fully before use.
Upcycle Dried Paint Into DIY Picture Frames
Turn those stubborn dried acrylic blobs into unique DIY picture frames that add color and texture to your walls.
Peel, arrange, and glue paint chunks onto plain frames, experimenting with frame design and bold color combinations.
Sand edges, seal with clear varnish, and inset photos or art.
You’ll create personalized, tactile frames that celebrate leftover paint while upgrading décor on a budget.
Make Textured Coasters and Trivets With Paint Bits
Create durable, eye-catching coasters and trivets by arranging dried acrylic paint bits into layered, textured surfaces that protect tables and show off color.
Create durable, eye-catching coasters and trivets by layering dried acrylic paint bits into textured, protective surfaces that celebrate color.
You’ll glue paint chips onto cork or wood, seal with resin, then sand edges for a polished look. Choose shapes that suit your coaster designs and pick heat-resistant trivet materials for function.
- Prep base
- Arrange bits
- Seal surface
- Finish edges
Apply Paint Chips to Accent Gift Wrap and Cards
You can turn dried paint chips into eye-catching embellishments for gift wrap and handmade cards.
Glue layered chip collages onto tags for a textured, colorful look that’s uniquely upcycled.
Mix sizes and shapes to create bold focal points or subtle accents.
Upcycled Paint Chip Embellishments
When you press recycled paint chips onto plain kraft paper or a blank card, they instantly lift the look with color swatches, stripes, and tiny palettes that feel modern and handmade.
You’ll use paint chip art and simple embellishment techniques to create accents that pop.
Try these ideas:
- Geometric strips
- Mini palettes
- Color-block tags
- Patterned borders
Layered Collage Gift Tags
Although simple to assemble, layered collage gift tags make any package feel custom and thoughtfully wrapped; you’ll layer recycled paint chips with scraps of paper, washi, and twine to build tactile, colorful accents that suit any occasion. Use collage techniques and quick cuts to mix textures—these gift tag ideas are fast, eco-friendly, and striking.
| Color | Texture | Fast |
|---|---|---|
| Chip | Paper | Tie |
| Washi | Twine | Trim |
Incorporate Paint Pieces Into Greeting Cards and Journals
If you want to give a card or journal a unique, tactile charm, glue small shards or textured swatches of dried acrylic paint onto the cover or inside pages.
Use basic collage techniques and simple journal embellishments to add color and dimension. Secure pieces with PVA or gel medium; press flat to dry.
Use simple collage techniques and embellishments to add color and dimension; adhere with PVA or gel medium and press flat to dry.
- Layer for depth
- Trim edges
- Seal surface
- Add handwritten notes
Using Dried Paint for Color Study Swatches
You can glue small chips of dried paint onto cards to create quick value identification guides that help you see lights, midtones, and darks at a glance.
Layering different dried pieces lets you compare how colors interact and change when placed over or next to one another.
Keep the swatches organized by hue and opacity so you can reference them fast during a session.
Quick Value Identification
Start by painting small, labeled swatches of dried acrylics to compare values quickly—lay out the darkest, lightest, and several midtones side by side so you can judge contrast at a glance.
This simple value assessment reveals creative potential and speeds decision-making when planning pieces.
Try these quick checks:
- Compare edge contrast
- Note tonal gaps
- Photograph for reference
- Mark preferred mixes
Layered Color Comparisons
Having judged values with simple swatches, move on to layered color comparisons to see how dried acrylics interact when stacked.
You’ll test layered techniques by scraping or sanding thin layers, then applying contrasting hues to observe color blending, opacity, and texture.
Label each sample, note sequence and medium used, and photograph results so you can replicate effective mixes and avoid failures in future pieces.
Create Color Chips to Plan Your Palette
A small set of color chips makes it easy to see how your dried acrylics really behave on different surfaces.
Swatch each pigment onto cardstock or canvas scraps and label the hue, brand, and any medium you mixed in. Use them for color theory studies and palette inspiration when planning pieces.
- Arrange by value
- Group by temperature
- Note opacity
- Photograph samples
Reinforce Sculpture Armatures With Paint Shards
Once you’ve cataloged your color chips, you can repurpose dried paint flakes as structural fillers for small sculptures.
You’ll press paint shards into gaps around wire sculpture armatures to build volume, then compact layers to reduce voids.
Work in thin increments so the shards nest securely, shaping contours as you go.
Sand lightly once stable to refine form before finishing.
Best Adhesives and Sealers for Paint Bits
Choosing the right adhesive and sealer makes your paint-bit sculptures durable and tidy, so pick products that bond nonporous, irregular flakes and lock out dust and moisture.
You’ll want to compare adhesive types and sealer options for strength, flexibility, and finish.
- Epoxy resin
- Clear PVA glue
- Silicone adhesive
- Spray polyurethane
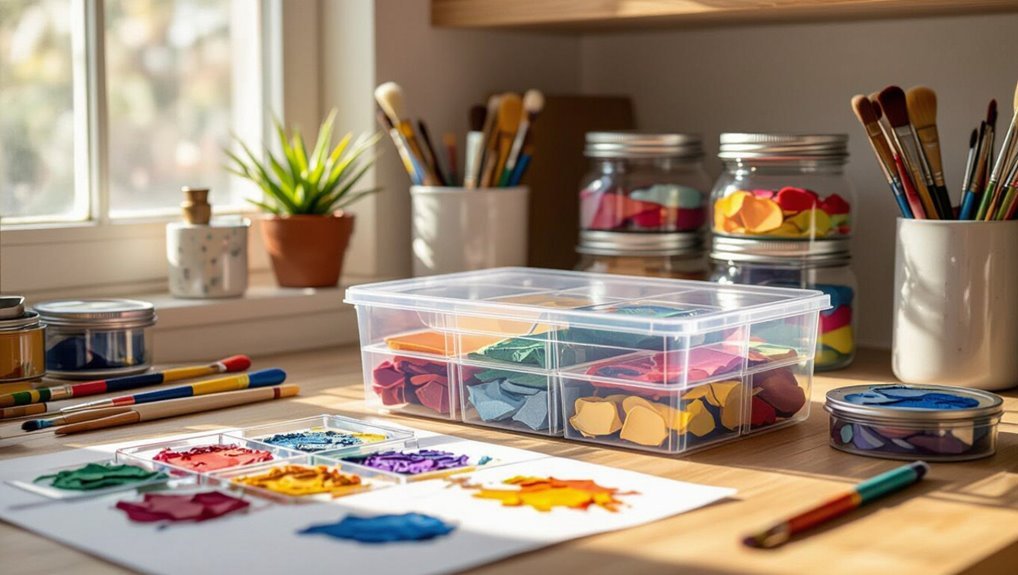
Storing and Organizing Collected Paint Fragments
When you collect dried acrylic paint fragments, sort them by size, color, and texture right away so you can find pieces faster and keep your workspace tidy.
Use clear labeled containers, small zip bags, or divided craft boxes for paint storage. Keep a simple inventory sheet or photo log to track batches.
Stack containers vertically to save space and maintain easy access while organizing fragments.
Budget Supply Substitutes Using Dried Acrylic Paint
Having your paint fragments sorted and labeled makes it easier to repurpose them as affordable supplies—think pigment blocks for mixed-media collages, color chips for palette testing, or ground flakes to tint homemade gesso and modeling pastes.
You can use budget friendly techniques and eco conscious crafts to stretch supplies.
Try these ideas:
- Crushed pigment sachets
- Palette test cards
- Tinted gesso packets
- Texture flakes for paste
Teaching Kids Safe Dried Acrylic Crafts (Supervised)
Anyone can guide kids to turn dried acrylic paint into safe, supervised projects by setting simple rules and offering the right tools.
You’ll teach kid friendly techniques like sanding edges, sealing flakes with glue, and using blunt tools.
Plan supervised activities with clear boundaries, protective clothing, and adult help for cutting or mixing.
Encourage creativity while enforcing safety and cleanup routines.
Troubleshooting Common Problems Reusing Dried Paint
A few common hiccups—brittle flakes, dust that won’t adhere, or discoloration—are easy to fix once you know what causes them.
You’ll spot issues and apply creative solutions quickly. Try these fixes:
- Sand and prime flakes.
- Clean surfaces to remove dust.
- Mix compatible binders into dried paint.
- Test small patches for color match before using.
Eco‑Friendly Practices for Reducing Acrylic Waste
Fixing flakes or testing color matches is useful, but reducing the amount of acrylic that ends up unusable saves more time and materials in the long run.
You can plan projects to use leftovers, store small amounts airtight, swap excess with peers, and batch-mix limited palettes.
These sustainable practices and creative repurposing habits cut waste, lower costs, and keep your studio efficient without sacrificing creativity.
When to Compost, Recycle, or Dispose of Dried Paint
When you’re sorting dried acrylic paint, think about safety, local rules, and the material’s state: fully cured, non‑powdery chunks can often go in regular trash.
When sorting dried acrylic paint, consider safety, local rules, and whether chunks are fully cured and non‑powdery before trashing them.
Tiny flakes mixed into household compost usually shouldn’t because of potential additives.
Certain containers or mixed media pieces may qualify for recycling if cleaned and accepted by your municipality.
- Check composting guidelines.
- Explore recycling options.
- Follow local disposal methods.
- Weigh environmental impact of paint disposal.
Projects to Sell: Turn Leftovers Into Small Goods
Turn leftover dried acrylic paint into small, sellable goods that require minimal time and materials—think colorful magnets, textured coasters, and mixed-media pendants—so you can recoup costs and reduce waste.
You’ll use simple paint preservation techniques to stabilize flakes, seal pieces with varnish, and package items attractively.
These sustainable art practices appeal to eco-conscious buyers and turn scraps into steady micro-income.
Inspiring Artists Who Reuse Dried Acrylic Paint
Although dried acrylic might seem like waste, many contemporary artists reclaim it as a vibrant medium, and you’ll find their work both inventive and practical.
You can study creators who transform flakes into collage, sculpt layered panels, or embed shards in mixed-media pieces.
Look for upcycled art that emphasizes texture exploration and learn techniques you can adapt.
- Collage masters
- Panel sculptors
- Mixed-media makers
- Installation artists
Creative Prompts to Spark New Uses for Leftovers
Spark fresh projects by treating leftover dried acrylic as a deliberate material rather than trash: pick a small pile of flakes or crusted brushstrokes and challenge yourself to make three distinct pieces from them—one wearable, one functional, and one purely decorative—using minimal tools and a strict 30-minute limit for each. You’ll explore creative recycling, artistic experimentation, sustainable crafting, innovative techniques, eco friendly art, resourceful projects.
| Prompt | Outcome |
|---|---|
| Flake pendant | Wearable |
| Texture coaster | Functional |
| Collage tile | Decorative |
| Mini sculpture | Experimental |
| Painted bookmark | Practical |
How to Test Color and Adhesion Before a Project
Before you commit dried acrylic remnants to a project, test a small sample for color accuracy and adhesion so you know how they’ll behave on your chosen surface; you’ll check color mixing results and perform adhesion testing before scaling up.
Before using dried acrylic remnants, test a small sample for color fidelity and adhesion first.
Follow quick steps:
- Scrape tiny flakes onto scrap.
- Rehydrate and swatch.
- Observe color mixing shifts.
- Scratch and tape-test adhesion.
Try One Reuse Project Today (What to Start With)
Pick one simple project and jump in—don’t overthink it.
Choose a small surface like a wooden coaster or canvas scrap, gather dried paint chips, and arrange them for a mosaic or textured collage.
Use stencils or sealant if needed.
This quick exercise fuels creative experimentation, builds confidence, and gives clear project inspiration so you can scale up next time.
Frequently Asked Questions
Can Dried Acrylic Paint Be Toxic if Used in Jewelry or Wearables?
Yes — dried acrylic paint can be risky if additives remain; you should check paint composition and follow safety precautions. Wearables must be sealed, cured fully, and tested for skin sensitivity to avoid irritation or chemical exposure.
Will Dried Paint Flakes off Over Time and Damage Finished Pieces?
Yes — dried paint can flake over time if not prepped; you’ll preserve dried paint preservation by sealing surfaces and smoothing paint texture effects, using primers, flexible mediums, and clear coats so finished pieces stay intact.
Can I Rewet and Restore Dried Acrylic Paint for Brushing?
About 70% of acrylics can be softened; yes, you can rewet and restore dried acrylic for brushing using rehydration techniques like misting or glazing medium to regain workable paint consistency without compromising color or adhesion.
How Do I Determine Permanence and Lightfastness of Reused Paint?
Check color stability by exposing a sample to sunlight and time; note fading. Examine binder composition on labels or MSDS—acrylics with stable pigments and robust binders resist lightfastness loss. Document results for reuse decisions.
Are There Legal/Safety Issues Selling Items With Reused Paint?
Yes — you’ll face paint regulations and safety standards: disclose reused paint, guarantee non-toxicity, comply with labeling and local laws, and follow consumer product safety rules to avoid liability and protect buyers.
Conclusion
You’ve got options—don’t let dried acrylic sit like a forgotten ornament. Decide by testing a scrap: if it sands, crumbles, or peels clean, you can crush, rehydrate, or use it as texture or pigment. Wear a mask when sanding, work outside, and use simple tools to sift and store the powder. Try one small project—an accent on a canvas, mixed-media collage, or painted coaster—and watch leftover paint turn into fresh possibility like seeds sprouting after rain.