How to Prevent Splatter When Painting a Ceiling Like a Pro
Use the right tools, load your roller so it’s saturated but not dripping, and work slowly with long, even strokes from the center outward to cut down fling. Tape and cover furniture, use a thick-nap roller for your ceiling texture, and keep light pressure while lifting the roller smoothly at stroke ends. Cut in edges with a lightly loaded angled brush and spot-check under bright light; keep going for tips on sprayers, touch-ups, and cleanup.
Quick Answer How to Prevent Ceiling Paint Splatter Like a Pro
Keep your roller light, use a thick-nap cover, and work from the center outward for the cleanest ceiling with minimal splatter.
You should prioritize splatter prevention in high-visibility rooms, freshly primed or porous surfaces, and when painting near light fixtures or vents.
With the right tools and a cautious pace, you’ll cut cleanup and get professional results.
One-sentence summary of the best approach
When you want flawless ceilings without the mess, use a combination of a thick-nap roller, a roller shield or paint guard, and steady, controlled strokes while keeping your roller only moderately loaded with paint.
To prevent splatter when painting ceiling areas, work methodically in small sections, roll slowly with light pressure, tamp excess paint off, and keep tools clean so you’ll avoid drips and uneven coverage.
When to prioritize splatter prevention (room types, surface conditions)
If you’re painting spaces where splatter would mean extra work or ruin surfaces, prioritize prevention in high-traffic rooms, freshly furnished or finished spaces, and areas with textured ceilings that fling paint more easily.
Focus on kitchens, living rooms, entryways, bathrooms, and any room with exposed flooring or electronics.
If ceilings are porous, new, or previously repaired, take extra precautions to protect surfaces and furnishings.
Basic Understanding What Causes Paint Splatter and Why It Matters
To stop splatter you need to understand how droplets form and fly — velocity and surface tension control whether paint lands where you want it.
Pay attention to common culprits like overloaded rollers, fast brush strokes, and high-pressure sprayers, since each creates different droplet sizes and speeds.
Getting this right saves you finish quality, cleanup time, and damage to surrounding surfaces.
Physics of splatter: droplets, velocity, and surface tension
Because paint comes off a brush or sprayer as countless tiny droplets, you can think of splatter as a problem of motion and surface tension.
You’ll notice faster droplets travel farther and break into smaller drops. Surface tension makes droplets bead; low-tension paint spreads and sticks more.
Controlling speed, droplet size, and formulation reduces airborne splatter and limits unwanted marks on walls and floors.
Common sources of splatter when painting a ceiling (roller, brush, sprayer)
Three tools cause most ceiling splatter: rollers, brushes, and sprayers, and each does it in a different way you can control.
Rollers fling droplets when overloaded or flicked; brushes spit when you jab or lift too fast; sprayers atomize paint, creating fine mist that settles unevenly.
Recognize each source so you can adjust loading, angle, speed, and pressure to minimize splatter.
Effects of splatter on finish, cleanup time, and surrounding surfaces
A few stray droplets can wreck an otherwise smooth finish, turn a quick job into hours of cleanup, and leave nearby floors, furniture, or fixtures stained.
You’ll face uneven texture, extra sanding and recoats, prolonged drying, and damaged belongings. Preventing splatter saves time and money.
- visible bumps and drips
- extra sanding/repainting
- longer project timeline
- ruined upholstery or flooring
Tools and Materials You Need to Minimize Splatter
To minimize splatter, you’ll want the right rollers and covers with the proper nap length, plus quality brushes and trim tools for clean edges and corners.
Pick paint types and viscosities that’re formulated to reduce splatter, and consider optional gear like sprayers, extension poles, and shields for harder-to-reach areas.
I’ll walk you through which specific tools and materials work best and how to use them.
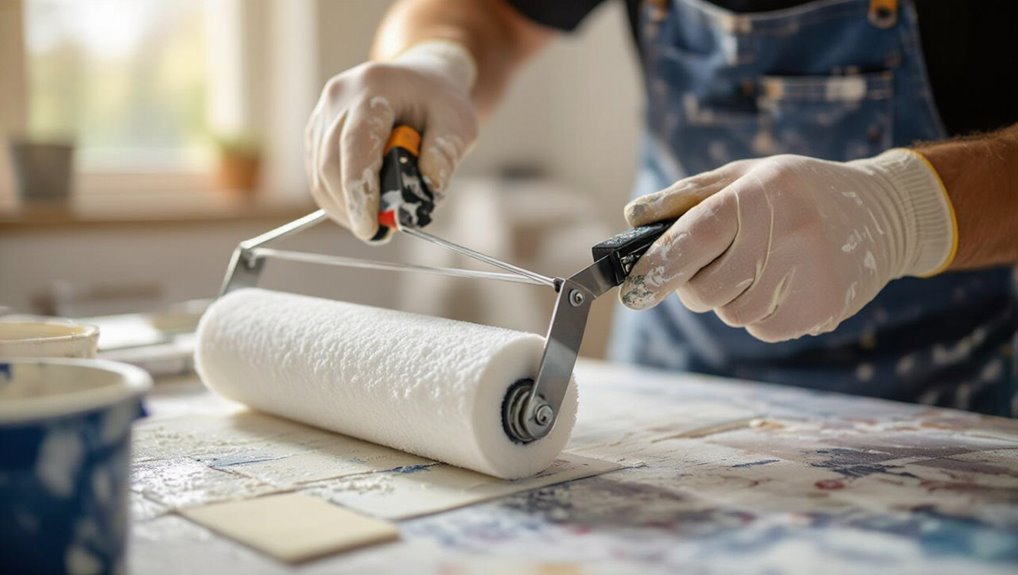
Recommended rollers, covers, and nap lengths
Choosing the right roller, cover, and nap length cuts splatter before you even dip into paint.
You’ll control release, coverage, and bouncing by matching roller to texture and paint viscosity.
Pick quality covers and appropriate naps:
- 3/8″ microfiber for smooth ceilings
- 1/2″ synthetic blend for light texture
- 3/4″ for heavy stipple
- Low-lint, tightly woven covers reduce spatter and shedding
Brushes and trim tools for edges and corners
When you need crisp edges without the mess, the right brushes and trim tools give you control and cut splatter at the source; pick firm, angled sash brushes for precision, a straight-edged trim brush for tight corners, and a small, high-density brush for touch-ups.
- angled sash brush for straight lines
- straight-edged trim brush for corners
- small high-density brush for detail
- foam edger for fast, clean borders
Paint types and viscosities that reduce splatter
If you want to cut splatter before it starts, pick paints and viscosities designed for smoother application: thicker, high-viscosity paints and latex blends tend to stay put and reduce flick-off compared with thin, watery formulations, while specialty low-splatter or flow-enhanced acrylics give you the same coverage with less bounce.
- High-viscosity interior latex
- Low-splatter acrylic formulas
- Satin or eggshell sheens (less sling)
- Paint-and-primer blends
Optional equipment: paint sprayers, extension poles, and shields
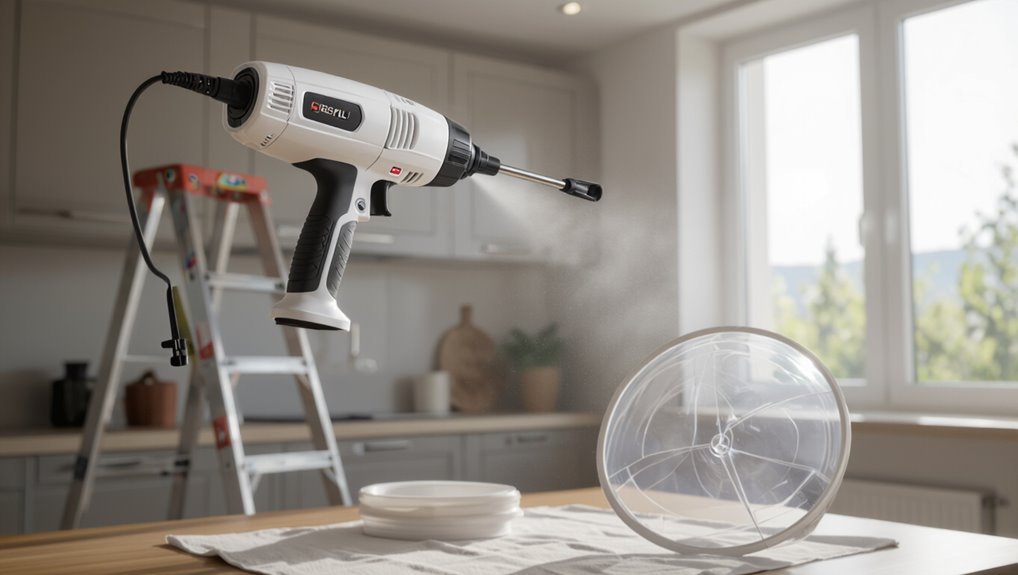
Three pieces of optional equipment can dramatically cut splatter: a quality sprayer with adjustable atomization, extension poles that keep rollers away from walls and trim, and handheld shields or masking guards that block errant spray.
Use a low-pressure sprayer for fine control, extend rollers to maintain distance, and position shields close to edges.
Practice on scrap to dial settings and technique before starting.
Preparation Steps Before You Start Painting
Before you pick up a brush, clear and protect the room by moving or covering furniture, taping hardware, and laying drop cloths on floors.
Prep surfaces by cleaning, patching holes, and applying primer where needed so paint sticks and splatter is easier to manage.
Set up bright, adjustable lighting and keep ladders or step stools handy so you can spot and address drips quickly.
Room prep: furniture, floors, and hardware protection
When you’re getting ready to paint, clear the room and cover everything you don’t want splattered—furniture, floors, light fixtures, and hardware—with drop cloths, plastic sheeting, or painter’s tape so cleanup stays quick and paint stays where it belongs.
Protect by:
- moving small items to another room
- wrapping fixtures with plastic
- taping trim and hardware
- securing drop cloth edges to prevent trips
Surface prep: cleaning, priming, and patching
Now that the room’s protected, turn your attention to the surfaces you’ll paint: clean walls hold paint better, priming improves adhesion and coverage, and patching smooths imperfections so the finish looks professional.
Wipe dust and grease with a mild detergent, sand rough spots, fill holes with spackle, sand flush, and apply primer where needed.
Let each coat dry before painting.
Lighting and access setup to spot drips early

How will you catch runs and drips before they ruin your finish?
Position bright, portable work lights at low angles to cast shadows across the ceiling; they reveal imperfections instantly.
Use a sturdy extension ladder or rolling scaffold so you can inspect close-up without straining.
Keep a flashlight handy for tight spots, and move lights as you progress so every freshly painted area gets immediate, clear inspection.
Step-by-Step Painting Process to Prevent Splatter
Start by mixing and thinning your paint to the manufacturer’s recommendations so it flows smoothly without spitting.
Load your roller with the right amount of paint and use controlled speeds and even strokes to cut down on fling, then cut in edges with steady brush techniques that avoid splatter.
Work in manageable sections and keep a wet edge so everything blends without extra back-and-forth that causes splatter.
Step 1 Proper mixing and thinning of paint
1. You’ll mix paint thoroughly to a uniform color and consistency, scraping sides and stirring bottom.
If manufacturer suggests thinning for ceiling rollers, add small increments of water or extender and re-stir until viscosity matches label guidance.
Test a small amount on a scrap board to confirm flow and coverage—proper mixing reduces splatter, guarantees even application, and prevents roller overworking.
Step 2 Loading the roller correctly (amount and technique)
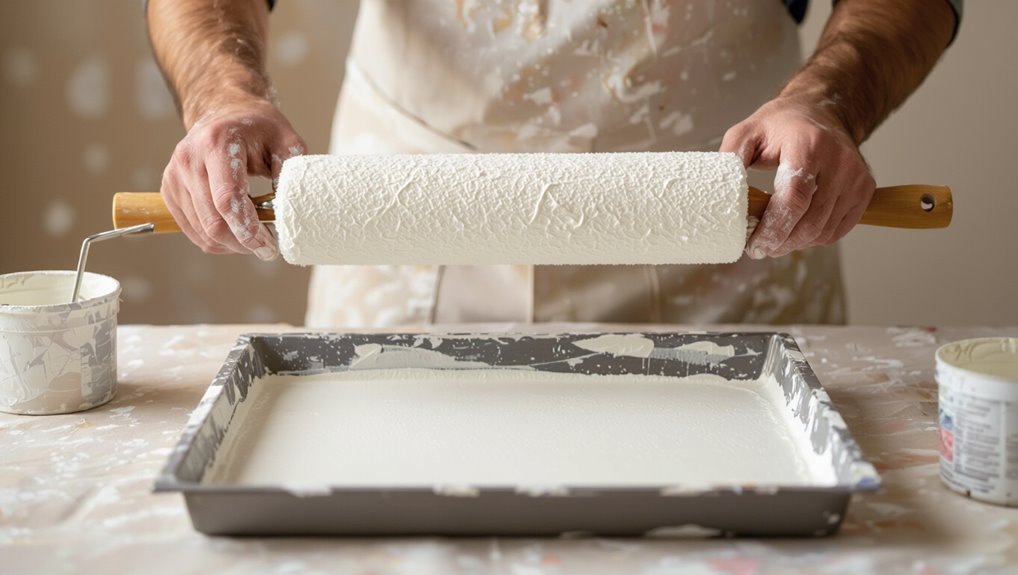
With the paint mixed and thinned properly, you’ll want to load the roller so it holds enough for smooth coverage without slinging.
Dip the nap, roll diagonally in the tray’s well, then back across the grid to distribute evenly. Aim for a saturated but not dripping roller—no globs.
Tap the frame edge to remove excess; you’re ready to apply consistent, controlled paint.
Step 3 Using correct roller speed and strokes to minimize fling
Hold the roller lightly and roll at a steady, moderate pace—too fast and paint will sling, too slow and coverage gets uneven.
Use long, even strokes in one direction, overlap each pass slightly, and avoid abrupt stops. Lift the roller smoothly at stroke ends to prevent drips.
Adjust speed to paint load and ceiling texture so fling stays minimal and finish stays uniform.
Step 4 Cutting in the edges with brush techniques that avoid splatter
Now you’ll cut in the edges—use a high-quality angled brush loaded lightly with paint and work in short, controlled strokes to form a clean border without splatter.
Keep the brush tip tight to the corner, paint away from yourself, and reload sparingly. Steady your wrist, pause between strokes to wipe excess, and blend each pass into the adjacent area for a neat, splatter-free finish.
Step 5 Working in sections and maintaining a wet edge
After you’ve cut in the edges, tackle the main surfaces in manageable sections so paint stays wet long enough to blend without splatter.
Work in overlapping passes, keeping a consistent wet edge between panels. Move methodically across the ceiling, limit each section to an area you can finish before paint skins, and reload the roller promptly to maintain even coverage and avoid flicks.
Step 6 Inspecting and smoothing drips before they dry
Scan each freshly painted area immediately and feel for runs or heavy beads of paint before they set; catching drips while the paint’s still wet makes them easy to smooth and prevents them from shedding or creating splatter later.
Use a soft brush or roller edge to gently level runs, wipe excess with a damp cloth, and re-roll lightly to blend.
Work continuously until the surface is uniform.
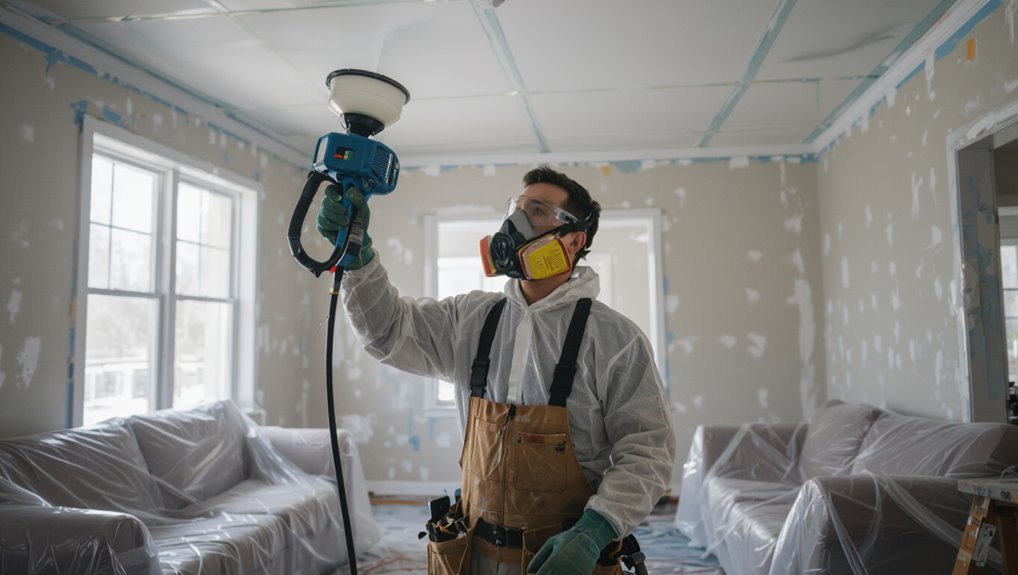
Sprayer-Specific Techniques and Settings to Limit Overspray
When using a sprayer on ceilings, choose a unit and nozzle designed for overhead work to give you a flatter, controllable fan.
Adjust pressure, spray pattern, and distance for the paint and surface to minimize mist and bouncing.
Also mask and contain the area with drop cloths, plastic sheeting, and temporary barriers so any overspray stays off fixtures and floors.
Best sprayer types and nozzles for ceilings
If you’re tackling ceilings, choose a sprayer and nozzle combo that gives a tight, controlled fan and a consistent flow rate—HVLP or turbine sprayers with 1.8–2.5 mm nozzles are usually best for interior latex, while airless units with fine-tip guards can work for thicker coatings; pick the right pressure and nozzle size to minimize atomization and overspray.
- HVLP for fine control
- Turbine for portability
- Airless for heavy primers
- Fine-tip guards reduce bounce-back
Pressure, spray pattern, and distance settings
Set your sprayer’s pressure, fan size, and distance deliberately—small tweaks cut overspray and splatter more than you’d think. You’ll lower pressure for thinner coats, widen the fan for even coverage, and keep a steady 10–12 inch gap. Practice consistent speed and overlap to avoid drips.
| Setting | Guideline |
|---|---|
| Pressure | Low–medium |
| Fan | Wide for ceilings |
| Distance | 10–12 in |
| Speed | Steady |
Masking and containment strategies for sprayers
Because overspray can travel farther than you expect, plan masking and containment before you pull the trigger: cover floors and furniture with drop cloths and plastic sheeting, seal edges with painter’s tape, and hang plastic barriers or zip walls to isolate the room.
Adjust the sprayer’s pattern and pressure for minimal bounce, and work from ceiling center outward to keep overspray contained and manageable.
Common Mistakes That Cause Splatter and How to Avoid Them
You’ll cause splatter when you overload a roller or brush or pick the wrong nap or tool for the surface texture.
Move too fast or make jerky strokes and paint will fling instead of lay smooth.
Also check paint viscosity and temperature—thin or cold paint behaves poorly and increases splatter risk.
Overloading roller or brush
Overloading your roller or brush with paint is one of the quickest ways to create splatter and uneven coverage, because excess paint flies off when you press or roll too hard.
Load tools sparingly, dip lightly, and tap off drips. Work in thin, even coats and reload frequently.
If you notice drips or flicks, stop and smooth them immediately to prevent splatter.
Using wrong nap or tool for surface texture
When your roller or brush has the wrong nap for the surface, paint doesn’t lay down evenly and you’ll get flicks, spatter, and missed crevices; match tool texture to the substrate—short naps for smooth walls, medium for light orange peel, long naps for heavy texture—and pick brushes designed for the paint type to keep splatter down.
Test on a scrap area, maintain even pressure, and replace worn covers.
Painting too quickly or with jerky motions
If you rush through a stroke or move the brush or roller with jerky motions, paint will fling off the tool and land where you don’t want it.
Slow down, use smooth, deliberate strokes, and maintain steady wrist control. Let the roller or brush glide; reload appropriately to avoid blobs.
Practice consistent pace and light pressure to minimize splatter and keep ceiling edges clean.
Ignoring paint viscosity and temperature effects
Viscous paint or paint that’s too thin will behave very differently, and temperature makes a big difference in how it sprays, splatters, or levels out — so don’t assume all cans act the same.
You should adjust and test before you start:
- Warm room thins paint, raising splatter risk
- Cold slows drying, causing drips
- Use a viscosity cup or meter
- Thin gradually, test on scrap surface
Advanced Tips and Professional Techniques
When you’re ready for pro-level results, start by using anti-splatter additives and extenders and consider simple roller modifications or shield attachments to cut airborne droplets.
Work with a partner so one person rolls while the other spots and immediately wipes errant specks.
For tiny splatters, you’ll learn touch-up tricks that fix spots without redoing the whole ceiling.
Using anti-splatter additives and extenders
Although additives and extenders might seem like small adjustments, they can dramatically cut splatter by changing paint behavior at the roller or spray tip. You’ll learn which products suit different systems, how much to add without compromising finish, and what to watch for with drying time and adhesion.
Use manufacturer-approved anti-splatter agents, add small increments, test on scrap, and note viscosity and cure changes to avoid failures.
Roller modification and shield attachments
After you’ve fine-tuned paint chemistry with additives, you can control splatter mechanically by modifying rollers and adding shields.
Use low-nap rollers, trim edges, and compress nap slightly to reduce fling. Fit a clear plastic shield or foam flap behind the roller to catch rebound.
Balance roller speed and pressure, and use a slower, steady stroke to minimize droplets and uneven spray.
Two-person workflows and spotter techniques
If you’re working with a partner, set clear roles—one person rolls or sprays while the other follows as a dedicated spotter—so you can catch overspray, drips, and missed areas in real time.
The spotter holds a shield, wipes runs immediately, flags thin coverage, and coordinates breaks.
Communicate continuously, move methodically across the room, and keep tools within reach to maintain steady, splatter-free progress.
Touch-up strategies for tiny splatters without redoing the ceiling
Even with a vigilant spotter, tiny splatters can still happen, and you don’t have to repaint the whole ceiling to fix them.
Gently dab fresh paint with a fine artist’s brush, matching sheen and color. Feather edges, let dry, and inspect under angled light.
For white ceilings, use diluted ceiling paint; for textured surfaces, press paint into texture with a stippling motion.
Cleanup and Post-Paint Inspection
Once the paint’s dry, you’ll use safe cleaners and gentle scrapers to remove splatter from walls, trim, and fixtures without damaging finishes.
Decide whether to sand, spot paint, or do a full touch-up based on the size and texture of each blemish.
Finish with a quick inspection checklist—edges, hardware, and uniform coverage—before you put the room back together.
Safe methods to remove splatter from walls, trim, and fixtures
When paint splatters land on walls, trim, or fixtures, act quickly to avoid permanent marks—fresh paint is much easier to remove than dried.
Blot excess with a damp cloth, then try these safe methods:
- Mild soap and water for latex splatter
- Rubbing alcohol on a soft cloth for small spots
- Plastic scraper for raised beads
- Mineral spirits sparingly on durable trim
When to sand vs. spot paint vs. full touch-up
If you’re inspecting a freshly painted room, decide whether to sand, spot paint, or do a full touch-up based on the size of the imperfection, how well the new paint blends with the old, and the surface texture.
Sand small bumps or drips, feather with fine grit, then touch lightly.
Spot-paint tiny marks with a brush or foam applicator.
Reserve full touch-ups for large areas or mismatched sheen.
Final inspection checklist before putting the room back together
After the paint’s dry and the room’s cleared, go through a focused checklist to make sure nothing was missed and the space is safe to reassemble.
Inspect for drips, tacky spots, and missed patches. Verify ventilation and odor levels. Confirm trim and fixtures are clean.
Run through:
- Scan ceiling and walls for imperfections
- Check floor and furniture for stray splatter
- Test switch plates and outlets
- Smell for lingering fumes
Cost, Time, and Effort Trade-offs
You’ll weigh DIY savings against a pro’s speed and guarantee when deciding how to prevent splatter.
Consider which time-saving tools—good rollers, sprayer guards, drop cloths—are worth the upfront cost for your project.
If the job’s large, detailed, or on valuable surfaces, hiring a pro can be the most cost-effective way to avoid costly mistakes.
Quick comparison: DIY vs. hiring a pro
When weighing painting splatter prevention, consider cost, time, and effort—doing it yourself saves money but demands more time and patience, while hiring a pro costs more upfront yet usually finishes faster and cleaner. Decide based on skill, schedule, and mess tolerance.
| Option | Cost | Effort |
|---|---|---|
| DIY | Low | High |
| Pro | High | Low |
| Hybrid | Medium | Medium |
Time-saving tools worth the investment
Investing in a few smart tools can cut your painting time in half and dramatically reduce splatter, so think beyond cheap rollers and plastic sheeting.
Use a quality extension pole, anti-splash roller covers, angled trim brushes, and a lightweight spray shield. They cost more upfront but save time, reduce cleanups, and lower repaint risk—worthwhile if you value speed and a flawless ceiling finish.
When splatter prevention warrants professional help
If your ceiling’s texture is delicate, the room’s furniture is valuable, or your schedule’s tight, hiring a pro can be the smartest way to prevent splatter.
You’ll weigh cost against guaranteed cleanup, faster completion, and reduced risk of damage.
Pros bring experience, equipment, and liability coverage.
If avoiding errors, downtime, or replacement costs matters, paying for skilled help often saves money and stress.
FAQ Common Questions About Preventing Ceiling Paint Splatter
You’ll often wonder whether a high-nap roller beats splatter on textured ceilings and how much thinning is safe before paint loses coverage.
You’ll also need to weigh rolling versus spraying, account for temperature and humidity effects, and learn quick ways to remove small splatters from trim.
Let’s answer those FAQs so you can pick the best technique and clean up fast.
Can I use a high-nap roller to avoid splatter on textured ceilings?
Wondering if a high-nap roller will cut down on splatter on a textured ceiling? Yes — a thicker nap holds more paint and reaches crevices, so you’ll apply coating more evenly with fewer drips.
Use a steady, moderate pressure and roll slowly to prevent flicking.
Combine with a quality extension pole and light overlap to minimize splash onto walls and fixtures.
How much should I thin ceiling paint to reduce splatter?
How much you thin ceiling paint depends on the product and application, but don’t overdo it—start with the manufacturer’s recommendation and only add small increments (typically 5–10% water or compatible thinner) until the paint flows smoothly without running.
Test on a scrap board, check coverage and sagging, and adjust in tiny steps.
Too thin increases splatter and reduces hide; too thick causes rolling drag.
Is it better to spray or roll a ceiling to prevent splatter?
After you’ve thinned and tested the paint to the right consistency, decide whether to spray or roll based on room size, ceiling texture, and cleanup tolerance.
You’ll get fastest coverage with a sprayer but more overspray and masking. A roller gives controlled application, less airborne splatter, and easier cleanup.
Choose sprayer for large, open areas; pick roller for small, detailed or furniture-filled rooms.
How do temperature and humidity affect splatter risk?
Because paint dries slower in cool, humid conditions and faster in hot, dry ones, temperature and humidity directly change how likely you’re to get splatter.
Wet paint drips and spreads more when it stays tacky, increasing splatter from rolling or brushing.
Work in recommended conditions, adjust thinner or drying additives, and pause if condensation or extreme heat will compromise control and finish.
What’s the fastest way to clean small paint splatters from trim?
Act quickly: fresh splatters wipe off far easier than dried ones, so keep a damp microfiber cloth or sponge and a mild cleaner at hand while you paint.
Gently blot or rub from edges toward the center to avoid spreading.
For dried spots, soften with warm water, then scrape carefully with a plastic putty knife.
Finish by wiping dry and inspecting for residue.
Visual Quick Reference and Checklist
Before you start, use a short pre-paint checklist to confirm you’ve covered splatter-prevention essentials like proper thinning, correct roller nap, and secure drop cloths.
Keep a one-page visual quick reference nearby so you can scan setup steps at a glance.
If splatter appears, follow a simple troubleshooting flowchart that helps you identify and fix common causes fast.
Pre-paint checklist for splatter prevention
A quick pre-paint checklist helps you spot and fix splatter risks so painting goes smoothly and cleanup stays minimal.
Follow this visual quick reference before you start:
- Cover floors, furniture, vents with drop cloths or plastic.
- Tape edges, light fixtures, and molding securely.
- Check roller/brush condition; remove excess paint.
- Test-spray or small roll to confirm consistency and technique.
Quick troubleshooting flowchart for common splatter problems

Keep the pre-paint checklist handy as you move into troubleshooting—this flowchart helps you identify and fix common splatter causes fast.
Start at symptom: heavy drops, fine mist, or streaks. Check roller type, nap length, paint viscosity, and technique.
Adjust by thinning slightly, switching rollers, reducing load, slowing strokes, and maintaining proper extension angle.
Recheck after each change.