
Is Ceiling Paint Different From Wall Paint? the Key Differences Explained
Yes, ceiling paint is different from wall paint. You’ll notice it’s usually thinner and formulated to dry smoother, so roller marks and patchiness show less under harsh light. Wall paint tolerates scrubbing and impact better, and it matches typical wall texture. Ceiling paint also helps reduce splatter and bleed-through, but you still may need primer for stains or new drywall. Use the right sheen, too—higher sheen highlights bumps. Want the full breakdown?
Ceiling vs Wall Paint: The Real Differences
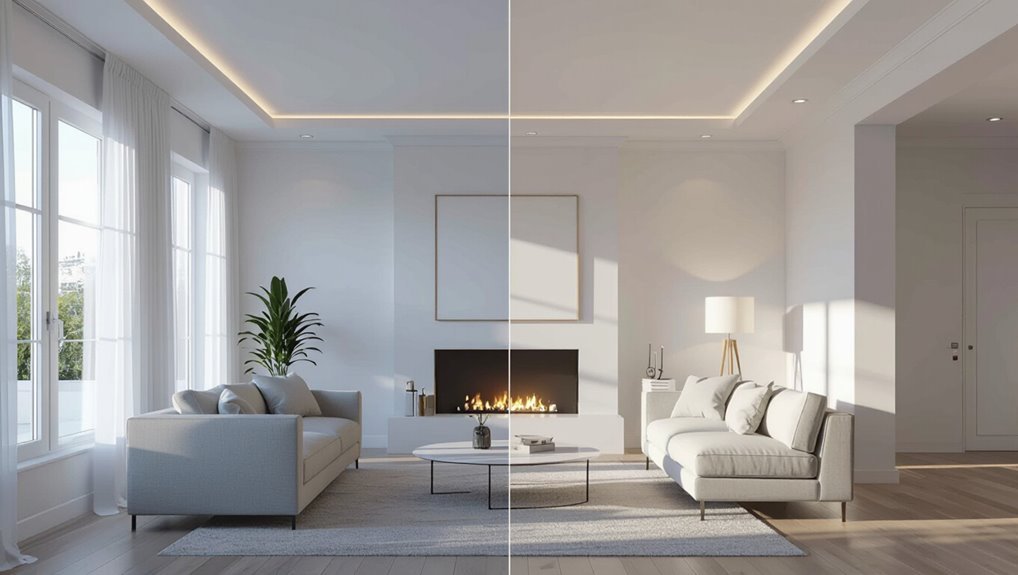
Although they both cover surfaces, ceiling paint and wall paint behave differently because they’re made for different jobs. You should choose ceiling color with care, because ceiling areas collect different light and highlight imperfections.
Wall paint must handle daily contact, so you match it to your wall texture instead of just aiming for coverage. Ceiling paint usually dries smoother and thinner, helping you avoid streaks when you roll upward.
Wall paint tolerates scrubbing, spillage, and impact better. When you mix the two, you risk uneven finish, faster scuffing, and more visible flaws.
Sheen Guide: What to Use on Ceilings
When you choose sheen level for ceilings, aim for a flat or matte finish to hide bumps and reduce glare.
You’ll also want solid stain resistance so minor spots don’t show through as fast.
With the right sheen and coverage, you can seal uneven areas and cut down on extra coats.
Sheen Level For Ceilings
Choosing the right sheen for your ceiling keeps it looking smooth instead of scuffed or streaky. When you pick ceiling paint, focus on sheen levels and choose matte or flat ceiling finishes.
These low-sheen options hide imperfections and minimize light glare, so your surface reads even. If your ceiling has slight texture, stay with flat; a higher sheen can emphasize bumps and seams.
For moisture-prone areas like bathrooms, you still want a low sheen—look for “flat” or “eggshell” labeled for ceilings.
Always match the sheen on adjoining rooms for consistent appearance.
Stain Resistance And Coverage
Next, focus on stain resistance and coverage, because ceiling marks show up faster than you expect. Use ceiling paint designed for stain resistance so minor splashes, water spots, and smoke discoloration don’t bleed through.
You’ll also want the right coverage; ceiling surfaces often look patchy under overhead light. Ceiling paints typically hide better and need fewer coats, while wall paints may show uneven sheen and stains at the edges.
Apply primers where stains exist, then roll with steady pressure. For best results, check coverage rates on the label and plan for touch-ups if coverage differences appear.
Why Ceiling Paint Resists Splatter and Stains
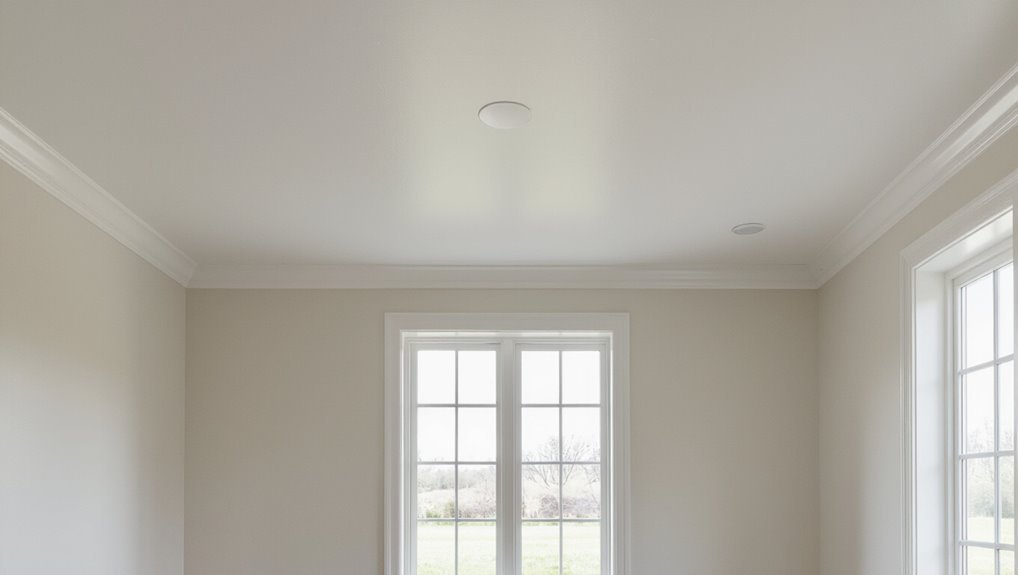
Ceiling paint resists splatter and stains because it’s formulated to flow smoothly and level fast as you roll or brush, so it doesn’t bead, drip, or pop back onto the surface.
Ceiling paint flows smoothly and levels fast, preventing beading, drips, and pops—so splatters and stains are far less likely to occur.
You get better splatter resistance when the paint stays put instead of spraying from roller edges.
You also benefit from stain prevention because the binder and tint hold consistent color as ceilings collect light oils, dust, and occasional moisture.
When you use the right ceiling paint, you apply a uniform film quickly, which minimizes streaks and reduces the chance that spills or residue telegraph through.
Texture Matters: What Looks Best on Each Surface
Texture plays a big role in how paint hides imperfections and how light hits your room. You should match texture techniques to surface suitability: ceilings usually benefit from smoother finishes, since they minimize visible bumps and keep shadows soft.
Use a roller with a medium nap and feather edges carefully to prevent streaks.
Walls can handle more variation, so you can experiment with subtle texture rolls or light stippling to mask minor dents.
Pick a texture finish that fits your walls’ condition—rougher options hide flaws, while smooth paint highlights them.
Always test a small patch first.
How Paint Sheen Affects Light and Visibility
When you choose paint sheen, you control how much light reflects off the surface. Higher-sheen finishes bounce more light, but they also make flaws and uneven coverage show up faster.
As you switch between matte, eggshell, satin, and semi-gloss, you’ll notice visibility and the room’s brightness change with every step.
Sheen Reflects More Light
Paint sheen plays a big role in how bright your room feels, because it changes how much light reflects back into your eyes. Higher sheen generally means more reflection, so less light absorption happens in the finish.
As you compare products, pay attention to sheen variation across the same ceiling or wall area; even small differences can shift perceived brightness.
When you choose a smoother, glossier look, you bounce more light around the space, making colors appear a bit crisper.
If you want a softer, calmer feel, you rely on lower sheen and greater light absorption.
Visibility Changes With Sheen
Because sheen controls how light bounces off the surface, it also determines how clearly you can see details in your room. When you choose higher sheen, you increase glare and sharpen reflections, so edges and texture stand out. That can improve visibility in bright, even lighting, but it can also expose wall imperfections. Lower sheen absorbs more light, softening contrast and helping hide flaws, yet it may reduce crispness. Use this sheen comparison to gauge visibility impact before painting:
| Sheen | Light behavior | Visibility impact |
|---|---|---|
| Matte | Absorbs | Soft, forgiving |
| Eggshell | Balanced | Clear with less glare |
| Satin | Reflects | Sharper, more glare |
How to Choose Ceiling Paint for Your Room
Choosing the right ceiling paint starts with understanding what your ceiling needs most: stain resistance, durability, or color correction.
You should match your color selection to the room’s lighting, since ceilings reflect differently and can look cooler or warmer. For stains and water spots, pick a stain-blocking formula. If you’re hiding uneven tones, choose a ceiling paint designed for color correction and smooth coverage.
Consider these before you buy:
- Choose a finish that supports even hiding without glare.
- Plan application techniques for clean edges and minimal roller marks.
- Confirm coverage rate so you won’t need extra coats.
Pick Wall Paint by Traffic and Wipeability
When your walls see kids, pets, or constant foot traffic, you can’t rely on a basic finish.
Choose a wall paint with a clear traffic rating and pick wipeable wall paint so scuffs and smudges come off without ruining the color.
You’ll keep your walls looking fresh longer with the right balance of durability and cleanability.
Traffic Ratings Matter
Traffic ratings matter because your walls take more abuse than most people expect.
If you match paint to your home’s traffic patterns, you protect your investment and boost paint durability.
Don’t assume “standard” finishes survive everyday life; footprints, vacuum bumps, and chair scuffs add up fast.
When you choose based on ratings, you’re also choosing how well the surface resists wear over time, before it dulls or stains.
- Higher ratings handle frequent contact without premature fading
- You reduce scuffing where people pass most
- You prevent frequent touch-ups, saving time and money
Choose Wipeable Wall Paint
Pick wipeable wall paint by matching both traffic level and wipeability to how your space actually gets used.
If kids, pets, or frequent guests bring smudges, choose a higher wipeability rating and prioritize strong paint durability.
For low-traffic rooms like a guest bedroom, you can select a moderately wipeable finish without overpaying.
When you spot marks, use proper wiping techniques: start with a gentle damp cloth, avoid scrubbing too hard, and test in a hidden corner.
You’ll keep the finish looking fresh, and you won’t have to repaint after every accident.
Ceiling Coverage: Why You May Need Extra Coats
Ceiling paint often needs extra coats because the surface usually absorbs more product and shows imperfections more clearly than walls. You’ll face coverage challenges when light hits at angles, revealing patchiness and roller marks.
Plan your application techniques: use even pressure, keep a wet edge, and overlap strokes consistently so the finish stays uniform. If your ceiling is textured, darker, or previously stained, expect extra build-up to hide the variations.
Use even pressure, keep a wet edge, and overlap strokes to maintain a uniform finish—especially on textured, darker, or stained ceilings.
After each coat dries, inspect under bright side lighting, then touch up before moving on.
- Texture soaks paint fast, increasing coats
- Stains bleed through if coverage is thin
- Angle lighting exposes missed spots
Primer for Walls vs Ceilings: When It’s Required
You should use primer when your walls or ceiling don’t provide an even, stain-resistant surface for paint to bond to. Match your paint preparation to the job: choose primer types based on stains, cracks, or new drywall. For wall applications, spot-prime water marks, patch edges, and porous areas so sheen stays uniform. For ceilings, seal discoloration and improve adhesion for ceiling benefits like smoother coverage and fewer touch-ups. Use table cues to decide quickly:
| Surface | Primer need | Why |
|---|---|---|
| New drywall | Yes | Absorbs unevenly |
| Stained area | Stain-blocking | Prevents bleed |
| Patch/skim | Bonding | Avoids flashing |
Using Ceiling Paint on Walls: Common Failures
Using ceiling paint on walls often backfires because it’s formulated for a different surface and finish level. You may think it’s an easy swap, but your paint performance suffers.
Ceiling formulas are typically thinner or more forgiving on overhead imperfections, so on walls they can look dull, uneven, or patchy after drying. You also risk adhesion and durability problems, especially in high-touch areas.
Ceiling paint can dry dull, uneven, or patchy on walls, since thinner formulations may fail adhesion and durability—especially where surfaces get frequent touch.
- You skip matching sheen, and light highlights roller marks
- You reuse ceiling application techniques, causing lap lines
- You expect stain resistance, but walls need tougher coatings
Using Wall Paint on Ceilings: What Can Go Wrong

Wall paint can seem like a “quick fix” for ceilings, but it often creates a different set of problems than you’d expect.
You might notice the ceiling color looks dull, blotchy, or too reflective under overhead light. Because wall formulas are designed for vertical surfaces, your application techniques can trap roller marks and leave streaks.
Wall paint typically dries harder and thicker, so it can crack or peel when ceilings flex slightly. Higher sheen can make imperfections obvious.
You may also find it doesn’t seal stains well, so water rings reappear.
Cut In and Roll: Get Even Ceiling and Wall Coverage
After you understand what goes wrong when wall paint gets used on ceilings, the next step is getting cleaner coverage with the right cutting-in and rolling rhythm.
You cut edges first, then you roll to blend. Use steady cutting techniques along corners, trim lines, and ceiling-wall seams, keeping a consistent paint load.
After cutting, you roll in “W” or straight sections, overlapping lightly so roller marks disappear. When you work wet-to-wet, you prevent stripes and dull patches.
- Cut a sharp edge before you roll
- Match roller direction across each section
- Let coverage flash before a second pass
Wrong Paint Issues (And How to Fix Them Fast)
Wrong paint problems show up fast—often as drips, streaks, or scuffed finishes—so you need to catch the cause before it dries. If you see runs, you’re using the wrong paint types or loading too much; thin slightly and re-roll with lighter pressure. For streaks, check roller nap and coverage, then adjust application techniques: work wet-edge, overlap evenly, and don’t overbrush. Scuffs usually mean you rushed drying time; wait, then spot-prime and recoat.
| Symptom | Likely cause | Fast fix |
|---|---|---|
| Drips | Too much paint | Remove, recoat thin |
| Streaks | Uneven overlap | Re-roll wet-edge |
| Scuffs | Not cured yet | Let cure, spot-prime |
| Peeling | Poor surface | Scrape, prime, recoat |
| Blotches | Bad mixing | Stir, strain, redo |
Quick Checklist: Ceiling Paint or Wall Paint?
Before you recoat or spot-prime, verify you’re using the right type of paint for the surface—ceiling and walls need different coverage and finish behavior, and that’s what prevents the drips, streaks, and scuffs you just dealt with.
Verify the right paint for ceilings and walls—proper coverage and finish behavior help prevent drips, streaks, and scuffs.
Use this quick checklist:
- Check labels: choose ceiling paint for smoother hiding and ceiling aesthetics; pick wall paint for everyday knocks and wall durability.
- Match sheen: keep ceilings flatter to reduce glare; use higher sheen on walls only if you need washability.
- Confirm compatibility: spot-prime with the same system, and let primers cure fully before topcoats.
Frequently Asked Questions
Can I Use Leftover Ceiling Paint on Walls Without Repainting?
Yes, you can use leftover ceiling paint on walls without repainting, but expect weaker wall paint durability. Ceiling paint application often lacks scuff resistance and can look flatter. If you prep and prime first, coverage improves and finish matches better.
Will Mixing Ceiling and Wall Paint Change Color or Sheen Noticeably?
Mixing ceiling and wall paint can change both color blending and sheen variations. You’ll likely notice uneven sheen when light hits, plus subtle color shifts if formulas differ. Test a small spot, let it dry, then decide whether to blend carefully.
Is Ceiling Paint More Mold-Resistant Than Standard Wall Paint?
Yes—often ceiling paint resists mold better than standard wall paint, but not always. You’ll boost mold prevention by choosing mildew-resistant formulas and using correct application techniques, like proper ventilation and letting coats cure fully. Don’t assume.
How Long Should Ceiling Paint Cure Before Washing or Touching It?
You should let ceiling paint cure fully before washing or touching it—typically 24–48 hours for light touch, but 5–7 days for tough handling. Follow curing time on the can and avoid scrubbing that disturbs paint texture.
Does Ceiling Paint Need Special Ventilation Compared to Wall Paint?
Yes—though most ceiling paints aren’t dramatically different, you still need proper ventilation requirements. During paint application, open windows, use fans, and avoid breathing fumes. Let airflow continue until the odor fades completely.
Conclusion
So, yes—ceiling paint and wall paint usually aren’t the same. You use ceiling paint for its lower sheen and better stain/splatter resistance, which helps it hide flaws and doesn’t glare under overhead light. A fun stat: in many homes, ceilings take up roughly 30% of the visible surface area, so choosing the right finish really affects how big and clean a room feels. If you match paint to surface, you’ll cut time, mess, and rework fast.
