
How to Paint an Accent Wall Corner Without Messy Edges
To paint an accent wall corner with crisp, no-mess edges, start by cleaning, patching, sanding smooth, and spot-priming bare spots. Tape trim with clean painter’s tape, press it tight with a putty knife, and keep a drop cloth down. Use a lightly loaded angled sash brush for the corner edge, then roll the field with an even coat. Remove tape while paint is slightly tacky, pulling fast at a sharp angle. Touch up smudges quickly, and inspect under bright light—there’s more to perfect the process.
Gather the Right Tools for Crisp Accent Corners
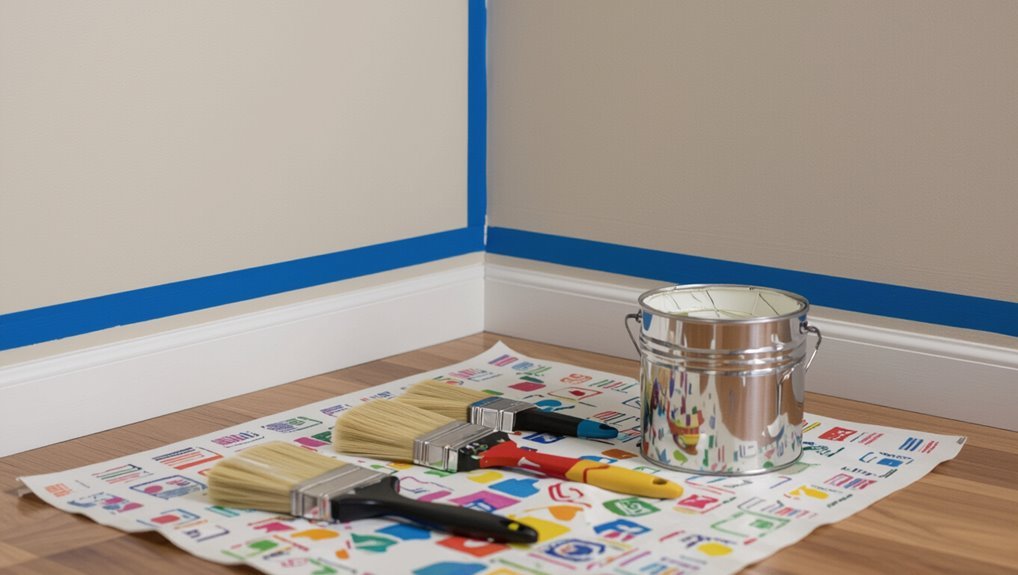
Before you touch the first brushstroke, gather the tools that help you nail crisp accent corners. Start with tool selection: choose an angled sash brush for edges, a high-quality roller for fields, and painter’s tape made for clean lines.
Add a corner edger tool to guide the edge smoothly. Use a putty knife or trim tool to press tape tight. Keep a drop cloth, a bucket liner, and a clean rag nearby to wipe drips fast.
Plan corner techniques: dry-brush the trim first, then roll up to tape, maintaining steady pressure.
Choose the Best Paint Type for an Accent Wall
Pick durable wall paint so your accent wall stays looking fresh.
Next, match the sheen—satin or eggshell usually looks great and hides minor imperfections—while checking that the coverage fits your wall size.
When you choose the right paint type and amount, you’ll avoid blotchy spots and get cleaner, longer-lasting results.
Select Durable Wall Paint
Choosing the right paint type makes your accent wall look crisp for years, not weeks. Start by prioritizing paint durability, especially in entryways or near kitchens. Choose a quality interior wall paint labeled for scrubbability and stain resistance. Next, focus on color selection: pick deep pigments or tint-matched samples, then confirm it covers well with fewer coats. Think of how the finish should hold up to daily contact, not just daylight.
| Hard | Stain | Daily |
|---|---|---|
| Scrub | Seal | Hold |
| Scuff | Resist | Last |
Match Sheen And Coverage
To make your accent wall look intentional, match the paint sheen to the surface and your traffic level, then confirm it covers in fewer coats.
Choose flat for drywall blemishes, eggshell for moderate traffic, and satin for high-touch areas. Do sheen selection based on how you’ll clean: higher sheen resists scuffs and wipes easier.
Next, compare coverage by reading the label’s sq ft per gallon and check primer needs for dark or glossy walls. If the surface needs bonding primer, plan for that so the color coats stay true.
This coverage comparison helps you avoid streaks and extra touch-ups.
Prep the Corner: Clean, Patch, and Sand Smooth
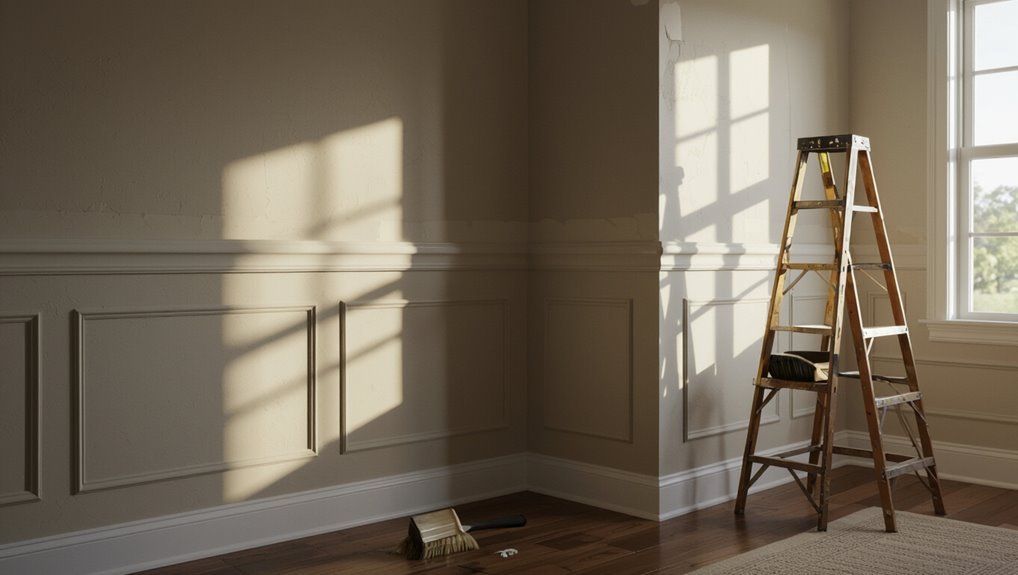
Start by scraping off loose paint and wiping away dust and debris so the surface is ready to bond.
Patch any holes or uneven spots with spackle, then let it dry fully before you move on.
Sand everything smooth for crisp, clean edges that make your accent paint look sharp.
Remove Loose Paint And Debris
Clear the area around the corner before you do anything else: scrape off any loose paint chips and flaking debris with a putty knife, then vacuum or wipe up the dust so it doesn’t contaminate the patch. You’re aiming for solid paint adhesion, so don’t rush.
Check your work under bright light. Remove every crumby edge; even tiny specks can block surface preparation. Use a damp cloth for remaining dust, then let it dry fully.
| What you remove | Why it matters |
|---|---|
| Chips | Stops peeling |
| Flakes | Improves adhesion |
| Dust | Prevents grit bumps |
| Crumbs | Avoids edge lift |
| Loose fibers | Keeps paint smooth |
Patch Holes And Uneven Spots
Once the loose paint and dust are gone, you’ll patch any holes, dents, or uneven spots so the corner comes out crisp.
Do your patch repair right away as part of surface preparation, because bumps will telegraph through your primer and color.
- Clean out each gap: scrape loose edges and wipe debris with a damp cloth, then let it dry.
- Fill with spackle or joint compound: press firmly, slightly overfill, and feather the edges with a putty knife.
- Spot-check the profile: run your palm across the corner; repeat filling until it feels level.
Sand Smooth For Clean Edges
Sand smooth the repaired area so the corner reads crisp, not bumpy, under primer and paint. After patching, let everything dry fully. Then use sanding techniques: start with 120-grit to level high spots, switch to 220-grit to refine, and wipe dust often with a damp cloth. Check edge precision by running a light diagonally across the corner; bumps show as bright spots.
| Step | Tool | Goal |
|---|---|---|
| 1 | 120-grit | level patch |
| 2 | 220-grit | smooth blend |
| 3 | damp wipe | remove dust |
| 4 | tack cloth | ready for primer |
Finish with primer.
Prime Bare Drywall Before Painting the Corner
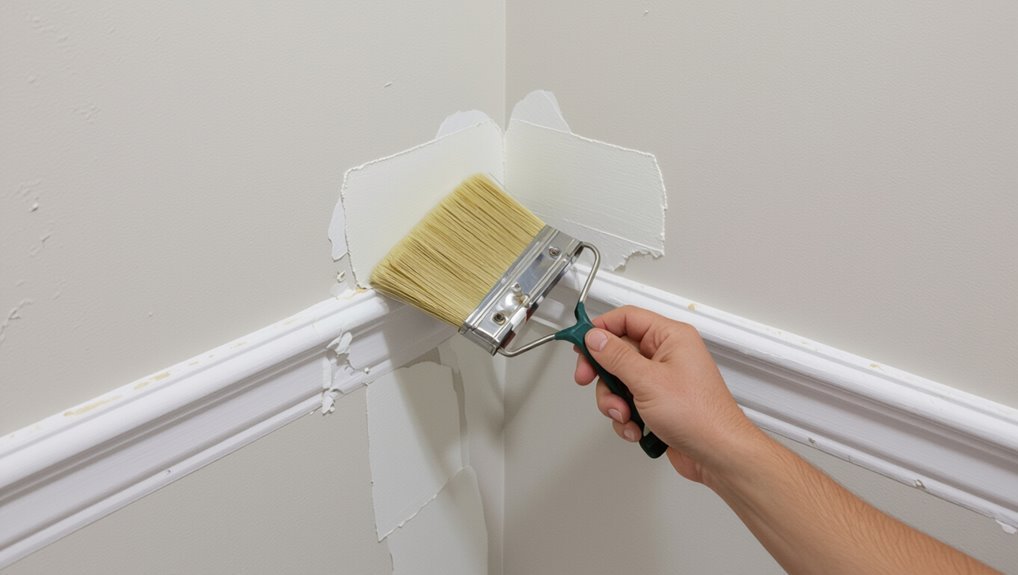
Prime bare drywall at the corner before you paint, so the surface absorbs paint evenly and you avoid flashing or peeling.
Use proven priming techniques as part of solid drywall preparation. You’ll reduce uneven sheen, especially where the corner catches light.
- Spot-prime raw edges and scuffed areas with a bonding primer, feathering outward.
- Roll or brush a thin, even coat across the corner zone; let it dry fully.
- Inspect for dryness or pinholes, then lightly re-prime before your color coat.
This keeps your accent-wall corner smooth and consistent from edge to edge.
Tape Trim Cleanly for Sharp Accent-Wall Edges
Choose the correct painter’s tape for your trim finish, so it releases cleanly without tearing.
Prep the trim—clean dust and let surfaces dry—then apply tape firmly for a better seal.
Press along every edge with steady pressure, so you get sharp, crisp lines on your accent wall.
Choose Correct Painter’s Tape
Select painter’s tape that’s made for trim and crisp lines, so it won’t bleed or leave a sticky residue when you pull it.
Choose the right tape types for your corner: low-adhesion for delicate surfaces, medium-hold for painted trim, and specialty painter’s tape for tight detail work.
Make sure your tape application stays straight and pressure-tight—press edges firmly with your fingertip or a plastic tool, then don’t stretch it.
Avoid generic masking tape. Before you paint, run a quick test on a scrap, and remove tape while paint still feels slightly tacky.
- Pick trim-ready tape with clean release
- Match width to the accent edge line
- Press, seal, and apply without stretching
Prep Trim For Better Seal
Before you tape, prep the trim so the edge seals tight: wipe off dust, grease, and chalky residue, then lightly scrape any flaky paint and feather the spot smooth.
Use a damp rag or degreaser-safe cleaner, and let everything dry fully.
Next, check caulk lines and fix gaps with a thin caulk bead, then smooth it with a fingertip or tool.
This trim preparation prevents paint creep, so your sealing techniques actually work.
When the surface is sound and dry, you’re ready to apply tape for a tight bond that won’t lift at the corner.
Press Edges For Sharp Lines
Once your trim is sealed and fully dry, press the painter’s tape down firmly along the edge so paint can’t seep underneath.
Use a confident press technique, not quick tugs, to lock the tape fibers to the corner. Slide your fingers or a plastic putty knife along the seam, checking for gaps and lifting edges. This is where edge precision matters most.
- Burnish tape at the corner, then smooth the run.
- Paint with a loaded brush, but don’t flood the line.
- Pull tape back at a slight angle while paint is still tacky.
Cut in the Accent Corner With a Steady Brush Angle
To keep the accent wall looking sharp, you need to cut in the accent corner with a steady brush angle before you roll on broader coverage.
Load your brush lightly, then hold it at a consistent angle so bristles touch just the wall edge. Use clean strokes that start off the corner and land into it, not across it.
Work from the top down, painting a narrow band along the adjacent surfaces. If the edge starts to thicken, wipe excess off your brush and keep going.
Let each cut-in line set briefly before rolling.
Use Light Coats to Prevent Bleed at the Corner
Apply light coats so the paint doesn’t bleed across the corner line. You need smart paint application: build color slowly, not in one heavy pass. Follow this edge technique to keep corners crisp:
- Load your brush lightly; wipe excess so drips don’t creep into the seam.
- Brush parallel to each wall, then stop at the corner before pigment pools.
- Let each coat tack up and dry fully, then add the next thin layer.
Keep a Wet Edge for Cleaner Accent-Corner Lines
Keeping a wet edge helps you draw sharper accent-corner lines. Work one corner segment at a time and keep the paint you just brushed close to damp.
As you cut along the edge, avoid letting sections dry before you move on; that’s where jagged ridges appear. Load your brush or roller lightly, then overlap your previous stroke by a small amount so the border stays continuous.
Use wet edge techniques by maintaining consistent pace—corner to corner—then finish with gentle edge blending to smooth shifts without smearing.
Blend the Wall Without Overworking the Paint
Once you’ve cut in the accent edges, you’ll want to blend the field coat quickly and lightly—before the paint starts to tack up.
You want clean blending techniques that smooth shifts without piling on extra coats. Use a roller or brush to feather the overlap, then stop and assess. Overworking causes drag marks and dull sheen.
Use a roller or brush to feather the overlap, then pause and assess—overworking can cause drag marks and dull sheen.
- Work in small sections; reload minimally.
- Feather outward with gentle strokes, keeping even pressure.
- Maintain controlled paint application, then pause to let it level.
Remove Tape at the Right Time to Avoid Peeling
Remove the painter’s tape while the paint still feels slightly tacky, not fully cured. This tape removal timing helps your edges set cleanly instead of tearing. Pull the tape back on itself at a sharp angle, keeping steady pressure; don’t tug upward or linger. If you wait too long, the cured film bonds to the tape and you risk peeling prevention failures.
| Situation | What you see | What to do |
|---|---|---|
| Tack remains | Smooth line | Peel now |
| Paint skins | Rough border | Wait less next time |
| Tape stuck | Fibers lift | Stop, re-tape lightly |
| Humid room | Slow curing | Check tack sooner |
Fix Smudges Fast With Simple Touch-Up Techniques
After you pull the tape while the paint still feels tacky, you can catch small smudges before they set.
Use simple touch-up techniques so you get clean corner results with quick fixes, not rework. For smudge removal, keep these steps handy:
- Lightly dab the spot with a damp microfiber cloth, then re-blend with a dry brush.
- For thicker marks, use a tiny angled brush with matching paint; feather outward.
- Let it dry fully, then spot-sand smooth and wipe clean.
You’ll save the edge and keep the accent wall looking crisp.
Avoid Common Accent-Corner Mistakes That Ruin Edges
Even small corner mistakes can dull your accent wall’s crisp look, so slow down before you lay down more paint.
First, nail your color selection: test the shade under the same lighting so corners don’t look darker or washed out.
First, nail your color selection—test the shade in the same lighting so corners don’t end up darker or washed out.
Next, mind wall texture—slick walls spread paint; rough walls grab it—so adjust pressure and use light, even strokes.
Don’t overload your brush at inside corners; you’ll flood edges and cause bleeding.
Keep a steady angle as you cut in, then blend only into wet paint.
Finally, let each section dry before you repaint.
Final Inspection: Catch Drips, Gaps, and Uneven Color
Before you step back, do a final inspection while the paint still has time to be corrected—check every edge for drips, every seam for gaps, and every section for uneven color.
Move your light source along the corner; you’ll spot shiny drips or dull patches fast.
Now fix what you find: tighten your drip prevention by blotting wet runs with a damp rag, then feather the spot.
For lines that don’t meet, do gap filling with a thin brush touch and smooth it.
Finally, reload your roller and blend any uneven color before it sets.
- Inspect edges first.
- Patch seams quickly.
- Reblend the finish.
Frequently Asked Questions
Which Tape Works Best for Crisp Lines on Textured Drywall Corners?
Choose painter’s tape made for textured surfaces, like 3M’s delicate/crepe style, and press it firmly along the corner. Use short corner techniques: burnish edges gently, then pull tape back at a 45° angle while paint’s still tacky.
How Do I Prevent Corner Paint From Drying Too Fast While Cutting In?
To prevent corner paint from drying too fast while cutting in, use a quick cutting technique with light strokes, keep a damp brush, and lower paint temperature slightly. Work in small sections, reload often, and feather the edge immediately.
Can I Use a Roller Near the Corner Without Ruining the Sharp Edge?
Yes, you can use a roller near the corner without ruining the sharp edge. Use a light roller technique, stop short of the cut line, then do corner blending by feathering onto the edge before paint dries.
What’s the Best Way to Match Existing Wall Color on a Corner?
Like a painter’s compass, you should match existing wall color by testing samples in the corner at daylight, using color matching techniques. Then apply corner blending strategies: feather edges outward, compare, and touch up until it disappears seamlessly.
How Long Should Paint Cure Before Removing Tape or Inspecting Edges?
Let paint cure at least 24 hours before you remove tape; give it 48 hours for full hardness. Once it’s set, do edge inspection with steady light—wait for paint curing to finish so you don’t peel wet edges.
Conclusion
You’ve got this: crisp accent corners don’t happen by luck—they happen by prep, patience, and smart timing. Once you’ve cleaned, primed, taped, and removed the tape at the right moment, your edge should look like a razor-thin line, not a shaky mistake. Do a final scan for drips, gaps, and uneven color, then touch up fast. When you step back, your room’s corner will shine—clean, bold, and effortlessly polished.
