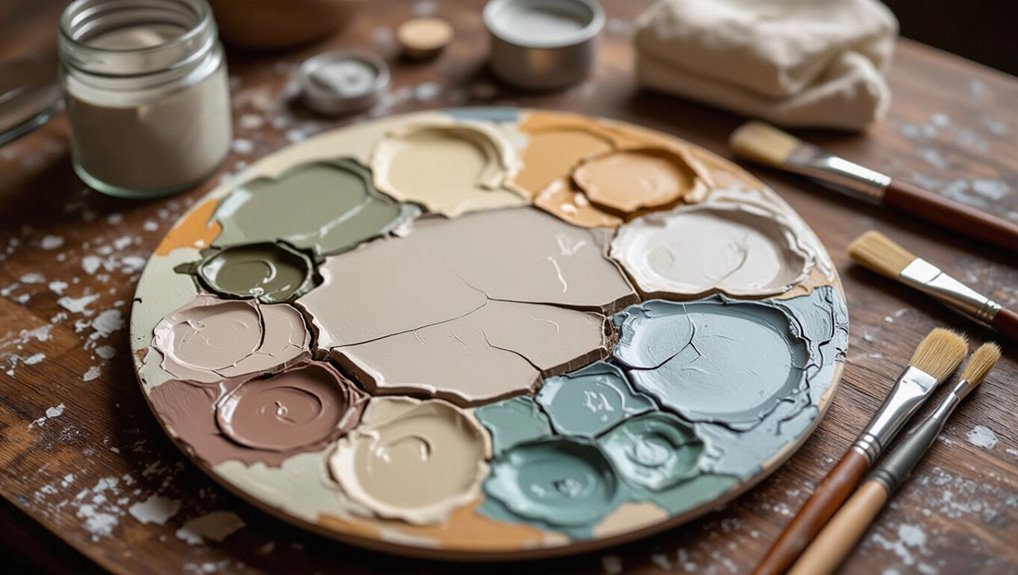
Can You Fix Dried Acrylic Paint? Easy Revival Methods
You can often rescue dried acrylics if they’re still tacky or form a flexible film. Test texture and adhesion first; powdery, brittle paint is usually gone. For tacky paint, add a few drops of water and stir; for thicker skin or partial drying, blend in a compatible acrylic medium or a retarder gradually. Use isopropyl sparingly for stubborn thickening and always ventilate. Follow safety and storage tips to prevent future drying, and keep going to learn practical step-by-step fixes.
Quick Answer: Can You Save Dried Acrylic Paint?
Short answer: sometimes.
You can rescue partially dried paint, but success depends on dried paint causes like skinning, oxidation, or solvent evaporation.
You can often revive partially dried paint, but results hinge on whether it’s skinned, oxidized, or solvent-loss.
You’ll need proper rehydration, not believing paint revival myths that promise miracles.
Test small amounts, use appropriate mediums or water, and accept limits: fully cured acrylics usually can’t be restored to original flow or adhesion.
How to Judge How Badly It’s Dried
Start by feeling the surface texture—if it’s powdery or crumbly it’s likely ruined, while a smooth film may still be salvageable.
Check flexibility and adhesion by gently flexing the substrate or scraping an edge; paint that flakes or peels off has poor adhesion.
Finally, test penetration and color by wetting a small area or scraping through to see if the original pigment and saturation remain.
Surface Texture Test
Feel the surface gently with a clean fingertip to gauge how the paint dried: smooth, tacky, cracked, or powdery each tells you something different about its condition.
Use texture evaluation methods like light rubbing and visual inspection to map problem areas. Note thickness, flaking, and grain; these findings guide surface preparation techniques, sanding, or recoat decisions without addressing adhesion or flexibility here.
Flexibility And Adhesion
Because dried acrylic can look fine on the surface but fail where it matters, you should test flexibility and adhesion early to judge how badly it’s dried.
Gently bend the substrate and press edges with a fingernail to check adhesive properties. If paint flakes or cracks, flexible layers are compromised and revival may fail.
Intact, slightly pliable paint can often be rehydrated or consolidated successfully.
Penetration And Color
When evaluating how deeply acrylic has dried, look past the surface sheen and test how far the loss of moisture and binder has penetrated into the layer and substrate.
Press a damp cotton swab or moistened brush into a small, inconspicuous spot and observe whether pigment lifts, softens, or resists rehydration.
You’ll judge damage by diminished color vibrancy and altered paint consistency—soft lifts salvageable, rigid resistance means irreversible loss.
Choose the Right Revival Method
First check how hard or brittle the paint is so you know if it’s tacky, partially cured, or fully rock-hard.
Then choose a revival method that matches that level and the paint’s purposeful use—softening for blending on canvas, rehydrating for touch-ups, or scraping for disposal.
Pick the gentlest effective option so you don’t ruin the surface or color.
Assess Paint Dryness Level
Before you try to revive dried acrylics, check how dry they really are so you pick the right method.
You’ll assess tackiness, surface film, and hardness, considering drying conditions and paint lifespan to decide if rehydration, scraping, or disposal suits it.
- tacky to touch
- thin film only
- firm but flexible
- hard and brittle
- container vs. surface
Match Revival To Use
Choose the revival method that matches how you plan to use the paint:
rehydrate soft, tacky paint you’ll brush back into a workable glaze;
add a medium or retardant to paint you need to keep open longer for blending;
thin container paint with water or acrylic thinner for washes;
scrape or mix hardened-but-flexible paint into new mixes for texture;
and toss truly brittle, contaminated, or long-separated paint.
Then match paint consistency to targeted application techniques.
Revive Slightly Tacky Paint With Water
If your acrylic paint feels tacky but not rock-hard, you can usually restore its spreadability with a little water and gentle stirring.
Use careful rehydration techniques to adjust paint consistency without overwatering. Test small amounts, add a few drops, stir, and let it sit briefly.
Rehydrate acrylics cautiously: test small amounts, add drops, stir gently, and let rest briefly to avoid overwatering.
- Add water sparingly
- Stir thoroughly
- Check flow and opacity
- Avoid contamination
- Store sealed tightly
Reconstitute Partially Dried Paint (Mediums)
Check the surface for skinning or a thin film before you try to rescue the paint.
Pick a medium that matches the paint’s consistency—retarder or acrylic medium for flow, or a glazing medium for thin layers.
Rehydrate slowly by stirring in small amounts of medium until the texture is restored without over-thinning.
Assess Paint Skinning
When you open a jar of acrylic medium that looks like it has a thin, translucent film on top, inspect the layer to determine whether it’s a skin you can remove or a deeper drying issue.
Check paint consistency and consider drying factors before proceeding.
- Gently lift film edge
- Smell for sourness
- Test small dab beneath
- Note storage time
- Observe color shift
Choose Suitable Medium
Now that you’ve determined whether the surface film is removable or indicates deeper drying, decide which medium will best restore the paint’s working properties.
Match medium selection to paint types and drying factors, adjust mixing ratios for desired paint consistency, and consider application techniques and color blending.
Factor in paint storage, maintenance tips, and artist preferences to choose a reversible, compatible medium for reliable results.
Gradual Rehydration Technique
If the paint has only started to skin over, you can coax it back to a workable state by rehydrating it gradually with compatible mediums rather than straight water.
You’ll restore paint consistency and avoid separation by adding small amounts, stirring, and testing. Use gentle rehydration methods and patience.
- Add glazing medium
- Use acrylic retarder
- Try flow improver
- Mix polymer medium
- Test on palette
Soften Thick Skins: Scrape and Rehydrate
Start by loosening the hardened surface with a gentle scrape so you can tell how deep the skin goes and whether rehydration will help.
You’ll assess paint texture and decide on hydration methods to restore paint consistency.
Use careful skin removal, select product recommendations for safe rewetting, aim for color restoration, and follow drying techniques that support long-term paint preservation.
Rescue Dried Paint Pans and Palettes
You can rescue dried paint pans and palettes by softening paint with a bit of acrylic medium or water to loosen crusty spots.
Once softened, scrape away hardened layers with a palette knife or plastic scraper.
Finish by cleaning the palette surface with warm soapy water or a dedicated cleaner so it’s ready to use again.
Soften Dried Paint
A few simple household items can bring dried acrylic pans and palettes back to life without scrubbing away pigment—white vinegar, acrylic retarder, or a gentle solvent will loosen the film so you can revive workable paint.
You’ll assess paint consistency and drying factors, apply the chosen agent, wait briefly, then gently stir to reincorporate softened paint.
- White vinegar
- Acrylic retarder
- Gentle solvent
- Damp cloth
- Soft palette knife
Remove Hardened Layers
If softening didn’t fully revive those pans, it’s time to tackle the hardened layers that won’t reconstitute by soaking alone.
You’ll carefully chip away with a palette knife or craft spatula, working slowly to avoid gouging. Apply solvent sparingly for stubborn spots, then neutralize.
These targeted cleaning techniques rescue usable paint, support long-term paint preservation, and restore workable pans without wasting material.
Clean Palette Surfaces
Start by evaluating the palette’s condition so you know whether a gentle wipe or a deeper clean is needed; dried paint on pans and mixing wells can often be loosened with a soft scraper and a little solvent, while stubborn crusts may require careful chipping and spot-treating.
Keep palette maintenance focused:
- Scrape gently with plastic tools
- Apply solvent sparingly
- Use barrier films for paint preservation
- Rinse and dry for surface protection
- Store covered for storage solutions and drying prevention
Using Isopropyl Alcohol to Revive Acrylics
When your acrylics have thickened but aren’t fully cured, you can often restore their flow with isopropyl alcohol; it breaks down the film-forming agents without dissolving the pigment.
Use a small drop, stir gently, and test on a palette scrap. You’ll thin acrylic paint for immediate use, but don’t overdo it—too much weakens binder and affects adhesion and finish.
When Solvents Help : and When They Don’t
Though solvents can rescue tacky, thickened acrylics in some cases, they’re not a cure-all and you need to know when to use them.
You’ll assess film formation, dried age, and compatibility before trying solvent types and application techniques; wrong choices ruin texture or release layers.
- Test small area first
- Use mild solvent first
- Avoid porous supports
- Work ventilated
- Stop if paint softens unevenly
Revive Acrylics Mixed With Other Media
If you’ve mixed acrylics with other media—ink, oil pastels, or collage adhesives—they’ll age and respond differently than pure acrylic films.
So you need to assess each component before attempting revival. Test small areas to check paint compatibility and whether solvents, water, or fixatives harm other layers.
For mixed media techniques, document materials used, proceed gently, and accept some irreversible changes.
When to Stop Trying and Buy New Paint
After you test and gently try to revive mixed-media pieces, there comes a point where further effort wastes time and risks damaging your work or workspace.
You should stop when paint lifespan limits are reached or quality indicators (separation, odor, texture) show failure. Consider replacing rather than forcing recovery.
- unusable texture
- foul odor
- persistent separation
- poor adhesion
- color shift
Essential Tools and Materials to Keep
Keep a small, well-organized kit of essentials so you can revive or manage dried acrylics without scrambling: a selection of soft synthetic brushes, palette knives, plastic and glass palettes, a spray bottle, slow-dri medium or retarder, acrylic binder or medium for reconstitution, mild solvent-safe cleaner, fine-grit sanding pad, airtight containers, and disposable gloves. Use product recommendations for paint storage, maintenance tips, color mixing, brush care, palette organization, drying techniques, paint types.
| Item | Purpose | Notes |
|---|---|---|
| Brushes | Brush care | Synthetic best |
| Mediums | Reconstitution | Retarder/slow-dri |
| Palettes | Palette organization | Plastic/glass |
| Containers | Paint storage | Airtight |
| Sanding pad | Surface prep | Fine-grit |
Safety Steps for Solvents and Ventilation
Because many solvents and retarders release fumes, always work where fresh air can flow and avoid breathing concentrated vapors directly.
You should follow solvent safety and ventilation tips, practice proper handling, limit exposure risks, and use health precautions during clean up methods and paint storage planning.
- Open windows and use fans
- Wear respirator and gloves
- Keep spills contained
- Position work away from living areas
- Label and seal containers
Prevent Dried Paint: Storage and Habits
If you want your acrylics to last between sessions, store mixed paints and opened tubes so air can’t reach them and set up simple habits that cut drying time.
Choose ideal containers with proper sealing, monitor temperature control and humidity levels to extend paint life, adopt strict cleaning habits, track usage frequency, and maintain workspace organization to prevent waste and speed reuse.
Quick Troubleshooting: Common Problems and Fixes
When a paint issue pops up—skin forming, cracking, tackiness, or separation, you’ll usually be able to diagnose and fix it fast with the right approach.
Troubleshoot by evaluating drying factors, surface prep, and additives to restore finish and preserve paint longevity.
- Gently remove skin
- Rehydrate tacky paint
- Sand and recoat cracks
- Stir separated paint
- Use extender for slow drying
Frequently Asked Questions
Can Revived Acrylic Paint Be Used for Archival-Quality Artwork?
Yes — but you shouldn’t assume revived acrylic meets archival standards. You’ll need high-quality mediums, proper testing, and stable storage to guarantee paint longevity; otherwise, original archival-grade materials stay safer for long-term work.
Will Revived Paint Change Color or Gloss Over Time?
Imagine a thin, cloudy varnish settling on your canvas; you’ll probably see minor shifts. Revived paint can affect color stability and gloss retention, so test samples first, and expect subtle changes over long periods.
Can You Revive Dried Acrylic Paint on Brushes or Rags?
Yes—you can often revive dried acrylic on brushes or rags if it’s not fully cured; you’ll need proper brush care, soaking in water or using paint solvents cautiously, then reshaping bristles and rinsing thoroughly afterward.
Is It Safe to Use Revived Paint for Airbrush Equipment?
Yes — but be cautious. You’ll test revived paint’s paint consistency before loading, because airbrush maintenance demands thin, smooth flow; otherwise you’ll clog nozzles and damage parts, so only use well-filtered, perfectly rehydrated paint.
Can Pets or Children Be Harmed by Revived Paint Residues?
Yes — revived paint residues can pose risks; you should prioritize pet safety and child safety by keeping containers sealed, cleaning spills immediately, storing paints out of reach, and disposing of unusable revived paint responsibly to prevent contact.
Conclusion
You can usually coax tired acrylic paint back to life if it hasn’t totally checked out. With a little water for slightly tacky tubes or a compatible medium for more stubborn patches, you’ll restore workability and avoid waste. Keep solvents, tools and ventilation handy, and adopt simple storage habits to dodge future dramas. Treat your paints gently—revival’s part science, part patience—and you’ll keep colors ready for the next spark of inspiration.