How Long Does Treated Wood Need to Dry Before Painting
You should wait until pressure‑treated wood drops to about 12–15% moisture before priming and painting, which is usually 2–4 weeks in warm dry weather but can take several months in cool or humid conditions. Check multiple spots with a moisture meter or use a plastic‑bag test, and feel for a dry, non‑tacky surface. Store boards elevated and ventilated to speed drying. Follow proper prep and testing to avoid adhesion problems, and keep going to learn tips for troubleshooting and faster drying.
When Can You Paint Treated Wood? Rule of Thumb and Timelines
When you’re ready to paint treated wood, wait until it’s dry enough to accept and hold paint—usually 2 to 4 weeks for pressure-treated lumber in warm, dry conditions, and up to several months in cool or humid weather.
You’ll test moisture with a meter or the thumb-nail/probe check; paint adhesion improves when moisture content falls below about 15%. Letting treatment chemicals off-gas supports wood preservation and prevents blistering or peeling.
Prime with a compatible primer and paint only when wood and weather are stable. If you rush, you’ll compromise the finish and shorten the coating’s lifespan.
How Treatment Type and Wood Species Affect Drying Time
Different preservative treatments release moisture at different rates, so you’ll need to account for the type used when estimating dry time.
Likewise, denser species soak up and hold chemicals differently than porous softwoods, which affects how long moisture stays in the grain.
Consider both treatment method and wood porosity before you pick a painting schedule.
Treatment Type Differences
Although the label’s generic “drying time” gives you a baseline, the specific preservative and the wood species change how long the board actually needs to dry before paint will stick.
Different chemical treatment formulas—from waterborne to oil-based preservatives—alter the drying process and residual moisture you must wait out. Waterborne treatments usually release moisture faster, so you’ll often be ready to prime sooner, while oilborne systems can hold oils that repel paint until they cure.
You should verify manufacturer guidance, perform a moisture test, and allow extra time after severe weather or heavy initial treatment to ensure proper adhesion.
Species Porosity Impact
Those treatment differences matter, but the wood itself also decides how fast moisture and preservatives leave the fibers. You’ll notice porous species like redwood or cedar shed moisture faster than dense hardwoods because their open wood grain lets air and solvents move freely.
If you’re working with pine or oak, expect slower drying; tight grain and higher density trap water and chemical treatment compounds longer. Drying time also depends on board thickness and kiln history, but choosing a species with favorable porosity speeds readiness for primer.
Always test moisture content and surface dryness before painting to avoid adhesion failures.
How Weather and Storage Affect Treated‑Wood Drying
Because treated lumber releases moisture into whatever environment it’s in, the weather and how you store it have a big impact on drying time. You’ll notice wood grain darkening faster in damp conditions and chemical preservatives can slow evaporation, so monitor both temperature and humidity.
Store lumber elevated, covered, and ventilated to encourage even drying; avoid ground contact and plastic that traps moisture. Wind and sun speed drying; rain and high humidity stall it.
In practice, consider:
- Sunny, breezy spot with stickers between boards.
- Covered, open‑sided shelter off the ground.
- Indoor, well‑ventilated area for slow, controlled drying.
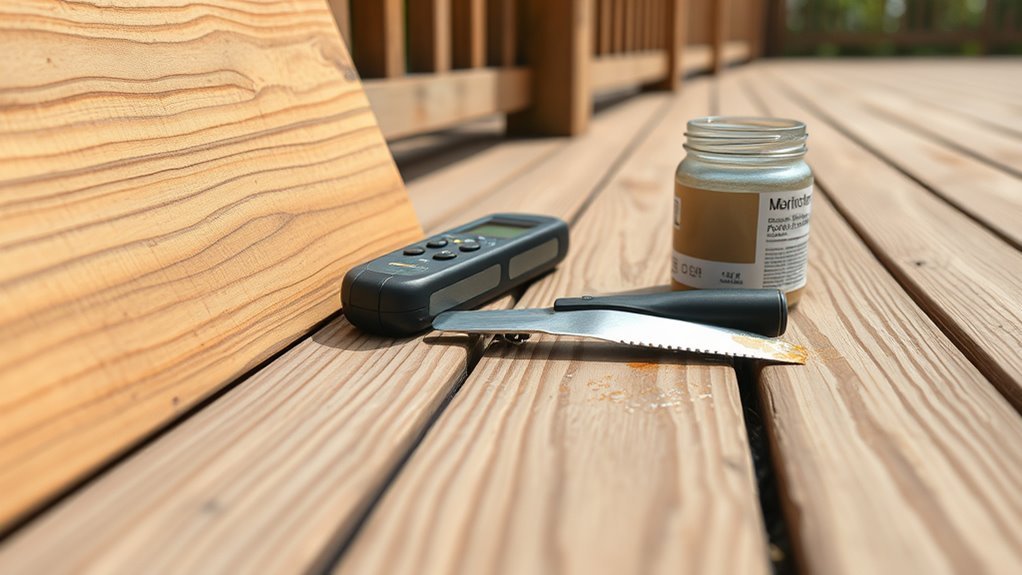
Simple Moisture Tests to Check If Treated Wood Is Paintable
Before you paint, check moisture with a few simple tests so you’re sure the wood’s ready.
Use a moisture meter for a quick numeric reading.
Try the plastic-bag test to spot trapped moisture.
And do a surface touch check for coolness or dampness.
Together these methods give you a clear sense of whether the treated wood is paintable.
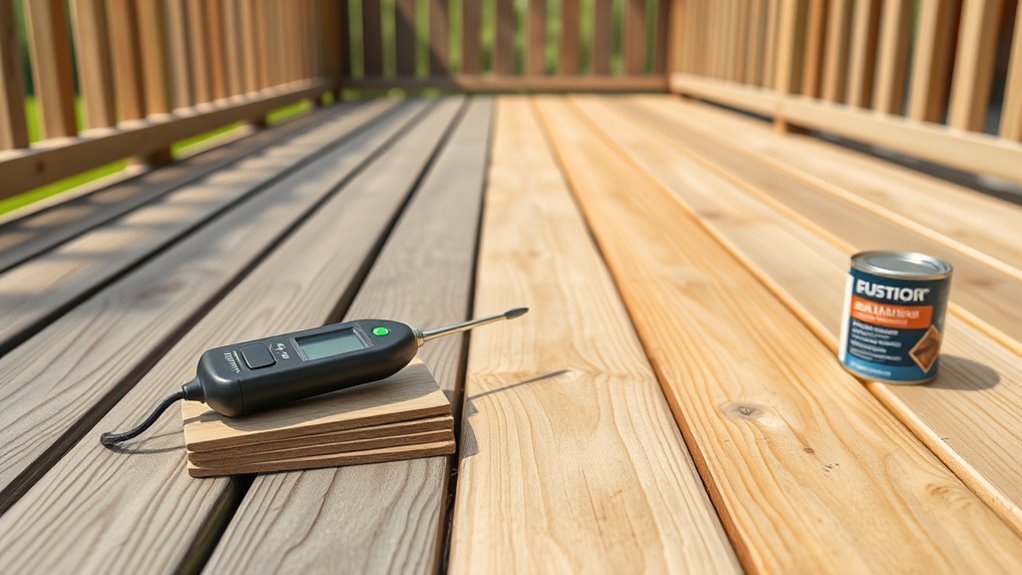
Moisture Meter Readings
When you’re ready to paint treated wood, a moisture meter gives a quick, reliable check to see if the lumber’s dry enough; it measures the wood’s moisture content (MC) so you can avoid paint failure.
Treated lumber from wood preservation processes or with chemical treatments can hold extra moisture, so you’ll measure several spots. Aim for 12% MC or lower for exterior painting, 10-12% for interior.
Use a pin meter for depth readings or a non‑pin for surface checks.
- Test multiple boards and ends.
- Record readings over days.
- Don’t paint if readings fluctuate.
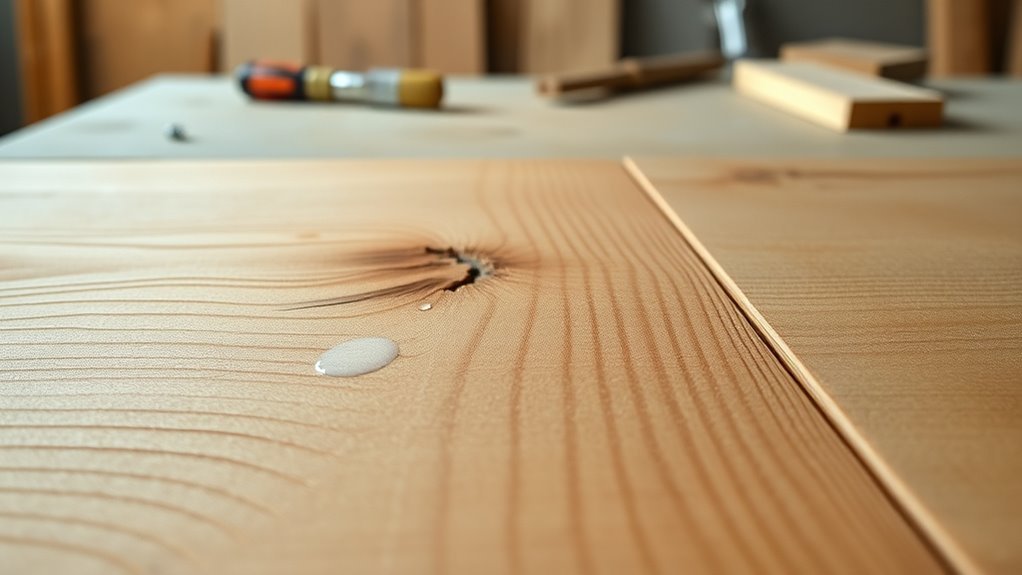
Plastic-Bag Test
If you don’t have a moisture meter on hand, a simple plastic-bag test can give you a quick, low-tech check to see if treated wood’s surface has dried enough for painting. Tape a clear plastic bag over a 12×12 inch area, seal edges, leave 24 hours. If condensation appears, wait and use other drying techniques; chemical preservatives can slow evaporation, so allow extra time. No condensation and surface looks dry — you’re closer to paintable. Quick reference table for the test:
| Condition | Result | Action |
|---|---|---|
| Clear | Ready | Prime/test patch |
| Foggy | Not ready | Wait longer |
| Wet | Re-treat | Extend drying time |
Surface Touch Check
Although it’s simple, a surface touch check gives you a quick, practical sense of whether treated wood has dried enough to accept paint. You’ll feel for coolness, tackiness, or dampness across the wood grain; any damp spot warns that paint adhesion will suffer. Do checks in several places, especially end cuts and joints, since moisture hides there.
- Press a clean finger firmly along the grain and smell for mustiness.
- Lightly rub a corner with a white cloth; a dark or damp mark means wait.
- Compare surface temperature to adjacent dry wood; cooler equals trapped moisture.
Visual and Touch Signs That Mean the Wood Is Ready
Before you reach for the brush, look and feel the wood to confirm it’s ready. Check that the wood grain appears uniform and free of dark, damp streaks; deeply discolored grain often means moisture remains.
Run your hand over the surface — it should feel dry, not cold or damp, with no tackiness.
Press a plain paper towel to the surface for a minute; no dark spots should transfer.
Tap for a solid sound rather than a dull one.
Smell for mustiness; fresh-treated odor fading indicates drying.
These cues predict good paint adhesion and help avoid peeling later.
Prep Steps for Painting Treated Wood (Day‑Of Checklist)
Now that you’ve confirmed the wood looks and feels dry, get your workspace and materials ready so painting goes smoothly. Inspect for residual mill glaze, sanding needs, and any stuck debris; you’ll boost paint adhesion by removing contaminants. Wipe surfaces with a damp cloth and let them dry.
Choose a primer compatible with treated lumber to support wood preservation and long-term finish performance.
- Sand lightly with 120–150 grit, remove dust with a vacuum or tack cloth.
- Apply a quality oil- or latex-compatible primer, focusing on end grains and joints.
- Tape edges, lay drop cloths, and ensure ventilation before painting.
Safe Ways to Speed Up Drying : And What Not to Do
When you need the treated wood to dry faster, use methods that boost evaporation without forcing the chemical preservatives out of the lumber. Open up airflow with fans and raise boards off the ground to expose both sides. Work in warm, dry weather and use a dehumidifier in enclosed spaces.
Thin coats of a breathable primer let moisture escape while supporting wood preservation. Don’t use direct heat like blowtorches, kilns, or high-temperature dryers—they can drive preservative chemicals closer to the surface or damage fibers.
Avoid sealing with non-breathable paints too soon; they trap moisture and defeat safe drying techniques.
Problems From Painting Too Early : Fixes and When to Refinish
If you paint treated wood before it’s dry, you’ll soon see blistering, peeling, and poor adhesion as trapped moisture expands and forces the coating off the surface. You’ll notice raised wood grain and weak paint adhesion; don’t panic.
Dry and sand to expose solid fibers, then use a breathable primer. If decay or mold formed, replace affected boards.
- Blisters and peeling — dry, sand, prime, repaint.
- Discolored or mildewed boards — clean, dry thoroughly, reassess.
- Persistent adhesion failure or rot — remove and refinish with new lumber.
Refinish when repairs won’t restore full adhesion or structural integrity.
Frequently Asked Questions
Can You Stain Treated Wood Instead of Painting It?
Yes — you can stain treated wood instead of painting it. You’ll use wood staining products, but you’ll need to respect drying times, testing absorbency and ensuring the timber’s dry enough for proper adhesion and even color.
Will Paint Void the Treated-Wood Warranty?
Usually paint won’t void the treated-wood warranty if you follow manufacturer instructions; you should confirm specifics. You’ll guarantee wood preservation by using compatible coatings and respecting chemical treatment guidelines to maintain warranty coverage and performance.
Are Special Primers Required for Pressure-Treated Cedar?
Yes — you’ll need special primers: you’ll choose a primer that blocks tannins, you’ll choose a primer that bonds to resin and Chemical treatment residues, and you’ll choose one compatible with the treated wood’s moisture content.
Can Termites or Rot Be Affected by Painting Timing?
Yes — if you paint too soon you’ll trap moisture, reducing termite prevention and rot resistance; wait until wood’s dry, use proper sealers and maintenance, and you’ll better prevent infestations and decay over time.
Is Indoor Use of Treated Lumber Safe Without Sealing?
You can use treated lumber indoors, but you should seal it; chemical treatment residues and higher moisture content can release odors or affect finishes, so you’ll install, dry, and seal it before prolonged indoor exposure.
Conclusion
Think of treated wood like a sponge that’s just come up from a rainstorm — you don’t dress it until it’s dry. Wait for moisture content under 15–18% and for the surface to look and feel dry; use a moisture meter or simple tests to be sure. Prep and prime well, and don’t rush the finish. If you paint too soon, expect peeling and rework; letting it breathe first gives a lasting, picture‑perfect coat.