How Long Should I Let Primer Dry Before Painting
You should let primer dry until it’s no longer tacky and meets the manufacturer’s recommended time: usually 30–60 minutes for water-based, 24 hours for oil-based, and 15–30 minutes for shellac, with stain-blocking primers often 1–4 hours. Remember temperature, humidity, coat thickness, and surface porosity affect drying, so use the fingernail or tape test before topcoating. Keep coats thin and ventilate to speed drying, and if you want tips on tests and troubleshooting, keep going.
How Long Should Primer Dry Before Painting?
How long you should let primer dry before painting depends on the type of primer, temperature, and humidity. Most water-based primers need about 30 minutes to an hour to become dry-to-touch and 2–4 hours before you can safely topcoat.
Oil-based primers usually require 24 hours. You’ll check tackiness and follow label instructions, since surface feel and cure affect primer adhesion.
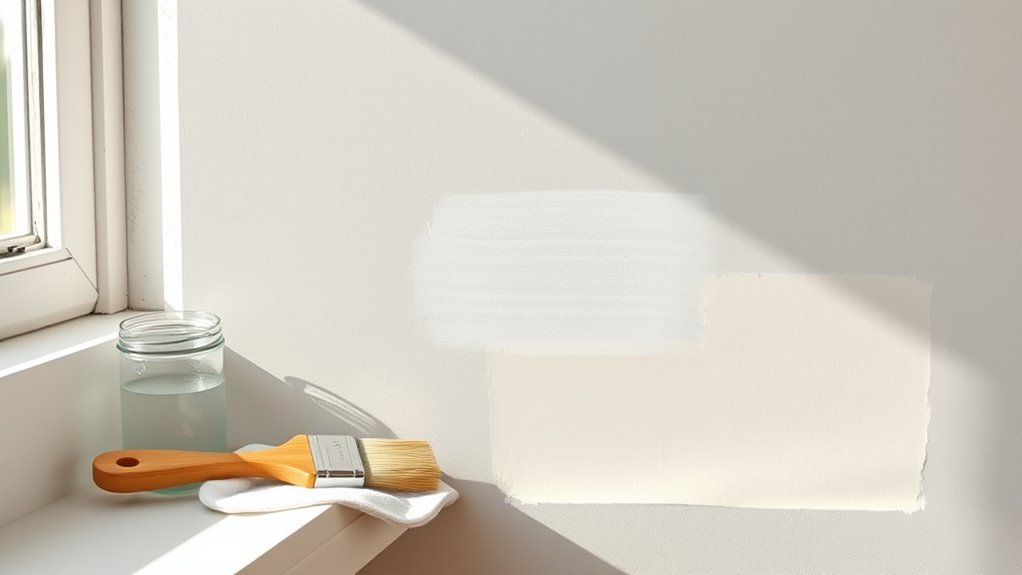
If you’re doing color matching, give the primer its full recommended dry/flash time so the topcoat shows true color. Rushing risks poor adhesion, uneven finish, and color shifts—wait the specified time for reliable results.
Drying Times for Common Primer Types (Latex, Oil, Shellac, Stain-Blocking)
You’ve already seen that drying times vary with primer type, temperature, and humidity — now let’s look at typical windows for the most common primers.
Latex primers usually dry to the touch in 30 minutes to an hour and are repaintable in 2–4 hours; thinner coats speed this up.
Latex primers dry to the touch in 30–60 minutes and can be recoated in about 2–4 hours.
Oil-based primers feel dry in 1–2 hours and need 6–24 hours before topcoating, depending on primer thickness.
Shellac dries almost instantly to the touch (15–30 minutes) and can be recoated within an hour.
Stain-blocking primers often need 1–4 hours, though heavy stain loads can extend cure time.
Surface preparation affects adherence.
How Temperature, Humidity, and Surfaces Affect Drying
Because temperature, humidity, and the material you’re priming all influence how fast solvents evaporate and binders set, they directly determine when a primer is ready for topcoating.
You’ll want warmer, moderate humidity conditions for quicker curing; cold or very humid air slows drying and can cause tackiness or poor adhesion.
Porous surfaces absorb primer faster, sometimes requiring extra coats, while slick surfaces need thorough surface preparation and a compatible primer to guarantee adhesion.
Always check primer compatibility with the substrate and ambient conditions listed by the manufacturer, and allow additional time when conditions deviate from ideal to avoid failures.
How To Test If Primer Is Ready to Paint?
When the primer feels dry to the touch, don’t assume it’s ready—perform a few simple checks to confirm proper curing before you paint.
Lightly press a corner with your fingernail; it shouldn’t dent or peel.
Gently press a primer corner with your fingernail—no denting or peeling means it’s ready for the next coat.
Tape a small strip of painter’s tape, press firmly, then pull sharply; if the primer lifts, adhesion’s inadequate and surface preparation may need rework.
Smell for strong solvent odor—if present, give more drying time.
Run your hand gently to detect tackiness.
If all tests pass, the primer adhesion is sound and you can proceed with topcoat application confidently.
Speed Drying and Avoid Common Priming Mistakes
Those quick checks tell you whether the primer’s ready, but if you’re racing against time or working in poor conditions, speeding dry times and avoiding common priming mistakes will keep your finish looking professional.
You can accelerate drying by increasing air circulation, using a dehumidifier, or applying thin coats so solvent evaporates faster. Don’t heat excessively—too much heat traps solvent and causes blistering.
For consistent results, follow primer preparation instructions: mix thoroughly, strain if needed, and use recommended thinners. Avoid over-sanding, uneven application, or painting on tacky primer.
Good priming techniques prevent rework and deliver a smooth, durable topcoat.
Frequently Asked Questions
Can I Paint Over Primer With a Different Paint Type Immediately?
No — you shouldn’t paint over primer with a different paint type immediately. For proper painting preparation, check primer compatibility, let curing time finish, and guarantee adhesion; otherwise you’ll risk peeling, uneven finish, or poor durability.
Does Primer Need Sanding Between Coats for the Same Primer?
Yes — you should sand between same-primer coats: gentle abrasion boosts surface preparation, yet smooth finish. You’ll improve primer adhesion, remove imperfections, and guarantee consistency, so sand lightly, clean thoroughly, then apply the next coat.
How Long Does Unopened Primer Last in Storage?
Unopened primer typically lasts 2–5 years; you’ll get longer primer longevity if you control storage conditions—keep cans sealed, upright, cool, dry, and frost-free, and avoid temperature extremes or direct sunlight to preserve quality.
Can I Dilute Primer With Water or Solvent?
You shouldn’t dilute most primers with water unless labeled; solvent use depends on oil- or alkyd-based formulas. Adjusting primer consistency can help application, but follow manufacturer instructions and drying time tips to avoid performance issues.
Is Primer Necessary on Metal or Plastic Surfaces?
Yes — you should prime metal and plastic; proper metal preparation prevents corrosion and improves adhesion, while choosing primers with plastic compatibility guarantees coating bonds. You’ll get longer-lasting, smoother finishes by using the right primer.
Conclusion
You’ve learned typical drying windows, how humidity and temperature change them, how to test readiness, and when to avoid rushing. So wait the recommended time, check with a fingertip and light sanding, and adjust conditions to speed or slow drying as needed. Don’t paint wet primer, don’t assume all primers behave the same, and don’t skip surface prep—do the simple checks, do the proper waits, and do the job once for a clean, lasting finish.