How to Check for Moisture Inside Walls (Easy Home Test)
Scan walls for discoloration, bubbling paint, musty smells and cool, clammy spots by touch; tap drywall—dull thuds suggest moisture—then use a handheld moisture meter (non‑invasive or pin mode) to take multiple reads and compare to dry areas. If you have one, sweep a thermal camera for cool irregular patches near plumbing, windows, or exterior walls. Contain active leaks, take photos, and ventilate; keep going to learn simple confirmatory tests and safe next steps.
Quick Triage: Fast Visual And Touch Tests To Spot Damp
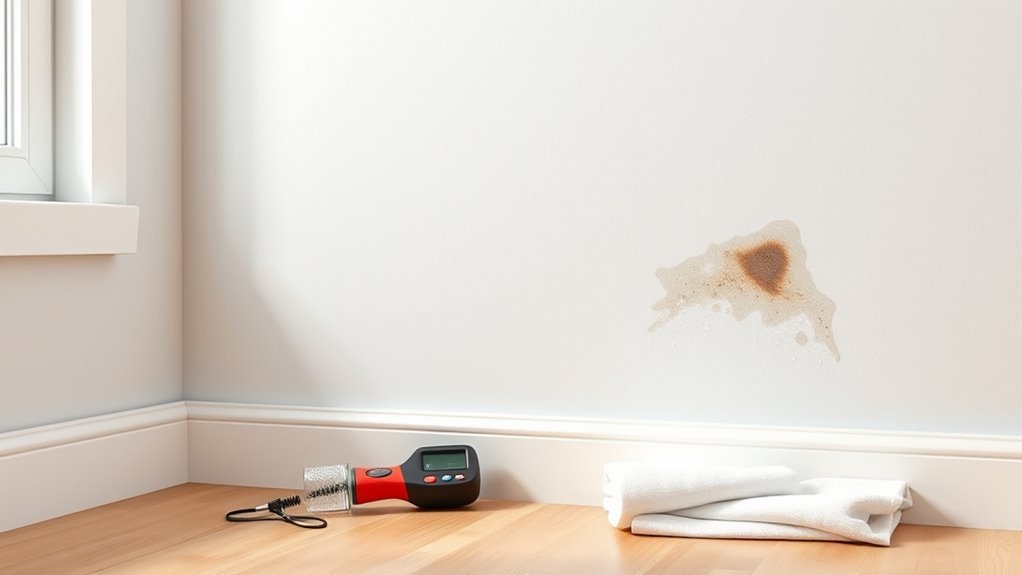
If you suspect damp, start with a quick visual and touch check. You’ll scan walls for discoloration, peeling paint, bubbling plaster, and dark patches near skirting boards or windows.
Run your hand along surfaces; cool, clammy spots feel different. Smell for mustiness—it’s an early clue.
Run your hand along surfaces — cool, clammy spots and a musty smell are early damp clues.
Inspect behind furniture, around pipes, and near external walls where wall insulation might be compromised.
Note patterns that suggest leaks versus rising damp.
Take photos and mark locations for follow-up. These quick observations guide moisture prevention efforts and tell you where to focus more detailed testing or repairs without overcomplicating the first step.
Use A Moisture Meter: Pick The Right Mode And Take Accurate Readings
When you grab a moisture meter, make sure you pick the correct mode for either non‑invasive surface scans or pin probes for deeper readings.
Clean and dry the test area or remove trim as needed so the meter contacts the wall properly.
Read the values against the meter’s scale and compare them to baseline dry readings to interpret whether the wall is damp.
Choose The Correct Mode
Because different materials and situations need different settings, you should pick the correct mode on your moisture meter before taking any readings.
Check material compatibility—wood, drywall, concrete, and plaster often need distinct scales or probe types.
Select a pin mode for precise localized checks in studs or patchy areas; use pinless mode for fast, noninvasive scans across larger surfaces.
Account for likely moisture sources—leaks, condensation, or rising damp—so you choose sensitivity and depth settings appropriately.
Calibrate the meter if required, consult the manual for mode limits, and verify readings on a known dry spot to guarantee accuracy.
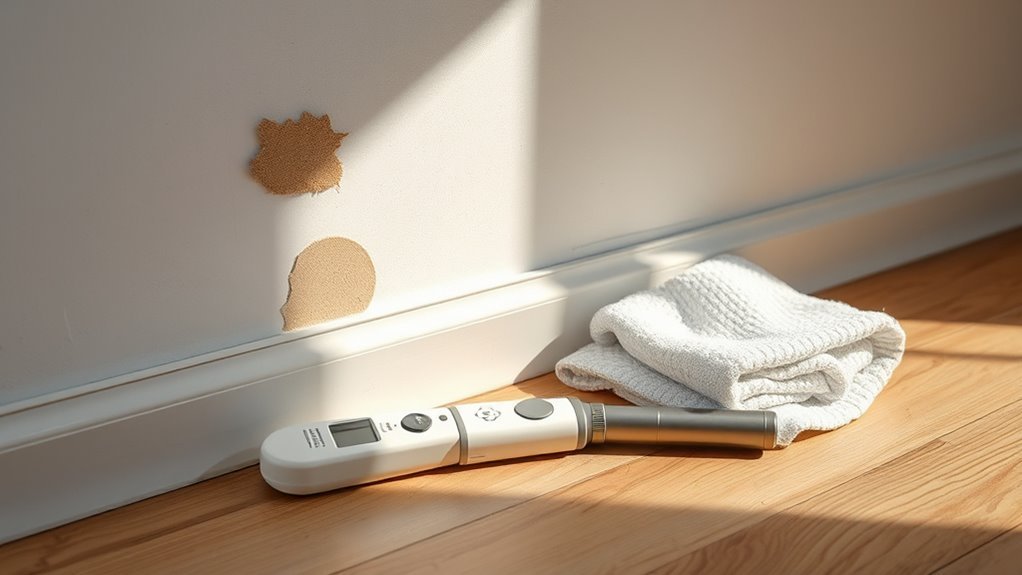
Prepare The Wall Surface
Before you take readings, clear and inspect the wall so your moisture meter contacts the actual material and not dust, paint flakes, or wallpaper adhesive. You’ll want a solid surface for consistent results, accounting for wall texture and recent paint preparation. Lightly clean areas with a soft cloth and mild cleaner, and remove loose paint or paper. If surface is rough, sand small spots to flatten contact points.
- Mark testing spots away from vents or baseboards.
- Use consistent pressure when placing probes or pads.
- Note any patched areas that may skew readings.
Interpret Meter Readings
Once you’ve placed the meter and taken readings, interpret the numbers against the meter’s scale and the material you’re testing so you know whether a spot’s moisture is normal, elevated, or critical.
Check meter calibration before testing—an uncalibrated meter skews reading accuracy.
Know your material: wood, drywall, and masonry have different thresholds.
Take multiple readings across the area and average them to reduce anomalies.
Note sudden spikes near plumbing or exterior walls.
If values exceed recommended ranges, mark the location and investigate further.
Document readings, time, and conditions so you can track changes and confirm whether remediation is needed.
Scan For Hidden Leaks With A Thermal Camera : Where To Look And What To Read
Start by scanning exterior walls, bathrooms, kitchens, and around plumbing stacks where leaks often hide.
Watch for cool, irregular patches and streaks that contrast with surrounding surfaces—these often indicate moisture or evaporative cooling.
Use the pattern, size, and temperature difference to prioritize spots for moisture-meter verification.
Where To Scan
When you begin scanning for hidden leaks with a thermal camera, focus on likely problem areas: around windows and doors, along exterior walls, near plumbing chases, under sinks, and around appliances like water heaters and washing machines.
Move methodically, scanning vertically and horizontally to cover full wall bays.
Consider material composition and recent wall painting, which affect surface emissivity and apparent temperatures.
Check ceilings above bathrooms and basements below suspect spots.
Inspect behind cabinets and along baseboards where moisture tracks.
Don’t forget exterior soffits and roof eaves.
Use multiple angles to reveal anomalies that a single pass might miss.
- Scan slowly and overlap passes
- Compare symmetrical walls
- Photograph suspicious views
Interpreting Thermal Patterns
If you want to reliably spot hidden leaks with a thermal camera, learn to read the patterns rather than obsess over single hot or cold spots. You’ll interpret gradients, shapes, and context: linear cool bands often trace pipe runs, irregular blotches suggest pooling, and repeating cool lines may reveal insulation gaps.
Use thermal imaging to compare suspicious areas to surrounding wall temperatures, scanning at different times for consistency. Remember reflections and exterior shading can mislead, so confirm with moisture detection tools or physical checks.
Practice reading full-field patterns, not isolated pixels, and you’ll spot leaks faster and with fewer false positives.
Tap Walls And Listen For Wet Drywall Or Hollow Studs
Even though it sounds simple, tapping the wall can quickly tell you whether the drywall feels saturated or the studs are hollow—so move your knuckles across the surface and listen for differences in tone.
Tap your knuckles across the drywall—dull thuds mean moisture, clear rings mean dry; listen for changes.
Wet drywall gives a dull, dead sound; dry areas ring more clearly. Variations can hint at compromised wall insulation or uneven acoustic properties caused by moisture.
Try consistent pressure and pattern as you work.
- Tap slowly to map tonal changes.
- Mark suspect spots for further inspection.
- Compare tones near plumbing, windows, and corners.
Trust your ears, then use other tests to confirm.
Is It Condensation Or A Leak? Simple Checks To Tell The Difference
Because moisture on a wall can come from simple condensation or an actual leak, you’ll want to check a few quick signs to tell which it is. Look for localized wet spots that grow over time — leaks usually spread or drip, while condensation appears as fine, repeated dampness in cold seasons.
Feel the area: a leak often feels persistently wet; condensation may dry between events.
Inspect paint damage and bubbling: both show moisture, but irregular peeling or staining suggests a leak.
Check wall insulation access points for damp or compressed insulation — wet insulation points to a leak, not mere condensation.
Inspect Exterior Clues For Wall Moisture: Gutters, Siding, Grading
Look at your gutters and downspouts first to make sure they’re clear and directing water well away from the foundation.
Check the ground slope so rainwater runs away from the house rather than pooling against the siding.
Also inspect the siding for cracks, gaps, or soft spots where moisture could be entering.
Check Gutters And Downspouts
When gutters or downspouts are clogged, damaged, or misaligned, they can dump water against your siding and drive moisture into the wall cavity. You should schedule regular Gutter maintenance and perform a Downspout inspection after storms to catch issues early. Look for rust, leaks, sagging sections, and pooled water near foundations.
- Clear debris and leaves to restore flow.
- Ensure downspouts direct water at least 3–4 feet from the foundation.
- Replace cracked gutters or loose hangers promptly.
Do the checks from the ground when possible, or use a ladder safely, and document any repairs for future reference.
Assess Ground Slope And Siding
If your yard doesn’t slope away from the house, water can pool at the foundation and seep into wall cavities, so check the grade and siding for signs of persistent moisture.
Do a quick ground assessment: walk the perimeter after rain, look for puddles, soft soil, or erosion that channels water toward walls.
During a siding inspection, scan for discoloration, warping, loose seams, or mold at the base where moisture rises.
Measure grade—aim for a 6-inch drop over the first 10 feet.
Fix low spots with soil, extend downspouts, and seal or replace damaged siding to prevent leaks.
Check Around Plumbing Fixtures: Focused Tests For Bathrooms And Kitchens
Because fixtures concentrate water use, you’ll want to focus tests around sinks, toilets, tubs and showers to catch leaks early. Check visible joints, baseboards and access panels for dampness; moisture can bypass wall insulation and compromised moisture barriers. Use a moisture meter, touch tests and a flashlight to spot staining or soft spots.
- Run water and watch for sudden meter spikes near plumbing.
- Inspect under sinks and behind toilets for drips and odor.
- Check grout, caulk lines and trap connections for seepage.
Document findings, isolate affected areas, and plan repairs or a plumber visit if readings stay elevated.
When To Open The Wall Safely: Small-Cut Inspection And What To Look For
Before you cut into drywall, confirm that visual inspections and non-invasive tests (moisture meter, infrared scan, and probe holes) point to a localized problem worth investigating further.
Before cutting drywall, verify with visual checks and non-invasive tests that the issue is localized and worth inspecting further
When you make a small-cut inspection, pick an inconspicuous spot near stains or paint deterioration. Cut just enough to peek at wall insulation, studs, and sheathing; use a flashlight and a moisture probe.
Look for discolored framing, compressed or sagging insulation, and water trails on interior surfaces. Note active leaks, rot, or staining patterns before patching.
Keep cuts minimal to reduce repair work and only open larger areas if damage is confirmed.
Health And Safety When Wall Moisture Is Present: Mold Signs, PPE, Ventilation
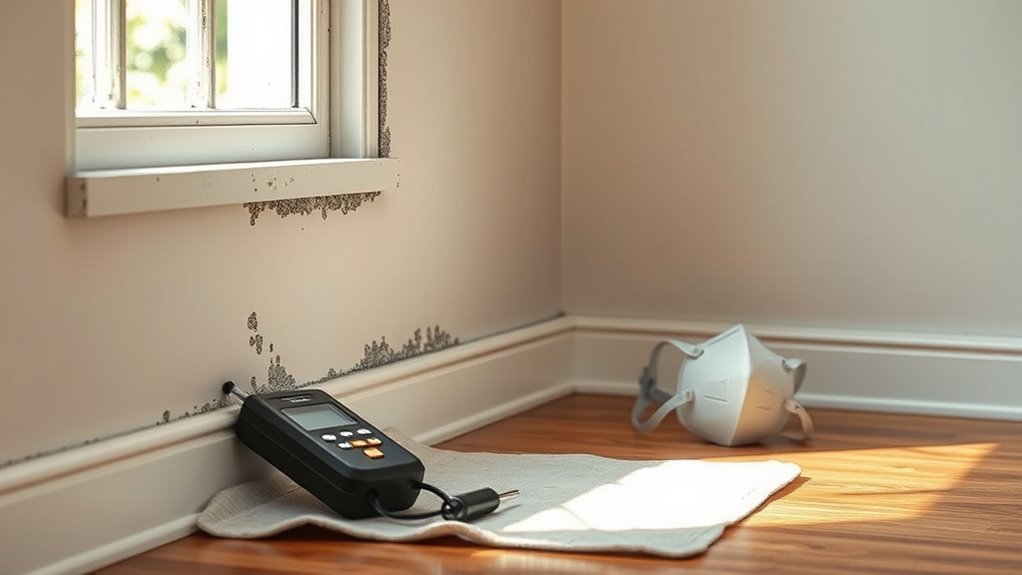
Once your small-cut inspection confirms moisture or visible staining, you need to contemplate health and safety risks immediately. You should look for musty odors, discolored spots, or fuzzy growth—early mold signs that affect indoor air quality and your health.
Use PPE: N95 or respirator, gloves, and eye protection. Increase ventilation to reduce airborne spores while you assess.
- Check for visible mold texture and odor intensity.
- Wear proper PPE and avoid stirring contaminated dust.
- Run fans and open windows to improve indoor air and support mold prevention.
Don’t delay addressing exposure risks; act cautiously.
If You Find Moisture: Immediate Damage-Limiting Steps, Documentation, And When To Call A Pro
If you find moisture inside a wall, act quickly to limit damage: stop the water source if you can, contain the wet area with towels or plastic sheeting, and ventilate the space to slow mold growth.
Next, document everything: take dated photos, note odors, and record moisture readings.
Remove soaked materials like drywall or interior insulation to prevent hidden mold; bag and label removed pieces.
Dry the cavity with fans and a dehumidifier, then recheck moisture before repairs.
Call a professional if water source is unclear, mold covers large areas, or structural elements seem compromised.
Plan wall repainting only after full remediation.
Frequently Asked Questions
Can Wall Moisture Cause Electrical Hazards Behind Outlets?
Yes — you can face electrical hazards when moisture reaches outlets. You should treat outlet safety seriously, shut power, avoid touching damp outlets, and call a qualified electrician to inspect and repair wet wiring promptly.
How Long Can Drywall Stay Wet Before Structural Failure?
Ironically, your soggy drywall won’t collapse theatrically — it usually tolerates weeks to a few months before wall integrity fails, while mold growth races ahead, so you’ll want repairs within weeks to avoid costly damage.
Will Moisture Tests Damage Painted or Wallpapered Surfaces?
They won’t usually damage painted or wallpapered surfaces if you use noninvasive meters and gentle probes; you’ll preserve paint preservation and wallpaper integrity by testing cautiously, avoiding sharp tools, sealing any tiny holes, and following manufacturer instructions.
Can Houseplants Indicate Hidden Wall Dampness?
Like a wilting sentinel, your plants can hint at trouble: you’ll spot changes in plant health and altered humidity levels near damp walls, but they’re only clues—you’ll need proper moisture testing to confirm hidden leaks.
Do Insurance Policies Cover Gradual Wall Moisture Damage?
Generally, you won’t get Insurance coverage for gradual wall moisture damage; policies exclude wear and maintenance. You should still document conditions promptly, because Moisture claims tied to sudden events or covered perils might be accepted if you file quickly.
Conclusion
Think of checking wall moisture like being a detective in a soggy novel: once I ignored a slow leak and watched a tiny patch bloom into a 3-foot stain in two weeks. You’ll stay ahead by using simple triage, a moisture meter, and targeted openings when needed. Act fast, document what you find, dry and ventilate, and call a pro for persistent problems—small steps now stop a bigger, costlier chapter later.