How to Prepare an External Wall for Painting
You’ll start by gathering brushes, rollers, primer, cleaners, scrapers, sandpaper, caulk, patching compound, drop cloths and PPE. Inspect walls from ground up for cracks, rot, loose paint and failing sealant, then document issues. Protect plants, windows and fixtures, clean dirt and mildew, and pressure-wash gently. Fill holes, replace rotten sections, sand and feather edges smooth, then apply the right primer when dry. Keep weather and safety in mind—continue for step-by-step prep and tips.
Quick Checklist: Tools and Materials to Start
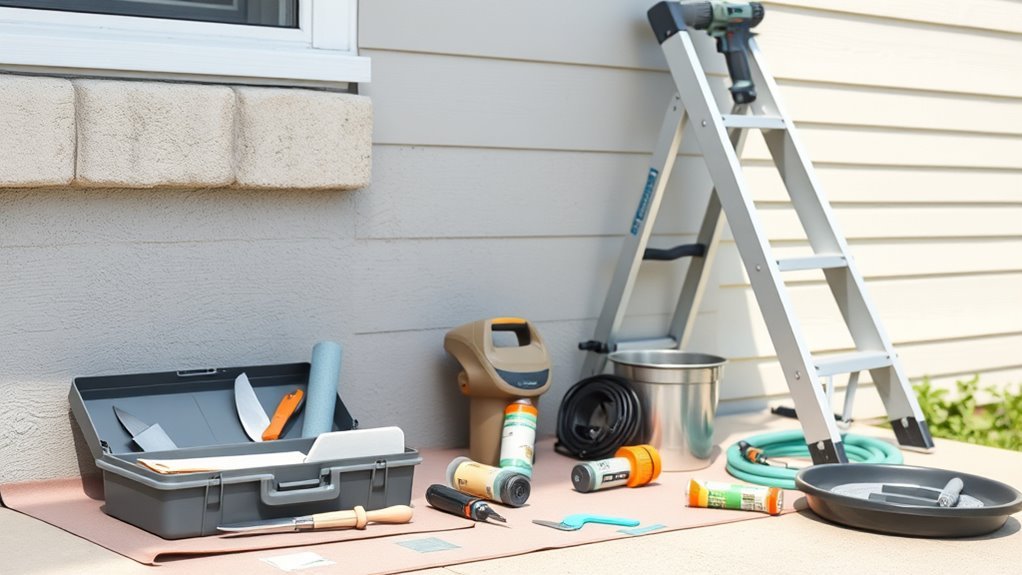
Before you begin, gather the essential tools and materials so you won’t interrupt work to hunt for bits and pieces. You’ll need brushes, rollers, trays, drop cloths, painter’s tape, sanding blocks, scrapers, a ladder, a pressure washer or hose, and appropriate cleaners.
Choose primer and exterior paint suited to your surface; color selection should consider light, surroundings, and maintenance. Wear gloves, goggles, and a mask.
Include patching compound and caulk for small gaps. Have buckets, stirring sticks, and a paint shaker or drill mixer handy for consistent paint application and efficient, professional results.
Inspect Exterior Walls for Damage
When you inspect exterior walls for damage, work methodically from the ground up and note every crack, blister, rot spot, loose siding, and failing sealant so you can prioritize repairs. Check for signs that threaten structural stability and areas where moisture intrusion has occurred. Tap siding to find hollow sounds, probe soft wood, and inspect flashings, joints, and penetrations. Record urgency and location, then plan fixes: caulking, patching, or replacement. Use ladders safely and photograph issues for reference. Below is a quick damage log to keep you organized.
| Issue | Action |
|---|---|
| Crack | Seal |
| Rot | Replace |
Protect Windows, Fixtures, and Landscaping
After you’ve logged damage and prioritized repairs, shift focus to protecting windows, fixtures, and landscaping so paint stays clean and work proceeds without setbacks. Cover windows with plastic sheeting and secure edges with painter’s tape—proper window masking prevents drips and overspray.
Remove or wrap light fixtures, mailboxes, and hoses; use kraft paper or drop cloths for fixture protection. Stake and drape tarps over plants, keeping ventilation and sunlight in mind.
Fasten protective covers so wind won’t expose surfaces. Keep a small ladder-friendly tool kit and extra tape nearby to fix gaps as you paint, maintaining neat, damage-free surroundings.
Clean Dirt, Mildew, and Loose Debris Safely
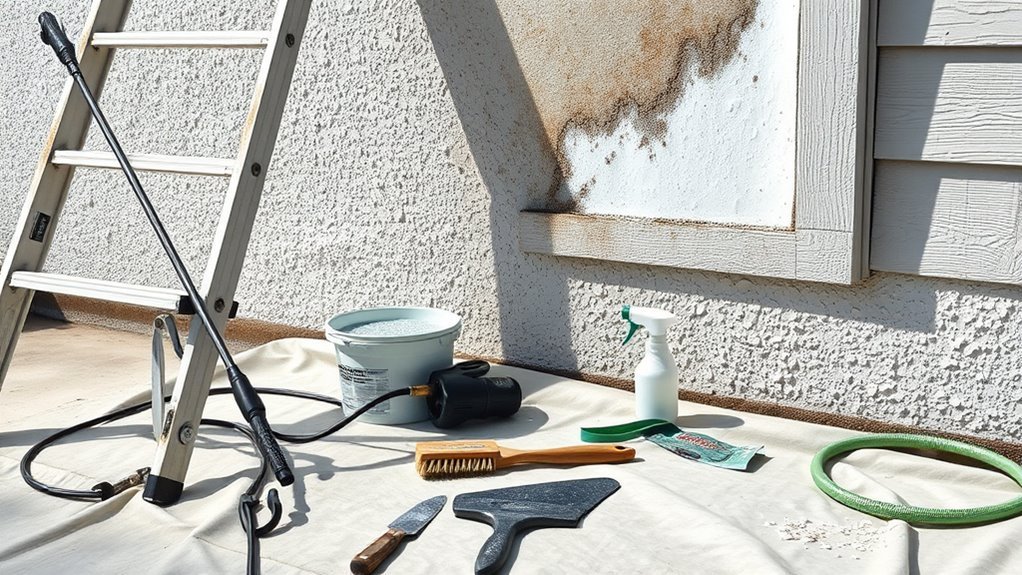
Although exterior walls can look solid from a distance, dirt, mildew, and loose paint will undermine new coatings if you don’t remove them first. You should assess surfaces, protect nearby plants, and choose cleaning methods that suit the material.
Use power washing cautiously on masonry or durable cladding; keep pressure low on softer surfaces.
For mildew removal, scrub with a diluted bleach or commercial mildew cleaner, rinse thoroughly, and let walls dry completely.
Remove flaking paint with a scraper or wire brush, collecting debris.
Follow safety: eye protection, gloves, and respirator if needed.
- Protect nearby plants and coverings
- Match cleaning method to surface
- Prioritize safety and drying time
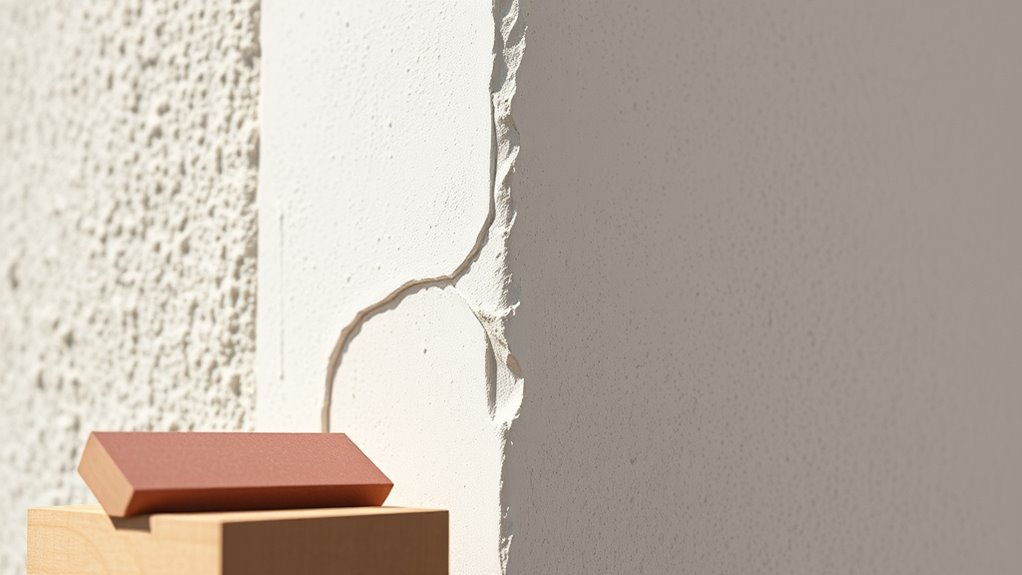
Repair Cracks, Holes, Render, and Mortar
Before you paint, fix all cracks, holes, and damaged render or mortar so new coatings adhere and last. You’ll inspect surfaces, remove loose material, then use appropriate crack filling for hairline splits and mortar patching for missing joints. For deeper holes or crumbling render, rebuild in layers, let each cure, then sand smooth. Match render texture to surrounding wall. Keep repairs slightly recessed so primer bridges edges. Check for damp before sealing. Use polymer or cement-based fillers as suited.
| Problem | Repair type | Dry time |
|---|---|---|
| Hairline cracks | Crack filling | 24h |
| Missing mortar | Mortar patching | 48h |
| Damaged render | Layered rebuild | 72h |
Remove Flaking Paint and Treat Blisters
With repairs cured and surfaces sound, you’ll now deal with old, failing paint that can undermine any new coating. You remove loose layers to restore paint adhesion, scrape flaking areas, and probe blisters.
With repairs cured and surfaces sound, remove loose, flaking paint and probe blisters to restore adhesion.
Cut and lift blisters, let underlying dampness dry, then strip compromised paint back to a firm edge. After flaking paint removal, treat exposed substrate with compatible primer or consolidant to stabilize surfaces and prevent recurrence.
Seal edges of treated blisters and allow full cure before recoating.
- Inspect systematically for hidden failures
- Use appropriate tools to avoid damage
- Prime treated areas promptly to guarantee adhesion
Sand and Feather Edges for a Smooth Finish
Start by checking edges for cracks, loose paint or raised seams so you know what needs repair.
Use medium-grit sandpaper to smooth damaged areas, then finish with fine grit for an even surface.
Feather the edges by sanding gradually from the bare patch into the surrounding paint so the new coat will blend seamlessly.
Identify Damaged Edges
After you’ve stripped loose paint and cleaned the surface, inspect all edges for chips, raised ridges, or thin feathered shifts where old paint tapers into bare substrate. You’ll look for signs of edge deterioration and active paint peeling, noting areas that won’t hold a topcoat.
Mark spots that need filling or replacement and plan for feathering to create a smooth gradation. Prioritize safety when working at height and use proper lighting to reveal subtle defects.
- Note and photograph each damaged edge to track repairs.
- Distinguish between surface flaws and structural decay.
- Decide whether patching or section replacement is required.
Proper Sanding Techniques
Now that you’ve marked and photographed damaged edges, sand them and feather the surrounding paint so new coats blend seamlessly into sound substrate. You’ll start with medium-grit paper to remove loose material, then switch to fine grit to smooth gradients.
Use a sanding block or orbital sander for even pressure; keep tools moving to avoid gouges. Clean dust frequently to inspect progress and guarantee proper surface preparation before priming.
Wear a mask and eye protection, and avoid over-sanding thin areas. Focus on uniform edges and consistent texture so primers and topcoats adhere and dry evenly for a durable finish.
Feathering For Seamless Blends
When you sand damaged areas, feather the edges so the new paint blends into the old without visible ridges; that means tapering the existing paint gradually with fine-grit paper until the shift feels smooth under your fingertips.
You’ll use light, overlapping strokes to achieve edge blending, removing high spots and softening boundaries so primers and topcoats create seamless gradations. Check your work by running your hand gently and correcting any abrupt edges.
Clean dust before priming. Feathering keeps repairs invisible and helps paint adhere evenly.
- Use 220–320 grit for final blending.
- Work outward from the repair.
- Inspect in natural light.
Prime Exterior Surfaces: Which Primer to Use
Choosing the right primer is the single most important step before painting exterior walls, because it bonds paint to the surface, seals stains, and evens out porosity for a uniform finish.
You’ll assess the substrate—masonry, wood, metal, or previously painted surfaces—and select based on primer compatibility with both the substrate and topcoat. Use oil-based or epoxy primers for rust and tannin bleed, acrylic for porous masonry, and bonding primers for slick surfaces.
Follow primer application techniques: clean, dry surface; brush edges, roll broad areas, and back-roll to remove laps; apply the recommended film thickness and allow full cure before topcoating.
Best Weather and Timing for Prepping and Priming
Because paint and primer cure through chemical reactions that depend on temperature and humidity, you should plan prep and priming for days with stable, moderate conditions—typically 50–85°F (10–30°C) and relative humidity below 70%—so primers can adhere and dry properly.
You’ll check weather considerations before scheduling, avoid mornings with heavy dew, and pick timing strategies that allow several dry hours after application. Aim for consecutive days without rain and light wind.
Prep tasks like cleaning and sanding should precede priming by only a short interval to prevent recontamination.
- Monitor forecasts closely.
- Favor mid-morning to afternoon windows.
- Allow adequate cure time before topcoating.
Safety Tips and Tools for Working on Exterior Walls
Before you start, assess hazards and gather the right protective gear and tools so you can work safely and efficiently on exterior walls. You’ll need personal protective equipment: gloves, goggles, respirator, knee pads, and durable clothing.
Inspect and secure scaffolding or use a stable ladder. Practice ladder safety by setting it on level ground, maintaining three points of contact, and avoiding overreach.
Keep tools organized in a belt or bucket. Use extension poles for scraping and painting high areas, and test power tools before use.
Plan breaks, stay hydrated, and have a spotter for high or awkward jobs to reduce risk.
Frequently Asked Questions
Can I Paint Over Masonry That’s Been Recently Repointed?
Yes — you can paint recently repointed masonry, but you’ll need masonry sealing and surface priming first. Let it cure fully, clean and dry the joints, apply a breathable sealer, then prime before painting for lasting adhesion.
How Long Before Repainting Should New Render Cure?
About 28 days is typical; studies show improper curing raises paint failure risk by 40%. You’ll check surface moisture before painting, confirm paint compatibility with new render, and only proceed when it’s fully dry and stable.
Will a Power Washer Damage Older Brickwork?
Yes, a power washer can cause brick damage if you use excessive pressure or the wrong nozzle; you’ll avoid harm by using low pressure, wider spray, testing a small area, and keeping the washer at a suitable distance.
Can I Use Interior Paint for Small Exterior Touch-Ups?
Ye olde no—you shouldn’t: you’ll face durability issues using interior paint for exterior touch-ups. Prioritize color matching and surface priming; use exterior-grade products so your repairs resist weather, UV, and moisture over time.
Do Different Siding Colors Affect Paint Adhesion or Longevity?
Yes — color contrast and siding materials affect adhesion and longevity; you’ll find darker contrasts can absorb more heat, stressing coatings, and some materials (vinyl, fiber cement, wood) need specific primers and finishes to guarantee proper bonding and durability.
Conclusion
You’ve prepped like a pro: inspected for damage, protected windows and plants, cleaned grime, repaired cracks, sanded edges, and primed with the right product at the right time. Now step back and let the surface rest—like soil after rain, give primer time to settle so paint’ll stick and last. Work safely, check weather, and don’t rush; a careful prep job pays dividends in durability and a finish you’ll be proud to show.